
vue 3.0 初体验 (项目搭建)
前言
昨天不是尤雨溪 不是刚在B站 直播玩了,分享了vue-next v3.0.0-beta.1 版本 哈哈,
不要太刺激哦
6大亮点
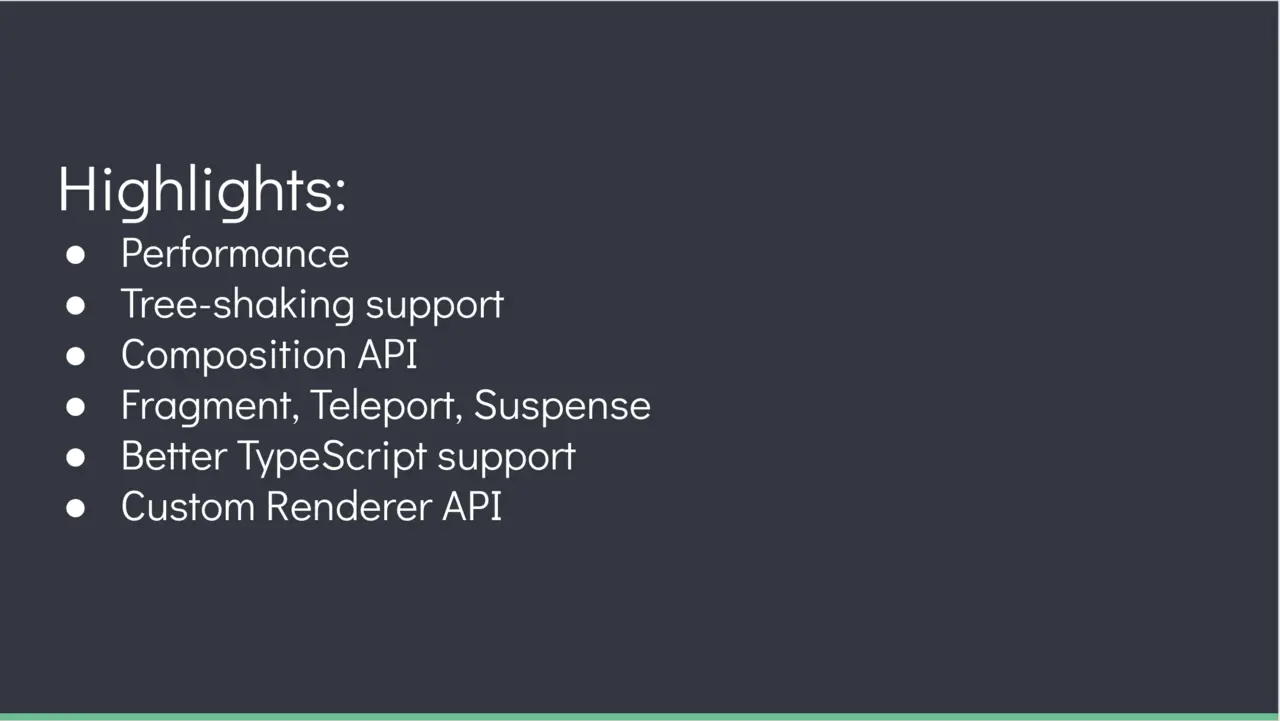
Performance:性能更比Vue 2.0强。Tree shaking support:可以将无用模块“剪辑”,仅打包需要的。Composition API:组合APIFragment, Teleport, Suspense:“碎片”,Teleport即Protal传送门,“悬念”Better TypeScript support:更优秀的Ts支持Custom Renderer API:暴露了自定义渲染API
现在就马上进入搭建吧
包括了
- 基于 vue-cli 快速搭建 Vue 3.0 项目
- Vue 3.0 基本特性体验
- 集成 vue-router 和 vuex 4.0
Vue 3.0 项目初始化
第一步,安装 vue-cli:
npm install -g @vue/cli
注意以下命令是错误的!
npm install -g vue
npm install -g vue-cli
安装成功后,我们即可使用 vue 命令,测试方法:
$ vue -V
@vue/cli 4.3.1
第二步,初始化 vue 项目:
vue create vue-next-test
输入命令后,会出现命令行交互窗口,这里我们选择 Manually select features:
Vue CLI v4.3.1
? Please pick a preset:
  default (babel, eslint)
❯ Manually select features
随后我们勾选:Router、Vuex、CSS Pre-processors 和 Linter / Formatter,
这些都是开发商业级项目必须的:
Vue CLI v4.3.1
? Please pick a preset: Manually select features
? Check the features needed for your project:
 ◉ Babel
 ◯ TypeScript
 ◯ Progressive Web App (PWA) Support
 ◉ Router
 ◉ Vuex
 ◉ CSS Pre-processors
❯◉ Linter / Formatter
 ◯ Unit Testing
 ◯ E2E Testing
注意:Vue 3.0 项目目前需要从 Vue 2.0 项目升级而来,所以为了直接升级到 Vue 3.0 全家桶,
我们需要在 Vue 项目创建过程中勾选 Router 和 Vuex,所以避免手动写初始化代码
升级 Vue 3.0 项目
目前创建 Vue 3.0 项目需要通过插件升级的方式来实现,
vue-cli 还没有直接支持,我们进入项目目录,并输入以下指令:
cd vue-next-test
vue add vue-next
执行上述指令后,会自动安装 vue-cli-plugin-vue-next 插件(查看项目代码),该插件会完成以下操作:
- 安装 Vue 3.0 依赖
- 更新 Vue 3.0 webpack loader 配置,使其能够支持 .vue 文件构建(这点非常重要)
- 创建 Vue 3.0 的模板代码
- 自动将代码中的 Vue Router 和 Vuex 升级到 4.0 版本,如果未安装则不会升级
- 自动生成 Vue Router 和 Vuex 模板代码
完成上述操作后,项目正式升级到 Vue 3.0,
注意该插件还不能支持 typescript,用 typescript 的同学还得再等等。(就是目前还不太支持TS)
Vue 3.0 基本特性体验
下面我们从项目开发的角度逐步体验 Vue 3.0 的开发流程
创建路由
项目开发中,我们通常需要创建新页面,然后添加路由配置,
我们在 /src/views 目录下创建 Test.vue:
<template>
  <div class="test">
  </div>
</template>

<script>
 export default {
 }
</script>

<style lang="less" scoped>
.test {
  color: red;
}
</style>
之后在 /src/router/index.js 中创建路由配置:
import { createRouter, createWebHashHistory } from 'vue-router'
import Home from '../views/Home.vue'

const routes = [
  {
    path: '/',
    name: 'Home',
    component: Home
  },
  {
    path: '/about',
    name: 'About',
    component: () => import(/* webpackChunkName: "about" */ '../views/About.vue')
  },
  {
    path: '/test',
    name: 'Test',
    component: () => import(/* webpackChunkName: "test" */ '../views/Test.vue')
  }
]

const router = createRouter({
  history: createWebHashHistory(),
  routes
})

export default router
<template>
  <div id="app">
    <div id="nav">
      <router-link to="/">Home</router-link> |
      <router-link to="/about">About</router-link> |
      <router-link to="/test">Test</router-link>
    </div>
    <router-view/>
  </div>
</template>
启动项目:
npm run serve

状态和事件绑定
Vue 3.0 中定义状态的方法改为类似 React Hooks 的方法,下面我们在 Test.vue 中定义一个状态 count:
<template>
  <div class="test">
    <h1>test count: {{count}}</h1>
  </div>
</template>

<script>
  import { ref } from 'vue'

  export default {
    setup () {
      const count = ref(0)
      return {
        count
      }
    }
  }
</script>
Vue 3.0 中初始化状态通过 setup 方法,
定义状态需要调用 ref 方法。接下来我们定义一个事件,用来更新 count 状态:
<template>
  <div class="test">
    <h1>test count: {{count}}</h1>
    <button @click="add">add</button>
  </div>
</template>

<script>
  import { ref } from 'vue'

  export default {
    setup () {
      const count = ref(0)
      const add = () => {
        count.value++
      }
      return {
        count,
        add
      }
    }
  }
</script>
这里的 add 方法不再需要定义在 methods 中,
但注意更新 count 值的时候不能直接使用 count++,而应使用 count.value++,
更新代码后,点击按钮,count 的值就会更新了:
计算属性和监听器
Vue 3.0 中计算属性和监听器的实现依赖 computed 和 watch 方法:
<template>
  <div class="test">
    <h1>test count: {{count}}</h1>
    <div>count * 2 = {{doubleCount}}</div>
    <button @click="add">add</button>
  </div>
</template>

<script>
  import { ref, computed, watch } from 'vue'

  export default {
    setup () {
      const count = ref(0)
      const add = () => {
        count.value++
      }
      watch(() => count.value, val => {
        console.log(`count is ${val}`)
      })
      const doubleCount = computed(() => count.value * 2)
      return {
        count,
        doubleCount,
        add
      }
    }
  }
</script>
计算属性 computed 是一个方法,里面需要包含一个回调函数,当我们访问计算属性返回结果时,会自动获取回调函数的值:
const doubleCount = computed(() => count.value * 2)
监听器 watch 同样是一个方法,它包含 2 个参数,2 个参数都是 function:
watch(() => count.value,
  val => {
    console.log(`count is ${val}`)
  })
第一个参数是监听的值,count.value 表示当 count.value 发生变化就会触发监听器的回调函数,即第二个参数,第二个参数可以执行监听时候的回调
如果是2 个以上的监听属性 就这样
watch(
  [refA, () => refB.value],
  ([a, b], [prevA, prevB]) => {
    console.log(`a is: ${a}`)
    console.log(`b is: ${b}`)
  }
)
获取路由
Vue 3.0 中通过 getCurrentInstance 方法获取当前组件的实例,然后通过 ctx 属性获得当前上下文,
ctx.$router 是 Vue Router 实例,里面包含了 currentRoute 可以获取到当前的路由信息
<script>
  import { getCurrentInstance } from 'vue'

  export default {
    setup () {
      const { ctx } = getCurrentInstance()
      console.log(ctx.$router.currentRoute.value)
    }
  }
</script>
Vuex 集成
Vuex 的集成方法如下:
定义 Vuex 状态
第一步,修改 src/store/index.js 文件:
import Vuex from 'vuex'

export default Vuex.createStore({
  state: {
    test: {
      a: 1
    }
  },
  mutations: {
    setTestA(state, value) {
      state.test.a = value
    }
  },
  actions: {
  },
  modules: {
  }
})
Vuex 的语法和 API 基本没有改变,我们在 state 中创建了一个 test.a 状态,在 mutations 中添加了修改 state.test.a 状态的方法: setTestA
引用 Vuex 状态
第二步,在 Test.vue 中,通过计算属性使用 Vuex 状态:
<template>
  <div class="test">
    <h1>test count: {{count}}</h1>
    <div>count * 2 = {{doubleCount}}</div>
    <div>state from vuex {{a}}</div>
    <button @click="add">add</button>
  </div>
</template>

<script>
  import { ref, computed, watch, getCurrentInstance } from 'vue'

  export default {
    setup () {
      const count = ref(0)
      const add = () => {
        count.value++
      }
      watch(() => count.value, val => {
        console.log(`count is ${val}`)
      })
      const doubleCount = computed(() => count.value * 2)
      const { ctx } = getCurrentInstance()
      console.log(ctx.$router.currentRoute.value)
      const a = computed(() => ctx.$store.state.test.a)
      return {
        count,
        doubleCount,
        add,
        a
      }
    }
  }
</script>
这里我们通过计算属性来引用 Vuex 中的状态:
const a = computed(() => ctx.$store.state.test.a)
ctx 是上节中我们提到的当前组件实例
更新 Vuex 状态
更新 Vuex 状态仍然使用 commit 方法,这点和 Vuex 3.0 版本一致:
<template>
  <div class="test">
    <h1>test count: {{count}}</h1>
    <div>count * 2 = {{doubleCount}}</div>
    <div>state from vuex {{a}}</div>
    <button @click="add">add</button>
    <button @click="update">update a</button>
  </div>
</template>

<script>
  import { ref, computed, watch, getCurrentInstance } from 'vue'

  export default {
    setup () {
      const count = ref(0)
      const add = () => {
        count.value++
      }
      watch(() => count.value, val => {
        console.log(`count is ${val}`)
      })
      const doubleCount = computed(() => count.value * 2)
      const { ctx } = getCurrentInstance()
      console.log(ctx.$router.currentRoute.value)
      const a = computed(() => ctx.$store.state.test.a)
      const update = () => {
        ctx.$store.commit('setTestA', count)
      }
      return {
        count,
        doubleCount,
        add,
        a,
        update
      }
    }
  }
</script>
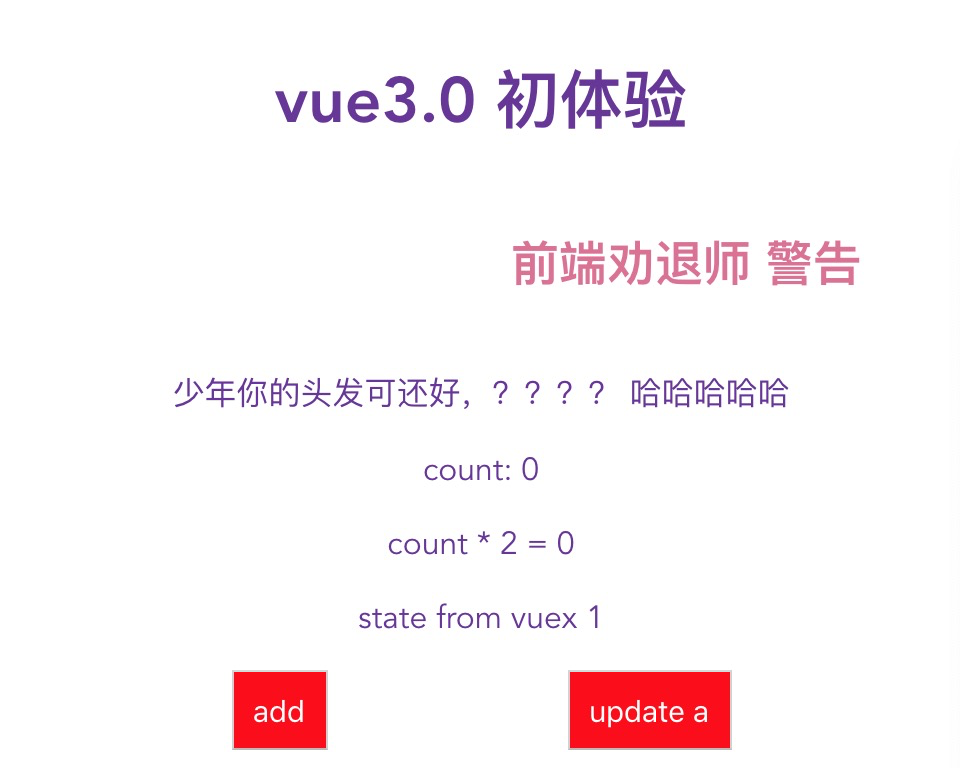
这里我们点击 update a 按钮后,会触发 update 方法,此时会通过 ctx.$store.commit 调用 setTestA 方法,将 count 的值覆盖 state.test.a 的值
总的效果呢是这样的:
总结下哈:
vue3.0都写在setup里,以前的所有数据状态都写在data里,
所有方法都写在methods里,而现在可以根据功能模块把状态和方法等划分在一起,更利于模块化,
不过这样对代码习惯和质量要求更高了,初学者用3.0可能会写的更混乱
貌似 vue逐渐react化,存在即合理对吧 哈哈

 浙公网安备 33010602011771号