react解析markdown文件
当当当又get到了一个新技能,使用react-markdown来直接解析markdown文件(咳咳,小菜鸟的自娱自乐)
项目中遇到了一个API的那种展示方式,类似于入门手册啥的那种,如果是一个个调用接口,改样式很复杂,所以用了直接解析后台给的markdown文件
首先我们需要安装一个react的网页语法高亮插件,(我最初并没有安装这个,结果导致解析文件是出来了,但是样式还挺丑的)
npm install react-syntax-highlighter --save //相关介绍在这里https://www.javascriptcn.com/read-43226.html
1.高亮的js codeBlock.js
import React from 'react';
import SyntaxHighlighter from 'react-syntax-highlighter';
import { tomorrowNightEighties } from 'react-syntax-highlighter/dist/esm/styles/hljs'; //我这边使用的是夜晚模式的css,你也可以在react-syntax-highlighter/dist/esm/styles/hljs里面找你自己喜欢的css,把名字替换就行 eg:
import { monokai } from 'react-syntax-highlighter/dist/esm/styles/hljs';
import { Form } from 'antd'; class CodeBlock extends React.PureComponent { render() { const { value } = this.props; return ( <SyntaxHighlighter language="" style={tomorrowNightEighties}> {value} </SyntaxHighlighter> ); } } export default Form.create()(CodeBlock);
2.然后解析文件的js
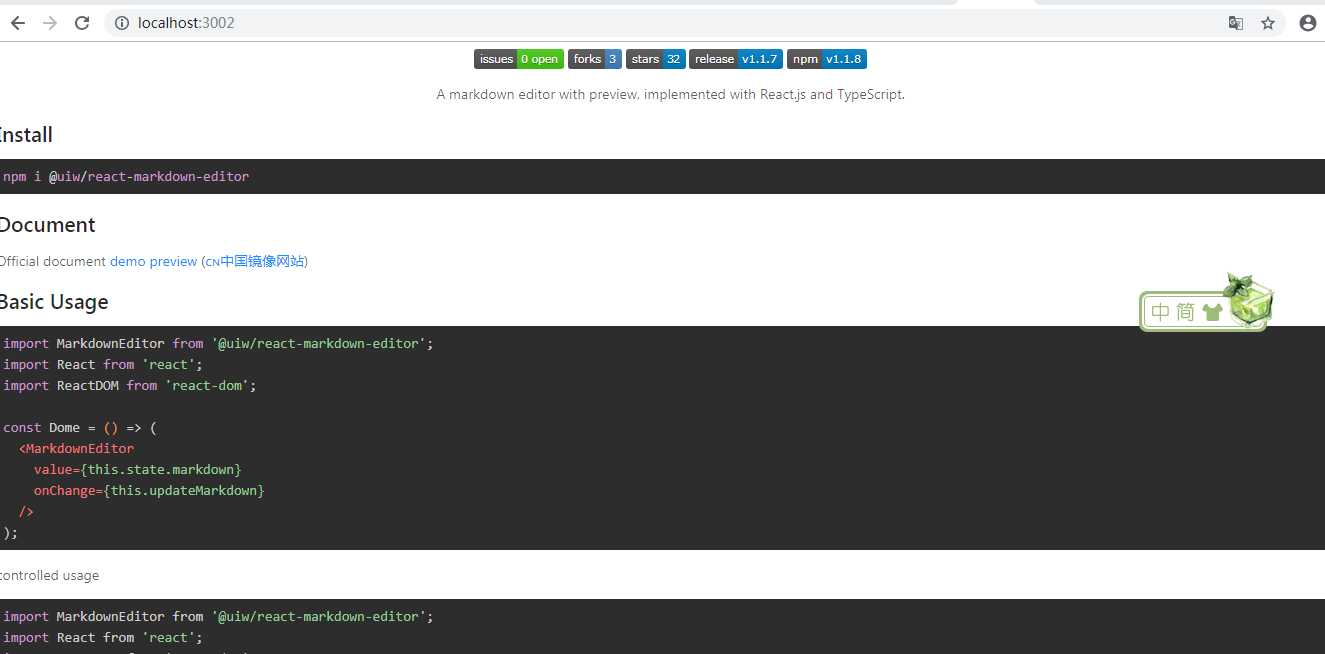
我这边直接从网上找了个.md文件如下
<p align="center">
  <a href="https://github.com/uiwjs/react-markdown-editor/issues">
    <img src="https://img.shields.io/github/issues/uiwjs/react-markdown-editor.svg">
  </a>
  <a href="https://github.com/uiwjs/react-markdown-editor/network">
    <img src="https://img.shields.io/github/forks/uiwjs/react-markdown-editor.svg">
  </a>
  <a href="https://github.com/uiwjs/react-markdown-editor/stargazers">
    <img src="https://img.shields.io/github/stars/uiwjs/react-markdown-editor.svg">
  </a>
  <a href="https://github.com/uiwjs/react-markdown-editor/releases">
    <img src="https://img.shields.io/github/release/uiwjs/react-markdown-editor.svg">
  </a>
  <a href="https://www.npmjs.com/package/@uiw/react-markdown-editor">
    <img src="https://img.shields.io/npm/v/@uiw/react-markdown-editor.svg">
  </a>
</p>

<p align="center">
  A markdown editor with preview, implemented with React.js and TypeScript.
</p>

## Install

```bash
npm i @uiw/react-markdown-editor
```

## Document

Official document [demo preview](https://uiwjs.github.io/react-markdown-editor/) ([🇨🇳中国镜像网站](http://uiw.gitee.io/react-markdown-editor/))

## Basic Usage

```jsx
import MarkdownEditor from '@uiw/react-markdown-editor';
import React from 'react';
import ReactDOM from 'react-dom';

const Dome = () => (
  <MarkdownEditor
    value={this.state.markdown}
    onChange={this.updateMarkdown}
  />
);
```

controlled usage

```jsx
import MarkdownEditor from '@uiw/react-markdown-editor';
import React from 'react';
import ReactDOM from 'react-dom';


class App extends React.Component {
  constructor() {
    super();
    this.state = {
      markdown: '# This is a H1  \n## This is a H2  \n###### This is a H6',
    };
    this.updateMarkdown = this.updateMarkdown.bind(this);
  }

  updateMarkdown(editor, data, value) {
    this.setState({ markdown: value });
  }

  render() {
    return (
      <MarkdownEditor
        value={this.state.markdown}
        onChange={this.updateMarkdown}
      />
    );
  }
}

ReactDOM.render(
  <App />,
  document.getElementById('app')
);
```

## Props

- value (*string*) - the raw markdown that will be converted to html (**required**)
- `visble?:boolean` - Shows a preview that will be converted to html.
- `toolbars?:array` - Tool display settings.
- `toolbarsMode?:array` - Tool display settings.
- onChange (*function(editor: IInstance, data: CodeMirror.EditorChange, value: string)*) - called when a change is made (**required**)

> [Other Props Options](https://github.com/uiwjs/react-markdown-editor/blob/8de6abbf628b6d272d7da1c28e985fbbcba71b93/src/components/CodeMirror/index.tsx#L21-L60)


### Development

```bash
npm run dev
npm run type-check:watch
npm run doc
```

## License

[MIT © Kenny Wong](./LICENSE)
照例先安装react-markdown
npm install --save react-markdown //具体的介绍在这里https://www.javascriptcn.com/read-34344.html
解析markdown文件的home.js
import React, {Component} from 'react';
import ReactMarkdown from 'react-markdown/with-html';
import AppMarkdown from './test.md';
import CodeBlock from './codeBlock';
class Home extends React.Component {
    constructor(props) {
        super(props);
        this.state = {
            markdown: '',
        }
    }
    componentWillMount() {
        fetch(AppMarkdown)
            .then(res => res.text())
            .then(text => this.setState({markdown: text}));
    }
    render() {
        const {markdown} = this.state;
        return (
            <div>
               <div >
                    <ReactMarkdown
                        className="markdown-body"
                        source={markdown}
                        escapeHtml={false}
                        renderers={{
                            code: CodeBlock,
                        }}
                    />
                </div>
            </div>
        )
    }

}

export default Home;
然后就可以出来效果了
注:这个时候你看你的f12中属性都是添加到各个元素里面的,如果你想要的自己定义css,这个时候可以在这里添加个属性,然后再引入你想要的css文件就可以了
import './mark.css'; //自己定义的css

<SyntaxHighlighter language="" style={tomorrowNightEighties} useInlineStyles={false}> //userInlineStyles可以给元素添加classname
                {value}
            </SyntaxHighlighter>

 浙公网安备 33010602011771号