

<vue 路由 2、router-link标签属性>
说明:在上一节的工程下继续讲解
一、 知识点说明
上一节中, <router-link>我们只是使用了一个属性: to, 用于指定跳转的路径。<router-link>默认渲染成<a>组件
<router-link>还有一些其他属性:
(1)replace: replace不会留下history记录, 所以指定replace的情况下, 后退键返回不能返回到上一个页面中
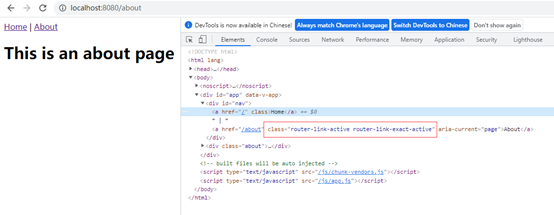
(2)active-class: 当<router-link>对应的路由匹配成功时, 会自动给当前元素设置一个router-link-active和 router-link-exact-active的class。
注:3.0以上版本删除了tag标签的用法
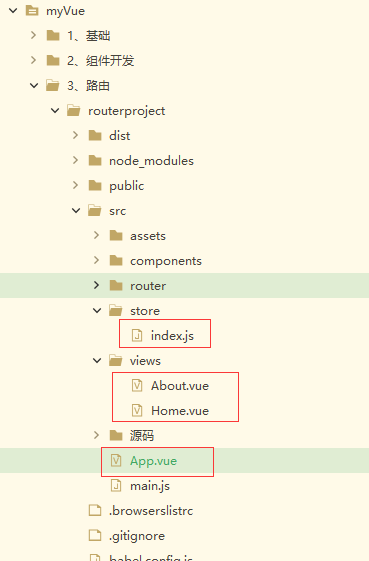
二、代码结构
注:主要是标红的几个文件
三、代码
重新编写这几个文件中的代码
index.js
//引入路由
import { createRouter, createWebHistory } from 'vue-router'
import Home from '../views/Home.vue'

//定义路由
const routes = [
  {
    path: '/',
    name: 'Home',
    component: Home
  },
  {
    path: '/about',
    name: 'About',
    component: () => import('../views/About.vue')
  }
]

//创建路由
const router = createRouter({
	 //createWebHashHistory hash模式路径前面会多一个#号
  history: createWebHistory(process.env.BASE_URL),
  routes
})

//返回了路由
export default router
App.vue
<template>
  <div id="nav">
    <router-link to="/"  replace>Home</router-link> |
    <router-link to="/about"  replace>About</router-link>
  </div>
  <router-view></router-view>
</template>

<style>
 .router-link-active {
   color: #f00;
 }

</style>
Home.vue
<template>
  <div class="home">
	  <p>Home Page</p>
    <img alt="Vue logo" src="../assets/logo.png">
  </div>
</template>

<script>
</script>
About.vue
<template>
  <div class="about">
    <h1>This is an about page</h1>
  </div>
</template>
四、效果
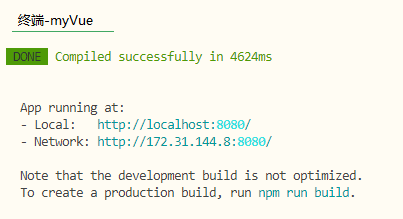
1、运行程序
注:要进入到相应的路劲下

启动成功后:
2、浏览器打开http://localhost:8080/
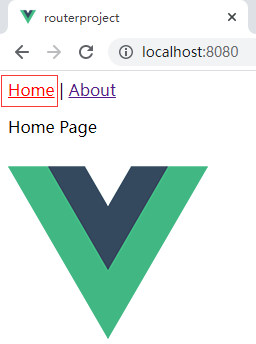
说明:Home是红色就是给class:router-link-active 添加的红色样式生效。点击About后
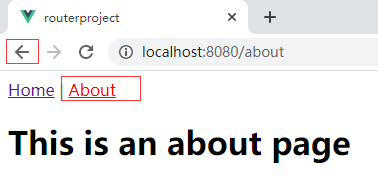
说明:About就变成红色,点击浏览器的返回上一页按钮
说明:这里并没有返回到Home的页面,而是返回到了一个空页面(空页面是浏览器打开时默认的一个页面),这就是<router-link> 的replace属性生效了,如果没有这个属性就应该回到到Home页面。
五、代码解释
无
资源丰富的的网盘资源:网盘资源大全! 推荐一个适合零基础学习SQL的网站:不用安装数据库,在线轻松学习SQL!
 浙公网安备 33010602011771号