五、nginx的安装部署
nginx的官网:http://nginx.org
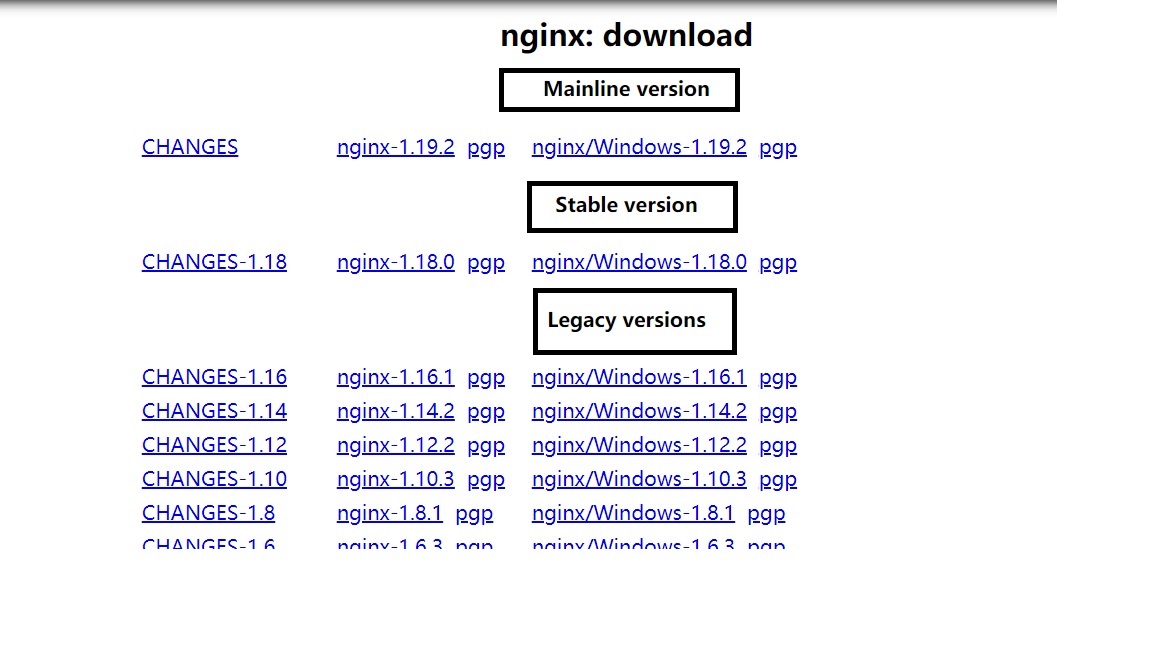
nginx最新的主流版本(mainline version):1.19.2
nginx稳定版本(stable version):1.18.0
其它稳定版本(legacy versions)
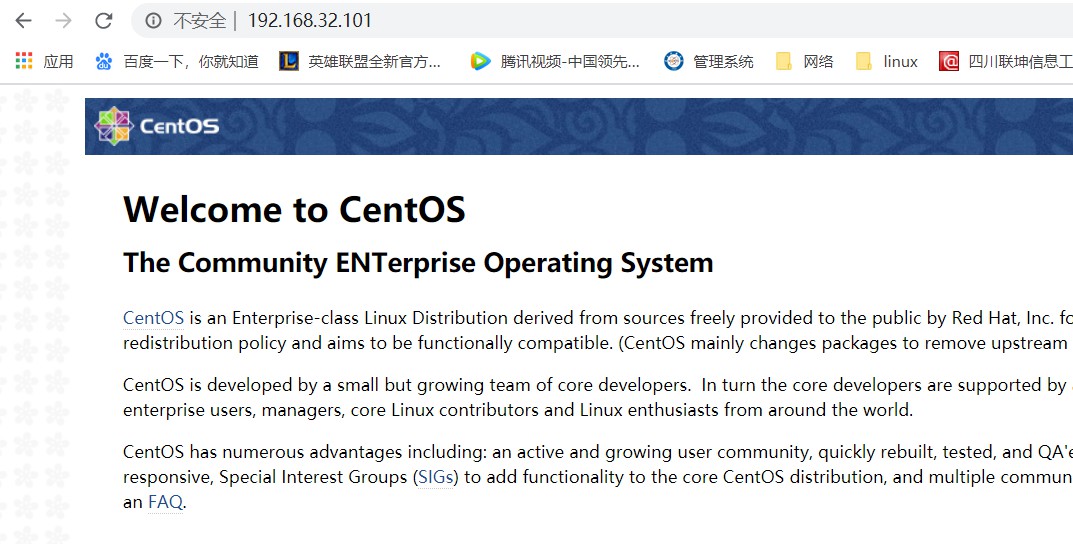
[root@inode1 ~]# uname -r 3.10.0-862.el7.x86_64 [root@inode1 ~]# cat /etc/redhat-release CentOS Linux release 7.5.1804 (Core) ip地址:192.168.32.101
二、yum安装
1、安装epel源
yum install -y epel-release
2、把epel源的地址替换为清华开源镜像站的地址
sed -e 's!^metalink=!#metalink=!g' \
 -e 's!^#baseurl=!baseurl=!g' \
 -e 's!//download\.fedoraproject\.org/pub!//mirrors.tuna.tsinghua.edu.cn!g' \
 -e 's!http://mirrors\.tuna!https://mirrors.tuna!g' \
 -i /etc/yum.repos.d/epel.repo /etc/yum.repos.d/epel-testing.repo
或者直接使用清华源的epel
[epel]
name=Extra Packages for Enterprise Linux 7 - $basearch
baseurl=https://mirrors.tuna.tsinghua.edu.cn/epel/7/$basearch
#mirrorlist=https://mirrors.fedoraproject.org/metalink?repo=epel-7&arch=$basearch
failovermethod=priority
enabled=1
gpgcheck=0
gpgkey=file:///etc/pki/rpm-gpg/RPM-GPG-KEY-EPEL-7
3、更新yum源
yum makecache fast
4、yum安装nginx
yum install -y nginx
5、启动nginx
systemctl start nginx.service
systemctl enabled nginx.service
6、测试nginx
查看nginx是否安装成功
[root@inode1 ~]# rpm -qa nginx
nginx-1.16.1-1.el7.x86_64
查看nginx进程
[root@inode1 ~]# ps -ef |grep nginx
root     121243      1  0 05:28 ?        00:00:00 nginx: master process /usr/sbin/nginx
nginx    121244 121243  0 05:28 ?        00:00:00 nginx: worker process
root     121275 120117  0 05:28 pts/0    00:00:00 grep --color=auto nginx
查看nginx的80端口
[root@inode1 ~]# netstat -antlp|grep 80
tcp        0      0 0.0.0.0:80              0.0.0.0:*               LISTEN      121243/nginx: maste
tcp6       0      0 :::80                   :::*                    LISTEN      121243/nginx: maste
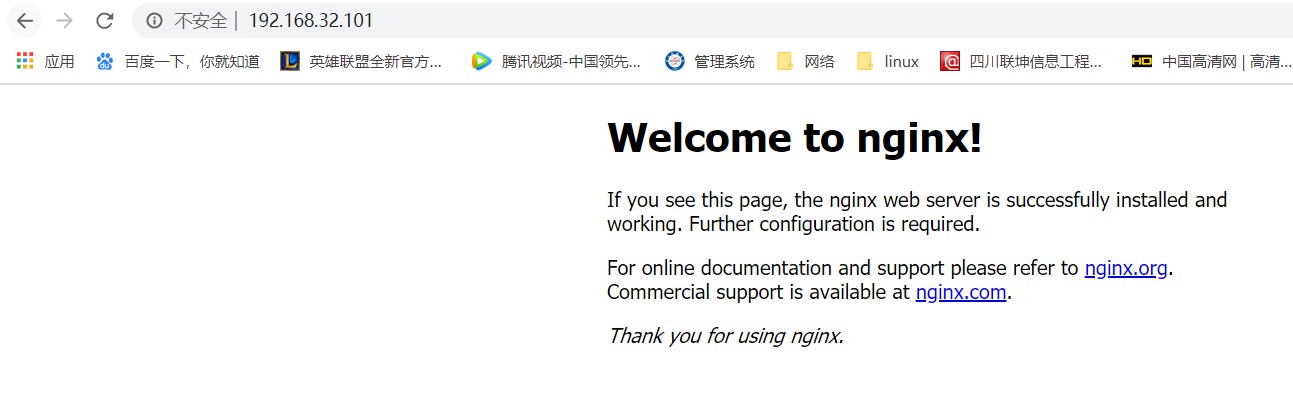
访问nginx
三、nginx的源码安装
以nginx-1.16.0为例:
1、安装nginx的依赖软件包
yum install -y gcc gcc-c++ make pcre pcre-devel openssl openssl-devel zlib zlib-devel
2、创建nginx进程运行的用户www
useradd -s /sbin/nologin -M www
3、nginx官方网站下载nginx-1.16.0的源码包
mkdir -p /server/tools
cd /server/tools
wget -c http://nginx.org/download/nginx-1.16.0.tar.gz
4、解压nginx
tar -xf nginx-1.16.0.tar.gz
5、编译安装nginxcd nginx-1.16.0
./configure --prefix=/usr/local/nginx \
--user=www \
--group=www \
--with-http_ssl_module \
--with-http_stub_status_module
make && make install

#./configure 预编译命令,后面跟编译参数可以使用./configure --help (-h)查看参数信息
#--with-xxx_module 预编译启动的模块
#--without-xxx_module b预编译不启动的模块
#--add-module=PATH 添加第三方模块
#--error-log-path=/var/log/nginx/error.log 设置配置文件的路径
#make 编译
#make install 编译安装
马哥推荐
useradd -r -s /sbin/nologin www
./configure --prefix=/usr/local/nginx \
--user=www \
--group=www \
--with-http_ssl_module \
--with-http_v2_module \
--with-http_realip_module \
--with-http_stub_status_module \
--with-http_gzip_static_module \
--with-pcre \
--with-stream \
--with-stream_ssl_module \
--with-stream_realip_module
make && make install
6、创建nginx命令的软连接
ln -s /usr/local/nginx/sbin/nginx /usr/sbin/nginx
7、启动nginx,并查看nginx进程和端口号
nginx [root@inode1 nginx-1.16.0]# ps -ef |grep nginx root 125148 1 0 05:51 ? 00:00:00 nginx: master process nginx www 125149 125148 0 05:51 ? 00:00:00 nginx: worker process [root@inode1 nginx-1.16.0]# netstat -antlp|grep 80 tcp 0 0 0.0.0.0:80 0.0.0.0:* LISTEN 125148/nginx: maste
8、访问nginx
-V --- 查看nginx软件编译配置参数
[root@inode1 nginx-1.16.0]# nginx -V
nginx version: nginx/1.16.0
built by gcc 4.8.5 20150623 (Red Hat 4.8.5-39) (GCC)
built with OpenSSL 1.0.2k-fips  26 Jan 2017
TLS SNI support enabled
configure arguments: --prefix=/usr/local/nginx --user=www --group=www --with-http_ssl_module --with-http_stub_status_module
-v --- 查看nginx软件版本
[root@inode1 nginx-1.16.0]# nginx -v
nginx version: nginx/1.16.0
-t --- 检查nginx配置文件语法格式是否正确
[root@inode1 nginx-1.16.0]# nginx -t
nginx: the configuration file /usr/local/nginx/conf/nginx.conf syntax is ok
nginx: configuration file /usr/local/nginx/conf/nginx.conf test is successful
-s --- 用于管理nginx服务运行状态
stop 停止nginx服务 nginx -s stop reload 平滑重启nginx服务器(修改配置文件后,重启加载新的配置文件) nginx -s reload
nginx -s stop 先停止
nginx 再启动

 浙公网安备 33010602011771号