
【zabbix 监控】第一章 zabbix的安装配置
安装前准备
一、下载网络yum源:
http://mirrors.163.com/.help/centos.html
https://opsx.alibaba.com/mirror

1、首先备份/etc/yum.repos.d/CentOS-Base.repo,备份之前要先安装weget(yum -y install wget)
mv /etc/yum.repos.d/CentOS-Base.repo /etc/yum.repos.d/CentOS-Base.repo.backup

2、选择下载一下两个中任意一个yum源
网易163 yum源:
下载对应版本repo文件, 放入/etc/yum.repos.d/(操作前请做好相应备份)
• CentOS7
• CentOS6
• CentOS5
wget http://mirrors.163.com/.help/CentOS7-Base-163.repo #163的yum源,
下载到指定目录下wget http://mirrors.163.com/.help/CentOS7-Base-163.repo -P /etc/yum.repos.d/

阿里云yum源:https://opsx.alibaba.com/mirror
wget -O /etc/yum.repos.d/CentOS-Base.repo http://mirrors.aliyun.com/repo/Centos-7.repo
注:关于wget的几个参数介绍:
-O 指定保存的文件名后下载文件
-c 断点续传
--limit-rare 限速下载 例: wget --limit-rare=3K /etc/yum.repos.d/CentOS-Base.repo http://mirrors.aliyun.com/repo/Centos-7.repo

3、运行以下命令生成缓存
yum clean all
yum makecache
二、防火墙设置
1、可以开启防火墙:
[root@localhost ~]# firewall-cmd --permanent --add-service=http
success
[root@localhost ~]# firewall-cmd --permanent --add-service=https
success
[root@localhost ~]# firewall-cmd --reload
success
[root@localhost ~]# systemctl enable firewalld.service
2、如果感觉麻烦可以考虑关闭防火墙:
[root@localhost ~]# systemctl stop firewalld.service
[root@localhost ~]# systemctl disable firewalld.service
三、关闭SELINUX
1、查看SElinux状态:
[root@web129 ~]#/usr/sbin/sestatus -v #如果SELinux status参数为enabled即为开启状态
SELinux status: enabled
[root@web129 ~]# getenforce
Disabled
2、关闭SELinux:
(1)临时关闭(不用重启机器):
setenforce 0 #设置SELinux 成为permissive模式
#setenforce 1 设置SELinux 成为enforcing模式
(2)永久关闭(需要重启服务器)
修改配置文件:
[root@web129 ~]# vim /etc/selinux/config
将SELINUX=enforcing改为SELINUX=disabled
或者sed关闭:
[root@web129 ~]# sed -i "s/^SELINUX\=enforcing/SELINUX\=disabled/g" /etc/selinux/config
开始安装zabbix
1、参考官网提供的zabbix帮助手册:https://www.zabbix.com/documentation/3.2/manual
2、搭建zabbix的yum仓库:
由于我们epl的yum仓库里存放的zabbix的版本较低,所以我们先搭建一个zabbix的yum仓库,服务端和客户端上都要做这个步骤。
安装过程中如遇见了如下问题,是与原来yum发生冲突卸载即可(此问题是我重复安装zabbix 不同版本yum源导致,一般不会出现):
[root@localhost yum.repos.d]# rpm -ivh http://mirrors.aliyun.com/zabbix/zabbix/3.2/rhel/7/x86_64/zabbix-release-3.2-1.el7.noarch.rpm
获取http://mirrors.aliyun.com/zabbix/zabbix/3.2/rhel/7/x86_64/zabbix-release-3.2-1.el7.noarch.rpm
警告:/var/tmp/rpm-tmp.DERtgj: 头V4 RSA/SHA512 Signature, 密钥 ID a14fe591: NOKEY
准备中... ################################# [100%]
file /etc/pki/rpm-gpg/RPM-GPG-KEY-ZABBIX from install of zabbix-release-3.2-1.el7.noarch conflicts with file from package zabbix-release-3.0-1.el7.noarch
file /etc/yum.repos.d/zabbix.repo from install of zabbix-release-3.2-1.el7.noarch conflicts with file from package zabbix-release-3.0-1.el7.noarch
[root@localhost yum.repos.d]# yum -y remove zabbix-release-3.0-1.el7.noarch
如果没有上述问题直接往下执行:
[root@localhost ~]#rpm -ivh http://repo.zabbix.com/zabbix/3.2/rhel/7/x86_64/zabbix-release-3.2-1.el7.noarch.rpm
或者用下边的方法
[root@web129 yum.repos.d]# rpm -ivh http://101.110.118.57/repo.zabbix.com/zabbix/3.2/rhel/7/x86_64/zabbix-release-3.2-1.el7.noarch.rpm
[root@localhost ~]# yum -y install zabbix-server-mysql zabbix-web-mysql zabbix-get
Error downloading packages:
iksemel-1.4-2.el7.centos.x86_64: [Errno 256] No more mirrors to try.
fping-3.10-1.el7.x86_64: [Errno 256] No more mirrors to try.
zabbix-web-mysql-3.2.11-1.el7.noarch: [Errno 256] No more mirrors to try.
zabbix-server-mysql-3.2.11-1.el7.x86_64: [Errno 256] No more mirrors to try.
yum -y install unixODBC #一个链接数据库的组件, fping
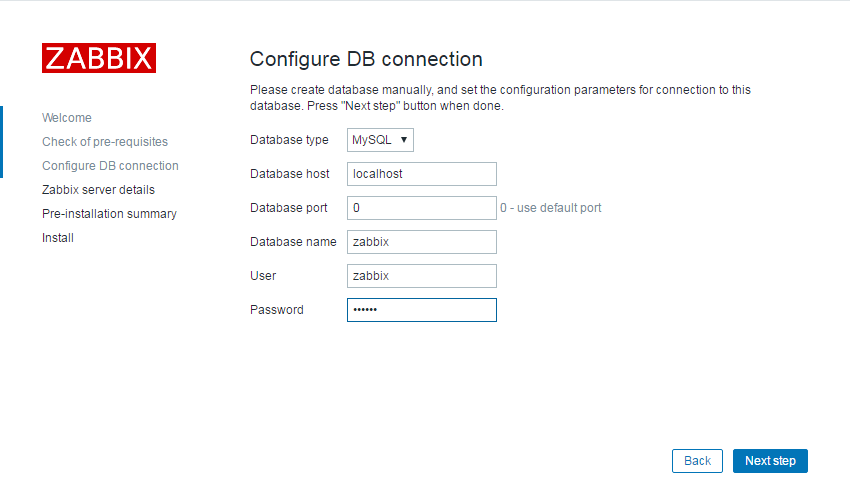
root@localhost ~]#  yum -y install mariadb mariadb-server

[root@localhost ~]#systemctl enable mariadb ;systemctl start mariadb
[root@localhost ~]# mysql
Welcome to the MariaDB monitor.  Commands end with ; or \g.
Your MariaDB connection id is 43
Server version: 5.5.56-MariaDB MariaDB Server

Copyright (c) 2000, 2017, Oracle, MariaDB Corporation Ab and others.

Type 'help;' or '\h' for help. Type '\c' to clear the current input statement.

MariaDB [(none)]> create database zabbix character set utf8 collate utf8_bin;
Query OK, 1 row affected (0.00 sec)

MariaDB [(none)]> grant all privileges on zabbix.* to zabbix@localhost identified by 'yanglt';
Query OK, 0 rows affected (0.00 sec)

MariaDB [(none)]>  flush privileges;
Query OK, 0 rows affected (0.00 sec)

MariaDB [(none)]> exit


[root@localhost ~]# cd /usr/share/doc/zabbix-server-mysql-3.2.11/
[root@localhost zabbix-server-mysql-3.2.11]#  zcat create.sql.gz | mysql -uroot zabbix  #解压并导入库
[root@localhost zabbix-server-mysql-3.2.11]#

[root@localhost ~]#vim /etc/zabbix/zabbix_server.conf
修改一下内容:
[root@localhost ~]# vim /etc/zabbix/zabbix_server.conf
DBHost=localhost
DBName=zabbix
DBUser=zabbix
DBPassword=yanglt

[root@localhost ~]#  systemctl enable zabbix-server.service ;systemctl start zabbix-server.service


[root@localhost ~]# vim /etc/httpd/conf.d/zabbix.conf
php_value max_execution_time 300
php_value memory_limit 128M
php_value post_max_size 16M
php_value upload_max_filesize 2M
php_value max_input_time 300
php_value always_populate_raw_post_data -1
php_value date.timezone Asia/Shanghai     #只需要增加一行,或者修改时区
[root@localhost ~]# systemctl enable httpd
[root@localhost ~]# systemctl start httpd
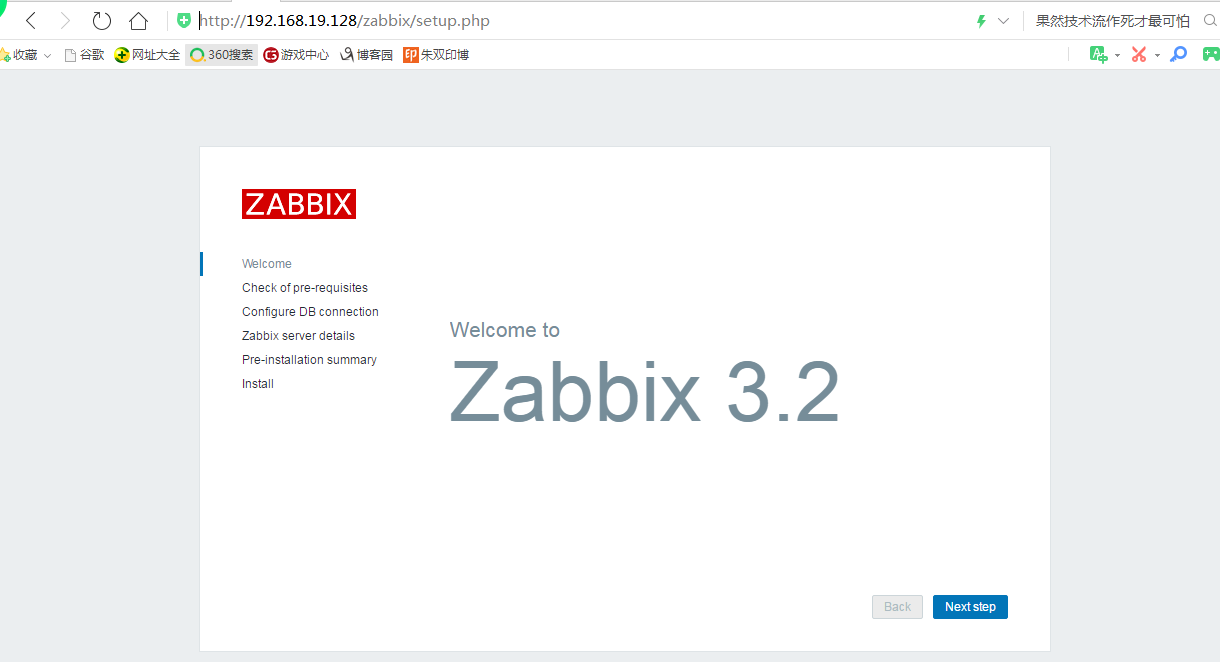
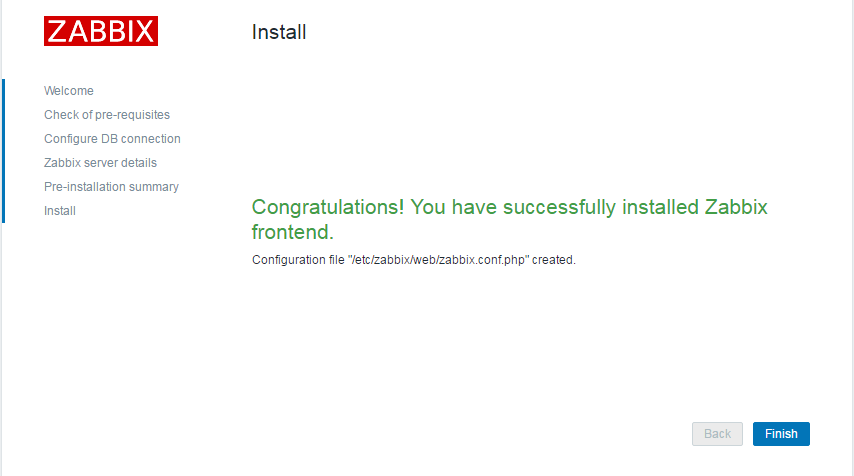
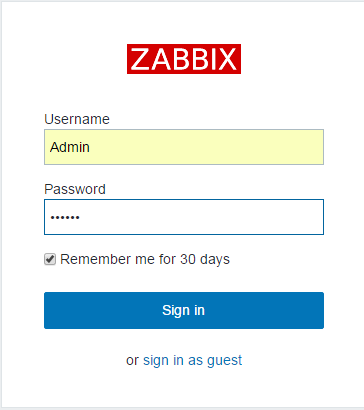
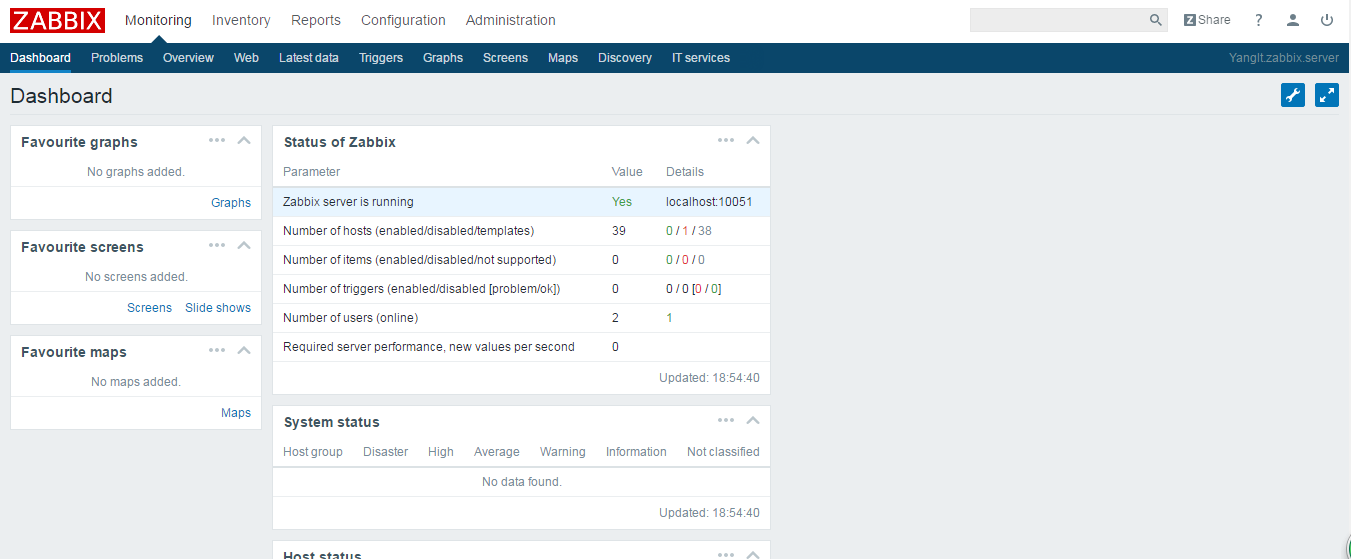
打开网页:http://192.168.19.128/zabbix

密码为数据库授权用户密码:

默认用户名:Admin
密码:zabbix
你好

 浙公网安备 33010602011771号