Asp.NetCoreWebApi入门 - 从零开始新建api项目
图文说明,注意流量.
开发环境
- Visual Studio 2019
- .net core 2.x
打开VS,建立项目
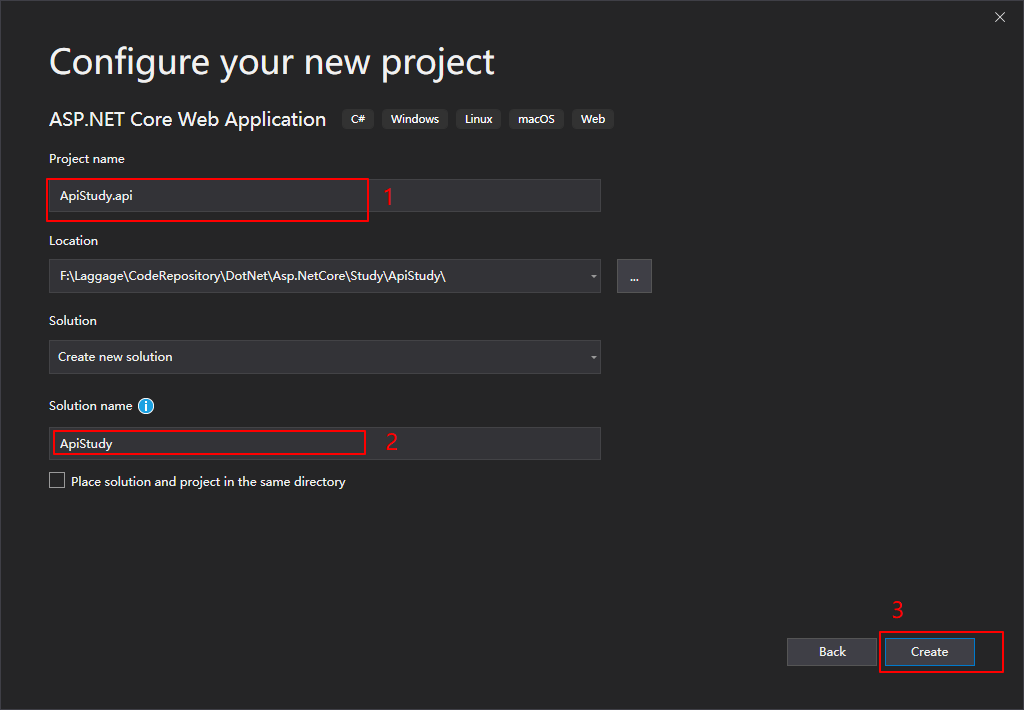
建好之后就像下面这样
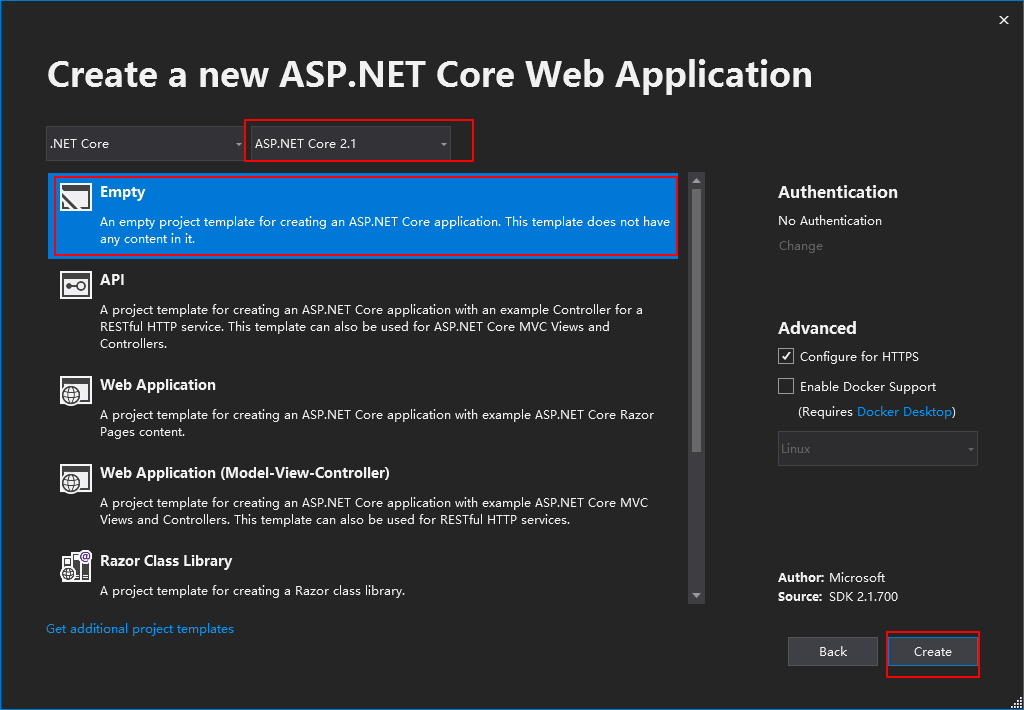
继续再建立两个.net core类库项目分别是 ApiStudy.Core 和 ApiStudy.Infrastructure
- 右击解决方案,新建项目.
![]()
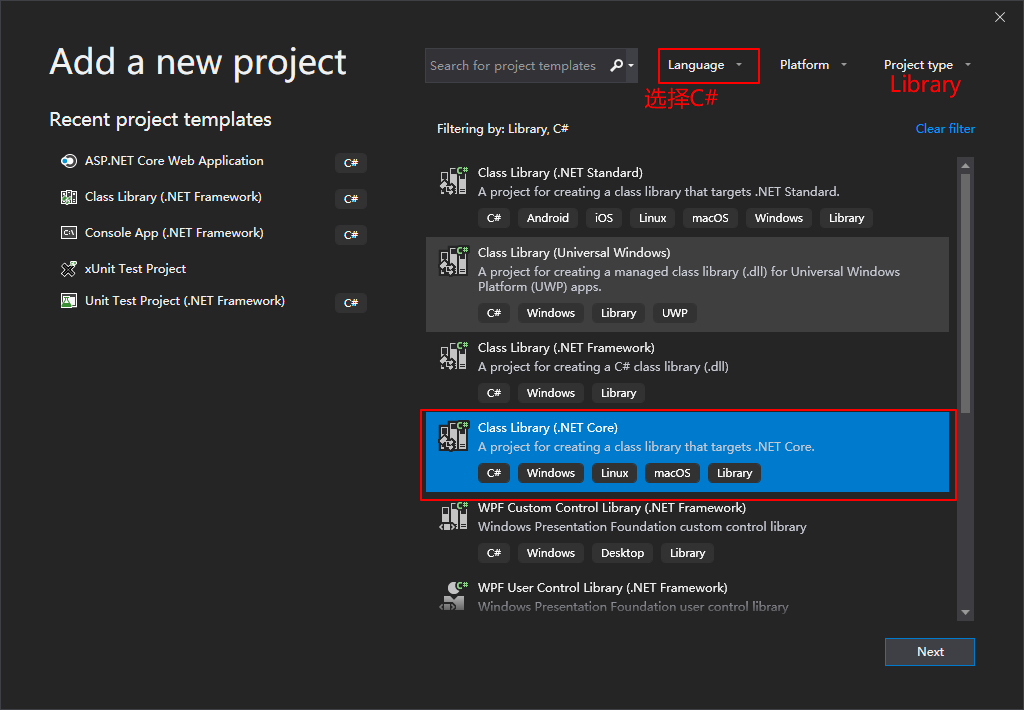
- 选择 .NetCore类库项目.
![]()
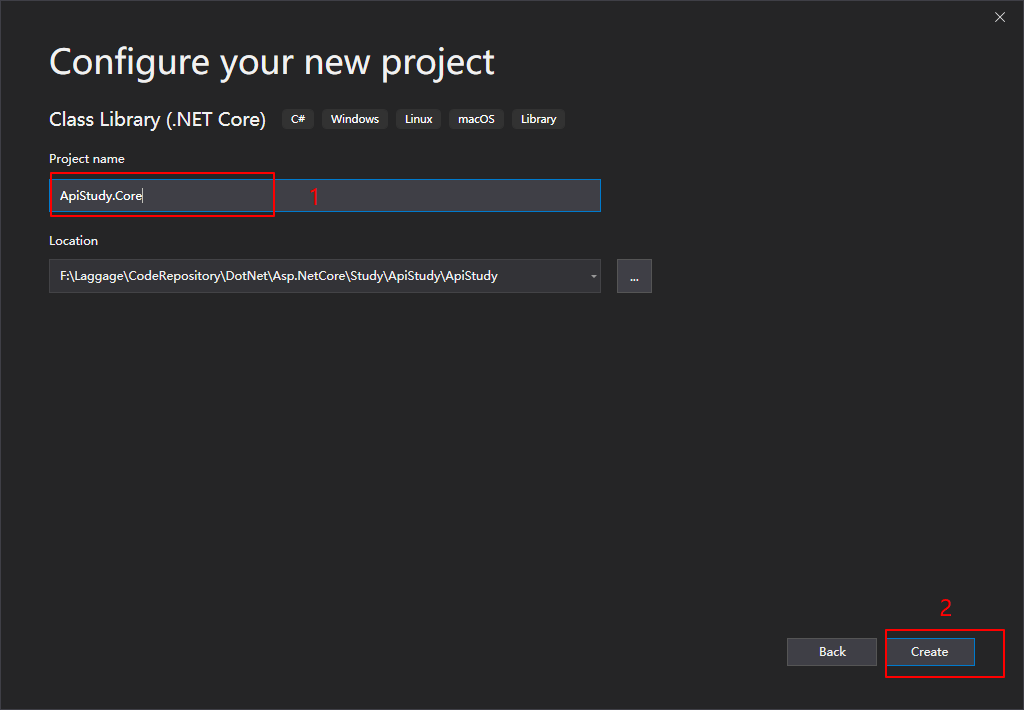
- 输入项目名.
![]()
- ApiStudy.Core项目建立完成
- 同样的方法再建立ApiStudy.Infrastructrue 项目.
- 完成之后如图
![]()
- 然后设置依赖关系
![]()


项目模板
一个解决方案下三个项目:
- Xxxx.Core
放一些核心的东西,比如 Entity(实体) 类 - Xxxx.Infrastructure
放一些数据库连接之类(DbContext)的 - Xxxx.Api
网站项目
修改StartUp类代码
1
2
3
4
5
6
7
8
9
10
11
12
13
14
15
16
17
18
19
20
21
22
23
24
25
26
27
28
namespace ApiStudy.api
{
    using Microsoft.AspNetCore.Builder;
    using Microsoft.AspNetCore.Hosting;
    using Microsoft.Extensions.DependencyInjection;

    public class Startup
    {
        // This method gets called by the runtime. Use this method to add services to the container.
        // For more information on how to configure your application, visit https://go.microsoft.com/fwlink/?LinkID=398940
        public void ConfigureServices(IServiceCollection services)
        {
            services.AddMvc();
        }

        // This method gets called by the runtime. Use this method to configure the HTTP request pipeline.
        public void Configure(IApplicationBuilder app, IHostingEnvironment env)
        {
            if (env.IsDevelopment())
            {
                app.UseDeveloperExceptionPage();
            }

            app.UseMvc(); //使用默认路由
        }
    }
}
ConfigureServices方法
用来向容器中注册服务,注册好的服务可以在其他地方进行调用.
Configure方法
用来配置中间件管道,即如何响应http请求.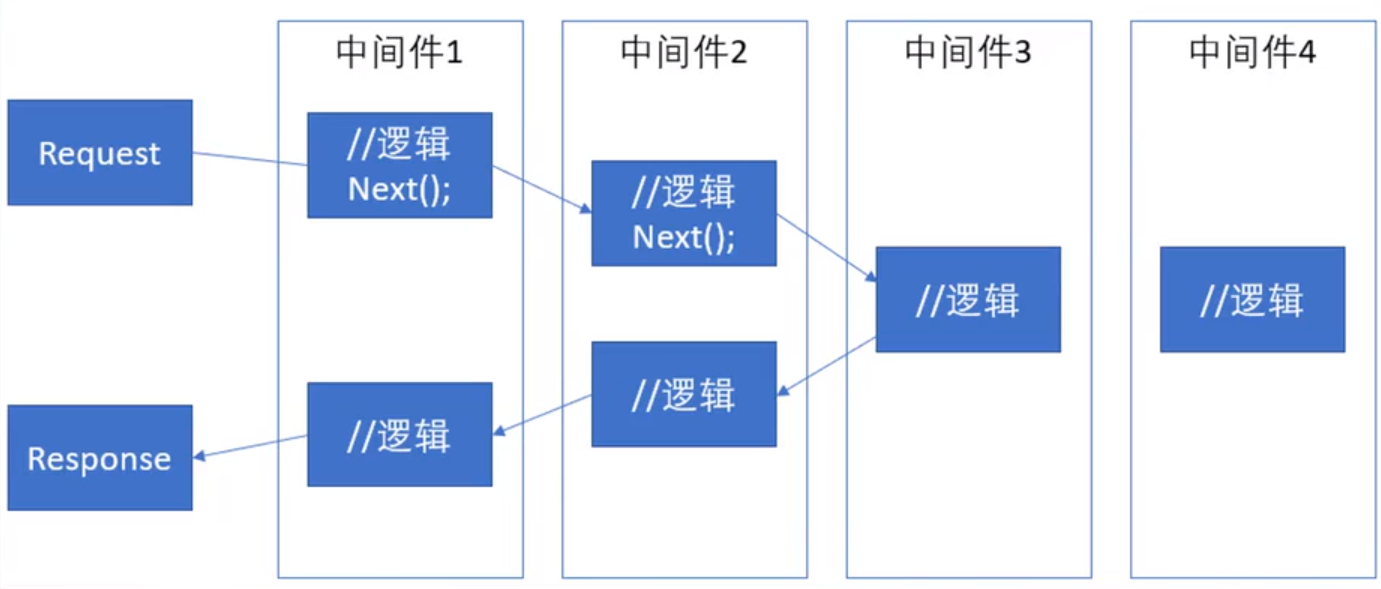
新建一个Controller

代码如下:
1
2
3
4
5
6
7
8
9
10
11
12
13
14
namespace ApiStudy.Api.Controllers
{
    using Microsoft.AspNetCore.Mvc;

    [Route("api/[controller]")]
    [ApiController]
    public class UserController:Controller
    {
        public IActionResult Get()
        {
            return Ok("Hello");
        }
    }
}
修改lauchSetting.json如下:
1
2
3
4
5
6
7
8
9
10
11
12
{
  "profiles": {
    "ApiStudy.api": {
      "commandName": "Project",
      "launchBrowser": true,
      "applicationUrl": "https://localhost:5001;http://localhost:5000",
      "environmentVariables": {
        "ASPNETCORE_ENVIRONMENT": "Development"
      }
    }
  }
}
F5运行
浏览器访问 https://localhost:5001/api/user


 浙公网安备 33010602011771号