Mock测试之moco框架
Mock测试之moco框架
一、背景
在软件开发中,一般都是前后端分离,但前后端开发进度因为各种原因往往无法匹配,导致前端想调用接口时,后端却还没有开发完毕,此时前端迫切需要模拟出后端反馈的数据,继续推进前端开发工作进度。
在测试工作中,同样存在这样的矛盾,测试工作会受到后端接口开发的限制,所以测试同样需要模拟接口返回数据,推进测试工作进度。
二、环境准备
-
安装JDK1.8
下载地址: https://www.oracle.com/technetwork/java/javase/downloads/jdk8-downloads-2133151.html
-
安装 moco-runner-0.12.0-standalone.jar
下载地址: https://repo1.maven.org/maven2/com/github/dreamhead/moco-runner/
三、环境搭建
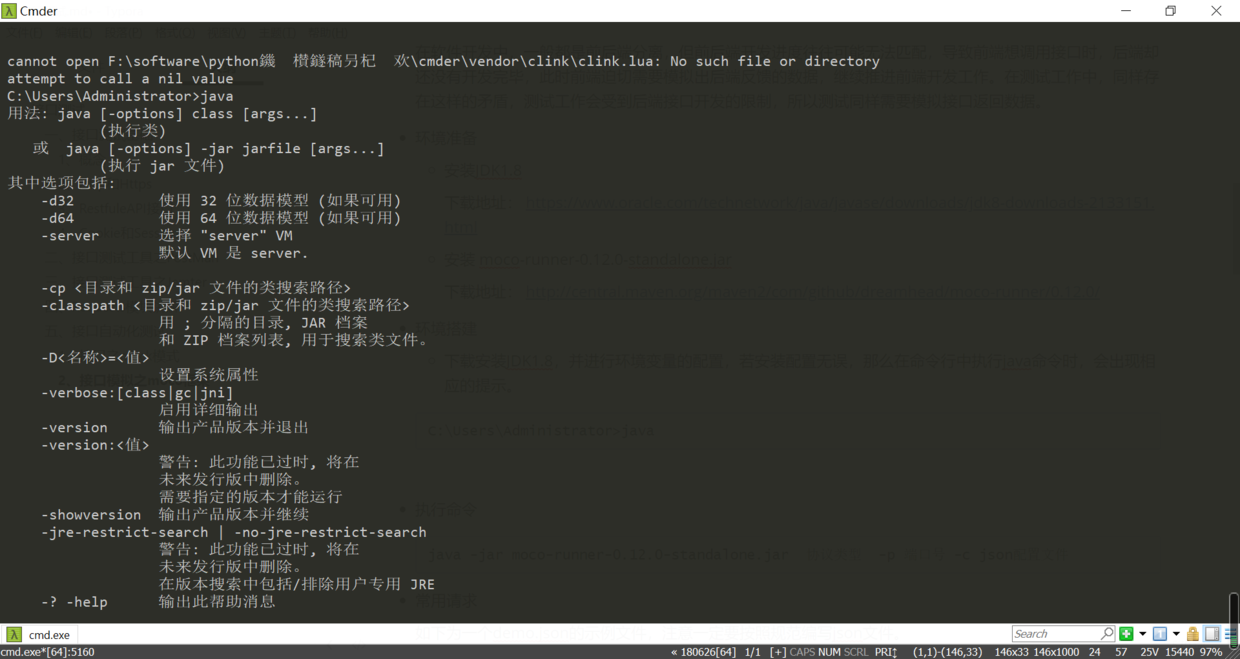
- 下载安装JDK1.8,并进行环境变量的配置,若安装配置无误,那么在命令行中执行java命令时,会出现相应的提示。
C:\Users\Administrator>java
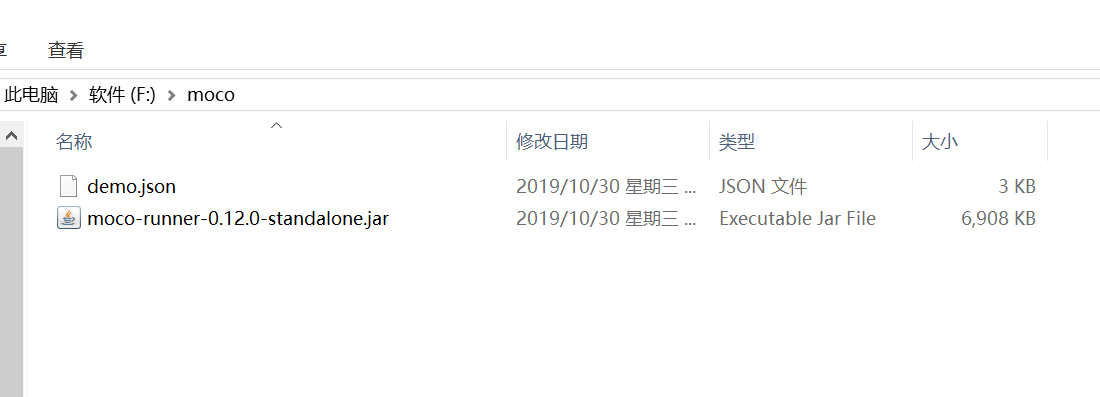
- 安装moco,将 moco-runner-0.12.0-standalone.jar 和接口配置json文件放在同一目录下,如图:
-
启动moco服务
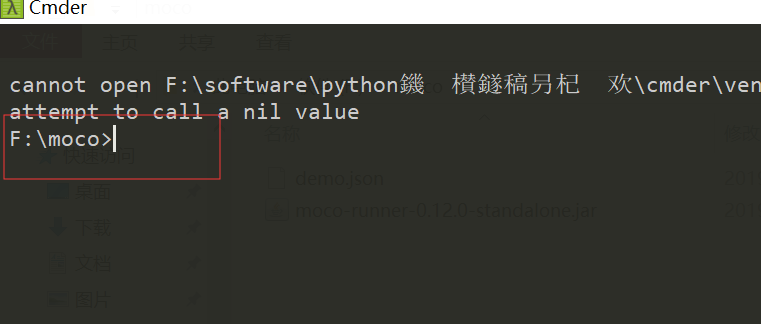
首先,切换到moco-runner-0.12.0-standalone.jar文件夹,然后执行打开命令行,输入命令
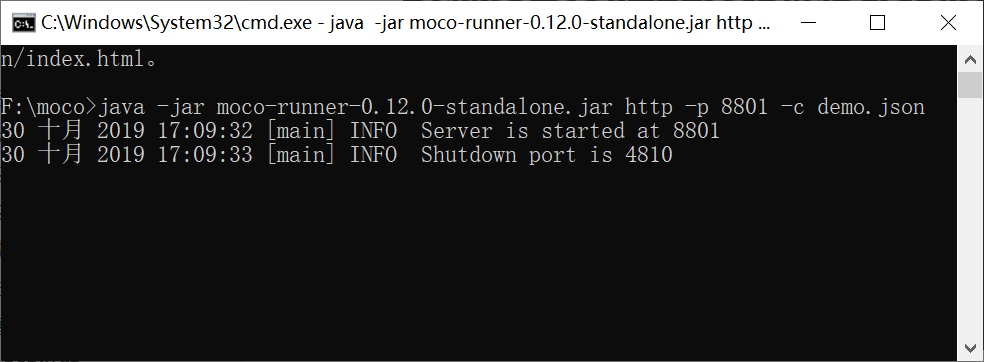
java -jar moco-runner-0.12.0-standalone.jar 协议类型 -p 端口号 -c json配置文件
执行命令,若显示如下信息,则服务正常启动。
java -jar moco-runner-0.12.0-standalone.jar http -p 8801 -c demo.json
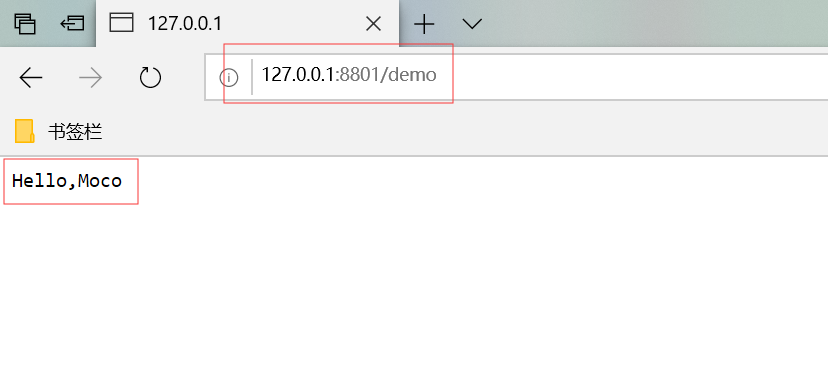
打开浏览器,验证服务是否正常启动,在浏览器中输入访问地址127.0.0.1:8801/demo,注意/demo是demo.json文件中配置的访问接口。
四、常用请求响应格式示例
1、第一个demo示例
[
  {
    "description":"这是一个moco例子",
    "request":{
        "uri":"/demo"
    },
    "response":
    {
        "text":"Hello,Moco",
        "status": "200"
    }
  }
]
2、get请求,不带参数
[
    {
    "description":"这是一个get请求,不带参数",
    "request":{
        "uri":"/WithGet",
        "method": "get"
    },
    "response":
    {
        "headers": {
            "Content-Type": "text/plain; charset=GBK"
        },
        "text":"这是一个GET请求,不带参数",
        "status": "200"
    }
  }
]
3、get请求,带参数
[
	{
    "description":"这是一个get请求,带参数",
    "request":{
        "uri":"/GetWithQuery",
        "method": "get",
        "queries": {
            "username": "john",
            "password": "123123"
        }
    },
    "response":
    {
        "headers": {
            "Content-Type": "text/plain; charset=GBK"
        },
        "text":"这是一个GET请求,带参数",
        "status": "200"
    }
  },
]
4、post请求,带参数
[
	{
    "description":"这是一个post请求,带参数",
    "request":{
        "uri":"/PostWithQuery",
        "method": "post",
        "queries": {
            "username": "john",
            "password": "123123"
        }
    },
    "response":
    {
        "text":"这是一个POST请求,带参数",
        "status": "200",
        "headers": {
            "Content-Type": "text/plain; charset=GBK"
        }
    }
  }
]
5、post请求,不带参数
[
	{
        "description": "这是一个post请求,不带参数",
        "request": {
            "uri": "/WithPost",
            "method": "post"
        },
        "response": {
            "text": "这是一个post请求,不带参数",
            "status": "200",
            "headers": {
                "Content-Type": "text/plain; charset=GBK"
            }
        }

    }
]
6、post请求,带cookie参数
[
	{
        "description": "这是一个post请求,带cookie参数",
        "request": {
            "uri": "/PostWithCookie",
            "method": "post",
            "cookies": {
                "token": "123123"
            }
        },
        "response": {
            "text": "这是一个post请求,带cookie参数",
            "status": "200",
            "headers": {
                "Content-Type": "text/plain; charset=GBK"
            }
        }

    }
]
7、post请求,带forms参数
[
	{
        "description": "这是一个post请求,带forms参数",
        "request": {
            "uri": "/PostWithForm",
            "method": "post",
            "forms": {
                "username": "jake",
                "password": "123123"
            }
        },
        "response": {
            "text": "这是一个post请求,带forms参数",
            "status": "200",
            "headers": {
                "Content-Type": "text/plain; charset=GBK"
            }
        }

    }
]
8、重定向
[
	{
        "description": "这是一个重定向",
        "request": {
            "uri": "/redirect",
            "method": "get"

        },
        "redirectTo": "http://www.baidu.com"

    }
]
9、配置文件
为了模拟多个接口,以及方便管理这些接口,moco-runner增加了配置模式,具体如下:
- 首先,创建多个接口文件,比如:login.json,index.json
- 然后,在当前文件夹下创建配置文件,config.json,用于管理接口文件login.json,index.json
- 最后,用参数-g启动服务
接口文件login.json
[
	{
    "description":"这是登录接口",
    "request":{
        "uri":"/login",
        "method": "post",
        "queries": {
            "username": "xtank",
            "password": "123123"
        }
    },
    "response":
    {
        "status": "200",
        "token": "123456",
        "text": "登录成功!"
    }
  }
]
接口文件index.json
[
	{
    "description":"这是首页接口",
    "request":{
        "uri":"/index",
        "method": "get",
        "cookies": {
                "token": "123456"
            }
    },
    "response":
    {
        "status": "200",
        "token": "123456",
        "text": "访问首页!"
    }
  }
]
配置文件config.json、
[
    {
    	"include":"login.json"
    },
    {
    	"include":"index.json"
    }
]
启动服务命令
java -jar ./moco-runner-1.3.0-standalone.jar http -p 8888 -g config.json
四、参考
1、安装JDK1.8: https://www.oracle.com/technetwork/java/javase/downloads/jdk8-downloads-2133151.html
2、下载 moco-runner: https://repo1.maven.org/maven2/com/github/dreamhead/moco-runner/

 浙公网安备 33010602011771号