
Spring DI
DI(Dependency Injection),依赖注入是一种技术,即一个对象提供另一个对象的依赖关系。
构造注入
前提:类型必须有构造,index与参数类型保持一致
1.创建Student类
package cn.happy.day03aop.aop;

/**
 * Created by Administrator on 2018/3/5.
 */
//构造注入
public class Student {
    private String name;
    private Integer age;

    public Student() {
    }

    public Student(String name, Integer age) {
        this.name = name;
        this.age = age;
    }

    public String getName() {
        return name;
    }

    public void setName(String name) {
        this.name = name;
    }

    public Integer getAge() {
        return age;
    }

    public void setAge(Integer age) {
        this.age = age;
    }
}
2.配置applicationContext.xml文件
<!--构造注入-->
    <bean id="dao" class="cn.happy.day03aop.aop.Student">
        <!--index 0 代表构造中的第一个参数,须与构造中的参数类型保持一致-->
        <constructor-arg index="0" value="小张"></constructor-arg>
        <constructor-arg index="1" value="18"></constructor-arg>
    </bean>
3.编写测试类
@Test
public void SpringStructure(){
ApplicationContext ctx=new ClassPathXmlApplicationContext("applicationContext-day04di.xml");
Student service=(Student)ctx.getBean("dao");
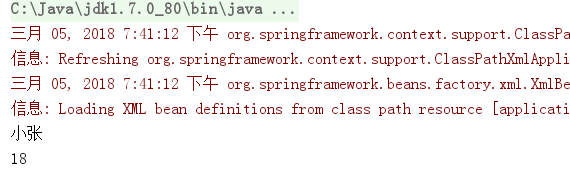
System.out.println( service.getName()+"\n"+service.getAge());
}
4.查看测试结果
p命名空间的注入
使用前要先要在applicationContext.xml配置文件中引入p命名空间
xmlns:p="http://www.springframework.org/schema/p"
1.1创建一个Car类
public class Car {
    private String color;

    public String getColor() {
        return color;
    }

    public void setColor(String color) {
        this.color = color;
    }
}
1.2在Student类中加入一个Car类型的car属性,并封装
2.配置applicationContext.xml
<!--命名空间p注入-->
<bean id="car" class="cn.happy.day03aop.aop.Car">
<property name="color" value="red"/>
</bean>
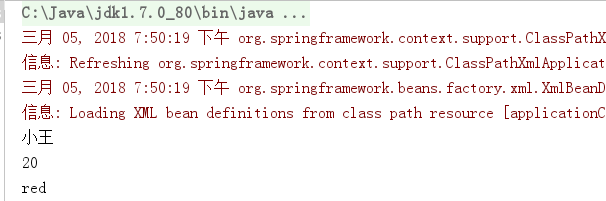
<bean id="service" class="cn.happy.day03aop.aop.Student" p:name="小王" p:age="20" p:car-ref="car"></bean>
3.查看测试结果
集合属性注入
1.创建Mycollection类
package cn.happy.day03aop.aop;

import java.util.*;

/**
 * Created by Administrator on 2018/3/5.
 */
//集合属性注入
public class Mycollection {
    private String[] array;
    private List<String> list;
    private Set<String> set;
    private Map<String,String> map;
    private Properties properties;

    @Override
    public String toString() {
        return "Mycollection{" +
                "array=" + Arrays.toString(array) +
                ", list=" + list +
                ", set=" + set +
                ", map=" + map +
                ", properties=" + properties +
                '}';
    }

    public String[] getArray() {
        return array;
    }

    public void setArray(String[] array) {
        this.array = array;
    }

    public List<String> getList() {
        return list;
    }

    public void setList(List<String> list) {
        this.list = list;
    }

    public Set<String> getSet() {
        return set;
    }

    public void setSet(Set<String> set) {
        this.set = set;
    }

    public Map<String, String> getMap() {
        return map;
    }

    public void setMap(Map<String, String> map) {
        this.map = map;
    }

    public Properties getProperties() {
        return properties;
    }

    public void setProperties(Properties properties) {
        this.properties = properties;
    }
}
2.配置applicationContext.xml
<!--集合属性注入-->
    <bean id="collection" class="cn.happy.day03aop.aop.Mycollection" >
        <!--数组-->
        <property name="array">
            <array>
                <value>小李</value>
                <value>小王</value>
            </array>
        </property>
        <!--集合List-->
        <property name="list">
            <list>
                <value>小张</value>
                <value>小黄</value>
            </list>
        </property>
        <!--集合Set-->
        <property name="set">
            <set>
                <value>小赵</value>
                <value>小辉</value>
            </set>
        </property>
        <!--集合Map-->
        <property name="map">
            <map>
               <entry key="Y2167" value="青鸟杯"></entry>
                <entry key="Y2166" value="面试题"></entry>
            </map>
        </property>
        <!--集合Properties-->
        <property name="properties">
            <props>
                <prop key="prop1">1</prop>
                <prop key="prop2">2</prop>
            </props>
        </property>
    </bean>
3.测试

分享完毕

 浙公网安备 33010602011771号