PHP-RPM 安装指南(亲测有用)
小注:此教程可能有很多弯路,但是最终是肯定安装成功了的,一个问题就是刚开始安装编译的指令版本好像不对,但是后面纠正过来了,但是此教程一共遇到了 十多个问题,也一并解决了,具有一定的借鉴意义,还有(django)开头是因为此刻处在 vir...虚拟环境中,不影响。(提醒:安装这个的或许也在搭建 Django + mysql + uwsgi + nginx,然后百度得到了一大堆需要安装PHP-FPM或者与PHP-FPM相关的,请仔细对比自己的错误信息和提出此解决方案的人的错误信息是否一致,错误信息在日志中查询。。)
安装php-fpm
(新买的阿里云 默认 没有 php-fpm)
下载php
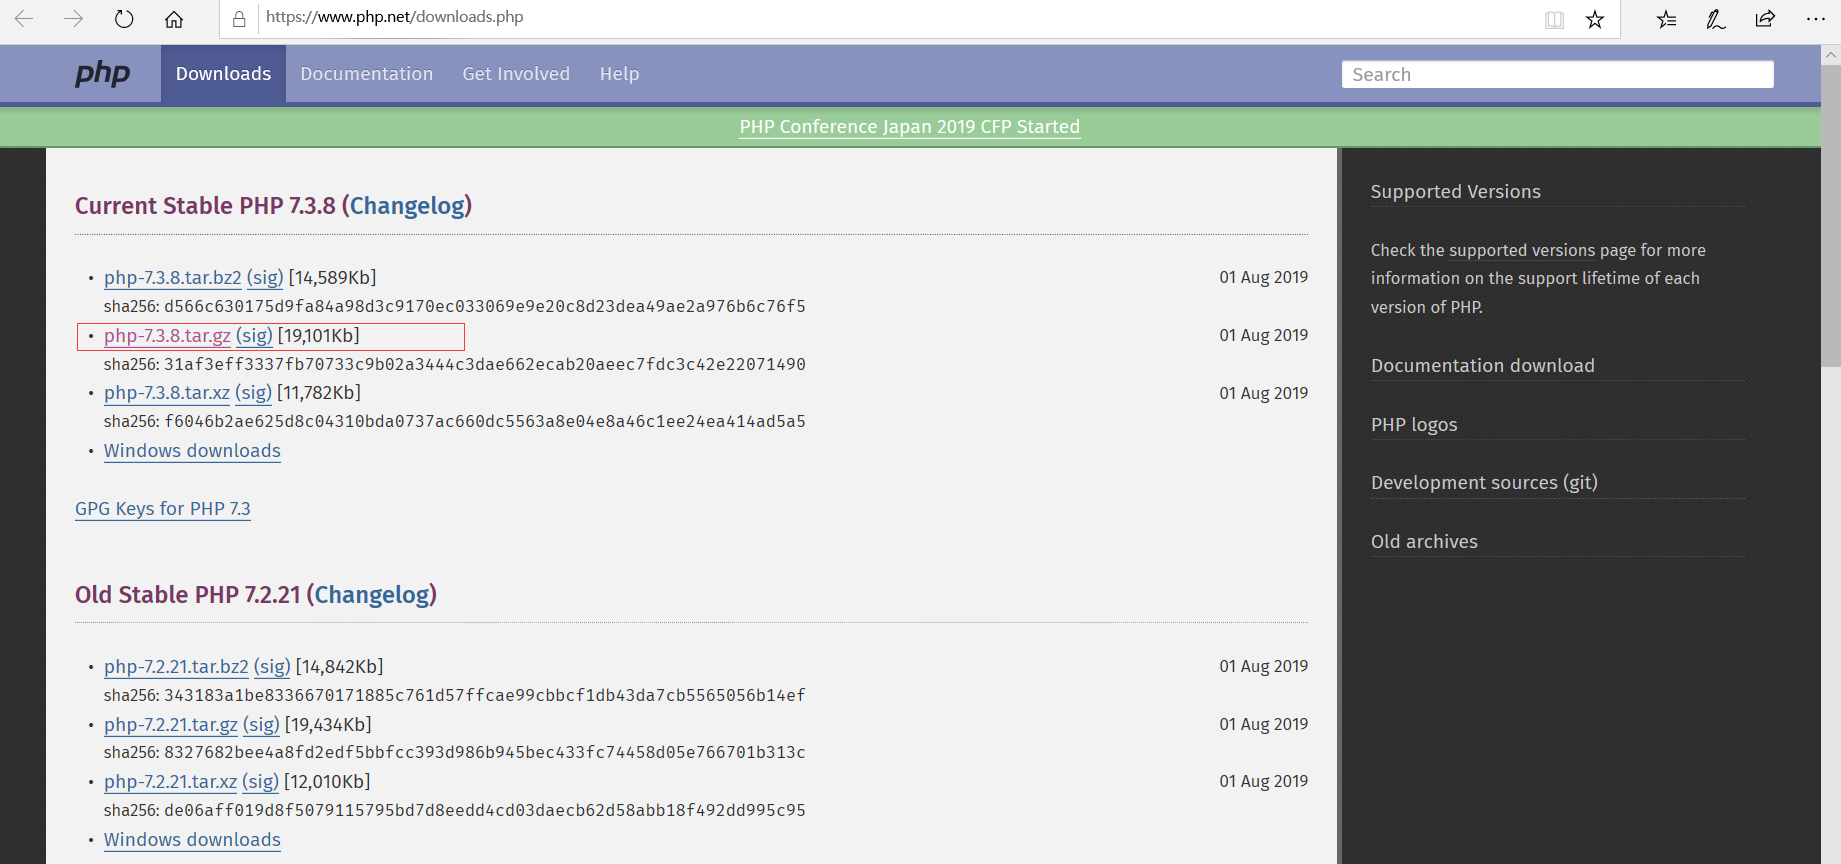
1 wget https://www.php.net/distributions/php-7.3.8.tar.gz
解压安装
1 tar -xvf php-7.3.8.tar.gz
2
3  ./configure --prefix=/usr/local/php --with-config-file-path=/etc --enable-inline-optimization --disable-debug --disable-rpath --enable-shared --enable-opcache --enable-fpm --with-fpm-user=www --with-fpm-group=www --with-mysql=mysqlnd --with-mysqli=mysqlnd --with-pdo-mysql=mysqlnd --with-gettext --enable-mbstring --with-iconv --with-mcrypt --with-mhash --with-openssl --enable-bcmath --enable-soap --with-libxml-dir --enable-pcntl --enable-shmop --enable-sysvmsg --enable-sysvsem --enable-sysvshm --enable-sockets --with-curl --with-zlib --enable-zip --with-bz2 --with-readline --without-sqlite3 --without-pdo-sqlite --with-pear
然后可能会出现错误

解决办法:
1 yum install libxml2-devel
查看是否成功
1 find / -name "xml2-config"
然后无限进行解压后的安装步骤,找错误,直到解决所有毛病的说,可能我遇到的,你没有遇到,也说不定,下面的错误解决方案只值得借鉴。。。(适不适合 那就不晓得了)

解决办法 重新装下 curl
1 yum -y install curl-devel

解决办法
yum -y install libzip-devel

解决办法 这是由于系统的自带的 libzip版本低了,所以先卸载系统自带的libzip
yum -y remove libzip-devel
然后在官网下载并且编译安装

(由于1.5以及以上的安装方式和版本下的不同,所以这里还需要安装个东西)
yum -y install cmake
然后切回 local目录(版本可能更新了)
wget https://libzip.org/download/libzip-1.5.2.tar.xz
解压安装
1 tar xvf libzip-1.5.2.tar.xz
2
3 cd libzip-1.5.2
4
5 mkdir build
6
7 cd build
8
9 cmake ..
此时,可能会发现 cmake版本低了

所以需要更新 cmake版本 (ε=(´ο`*)))唉)
cd /usr/local
首先先,移除 cmake
yum remove cmake
下载 cmake最新版(自己找官网复制链接)
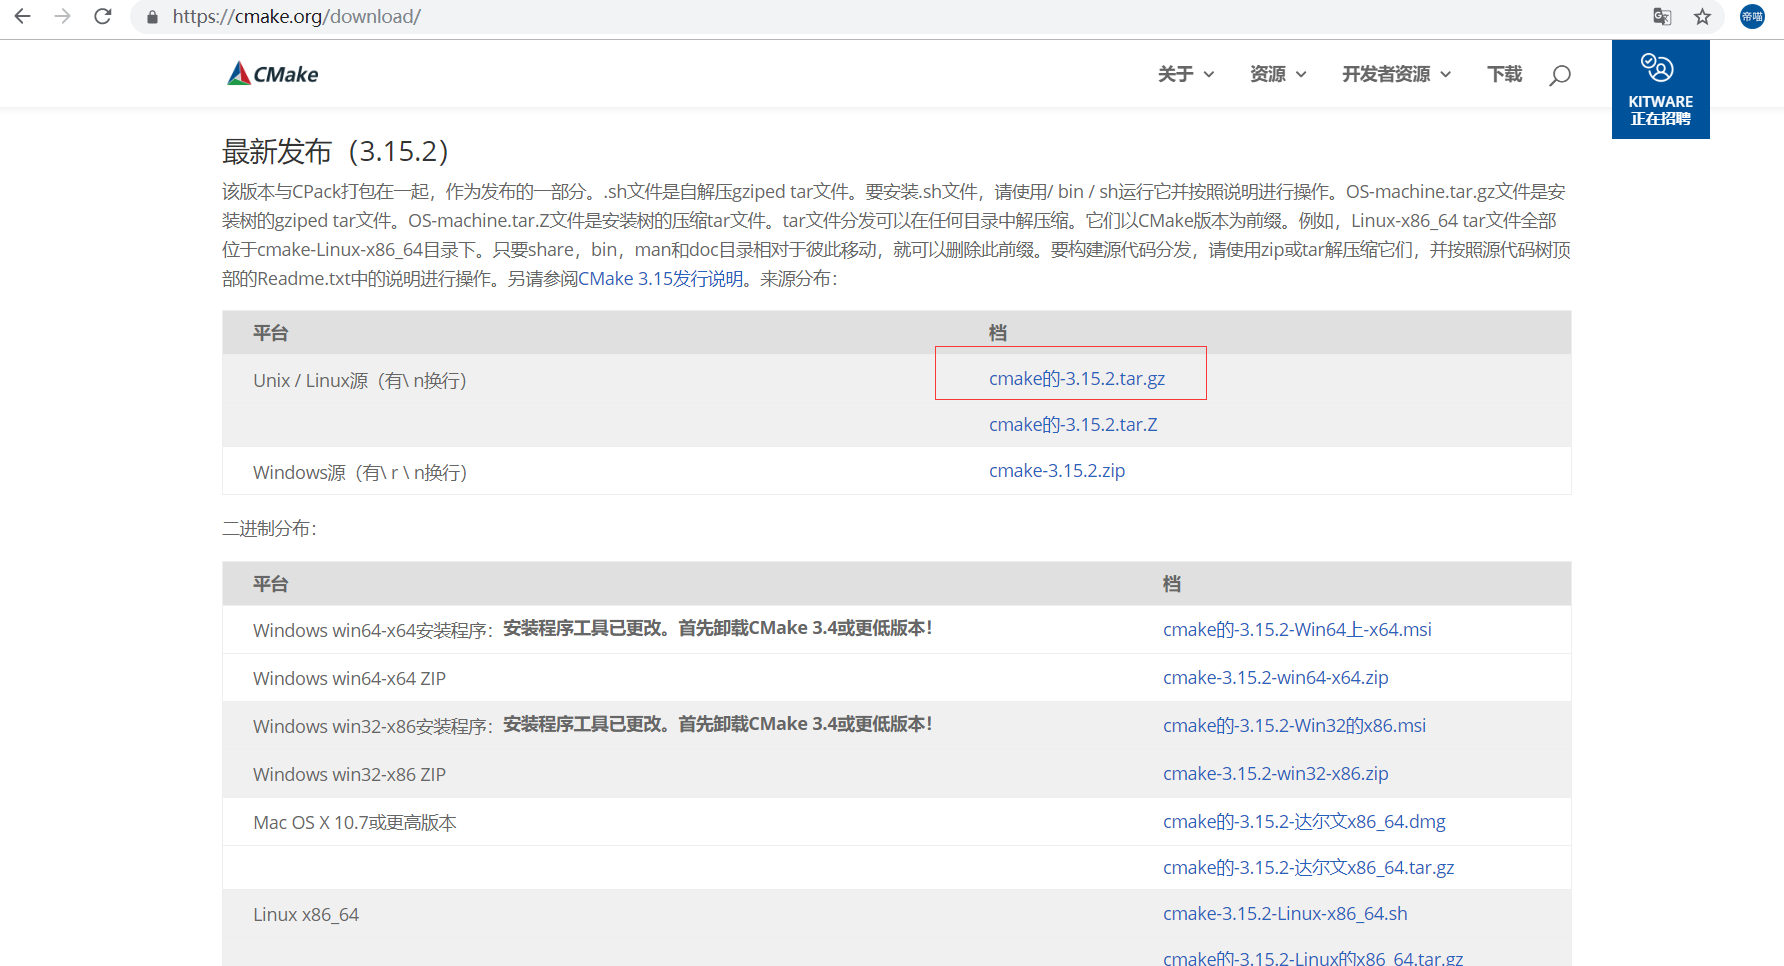
wget https://github.com/Kitware/CMake/releases/download/v3.15.2/cmake-3.15.2.tar.gz
解压
tar -xvf cmake-3.15.2.tar.gz
进入cmake3.15.2文件夹,安装
1 cd cmake-3.15.2
2
3 ./configure
4
5 make
6
7 make install
安装成功后,
下面添加cmake环境变量,编辑 /etc/profile.d/cmake.sh 文件,写入以下内容:
export CMAKE_HOME=/usr/local/cmake-3.15.2
export PATH=$PATH:$CMAKE_HOME/bin
保存并退出,执行命令让cmake环境文件生效
source /etc/profile
此时,你再次查看cmake版本,就已经是3.15.2了
(django) [root@h1 cmake-3.15.2]# cmake --version
cmake version 3.15.2
再进行 libzip的安装
1 cd /usr/local/libzip-1.5.2
2
3 cd build
4
5 cmake ..
6
7 make && make install
安装完成
再进行 php 的安装测验
cd /usr/local/php-7.3.8

 ./configure --prefix=/usr/local/php --with-config-file-path=/etc --enable-inline-optimization --disable-debug --disable-rpath --enable-shared --enable-opcache --enable-fpm --with-fpm-user=www --with-fpm-group=www --with-mysql=mysqlnd --with-mysqli=mysqlnd --with-pdo-mysql=mysqlnd --with-gettext --enable-mbstring --with-iconv --with-mcrypt --with-mhash --with-openssl --enable-bcmath --enable-soap --with-libxml-dir --enable-pcntl --enable-shmop --enable-sysvmsg --enable-sysvsem --enable-sysvshm --enable-sockets --with-curl --with-zlib --enable-zip --with-bz2 --with-readline --without-sqlite3 --without-pdo-sqlite --with-pear

又可能出现问题(一个个接近呗)
解决方法
1 vim /etc/ld.so.conf
2 #添加如下几行
3 /usr/local/lib64
4 /usr/local/lib
5 /usr/lib
6 /usr/lib64
7 #保存退出
8 :wq
9 ldconfig -v # 使之生效

编译php后发生warning:configure:WARNING:unrecognizedoptions:--with-mysql 只是php7版本不支持mysql模块
./configure --help 查看configure的正确语法,重新编译php支持mysql,改用--with-pdo-mysql
php7版本正确的编译语句是:
./configure --prefix=/usr/local/php --with-config-file-path=/usr/local/php/etc --enable-fpm --with-fpm-user=www --with-fpm-group=www --enable-mysqlnd --with-mysqli=mysqlnd --with-pdo-mysql=mysqlnd --enable-mysqlnd-compression-support --with-iconv-dir --with-freetype-dir --with-jpeg-dir --with-png-dir --with-zlib --with-libxml-dir --enable-xml --disable-rpath --enable-bcmath --enable-shmop --enable-sysvsem --enable-inline-optimization --with-curl --enable-mbregex --enable-mbstring --enable-intl --with-mcrypt --with-libmbfl --enable-ftp --with-gd --enable-gd-jis-conv --enable-gd-native-ttf --with-openssl --with-mhash --enable-pcntl --enable-sockets --with-xmlrpc --enable-zip --enable-soap --with-gettext --disable-fileinfo --enable-opcache --with-pear --enable-maintainer-zts --with-ldap=shared --without-gdbm

解决办法:
1 rpm -qa | grep libjpeg
2 yum -y install libjpeg-devel
3 yum list installed | grep libjpeg
4 再次编译即可

解决方法:
yum install -y libicu-devel

解决方法
检查下面是不是已经安装,如果没有安装之:
检查:
1 yum list openldap
2 yum list openldap-devel
安装 :
1 yum install openldap
2 yum install openldap-devel
configure: error: Cannot find ldap libraries in /usr/lib
解决方法
cp -frp /usr/lib64/libldap* /usr/lib/

此时,发现换成7.3版本的编译指令
./configure --enable-fpm --prefix=/alidata/server/php7.3 --with-config-file-path=/alidata/server/php7.3/etc --with-curl --with-gd --with-gettext --with-iconv-dir --with-kerberos --with-libdir=lib64 --with-libxml-dir --with-mysqli --with-openssl --with-pcre-regex --with-pdo-mysql --with-pdo-sqlite --with-pear --with-png-dir --with-jpeg-dir --with-xmlrpc --with-xsl --enable-zip --with-zlib-dir=DIR --with-pcre-dir --with-libzip=DIR --with-openssl --enable-fpm --enable-bcmath --enable-libxml --enable-inline-optimization --enable-mbregex --enable-mbstring --enable-opcache --enable-pcntl --enable-shmop --enable-soap --enable-sockets --enable-sysvsem --enable-xml --enable-zip

解决办法
yum -y install libxslt libxslt-devel
终于成功!!!!!!!!!!!!!!!!!!!!!!!!!!!!!!!!!!!!! (总共出现了 12个问题)
然后再进入正题
编译
make
make install
注意这里,可以看出
php添加到环境变量中的应该为 /alidata/server/php7.3/bin/
配置环境变量(添加 PHP 命令到环境变量)
vim /etc/profile
在末尾加入
1 PATH=$PATH:/alidata/server/php7.3/bin/
2
3 export PATH
要使改动立即生效
. /etc/profile 或 source /etc/profile
查看环境变量
echo $PATH
查看php版本
(django) [root@h1 php-7.3.8]# php -v
PHP 7.3.8 (cli) (built: Aug  9 2019 21:27:07) ( NTS )
Copyright (c) 1997-2018 The PHP Group
Zend Engine v3.3.8, Copyright (c) 1998-2018 Zend Technologies
(django) [root@h1 php-7.3.8]#
配置启动 php-fpm
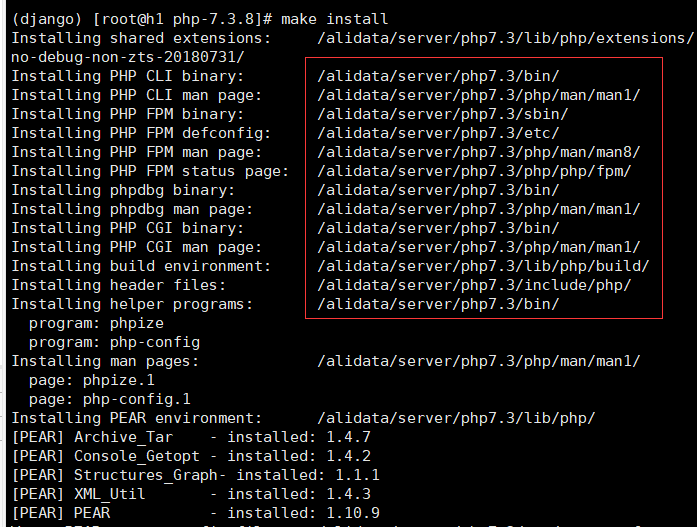
 1 Installing shared extensions:     /alidata/server/php7.3/lib/php/extensions/no-debug-non-zts-20180731/
 2 Installing PHP CLI binary:        /alidata/server/php7.3/bin/
 3 Installing PHP CLI man page:      /alidata/server/php7.3/php/man/man1/
 4 Installing PHP FPM binary:        /alidata/server/php7.3/sbin/
 5 Installing PHP FPM defconfig:     /alidata/server/php7.3/etc/
 6 Installing PHP FPM man page:      /alidata/server/php7.3/php/man/man8/
 7 Installing PHP FPM status page:   /alidata/server/php7.3/php/php/fpm/
 8 Installing phpdbg binary:         /alidata/server/php7.3/bin/
 9 Installing phpdbg man page:       /alidata/server/php7.3/php/man/man1/
10 Installing PHP CGI binary:        /alidata/server/php7.3/bin/
11 Installing PHP CGI man page:      /alidata/server/php7.3/php/man/man1/
12 Installing build environment:     /alidata/server/php7.3/lib/php/build/
13 Installing header files:          /alidata/server/php7.3/include/php/
14 Installing helper programs:       /alidata/server/php7.3/bin/
15   program: phpize
16   program: php-config
17 Installing man pages:             /alidata/server/php7.3/php/man/man1/
18   page: phpize.1
19   page: php-config.1
由上图的安装信息可知,php-fpm在
cd /alidata/server/php7.3/etc
然后
cp php-fpm.conf.default php-fpm.conf
启动 php-fpm
/alidata/server/php7.3/sbin/php-fpm
然后可能会出现问题

解决办法
(django) [root@h1 etc]# cd /alidata/server/php7.3/etc/php-fpm.d/

(django) [root@h1 php-fpm.d]# cp www.conf.default www.conf


(django) [root@h1 php-fpm.d]# /alidata/server/php7.3/sbin/php-fpm -t
[09-Aug-2019 21:45:42] NOTICE: configuration file /alidata/server/php7.3/etc/php-fpm.conf test is successful
于是 成功启动

Everything is restart.

 浙公网安备 33010602011771号