

SpringMVC学习之整合mybatis-plus
一、pom.xml添加mybatis-plus相关依赖
 <dependency>
      <groupId>com.baomidou</groupId>
      <artifactId>mybatis-plus</artifactId>
      <version>3.4.2</version>
    </dependency>
   <dependency>
      <groupId>com.alibaba</groupId>
      <artifactId>druid</artifactId>
      <version>1.1.22</version>
    </dependency>
   <dependency>
      <groupId>org.elasticsearch</groupId>
      <artifactId>elasticsearch</artifactId>
      <version>2.4.1</version>
    </dependency>
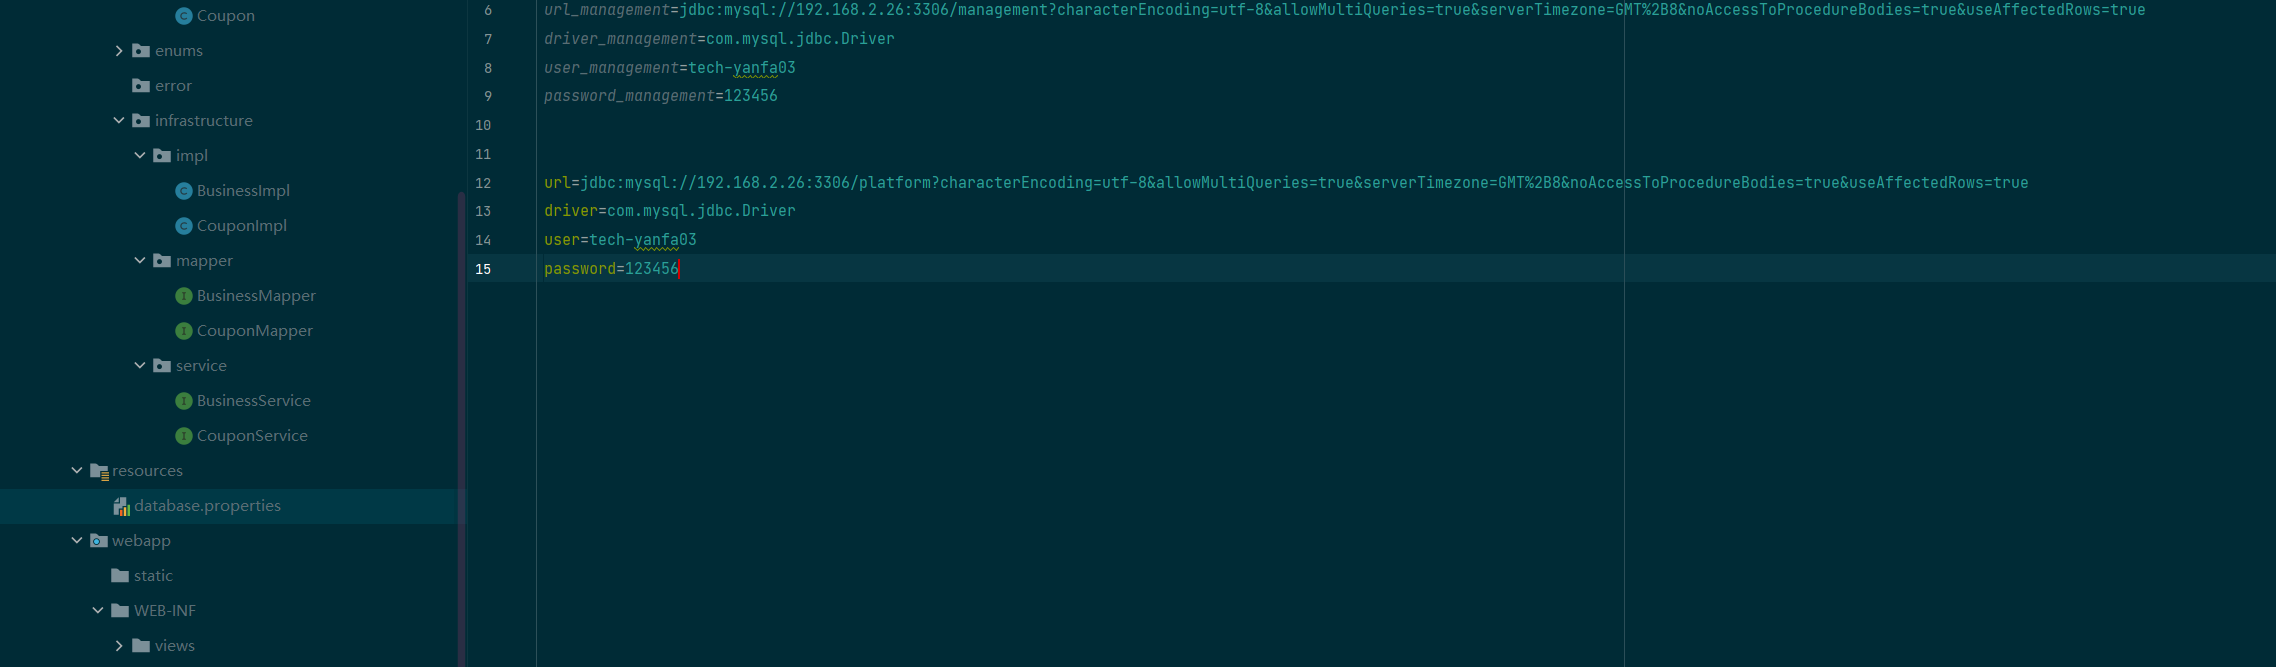
二、新建数据库连接配置文件database.properties
三、调整配置文件applicationContext.xml,添加mybatis-plus数据库对应配置
<?xml version="1.0" encoding="UTF-8"?>
<beans xmlns="http://www.springframework.org/schema/beans"
       xmlns:xsi="http://www.w3.org/2001/XMLSchema-instance"
       xmlns:context="http://www.springframework.org/schema/context"
       xsi:schemaLocation="http://www.springframework.org/schema/beans
       http://www.springframework.org/schema/beans/spring-beans.xsd
       http://www.springframework.org/schema/context
       https://www.springframework.org/schema/context/spring-context.xsd">

    <!--扫描dao和service层的注解-->
    <context:component-scan base-package="com.kongpkp.infrastructure"/>

    <!--引入database.properties文件、配置数据源连接-->
    <context:property-placeholder location="classpath:database.properties"/>
    <bean id="dataSource" class="com.alibaba.druid.pool.DruidDataSource">
        <property name="driverClassName" value="${driver}"/>
        <property name="url" value="${url}"/>
        <property name="username" value="${user}"/>
        <property name="password" value="${password}"/>
    </bean>

    <!--创建sqlSessionFactory对象-->
    <bean id="sqlSessionFactory" class="com.baomidou.mybatisplus.extension.spring.MybatisSqlSessionFactoryBean">
        <property name="dataSource" ref="dataSource"/>
<!--        <property name="typeAliasesPackage" value="com.ssmp.pojo"/>-->
        <property name="configuration">
            <bean class="com.baomidou.mybatisplus.core.MybatisConfiguration">
                <property name="autoMappingBehavior" value="FULL"/>
                <property name="mapUnderscoreToCamelCase" value="true"/>
            </bean>
        </property>
        <!--分页插件-->
        <property name="plugins">
            <array>
                <bean class="com.baomidou.mybatisplus.extension.plugins.PaginationInterceptor">
                    <property name="dbType" value="MYSQL"/>
                </bean>
            </array>
        </property>
    </bean>

    <!--递归扫描dao成接口,进行动态映射-->
    <bean class="org.mybatis.spring.mapper.MapperScannerConfigurer">
        <property name="basePackage" value="com.kongpkp.infrastructure.mapper"/>
    </bean>

</beans>
配置调整好之后,我们后续就在项目中进行数据库操作
四、新建service,mapper,impl
四.一、新建service
public interface CouponService {
    public Coupon getCouponByGuid(String guid);
}
四.二、新建mapper用于操作dao
public interface BusinessMapper extends BaseMapper<Business> {
}
四.三、新建impl用于实现service
@Service
public class CouponImpl implements CouponService {

    @Autowired
    private CouponMapper couponMapper;

    @Override
    public Coupon getCouponByGuid(String guid){
        QueryWrapper<Coupon> wrapper = new QueryWrapper<>();
        wrapper.eq("guid",guid);
        Coupon coupon =   couponMapper.selectOne(wrapper);
        return  coupon;
    }
}
四.四、在controller中实际操作数据
@Controller
@RequestMapping("/index")
public class IndexController{

    @Autowired
    CouponService couponService;

    @RequestMapping("/index")
    public ModelAndView index(HttpServletRequest httpServletRequest, HttpServletResponse httpServletResponse) throws Exception {
        Coupon coupon = new Coupon();
        coupon =  couponService.getCouponByGuid("24bed1d2-f732-11ea-bac5-62fdb9de135c");
        System.out.println(JSON.toJSONString(coupon));
        return new ModelAndView("index");

 }
}

 浙公网安备 33010602011771号