

Blazor+Dapr+K8s微服务之事件发布订阅
我们要实现的是:在blazorweb服务中发布一个事件,并传递事件参数,然后在serviceapi1服务中订阅该事件,接收到blazorweb服务中发布的事件和参数。
1 在blazorweb服务中发布一个事件
在DaprTest1.Server项目的WeatherForecastController.cs文件中增加事件发布API:
  [HttpPost(nameof(PublishTestEvent))]
        public async Task PublishTestEvent(TestEventModel eventModel)
        {
            await _daprClient.PublishEventAsync<TestEventModel>("pubsub", "TestEventName", eventModel);
        }
"TestEventModel"是自定义的事件消息类,"TestEventName"是事件的名称,"pubsub" 是事件发布订阅的名称,定义在“pubsub.yaml” 组件中:
apiVersion: dapr.io/v1alpha1
kind: Component
metadata:
  name: pubsub
spec:
  type: pubsub.redis
  version: v1
  metadata:
  - name: redisHost
    value: localhost:6379
  - name: redisPassword
    value: ""
这个组件中定义的发布订阅采用了Redis 的 Stream 特性,要注意旧版本的Redis是否支持Stream。
2 在serviceapi1服务中订阅该事件
在DaprTest1.ServiceApi1项目中添加Dapr.AspNetCore包,该包实现了ASP.NET Core与Dapr的集成,例如依赖注入DaprClient对象,将事件订阅发布功能直接集成到 ASP.NET Core 模型绑定功能中等。

在DaprTest1.ServiceApi1项目的Startup.cs 文件增加事件订阅相关代码(注意绿色部分):
public void ConfigureServices(IServiceCollection services)
        {

            services.AddControllers().AddDapr();
            services.AddSwaggerGen(c =>
            {
                c.SwaggerDoc("v1", new OpenApiInfo { Title = "DaprTest1.ServiceApi1", Version = "v1" });
            });
        }

        // This method gets called by the runtime. Use this method to configure the HTTP request pipeline.
        public void Configure(IApplicationBuilder app, IWebHostEnvironment env)
        {
            if (env.IsDevelopment())
            {
                app.UseDeveloperExceptionPage();
                app.UseSwagger();
                app.UseSwaggerUI(c => c.SwaggerEndpoint("/swagger/v1/swagger.json", "DaprTest1.ServiceApi1 v1"));
            }

            app.UseRouting();

            app.UseAuthorization();

            app.UseCloudEvents();

            app.UseEndpoints(endpoints =>
            {
                endpoints.MapSubscribeHandler();
                endpoints.MapControllers();
            });
        }
在DaprTest1.ServiceApi1项目的WeatherForecastController文件增加事件订阅API
  [Topic("pubsub", "TestEventName")]
        [HttpPost(nameof(SubscribleTestEvent))]
        public async Task SubscribleTestEvent(TestEventModel eventModel)
        {
             await Task.CompletedTask;
        }
[Topic("pubsub", "TestEventName")] 订阅了"pubsub"订阅名称的TestEventName事件。
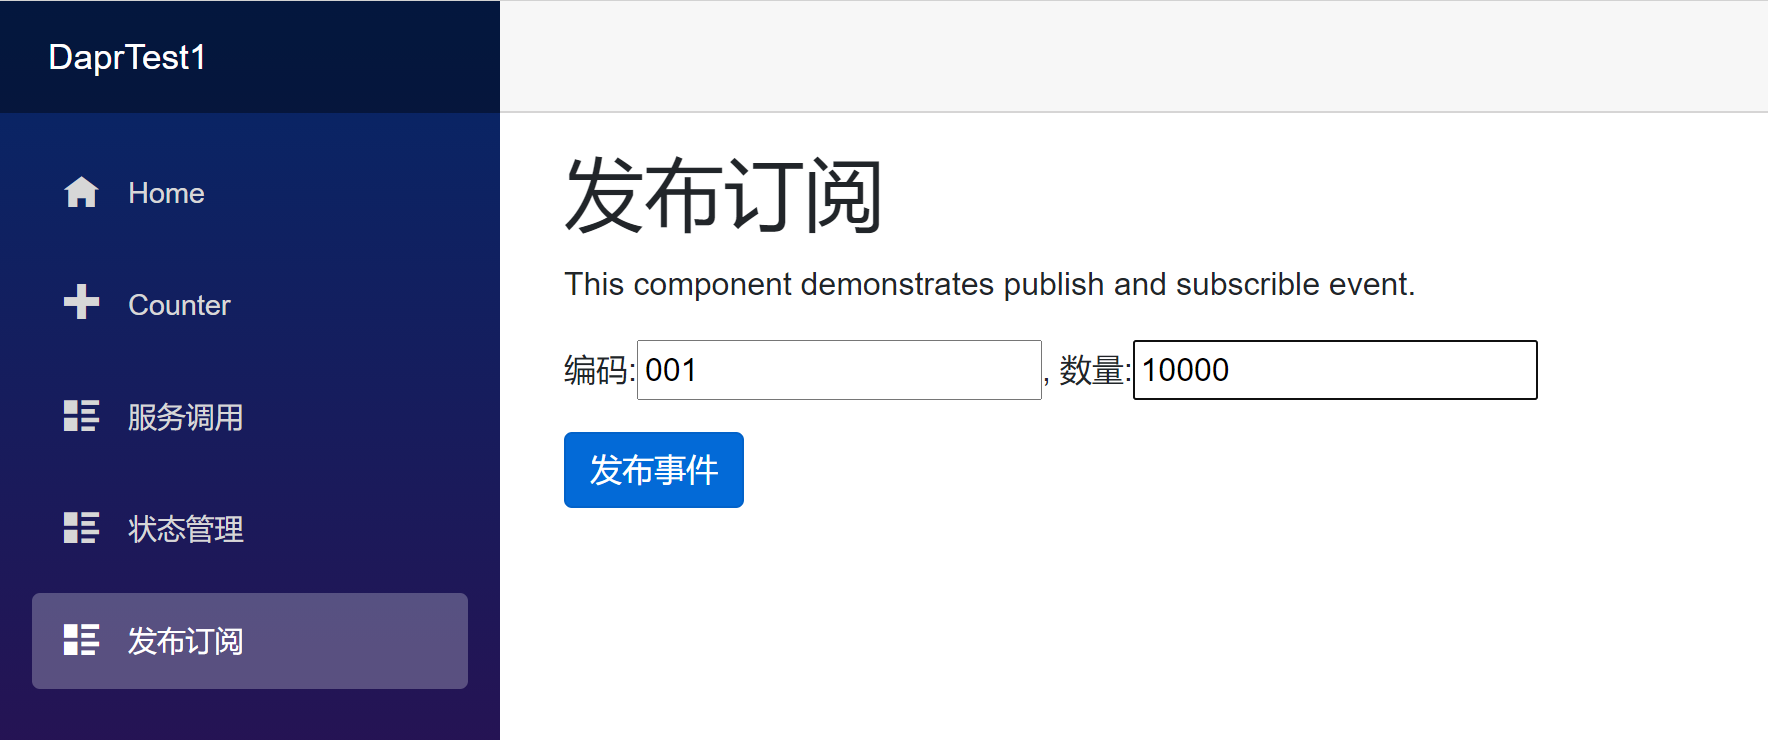
3 在Blazor项目中增加Blazor前端事件发布菜单和页面
@page "/pubsub"
@using DaprTest1.Shared
@using System.Text.Json
@inject HttpClient Http

<h1>发布订阅</h1>

<p>This component demonstrates publish and subscrible event.</p>

<p>编码:<input type="text" @bind="eventModel.Code" />, 数量:<input type="text" @bind="eventModel.Amount" /></p>

<button class="btn btn-primary" @onclick="PublishEvent">发布事件</button>


@code {
    private TestEventModel eventModel = new TestEventModel();
    private async Task PublishEvent() => await Http.PostAsJsonAsync<TestEventModel>("WeatherForecast/PublishTestEvent", eventModel);

}
4 事件发布订阅测试
和上一节一样,我们先开启每个微服务的SideCar,注意,因为的SideCar 指定了状态存储的Redis,所以我们先要开启Redis,不然SideCar会启动失败。确保每个微服务的SideCar都是运行状态。
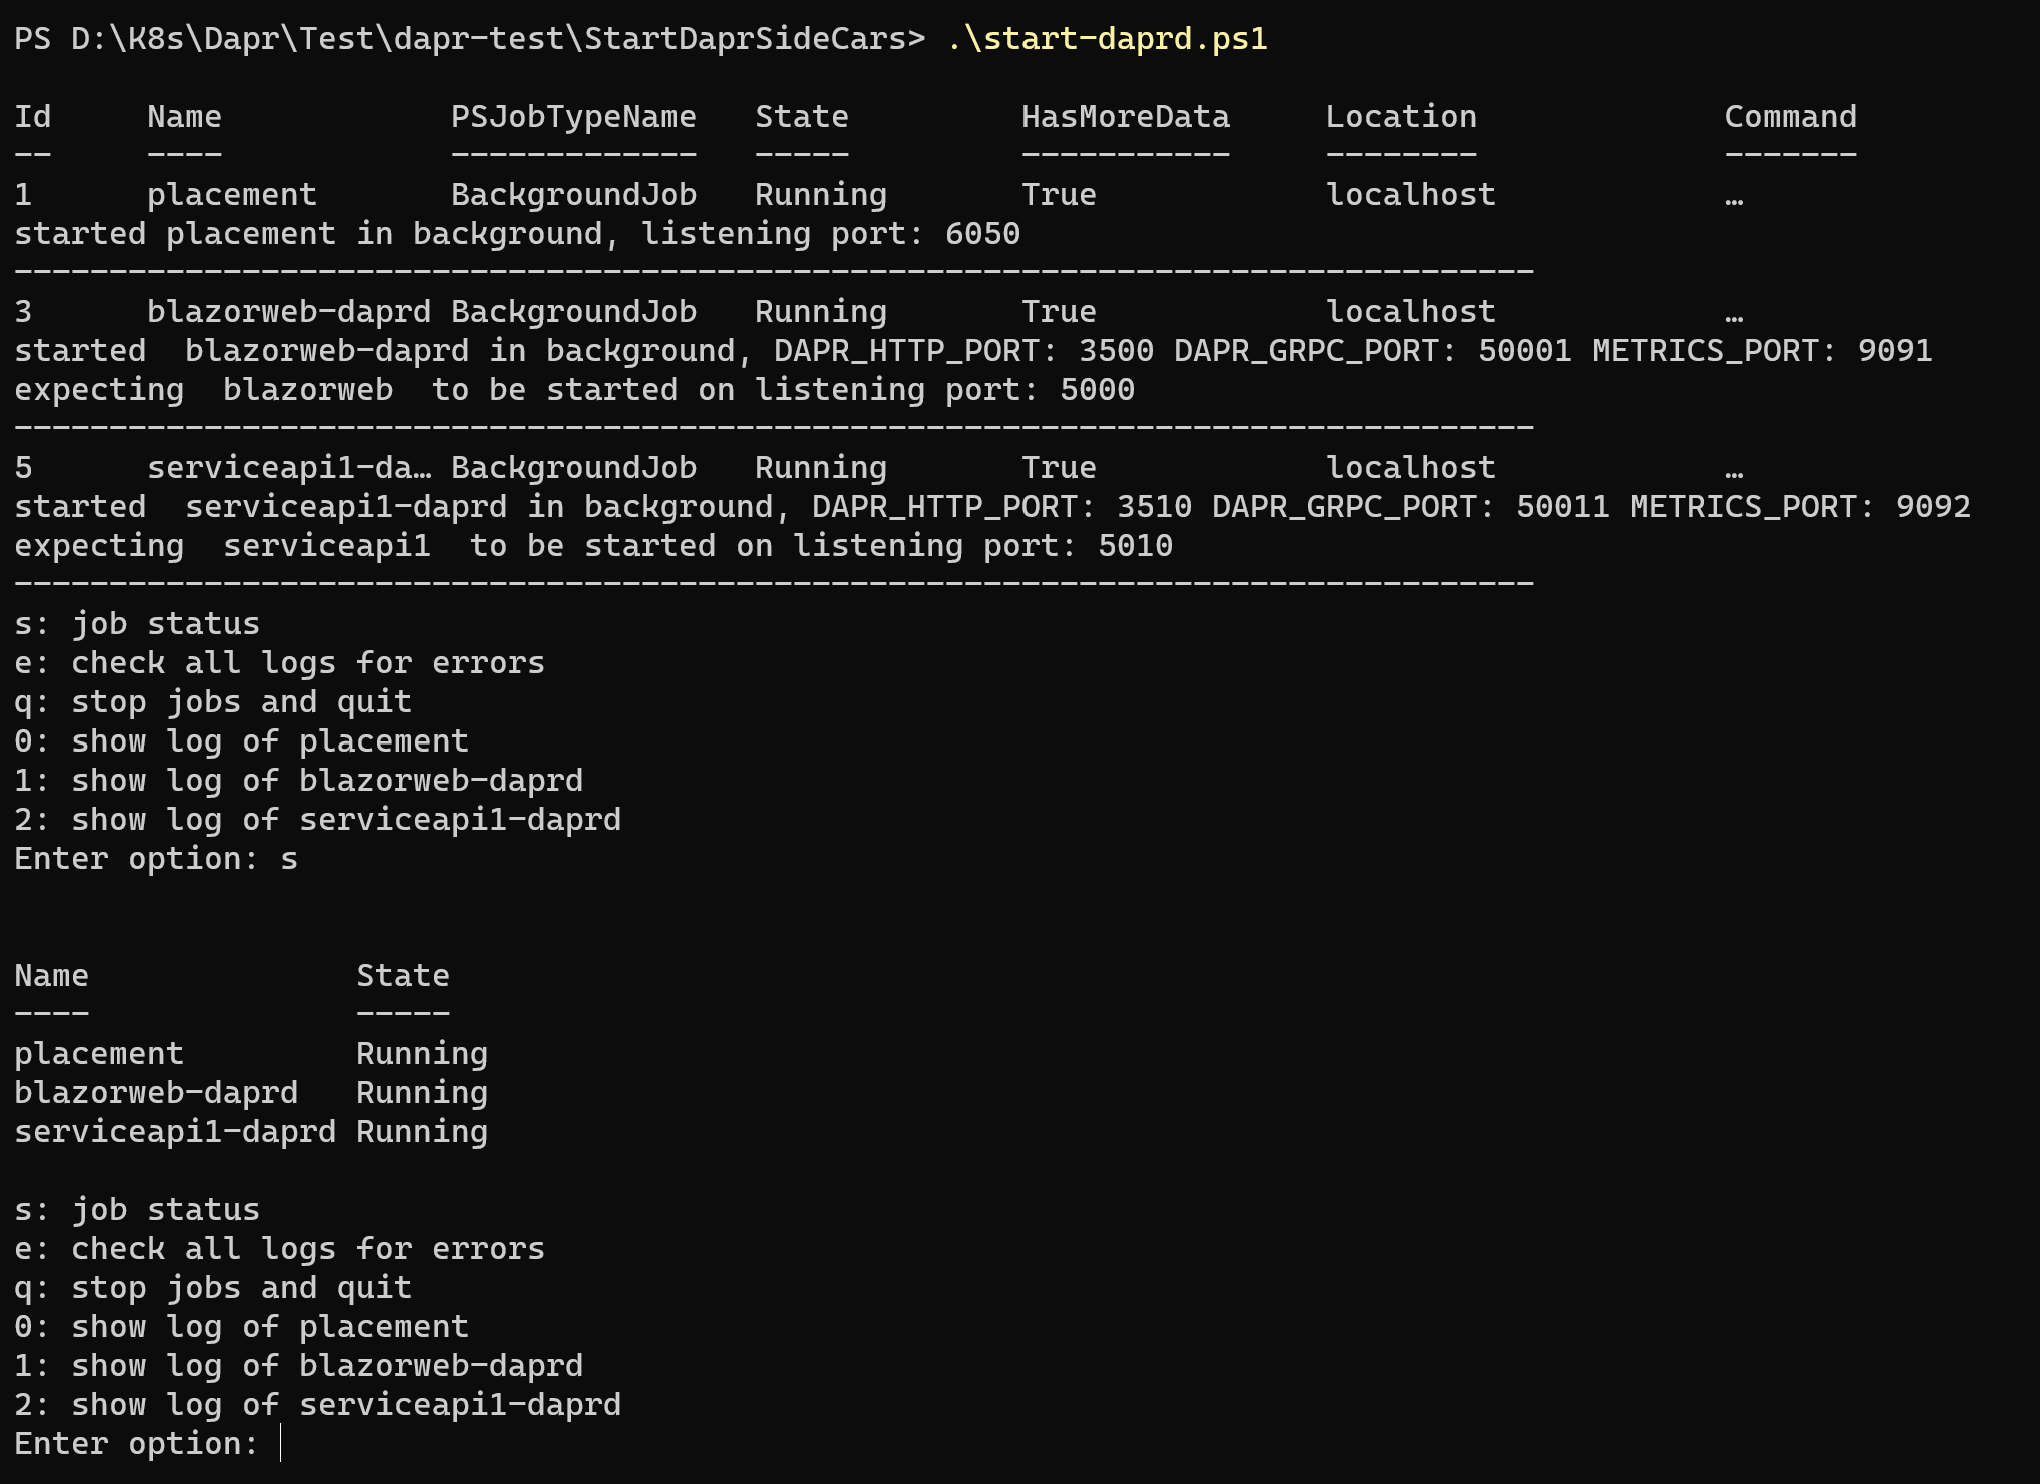
然后启动两个微服务,并访问http://localhost:5000
在ServiceApi1服务的事件接收处设置好断点,然后点击“发布事件”按钮
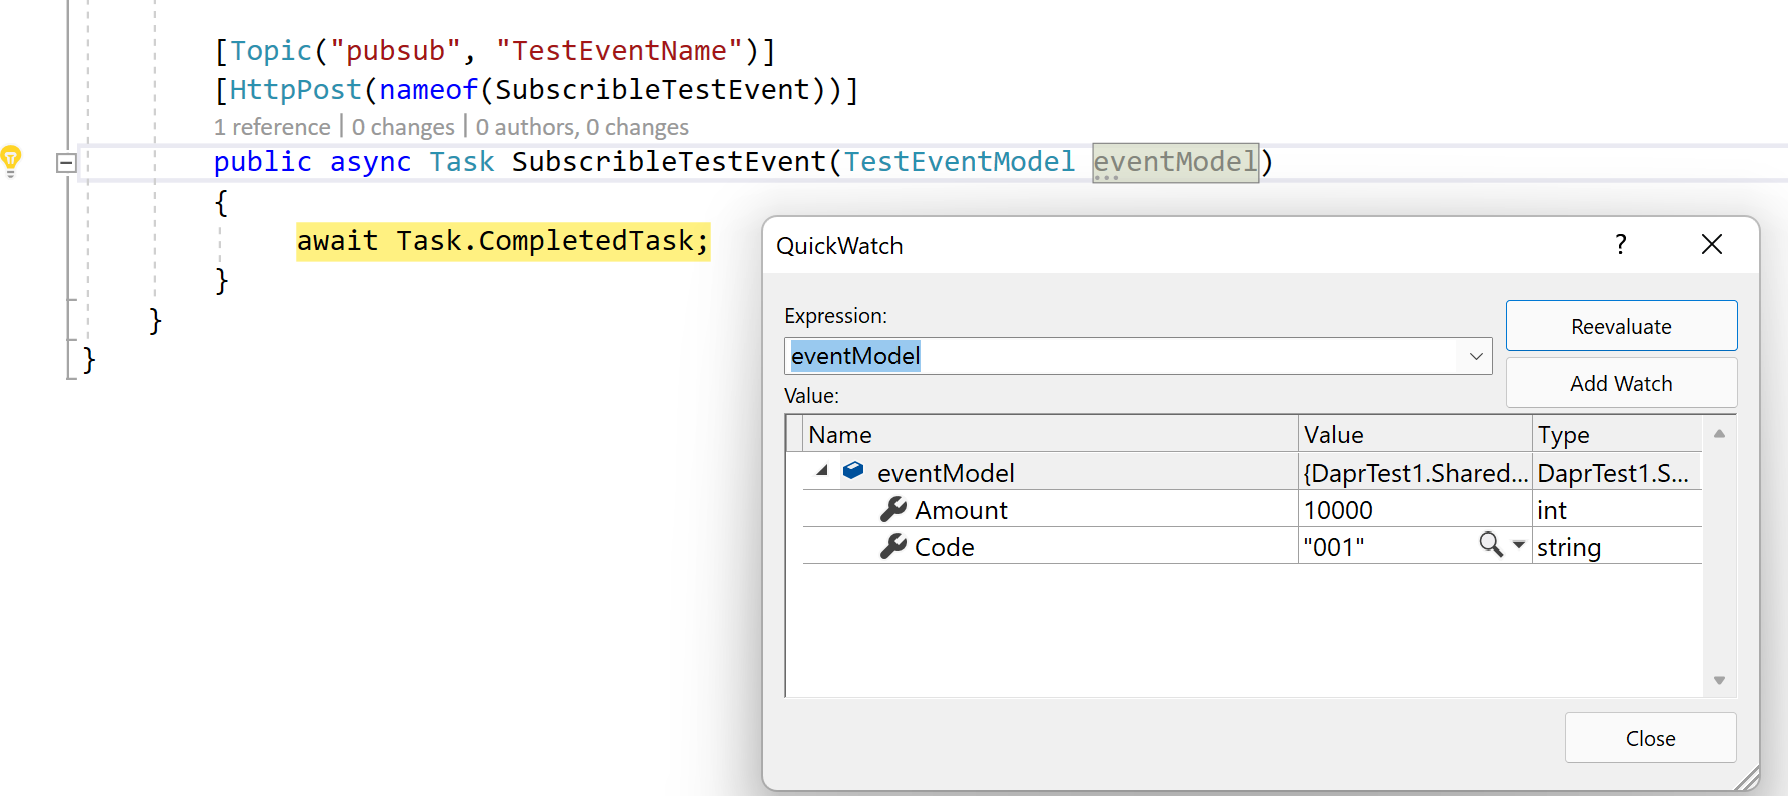
可以看到,我们成功接收到了TestEventName事件和事件发布的参数。
5 将Dapr的发布订阅组件修改为RabbitMQ
通常情况下,我们会用RabbitMQ来支持事件的发布和订阅,我们将Dapr 发布订阅组件“pubsub.yaml”,修改为如下内容即可:
apiVersion: dapr.io/v1alpha1
kind: Component
metadata:
  name: pubsub
spec:
  type: pubsub.rabbitmq
  version: v1
  metadata:
  - name: host
    value: "amqp://admin:******@localhost:5672"
  - name: durable
    value: true

 浙公网安备 33010602011771号