

weblogic的linux静默搭建
前言:
Weblogic与Tomcat都是java应用的容器,而这两者有什么大的不同呢?Tomcat是Apache基金会提供的Servlet容器,它支持JSP, Servlet和JDBC等J2EE关键技术,所以用户可以用Tomcat开发基于数据库,Servlet和JSP页面的Web应用,而Tomcat却不是EJB容器;也就是说,Tomcat不支持J2EE的重要技术之一,EJB。那么,使用EJB组件开发的Web应用程序就无法在Tomcat下面运行。众所周知,EJB是分布式应用程序的核心技术,所以说凡是需要使用EJB来开发的应用(例如,银行、电信等大型的分布式应用系统)就不能用Tomcat了。这也就是很多公司不选择Tomcat的原因。至于支持EJB的应用服务器,Weblogic( Oracle), WebSphere(IBM)和JBoss( Redhat)都是符合J2EE规范的EJB容器,所以都可以用来开发大型的分布式应用程序。所以,原则上来说,只要你要开发基于EJB组件的应用,上述三种任选一个都是可以的。唯一的区别是,Weblogic和WebSphere都是付费的,JBoss是开源免费的。很多公司为了省钱,选择了JBoss作为应用服务器,但是,开源免费也就意味着厂商不会为终端用户直接负责;所以,当JBoss服务器出现任何问题,就只能自己解决了,而Weblogic和WebSphere还有JBoss都有很多人在用,但是很多公司拿着这些大玩意儿实际上干的也只是Tomcat级别的项目,有业内人士开玩笑说,国企每年这么多的软件投入预算,如果都使用开源的产品,让人家的钱怎么花出去,ok,闲话到此为止,本文旨在介绍如何在linux环境下通过命令行安装weblogic。
一、准备工作:
前提:weblogic依赖JDK,所以在安装之前,需要安装好JDK,weblogic12c之前的版本依赖JDK1.7,从12c开始,依赖JDK1.8,本次安装的weblogic版本为12.2.1.4.0,所以需要提前安装好JDK1.8,需要注意的是,centos系统自带的JDK是不行的,所以需要卸载掉系统安装时自带的JDK,自行下载安装JDK1.8,而weblogic的安装包与JDK1.8的安装包需要在oracle的官网上下载,在此不再赘述。
1.卸载系统自带的JDK。
[root@localhost weblogic]# rpm -qa | grep java  #查看系统安装的JDK软件包
[root@localhost weblogic]# rpm -e --nodeps    #后面加上软件包名称来卸载
2.安装JDK1.8,将JDK与weblogic的包上传并解压。
[root@localhost opt]# unzip fmw_12.2.1.4.0_wls_quick_Disk1_1of1.zip
[root@localhost opt]#tar -zxvf jdk-8u202-linux-x64.tar.gz

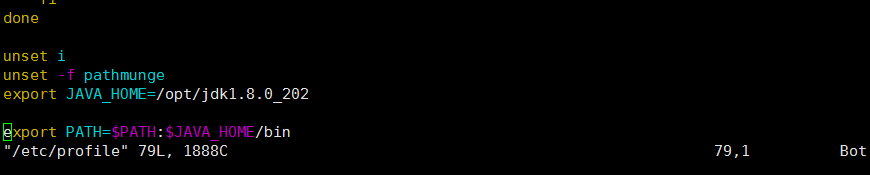
3.配置JDK的环境变量,修改/etc/profile文件:
export JAVA_HOME=/opt/jdk1.8.0_202

export PATH=$PATH:$JAVA_HOME/bin
将这两行内容加入文件末尾,并重新加载环境变量。
[root@localhost opt]# source /etc/profile
4.检查JDK是否正常:

二、开始安装准备:
1.创建用户组与用户(weblogic必须在普通用户下才能安装)
[root@localhost ~]# groupadd weblogic
[root@localhost ~]# useradd -g weblogic weblogic
//添加用户,并用-g参数来制定 web用户组
[root@localhost ~]# passwd weblogic    #密码就设置为weblogic
2.准备配置文件,在/home/weblogic目录下创建两个配置文件,(这个目录似乎在解压文件的时候已经生成了)
响应文件 wls.rsp

响应文件中的项一定要写全,否则会报参数不足等错误

vim /home/weblogic/wls.rsp

[ENGINE]

#DO NOT CHANGE THIS.

Response File Version=1.0.0.0.0

[GENERIC]
#The oracle home location. This can be an existing Oracle Home or a new Oracle Home

ORACLE_HOME=/home/weblogic/Oracle

#Set this variable value to the Installation Type selected. e.g. WebLogic Server, Coherence, Complete with Examples.

INSTALL_TYPE=WebLogic Server

#Provide the My Oracle Support Username. If you wish to ignore Oracle Configuration Manager configuration provide empty string for user name.

MYORACLESUPPORT_USERNAME=

#Provide the My Oracle Support Password

MYORACLESUPPORT_PASSWORD=<SECURE VALUE>

#Set this to true if you wish to decline the security updates. Setting this to true and providing empty string for My Oracle Support username will ignore the Oracle Configuration Manager configuration

DECLINE_SECURITY_UPDATES=true

#Set this to true if My Oracle Support Password is specified

SECURITY_UPDATES_VIA_MYORACLESUPPORT=false

#Provide the Proxy Host

PROXY_HOST=

#Provide the Proxy Port

PROXY_PORT=

#Provide the Proxy Username

PROXY_USER=

#Provide the Proxy Password

PROXY_PWD=<SECURE VALUE>

#Type String (URL format) Indicates the OCM Repeater URL which should be of the format [scheme[Http/Https]]://[repeater host]:[repeater port]

COLLECTOR_SUPPORTHUB_URL=
Loc文件 oraInst.loc

vim /home/weblogic/oraInst.loc

inventory_loc=/home/weblogic/oraInventory

inst_group=weblogic
三、开始安装。(以下步骤都须在weblogic用户下完成)
1.执行安装命令(如果报错,执行chown -R weblogic:weblogic /home/weblogic)
[weblogic@localhost opt]$java -jar fmw_12.2.1.4.0_wls_quick.jar  -silent  -responseFile  /home/weblogic/wls.rsp  -invPtrLoc /home/weblogic/oraInst.loc
Launcher log file is /tmp/OraInstall2019-12-15_08-43-46PM/launcher2019-12-15_08-43-46PM.log.
Extracting the installer . . . . . . . . Done
Checking if CPU speed is above 300 MHz.   Actual 2808.001 MHz    Passed
Checking swap space: must be greater than 512 MB.   Actual 2047 MB    Passed
Checking if this platform requires a 64-bit JVM.   Actual 64    Passed (64-bit not required)
Checking temp space: must be greater than 300 MB.   Actual 11039 MB    Passed
Preparing to launch the Oracle Universal Installer from /tmp/OraInstall2019-12-15_08-43-46PM
Log: /tmp/OraInstall2019-12-15_08-43-46PM/install2019-12-15_08-43-46PM.log

*****************************************************


Distribution Name : Oracle Fusion Middleware 12c WebLogic and Coherence Developer
Distribution Version : 12.2.1.4.0

Oracle Inventory : /home/weblogic/oraInventory

Oracle Home : /home/weblogic/wls12214
Java Home : /opt/jdk1.8.0_202

Note: Oracle Home not supplied (defaulted to <present working dir>/wls12214)

*****************************************************

Copyright (c) 1996, 2019, Oracle and/or its affiliates. All rights reserved.
Reading response file..
Skipping Software Updates
Starting check : CertifiedVersions
Expected result: One of oracle-6, oracle-7, redhat-7, redhat-6, SuSE-11, SuSE-12, SuSE-15
Actual Result: redhat-null
Check complete. The overall result of this check is: Passed
CertifiedVersions Check: Success.


Starting check : CheckJDKVersion
Expected result: 1.8.0_191
Actual Result: 1.8.0_202
Check complete. The overall result of this check is: Passed
CheckJDKVersion Check: Success.


Validations are enabled for this session.
Verifying data
Copying Files
Percent Complete : 10
Percent Complete : 20
Percent Complete : 30
Percent Complete : 40
Percent Complete : 50
Percent Complete : 60
Percent Complete : 70
Percent Complete : 80
Percent Complete : 90
Percent Complete : 100

The installation of Oracle Fusion Middleware 12c WebLogic and Coherence Developer 12.2.1.4.0 completed successfully.
Logs successfully copied to /home/weblogic/wls12214/cfgtoollogs/oui.
2.创建domain域名
[weblogic@localhost ~]$mkdir -p /home/weblogic/Oracleuser_projects/domains/base_domain
[weblogic@localhost ~]$cd /home/weblogic/Oracleuser_projects/domains/base_domain
[weblogic@localhost base_domain]$ cp /home/weblogic/wls12214/wlserver/common/templates/scripts/wlst/basicWLSDomain.py .
[weblogic@localhost base_domain]$ vim basicWLSDomain.py
在
# Please set password here before using this script, e.g. cmo.setPassword('value')
处增加
cmo.setPassword('登录密码')    #这就是控制台的登陆密码,密码设置要大于8位,为数字字母特殊符号组合,否则会报错
3.启动:
[weblogic@localhost base_domain]$ /home/weblogic/wls12214/oracle_common/common/bin/wlst.sh basicWLSDomain.py .

Initializing WebLogic Scripting Tool (WLST) ...

Jython scans all the jar files it can find at first startup. Depending on the system, this process may take a few minutes to complete, and WLST may not return a prompt right away.

Welcome to WebLogic Server Administration Scripting Shell

Type help() for help on available commands


Exiting WebLogic Scripting Tool.

[weblogic@localhost ~]$ /home/weblogic/wls12214/user_projects/domains/basicWLSDomain/bin/startWebLogic.sh
.
.
JAVA Memory arguments: -Xms256m -Xmx512m -XX:CompileThreshold=8000
.
CLASSPATH=/opt/jdk1.8.0_202/lib/tools.jar:/home/weblogic/wls12214/wlserver/server/lib/weblogic.jar:/home/weblogic/wls12214/wlserver/../oracle_common/modules/thirdparty/ant-contrib-1.0b3.jar:/home/weblogic/wls12214/wlserver/modules/features/oracle.wls.common.nodemanager.jar::/home/weblogic/wls12214/wlserver/common/derby/lib/derbynet.jar:/home/weblogic/wls12214/wlserver/common/derby/lib/derbyclient.jar:/home/weblogic/wls12214/wlserver/common/derby/lib/derby.jar
.
PATH=/home/weblogic/wls12214/user_projects/domains/basicWLSDomain/bin:/home/weblogic/wls12214/wlserver/server/bin:/home/weblogic/wls12214/wlserver/../oracle_common/modules/thirdparty/org.apache.ant/1.10.5.0.0/apache-ant-1.10.5/bin:/opt/jdk1.8.0_202/jre/bin:/opt/jdk1.8.0_202/bin:/usr/local/sbin:/usr/local/bin:/usr/sbin:/usr/bin:/opt/jdk1.8.0_202/bin:/root/bin
.
***************************************************
*  To start WebLogic Server, use a username and   *
*  password assigned to an admin-level user.  For *
*  server administration, use the WebLogic Server *
*  console at http://hostname:port/console        *
***************************************************
Starting WLS with line:
。。。。。。以下内容都是启动过程
4.不同的启动方式及启动慢的解决办法:
前台启动weblogic:
cd /home/weblogic/Oracle/user_projects/domains/basicWLSDomain/bin
./startWeblogic.sh
后台启动weblogic:
cd /home/weblogic/Oracle/user_projects/domains/basicWLSDomain/bin
vi startWeblogic.sh
修改:
${DOMAIN_HOME}/bin/startWeblogic.sh $*
为:
${DOMAIN_HOME}/bin/startWeblogic.sh $* > /dev/null 2>&1 &
注:如果很长时间没有启动完毕,修改:
cd /home/weblogic/Oracle/user_projects/domains/basicWLSDomain/bin
vi setDomainEnv.sh
修改:
set WLS_MEM_ARGS_64BIT=”-Xms2048m –Xmx2048m”
set WLS_MEM_ARGS_32BIT=”-Xms2048m –Xmx2048m”
为:
set WLS_MEM_ARGS_64BIT=”-Xms2048m –Xmx2048m -Djava.security.egd=file:/dev/./urandom”
set WLS_MEM_ARGS_32BIT=”-Xms2048m –Xmx2048m -Djava.security.egd=file:/dev/./urandom”
以上就是weblogic12C的完整安装过程,希望给大家带来一点帮助。
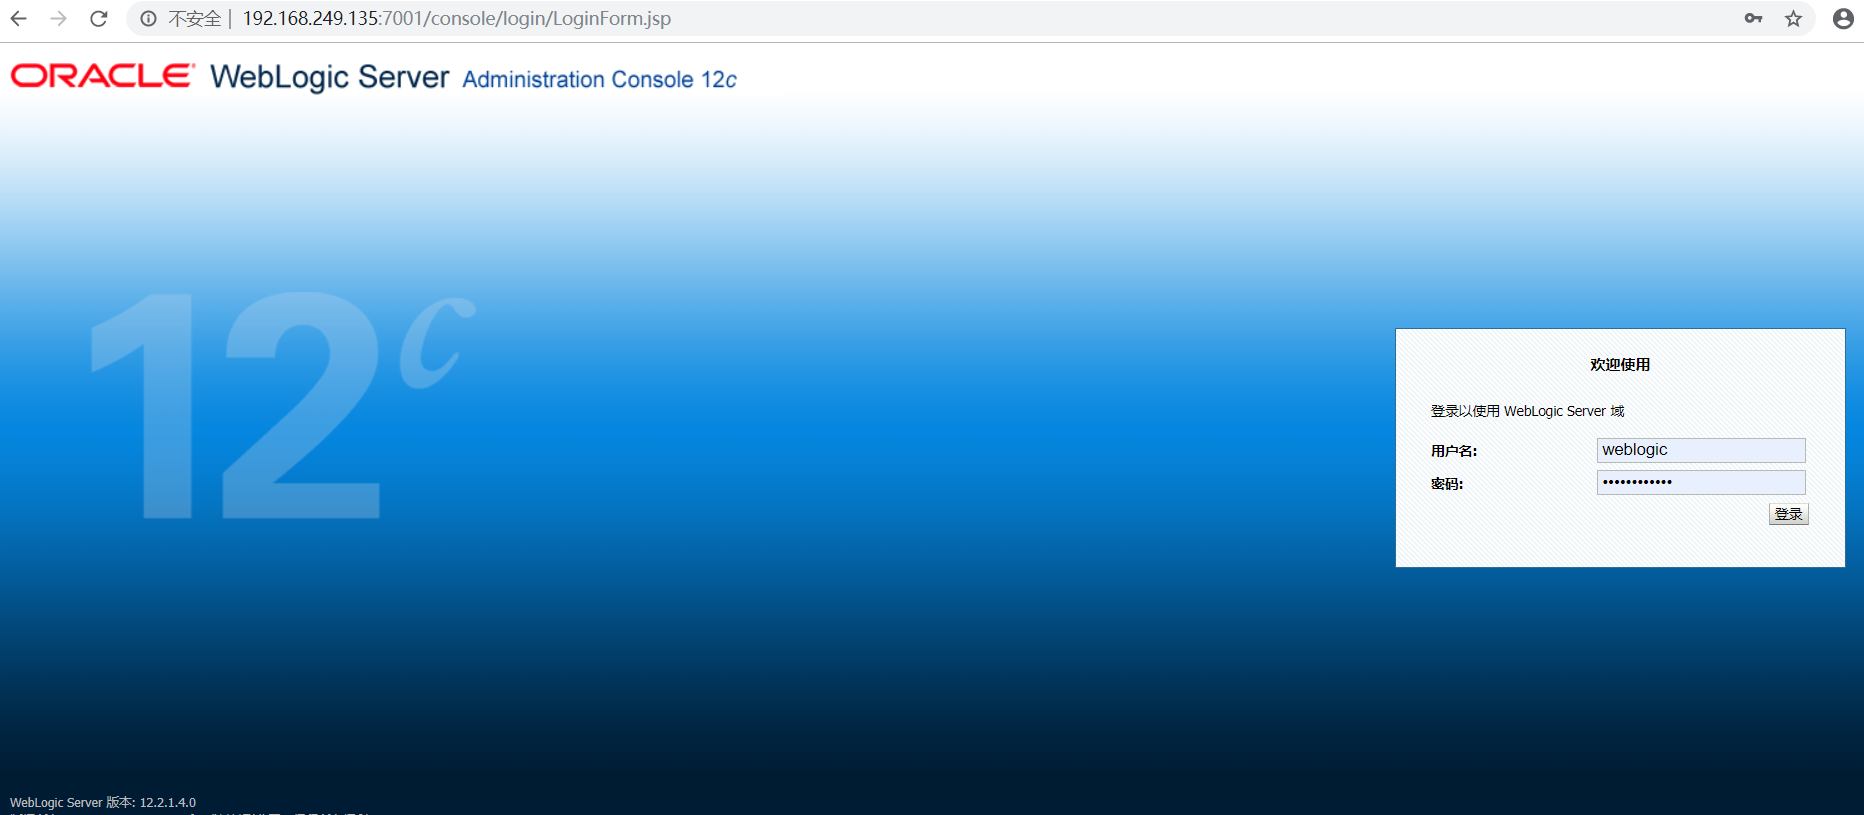
5.控制台登陆:浏览器访问IP:7001/console,便能看到登陆界面,鉴权认证为:weblogic/你自己设置的console密码

 浙公网安备 33010602011771号