

Linux配置Nginx+Tomcat负载均衡
cd /usr/local/tomcat1/webapps/ROOT/
tar -zxvf nginx-1.14.2.tar.gz -C /usr/local
一、Linux配置Nginx
一、下载Nginx
方式1:从http://nginx.org/en/download.html上下载稳定版,解压安装

方式2:直接在Linux上用命令下载: wget http://nginx.org/download/nginx-1.10.2.tar.gz
-bash: wget: command not found
安装wget:
yum -y install wget
再执行下载nginx
二、解压安装包&重命名
tar -zxvf nginx-1.14.2.tar.gz -C /usr/local
mv nginx-1.14.2 nginx
三、编译
1、cd 到nginx目录下

2、安装相关组件
yum install -y pcre pcre-develyum install -y zlib zlib-develyum install -y openssl openssl-devel
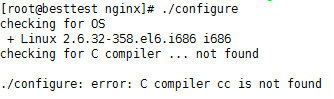
这是提示缺少c++环境 ,用 yum install gcc-c++ 安装一下,再执行 ./configure,然后又报错了:
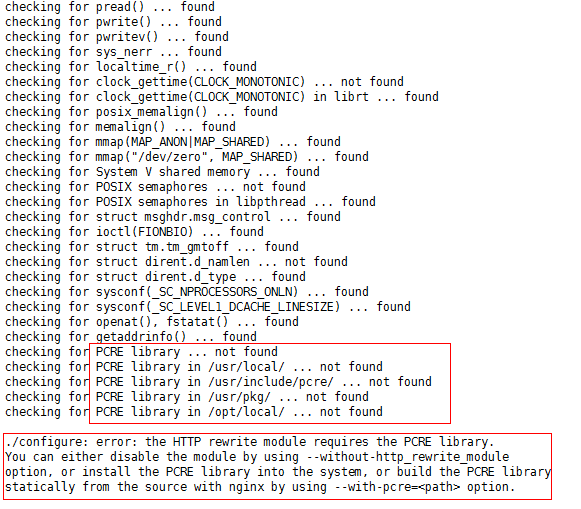
./configure: error: the HTTP rewrite module requires the PCRE library.
You can either disable the module by using –without-http_rewrite_module
option, or install the PCRE library into the system, or build the PCRE library
statically from the source with nginx by using –with-pcre= option.
没装伪静态模块需要pcre库
解决方法:
yum install -y pcre pcre-devel
还有可能出现:
错误提示:./configure: error: the HTTP cache module requires md5 functions
from OpenSSL library. You can either disable the module by using
–without-http-cache option, or install the OpenSSL library into the system,
or build the OpenSSL library statically from the source with nginx by using
–with-http_ssl_module –with-openssl= options.
解决办法:
yum -y install openssl openssl-devel
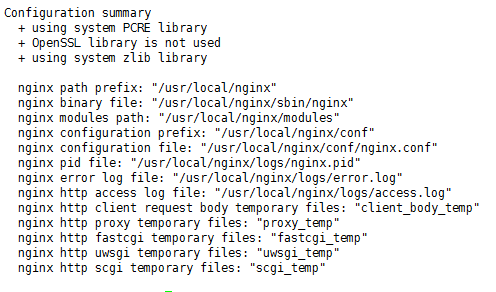
最后 ./configure
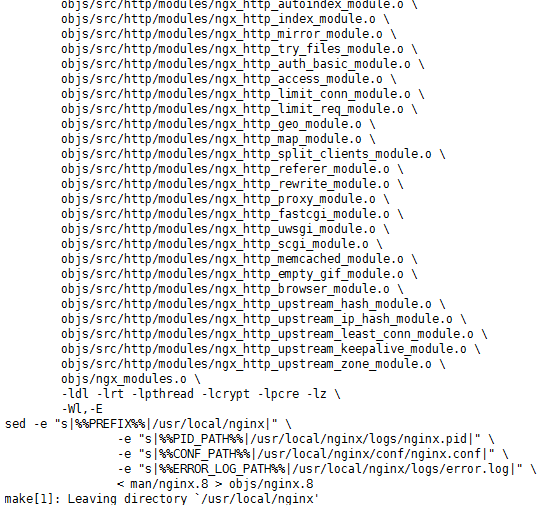
执行make 编译:
然后:make install 报错:
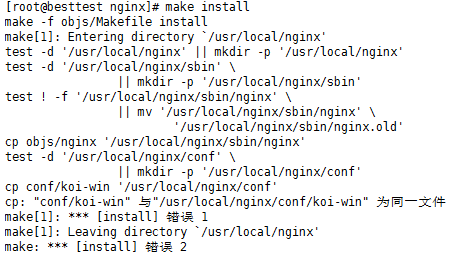
问题原因: 直接把安装包重命名成nginx了,安装文件没有路径了。
解决办法如下:
删除nginx 文件夹
rm -rf nginx
重新解决源码
tar -zxvf nginx-1.10.2.tar.gz
cd /usr/local/nginx-1.10.2
生成Makefile文件
./configure --prefix=/usr/local/nginx
编译源码
make
安装
make install
这里不必要太纠结,只要 /usr/local/ 下出现了 /nagix文件就ok,进入 cd /usr/local/nginx/sbin 下,启动 ./nginx
问题1:出现端口占用,nginx一般是80端口,要么把其他的kill掉,要么更改nginx的端口
1、kill掉其他的之前,要知道哪个占用了:用 lsof -i:80可以查看,这里是之前的lamp占用了

2、我们可以修改nginx自身的监听端口,vi /usr/local/nginx/conf/nginx.conf ,将listen 80,改为自己要的就行,我们这里改81
server {
        listen       80;
        server_name  localhost;

        #charset koi8-r;

        #access_log  logs/host.access.log  main;

        location / {
            root   html;
            index  index.html index.htm;
        }
之后进入我们的ip:81就可以访问:

二、Linux配置Tomcat
1、下载
下载地址:https://tomcat.apache.org/download-90.cgi
这里我们用tomcat 9 吧,下载后,一样放到 /usr/local 下,解压两份,一份作为 tomcat1 , 一份为 tomcat 2 这两份,用来做负载均衡
解压: tar -zxvf apache-tomcat-9.0.13.tar.gz -C /usr/local
重命名: mv apache-tomcat-9.0.13 tomcat1

2、配置:
修改其中一个tomcat2 的端口信息,tomcat1则不需要修改
cd /usr/local/tomcat2/conf
vi server.xml
改以下三个端口为:8006,8081,8099
<Server port="8005" shutdown="SHUTDOWN">
<Connector port="8080" protocol="HTTP/1.1"
<Connector port="8009" protocol="AJP/1.3" redirectPort="8443" />
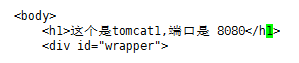
3、分别更改两个 tomcat下默认的jsp页面
cd /usr/local/tomcat1/webapps/ROOT/
vi index.jsp
在body中添加一行html 代码,用于区分是哪个tomcat下的页面。
4、启动两个tomcat
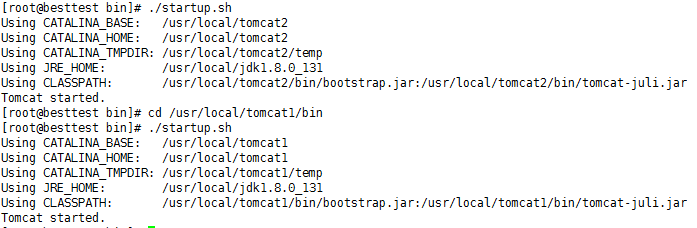
cd /usr/local/tomcat1/bin
./startup.sh
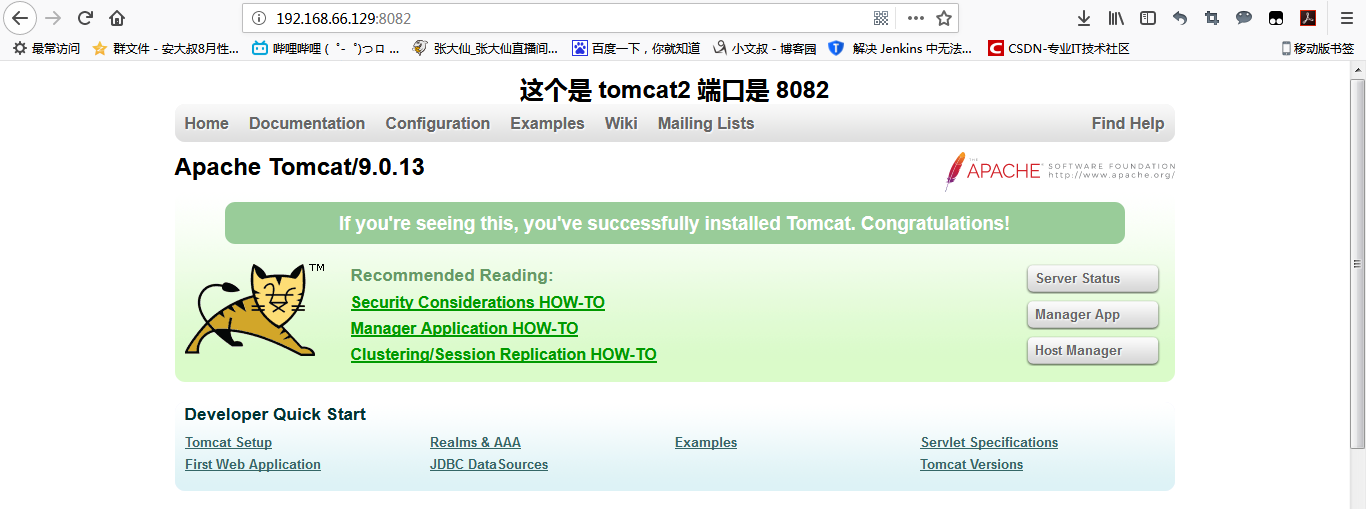
打开本地的ip:8080和ip:8081可以看到,两个页面都有提示信息:
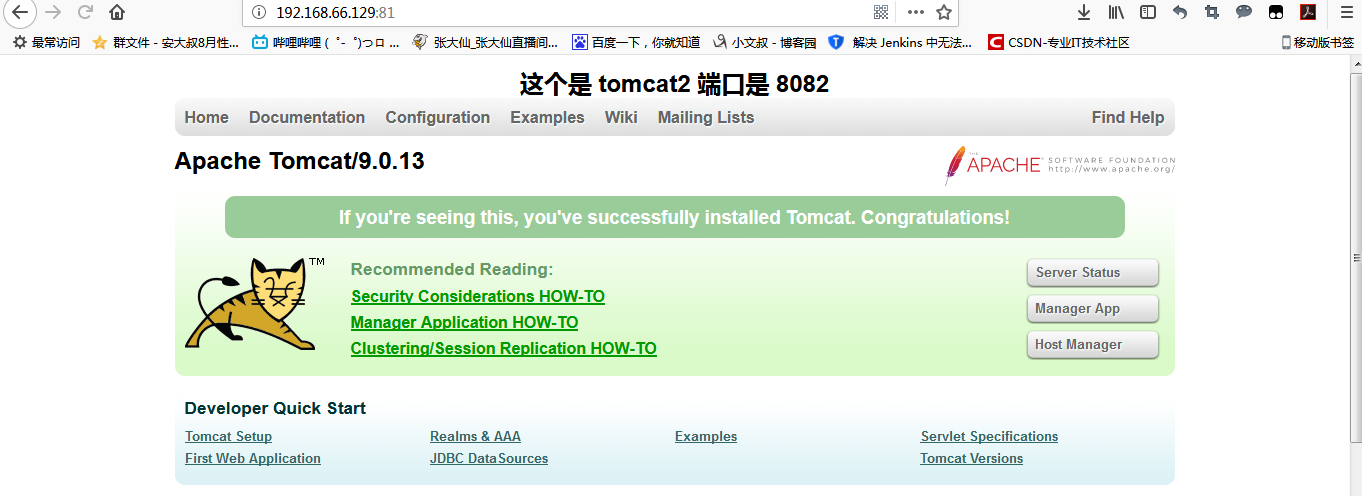
但是8080 被占用,我们用8081和8082:8081

8082
这样,就是安装成功啦!
三、Nginx配置Tomcat负载均衡
1、安装好nginx的情况下
2、修改配置文件
cd /usr/local/nginx/conf
vi nginx.conf
添加ngnix分配策略(权重策略)
upstream   dangdang.com {
  server 192.168.66.129:8081  weight=1; //tomcat1 的ip和端口
  server 192.168.66.129:8082  weight=1; //tomcat2 的ip和端口
}
整个文件的信息如下:
#user  nobody;
worker_processes  1;

#error_log  logs/error.log;
#error_log  logs/error.log  notice;
#error_log  logs/error.log  info;

#pid        logs/nginx.pid;


events {
    worker_connections  1024;
}


http {
    include       mime.types;
    default_type  application/octet-stream;

    #log_format  main  '$remote_addr - $remote_user [$time_local] "$request" '
    #                  '$status $body_bytes_sent "$http_referer" '
    #                  '"$http_user_agent" "$http_x_forwarded_for"';

    #access_log  logs/access.log  main;

    sendfile        on;
    #tcp_nopush     on;

    #keepalive_timeout  0;
    keepalive_timeout  65;

    #gzip  on;
  upstream dangdang.com {
    server 192.168.66.129:8081 weight=1; //tomcat1 的ip和端口
    server 192.168.66.129:8082 weight=1; //tomcat2 的ip和端口
  }
    server {
        listen       81;
        server_name  localhost;

        #charset koi8-r;

        #access_log  logs/host.access.log  main;

        location / {
            root   html;
            index  index.html index.htm;
       proxy_pass   http://dangdang.com;
        }

        #error_page  404              /404.html;

        # redirect server error pages to the static page /50x.html
        #
        error_page   500 502 503 504  /50x.html;
        location = /50x.html {
            root   html;
        }

        # proxy the PHP scripts to Apache listening on 127.0.0.1:80
        #
        #location ~ \.php$ {
        #    proxy_pass   http://127.0.0.1;
        #}

        # pass the PHP scripts to FastCGI server listening on 127.0.0.1:9000
        #
        #location ~ \.php$ {
        #    root           html;
        #    fastcgi_pass   127.0.0.1:9000;
        #    fastcgi_index  index.php;
        #    fastcgi_param  SCRIPT_FILENAME  /scripts$fastcgi_script_name;
        #    include        fastcgi_params;
        #}

        # deny access to .htaccess files, if Apache's document root
        # concurs with nginx's one
        #
        #location ~ /\.ht {
        #    deny  all;
        #}
    }


    # another virtual host using mix of IP-, name-, and port-based configuration
    #
    #server {
    #    listen       8000;
    #    listen       somename:8080;
    #    server_name  somename  alias  another.alias;

    #    location / {
    #        root   html;
    #        index  index.html index.htm;
    #    }
    #}


    # HTTPS server
    #
    #server {
    #    listen       443 ssl;
    #    server_name  localhost;

    #    ssl_certificate      cert.pem;
    #    ssl_certificate_key  cert.key;

    #    ssl_session_cache    shared:SSL:1m;
    #    ssl_session_timeout  5m;

    #    ssl_ciphers  HIGH:!aNULL:!MD5;
    #    ssl_prefer_server_ciphers  on;

    #    location / {
    #        root   html;
    #        index  index.html index.htm;
    #    }
    #}

}
结果:一直刷新
结果1:

结果2:

 浙公网安备 33010602011771号