
Android生成自定义二维码
前面说过两种二维码扫描方式,现在说如何生成自定义酷炫二维码。二维码生成需要使用Google开源库Zxing,Zxing的项目地址:https://github.com/ZBar/ZBar,我们只需要里面的jar包:core:x.x.x.jar,建议用core:3.3.0。
划重点:
- 一般二维码
- 彩色二维码
- 带logo二维码或带logo的彩色二维码
- 黑色色块用图片代替的二维码
1.引入jar包
- app build.gradle中加入依赖
dependencies { ... implementation 'com.google.zxing:core:3.3.0' } - 如果依赖同步失败,下载jar包导入libs下,并在app build.gradle中加入如下代码并
Sync Nowimplementation fileTree(dir: 'libs', include: ['*.jar'])
2.How ?
先看简单的二维码生成
/**
 * 生成简单二维码
 *
 * @param content                字符串内容
 * @param width                  二维码宽度
 * @param height                 二维码高度
 * @param character_set          编码方式(一般使用UTF-8)
 * @param error_correction_level 容错率 L:7% M:15% Q:25% H:35%
 * @param margin                 空白边距(二维码与边框的空白区域)
 * @param color_black            黑色色块
 * @param color_white            白色色块
 * @return BitMap
 */
public static Bitmap createQRCodeBitmap(String content, int width,int height,
                                        String character_set,String error_correction_level,
                                        String margin,int color_black, int color_white) {
    // 字符串内容判空
    if (TextUtils.isEmpty(content)) {
        return null;
    }
    // 宽和高>=0
    if (width < 0 || height < 0) {
        return null;
    }
    try {
        /** 1.设置二维码相关配置 */
        Hashtable<EncodeHintType, String> hints = new Hashtable<>();
        // 字符转码格式设置
        if (!TextUtils.isEmpty(character_set)) {
            hints.put(EncodeHintType.CHARACTER_SET, character_set);
        }
        // 容错率设置
        if (!TextUtils.isEmpty(error_correction_level)) {
                hints.put(EncodeHintType.ERROR_CORRECTION, error_correction_level);
            }
        // 空白边距设置
        if (!TextUtils.isEmpty(margin)) {
            hints.put(EncodeHintType.MARGIN, margin);
        }
        /** 2.将配置参数传入到QRCodeWriter的encode方法生成BitMatrix(位矩阵)对象 */
        BitMatrix bitMatrix = new QRCodeWriter().encode(content, BarcodeFormat.QR_CODE, width, height, hints);

        /** 3.创建像素数组,并根据BitMatrix(位矩阵)对象为数组元素赋颜色值 */
        int[] pixels = new int[width * height];
        for (int y = 0; y < height; y++) {
            for (int x = 0; x < width; x++) {
                //bitMatrix.get(x,y)方法返回true是黑色色块,false是白色色块
                if (bitMatrix.get(x, y)) {
                    pixels[y * width + x] = color_black;//黑色色块像素设置
                } else {
                    pixels[y * width + x] = color_white;// 白色色块像素设置
                }
            }
        }
        /** 4.创建Bitmap对象,根据像素数组设置Bitmap每个像素点的颜色值,并返回Bitmap对象 */
        Bitmap bitmap = Bitmap.createBitmap(width, height, Bitmap.Config.ARGB_8888);
        bitmap.setPixels(pixels, 0, width, 0, 0, width, height);
        return bitmap;
    } catch (WriterException e) {
        e.printStackTrace();
        return null;
    }
 }
主要步骤:
- 设置二维码相关配置,包括传入的二维码长宽、容错率和空白边距大小。
- 将配置参数传入到QRCodeWriter的encode方法并生成BitMatrix(位矩阵)对象。
- 位矩阵对象中bitMatrix.get(x, y)方法可判断是黑色色块还是白色色块,根据不同色块给数组元素赋我们传入的颜色值
- 根据像素数组每个像素点的颜色值创建Bitmap对象并返回,即二维码
主要参数介绍:
-
character_set
字符集/字符转码格式,通常使用UTF-8,格式不对可能导致乱码。传null时,默认使用 “ISO-8859-1” -
error_correction_level
容错率,也就是纠错水平,二维码破损一部分也能扫码就归功于容错率,容错率可分为L、 M、 Q、 H四个等级,其分别占比为:L:7% M:15% Q:25% H:35%。传null时,默认使用 “L”
当然容错率越高,二维码能存储的内容也随之变小。 -
margin
二维码和边框的空白区域宽度 -
color_black、color_white
黑色色块和白素色块,我们常见的二维码一般是黑白两色的,也就是这两个色块,可以自己传入两个颜色,so,彩色二维码不就实现了。
调用生成:
createQRCodeBitmap(content, 800, 800,"UTF-8","H", "1", Color.BLACK, Color.WHITE);

黑色色块用绿色(Color.GREEN)、蓝色(Color.BLUE)、黄色(Color.YELLOW)…:
createQRCodeBitmap(content, 800, 800,"UTF-8","H", "1", Color.GREEN, Color.WHITE);
...


3.添加logo
二维码生成当然少不了添加logo了,添加logo就是图片合成,将logo图片以一定比例合成在原二维码图片上。
直接看代码
/**
 * 向二维码中间添加logo图片(图片合成)
 *
 * @param srcBitmap 原图片(生成的简单二维码图片)
 * @param logoBitmap logo图片
 * @param logoPercent 百分比 (用于调整logo图片在原图片中的显示大小, 取值范围[0,1] )
 * @return
 */
 private static Bitmap addLogo(Bitmap srcBitmap,  Bitmap logoBitmap, float logoPercent){
    if(srcBitmap == null){
        return null;
    }
    if(logoBitmap == null){
        return srcBitmap;
    }
    //传值不合法时使用0.2F
    if(logoPercent < 0F || logoPercent > 1F){
        logoPercent = 0.2F;
    }

    /** 1. 获取原图片和Logo图片各自的宽、高值 */
    int srcWidth = srcBitmap.getWidth();
    int srcHeight = srcBitmap.getHeight();
    int logoWidth = logoBitmap.getWidth();
    int logoHeight = logoBitmap.getHeight();

    /** 2. 计算画布缩放的宽高比 */
    float scaleWidth = srcWidth * logoPercent / logoWidth;
    float scaleHeight = srcHeight * logoPercent / logoHeight;

    /** 3. 使用Canvas绘制,合成图片 */
    Bitmap bitmap = Bitmap.createBitmap(srcWidth, srcHeight, Bitmap.Config.ARGB_8888);
    Canvas canvas = new Canvas(bitmap);
    canvas.drawBitmap(srcBitmap, 0, 0, null);
    canvas.scale(scaleWidth, scaleHeight, srcWidth/2, srcHeight/2);
    canvas.drawBitmap(logoBitmap, srcWidth/2 - logoWidth/2, srcHeight/2 - logoHeight/2, null);

    return bitmap;
}
参数说明:
- srcBitmap:之前生成的简单二维码图片
- logoBitmap:logo图片
- logoPercent :logo图片所占的百分比,建议使用0.2F,百分比过大可能导致二维码扫描失败。
这里就是一个简单的图片合成,首先获取原图片和logo图片各自的宽高,通过我们传入的百分比计算画布缩放的宽高比,然后使用Canvas绘制,合成最终带logo的二维码。
为了方便,我们在最开始生成简单二维码的方法中传入logo图片和百分比,在生成Bitmap时添加logo,如下:
/**
 *
 * @param content                字符串内容
 * @param width                  二维码宽度
 * @param height                 二维码高度
 * @param character_set          编码方式(一般使用UTF-8)
 * @param error_correction_level 容错率 L:7% M:15% Q:25% H:35%
 * @param margin                 空白边距(二维码与边框的空白区域)
 * @param color_black            黑色色块
 * @param color_white            白色色块
 * @param logoBitmap             logo图片
 * @param logoPercent            logo所占百分比
 * @return
 */
 public static Bitmap createQRCodeBitmap(String content, int width, int height, String character_set,
                                         String error_correction_level,String margin, int color_black,
                                         int color_white,Bitmap logoBitmap, float logoPercent) {
    // 字符串内容判空
    if (TextUtils.isEmpty(content)) {
        return null;
    }
    // 宽和高>=0
    if (width < 0 || height < 0) {
        return null;
    }
    try {
        /** 1.设置二维码相关配置,生成BitMatrix(位矩阵)对象 */
        Hashtable<EncodeHintType, String> hints = new Hashtable<>();
        // 字符转码格式设置
        if (!TextUtils.isEmpty(character_set)) {
            hints.put(EncodeHintType.CHARACTER_SET, character_set);
        }
        // 容错率设置
        if (!TextUtils.isEmpty(error_correction_level)) {
            hints.put(EncodeHintType.ERROR_CORRECTION, error_correction_level);
        }
        // 空白边距设置
        if (!TextUtils.isEmpty(margin)) {
            hints.put(EncodeHintType.MARGIN, margin);
        }
        /** 2.将配置参数传入到QRCodeWriter的encode方法生成BitMatrix(位矩阵)对象 */
        BitMatrix bitMatrix = new QRCodeWriter().encode(content, BarcodeFormat.QR_CODE, width, height, hints);

        /** 3.创建像素数组,并根据BitMatrix(位矩阵)对象为数组元素赋颜色值 */
        int[] pixels = new int[width * height];
        for (int y = 0; y < height; y++) {
            for (int x = 0; x < width; x++) {
                //bitMatrix.get(x,y)方法返回true是黑色色块,false是白色色块
                if (bitMatrix.get(x, y)) {
                    pixels[y * width + x] = color_black;//黑色色块像素设置
                } else {
                    pixels[y * width + x] = color_white;// 白色色块像素设置
                }
            }
        }

        /** 4.创建Bitmap对象,根据像素数组设置Bitmap每个像素点的颜色值,并返回Bitmap对象 */
        Bitmap bitmap = Bitmap.createBitmap(width, height, Bitmap.Config.ARGB_8888);
        bitmap.setPixels(pixels, 0, width, 0, 0, width, height);

        /** 5.为二维码添加logo图标 */
        if(logoBitmap != null){
            return addLogo(bitmap, logoBitmap, logoPercent);
        }
        return bitmap;
    } catch (WriterException e) {
        e.printStackTrace();
        return null;
    }
}
调用:
createQRCodeBitmap(content, 800, 800,"UTF-8","H", "1", Color.BLACK, Color.WHITE,logoBitmap,0.2F);
logo图片需要转为Bitmap格式传入,将项目资源下的图片转为Bitmap可使用如下方法
Resources res = getResources();
Bitmap logoBitmap= BitmapFactory.decodeResource(res,R.mipmap.logo);
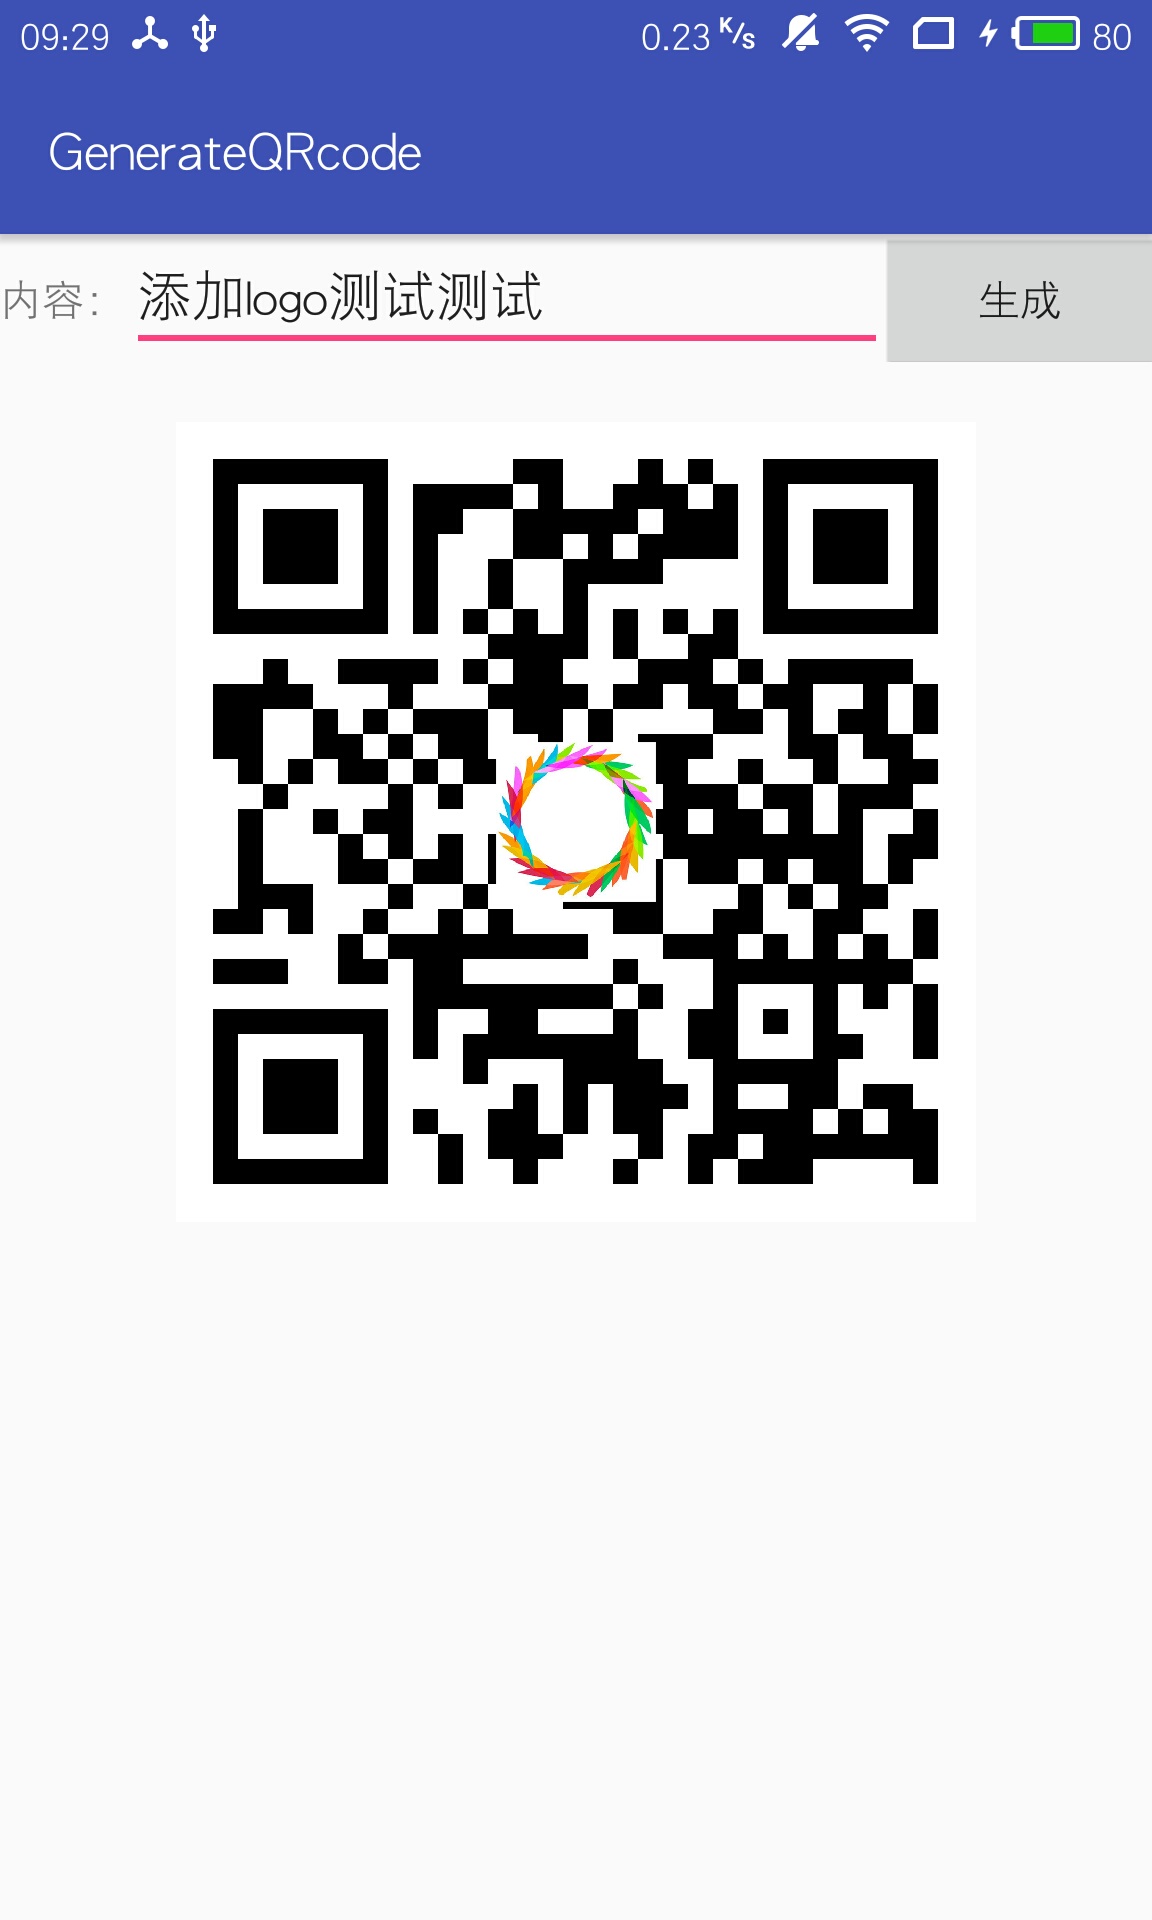
效果图:


4.使用图片代替黑色色块
什么意思呢,看图


就是将二维码的黑色色块使用图片代替,视觉效果就是你的图片在黑色色块部分被显示。
实现方法:
首先通过Bitmap的createScaledBitmap(Bitmap src, int dstWidth, int dstHeight, boolean filter)方法从当前位图,按一定的比例创建一个新的位图,该方法需要传入四个参数,第一个参数就是当前图片,第二个和第三个参数是新位图长宽(这里传入二维码的长宽,保证图的大小一样),最后一个参数直接传false。
Bitmap bitmap_black = Bitmap.createScaledBitmap(bitmap_black, width, height, false);
创建好新位图后,在根据BitMatrix(位矩阵)对象为数组元素赋颜色值时,将黑色色块换为新位图的像素。
if (bitMatrix.get(x, y)) {// 黑色色块像素设置
    if(bitmap_black != null) {//图片不为null,则将黑色色块换为新位图的像素。
       pixels[y * width + x] = bitmap_black.getPixel(x, y);
    } else {
       pixels[y * width + x] = color_black;
    }
} else {
     pixels[y * width + x] = color_white;// 白色色块像素设置
}
注:尽量选用深色图片,否则影响扫描精度。
代码如下:
/**
 *  生成自定义二维码
 *
 * @param content                字符串内容
 * @param width                  二维码宽度
 * @param height                 二维码高度
 * @param character_set          编码方式(一般使用UTF-8)
 * @param error_correction_level 容错率 L:7% M:15% Q:25% H:35%
 * @param margin                 空白边距(二维码与边框的空白区域)
 * @param color_black            黑色色块
 * @param color_white            白色色块
 * @param logoBitmap             logo图片(传null时不添加logo)
 * @param logoPercent            logo所占百分比
 * @param bitmap_black           用来代替黑色色块的图片(传null时不代替)
 * @return
 */
public static Bitmap createQRCodeBitmap(String content, int width, int height, String character_set, String error_correction_level,
                                            String margin, int color_black, int color_white, Bitmap logoBitmap, float logoPercent, Bitmap bitmap_black) {
    // 字符串内容判空
    if (TextUtils.isEmpty(content)) {
        return null;
    }
    // 宽和高>=0
    if (width < 0 || height < 0) {
        return null;
    }
    try {
        /** 1.设置二维码相关配置,生成BitMatrix(位矩阵)对象 */
        Hashtable<EncodeHintType, String> hints = new Hashtable<>();
        // 字符转码格式设置
        if (!TextUtils.isEmpty(character_set)) {
            hints.put(EncodeHintType.CHARACTER_SET, character_set);
        }
        // 容错率设置
        if (!TextUtils.isEmpty(error_correction_level)) {
                hints.put(EncodeHintType.ERROR_CORRECTION, error_correction_level);
        }
        // 空白边距设置
        if (!TextUtils.isEmpty(margin)) {
            hints.put(EncodeHintType.MARGIN, margin);
        }
        /** 2.将配置参数传入到QRCodeWriter的encode方法生成BitMatrix(位矩阵)对象 */
        BitMatrix bitMatrix = new QRCodeWriter().encode(content, BarcodeFormat.QR_CODE, width, height, hints);

        /** 3.创建像素数组,并根据BitMatrix(位矩阵)对象为数组元素赋颜色值 */
        if (bitmap_black != null) {
            //从当前位图按一定的比例创建一个新的位图
            bitmap_black = Bitmap.createScaledBitmap(bitmap_black, width, height, false);
        }
        int[] pixels = new int[width * height];
        for (int y = 0; y < height; y++) {
            for (int x = 0; x < width; x++) {
                //bitMatrix.get(x,y)方法返回true是黑色色块,false是白色色块
                if (bitMatrix.get(x, y)) {// 黑色色块像素设置
                    if (bitmap_black != null) {//图片不为null,则将黑色色块换为新位图的像素。
                        pixels[y * width + x] = bitmap_black.getPixel(x, y);
                    } else {
                        pixels[y * width + x] = color_black;
                    }
                } else {
                    pixels[y * width + x] = color_white;// 白色色块像素设置
                }
            }
        }

        /** 4.创建Bitmap对象,根据像素数组设置Bitmap每个像素点的颜色值,并返回Bitmap对象 */
        Bitmap bitmap = Bitmap.createBitmap(width, height, Bitmap.Config.ARGB_8888);
        bitmap.setPixels(pixels, 0, width, 0, 0, width, height);

        /** 5.为二维码添加logo图标 */
        if (logoBitmap != null) {
            return addLogo(bitmap, logoBitmap, logoPercent);
        }
        return bitmap;
    } catch (WriterException e) {
        e.printStackTrace();
        return null;
    }
}
源码已上传:https://download.csdn.net/download/xch_yang/85494445
生成二维码方法我放到了一个工具类,调用时如果不需要logo或不需要用图片代替黑色色块,传nulll 即可。
当然图片不能直接写死,可以拍照或相册选择,生成二维码还可保存至手机或分享给他人,实现方式后续更新,敬请关注。


 浙公网安备 33010602011771号