elk7.9.2使用rpm安装
环境:linux
1、软件下载elk
下载链接https://elasticsearch.cn/download/
wget https://artifacts.elastic.co/downloads/elasticsearch/elasticsearch-7.9.2-x86_64.rpm
wget https://artifacts.elastic.co/downloads/kibana/kibana-7.9.2-x86_64.rpm
wget https://artifacts.elastic.co/downloads/logstash/logstash-7.9.2.rpm
2、7.9需要安装jdk11,下载链接
链接: https://pan.baidu.com/s/1EYtj3d8OboJDjypoTLdLog 提取码: y2jn
3、安装jdk和elk
rpm -ivh jdk-11.0.9_linux-x64_bin.rpm
rpm -ivh elasticsearch-7.9.2-x86_64.rpm
rpm -ivh kibana-7.9.2-x86_64.rpm
rpm -ivh logstash-7.9.2.rpm
4、配置elasticsearch
cat /etc/elasticsearch/elasticsearch.yml
#集群名
cluster.name: my-es
#node名
node.name: node-1
#数据目录
path.data: /data/es-data
#日志目录
path.logs: /var/log/elasticsearch
network.host: 0.0.0.0
http.port: 9200
#集群master需要和node名设置一致
cluster.initial_master_nodes: ["node-1"]
5、启动elasticsearch并验证
mkdir -p /data/es-data
chown -R elasticsearch:elasticsearch /data/es-data/

systemctl start elasticsearch
systemctl enable elasticsearch

[root@node-1]# curl 127.0.0.1:9200
{
  "name" : "node-1",
  "cluster_name" : "my-es",
  "cluster_uuid" : "-5vm0JOyQP-fehWjlXal_A",
  "version" : {
    "number" : "7.1.1",
    "build_flavor" : "default",
    "build_type" : "rpm",
    "build_hash" : "7a013de",
    "build_date" : "2019-05-23T14:04:00.380842Z",
    "build_snapshot" : false,
    "lucene_version" : "8.0.0",
    "minimum_wire_compatibility_version" : "6.8.0",
    "minimum_index_compatibility_version" : "6.0.0-beta1"
  },
  "tagline" : "You Know, for Search"
}
6、修改kibana配置
cat /etc/kibana/kibana.yml
server.port: 5601
server.host: "yourip"
server.name: "node-1"
elasticsearch.hosts: ["http://192.168.1.4:9200"]
kibana.index: ".kibana"
7、启动kibana并验证
systemctl start kibana
systemctl enable kibana
网页访问链接:http://ip:5601
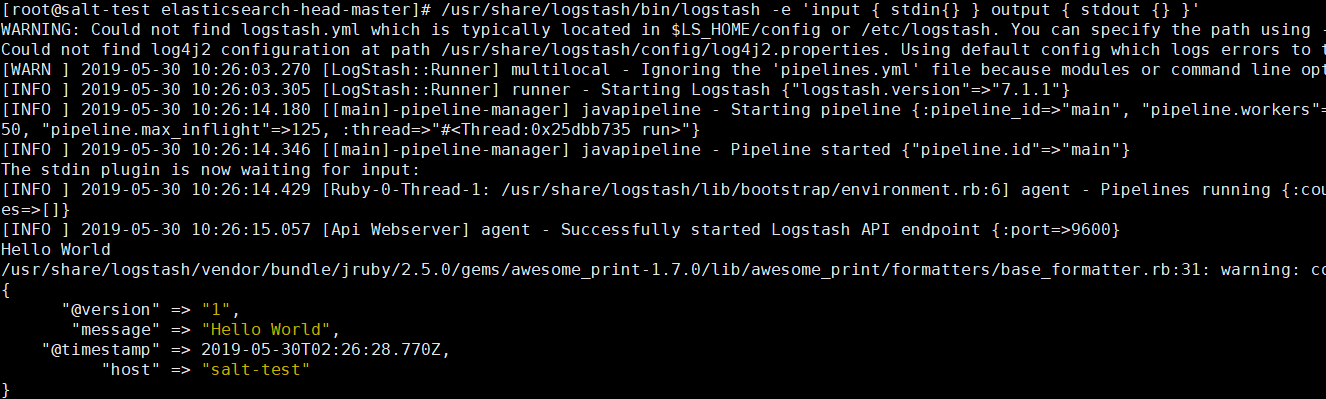
8、使用logstash收集日志
标准输入输出
/usr/share/logstash/bin/logstash -e 'input { stdin{} } output { stdout {} }'
9、配置Kibana中文显示
修改配置文件 vi /etc/kibana/kibana.yml
#il8n.locale: "en"
改为
il8n.locale: "zh-CN"
做一个决定,并不难,难的是付诸行动,并且坚持到底。

 浙公网安备 33010602011771号