


消息队列学习03:Zookeeper、Kafka在Linux平台的安装和配置
安装Zookeeper
下载安装包
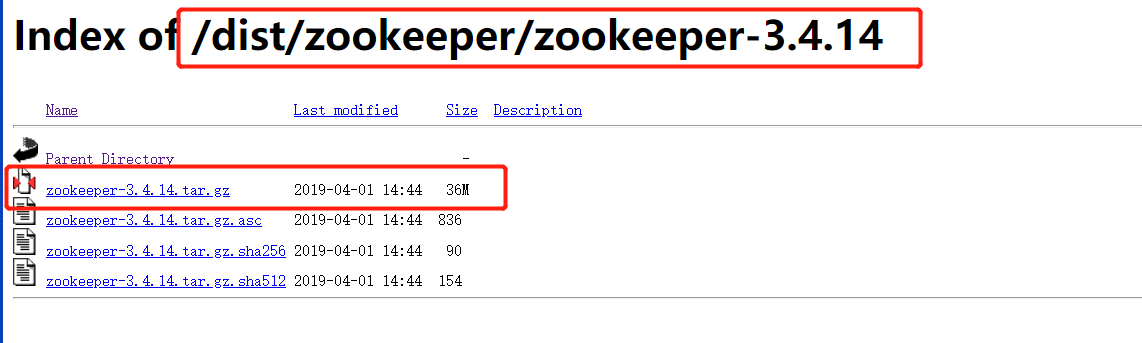
在Apache Zookeeper镜像站点下载安装包;我下载的是3.4.14版本
安装Zookeeper
1-通过XFTP将zookeeper-3.4.14.tar安装包上传到Linux服务器usr/local目录下
2-到usr/local目录下,确认是否成功
[root@izbp1aum9uyt0x56d3vepwz ~]# cd /usr/local/
[root@izbp1aum9uyt0x56d3vepwz local]# ls -al
total 36860
drwxr-xr-x. 15 root root     4096 Oct 16 19:13 .
drwxr-xr-x. 13 root root     4096 Mar 13  2019 ..
drwxr-xr-x   7 root root     4096 Aug 31 03:59 aegis
drwxr-xr-x.  2 root root     4096 Apr 12  2019 bin
drwxr-xr-x   4 root root     4096 Aug  7 09:15 cloudmonitor
drwxr-xr-x.  2 root root     4096 Apr 11  2018 etc
drwxr-xr-x.  2 root root     4096 Apr 11  2018 games
drwxr-xr-x.  2 root root     4096 Apr 11  2018 include
drwxr-xr-x.  2 root root     4096 Apr 11  2018 lib
drwxr-xr-x.  2 root root     4096 Apr 11  2018 lib64
drwxr-xr-x.  2 root root     4096 Apr 11  2018 libexec
drwxrwxr-x   6 root root     4096 Aug  7 14:24 redis
drwxr-xr-x.  2 root root     4096 Apr 11  2018 sbin
drwxr-xr-x.  6 root root     4096 Apr 11  2018 share
drwxr-xr-x.  2 root root     4096 Apr 11  2018 src
-rw-r--r--   1 root root 37676320 Oct 16 19:13 zookeeper-3.4.14.tar.gz
3-将zookeeper-3.4.14.tar.gz包解压至/usr/local/路径
[root@izbp1aum9uyt0x56d3vepwz local]# tar -zxvf zookeeper-3.4.14.tar.gz
……………………省略…………………………
zookeeper-3.4.14/README_packaging.txt
zookeeper-3.4.14/build.xml
zookeeper-3.4.14/ivy.xml
zookeeper-3.4.14/ivysettings.xml
zookeeper-3.4.14/pom.xml
zookeeper-3.4.14/zookeeper-3.4.14.jar
zookeeper-3.4.14/zookeeper-3.4.14.jar.md5
zookeeper-3.4.14/zookeeper-3.4.14.jar.sha1
zookeeper-3.4.14/zookeeper-3.4.14.jar.asc
4-进入/usr/local/zookeeper-3.4.14/conf目录,复制文件zoo_sample.cfg并命名为zoo.cfg
[root@izbp1aum9uyt0x56d3vepwz zookeeper-3.4.14]# cd /usr/local/zookeeper-3.4.14/conf/
[root@izbp1aum9uyt0x56d3vepwz conf]# cp zoo_sample.cfg  zoo.cfg
5-在zookeeper-3.4.14文件夹下创建data、logs两个目录
[root@izbp1aum9uyt0x56d3vepwz conf]# cd /usr/local/zookeeper-3.4.14
[root@izbp1aum9uyt0x56d3vepwz zookeeper-3.4.14]# mkdir data
[root@izbp1aum9uyt0x56d3vepwz zookeeper-3.4.14]# mkdir logs
6-配置zoo.cfg文件:dataDir=/usr/local/zookeeper-3.4.14/data 和 dataLogDir=/usr/local/zookeeper-3.4.14/logs; 这里我是通过XFTP下载zoo.cfg到本地,修改后上传覆盖源文件;也可以选择使用Linux vi指令
# The number of milliseconds of each tick
tickTime=2000
# The number of ticks that the initial
# synchronization phase can take
initLimit=10
# The number of ticks that can pass between
# sending a request and getting an acknowledgement
syncLimit=5
# the directory where the snapshot is stored.
# do not use /tmp for storage, /tmp here is just
# example sakes.
dataDir=/usr/local/zookeeper-3.4.14/data
dataLogDir=/usr/local/zookeeper-3.4.14/logs
# the port at which the clients will connect
clientPort=2181
# the maximum number of client connections.
# increase this if you need to handle more clients
#maxClientCnxns=60
#
# Be sure to read the maintenance section of the
# administrator guide before turning on autopurge.
#
# http://zookeeper.apache.org/doc/current/zookeeperAdmin.html#sc_maintenance
#
# The number of snapshots to retain in dataDir
#autopurge.snapRetainCount=3
# Purge task interval in hours
# Set to "0" to disable auto purge feature
#autopurge.purgeInterval=1
7-在/etc/profile尾部追加如下内容,即配置Linux下zookeeper环境变量
# zookeeper-3.4.14 config start
export ZOOKEEPER_HOME=/usr/local/zookeeper-3.4.14
export PATH=$ZOOKEEPER_HOME/bin:$PATH
# zookeeper-3.4.14 config end
8-使/etc/profile文件立即生效
[root@ etc]# source /etc/profile
9-启动Zookepper:输入zkServer.sh start,启动Zookeeper服务,如打印如下信息则表示启动成功
[root@izbp1aum9uyt0x56d3vepwz zookeeper-3.4.14]# zkServer.sh start
ZooKeeper JMX enabled by default
Using config: /usr/local/zookeeper-3.4.14/bin/../conf/zoo.cfg
Starting zookeeper ... STARTED
常用的指令
1-重启Zookeeper:zkServer.sh restart
[root@izbp1aum9uyt0x56d3vepwz zookeeper-3.4.14]# zkServer.sh restart
ZooKeeper JMX enabled by default
Using config: /usr/local/zookeeper-3.4.14/bin/../conf/zoo.cfg
ZooKeeper JMX enabled by default
Using config: /usr/local/zookeeper-3.4.14/bin/../conf/zoo.cfg
Stopping zookeeper ... no zookeeper to stop (could not find file /tmp/zookeeper/zookeeper_server.pid)
ZooKeeper JMX enabled by default
Using config: /usr/local/zookeeper-3.4.14/bin/../conf/zoo.cfg
Starting zookeeper ... STARTED
2-停止Zookeeper:zkServer.sh stop
Using config: /usr/local/zookeeper-3.4.14/bin/../conf/zoo.cfg
Stopping zookeeper ... STOPPED
3-查看Zookeeper状态:zkServer.sh status
[root@izbp1aum9uyt0x56d3vepwz zookeeper-3.4.14]# zkServer.sh status
ZooKeeper JMX enabled by default
Using config: /usr/local/zookeeper-3.4.14/bin/../conf/zoo.cfg
Mode: standalone
安装Kafka
下载安装包
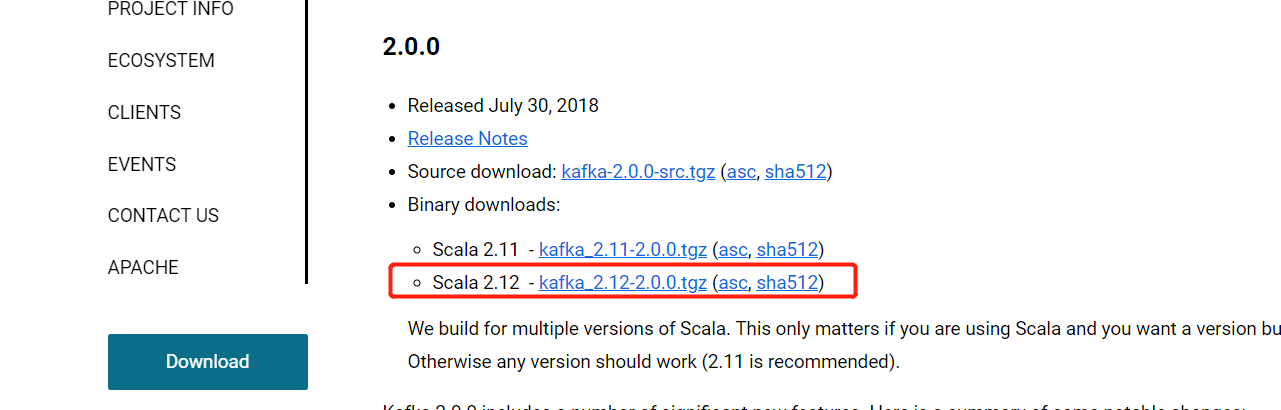
1-进入Apache Kafka官方网站,此处选择Kafka 2.0.0版本,对应的Scala版本是2.12,找到kafka_2.12-2.0.0.tgz,点击下载
安装Kafka
1-通过XFTP将kafka_2.12-2.0.0安装包上传到Linux服务器usr/local目录下
2-将kafka_2.12-2.0.0.tgz包解压至/usr/local/路径
[root@izbp1aum9uyt0x56d3vepwz local]# cd /usr/local
[root@izbp1aum9uyt0x56d3vepwz local]# tar -zxvf kafka_2.12-2.0.0.tgz
…………省略………………
kafka_2.12-2.0.0/libs/connect-basic-auth-extension-2.0.0.jar
kafka_2.12-2.0.0/libs/kafka-streams-2.0.0.jar
kafka_2.12-2.0.0/libs/rocksdbjni-5.7.3.jar
kafka_2.12-2.0.0/libs/kafka-streams-scala_2.12-2.0.0.jar
kafka_2.12-2.0.0/libs/kafka-streams-test-utils-2.0.0.jar
kafka_2.12-2.0.0/libs/kafka-streams-examples-2.0.0.jar
3-创建日志目录/kafka_2.12-2.0.0/logs
[root@izbp1aum9uyt0x56d3vepwz local]# cd /usr/local/kafka_2.12-2.0.0
[root@izbp1aum9uyt0x56d3vepwz kafka_2.12-2.0.0]# mkdir logs
4-修改/kafka_2.12-2.0.0/config/server.properties文件,分别修改三个地方: listeners、advertised.listeners、log.dirs;其中外网IP的设置是为了可以远程使用当前服务器的kafka(当前需要先开放对应的zookeeper和kafka端口)
#内网IP
listeners=PLAINTEXT://192.168.126.XXX:9092

#外网IP
advertised.listeners=PLAINTEXT://47.111.XXX.6:9092

#日志记录
log.dirs=/usr/local/kafka_2.12-2.0.0/logs
启动Kafka
1-在当前目录下输入 ./bin/kafka-server-start.sh ./config/server.properties,启动Kafka,可以启动,但是一旦向继续输入指令,则会强制退出kafka
[root@izbp1aum9uyt0x56d3vepwz kafka_2.12-2.0.0]# ./bin/kafka-server-start.sh ./config/server.properties
…………………省略………………………………
[2019-10-16 20:03:07,873] INFO [GroupMetadataManager brokerId=0] Removed 0 expired offsets in 60 milliseconds. (kafka.coordinator.group.GroupMetadataManager)
[2019-10-16 20:03:07,942] INFO [TransactionCoordinator id=0] Starting up. (kafka.coordinator.transaction.TransactionCoordinator)
[2019-10-16 20:03:07,952] INFO [TransactionCoordinator id=0] Startup complete. (kafka.coordinator.transaction.TransactionCoordinator)
[2019-10-16 20:03:07,974] INFO [Transaction Marker Channel Manager 0]: Starting (kafka.coordinator.transaction.TransactionMarkerChannelManager)
[2019-10-16 20:03:08,062] INFO [/config/changes-event-process-thread]: Starting (kafka.common.ZkNodeChangeNotificationListener$ChangeEventProcessThread)
[2019-10-16 20:03:08,097] INFO [SocketServer brokerId=0] Started processors for 1 acceptors (kafka.network.SocketServer)
[2019-10-16 20:03:08,102] INFO Kafka version : 2.0.0 (org.apache.kafka.common.utils.AppInfoParser)
[2019-10-16 20:03:08,102] INFO Kafka commitId : 3402a8361b734732 (org.apache.kafka.common.utils.AppInfoParser)
[2019-10-16 20:03:08,104] INFO [KafkaServer id=0] started (kafka.server.KafkaServer)

…………………省略……………………………
[2019-10-16 20:01:29,339] INFO [ThrottledChannelReaper-Request]: Shutting down (kafka.server.ClientQuotaManager$ThrottledChannelReaper)
[2019-10-16 20:01:30,332] INFO [ThrottledChannelReaper-Request]: Shutdown completed (kafka.server.ClientQuotaManager$ThrottledChannelReaper)
[2019-10-16 20:01:30,332] INFO [ThrottledChannelReaper-Request]: Stopped (kafka.server.ClientQuotaManager$ThrottledChannelReaper)
[2019-10-16 20:01:30,334] INFO [SocketServer brokerId=0] Shutting down socket server (kafka.network.SocketServer)
[2019-10-16 20:01:30,377] INFO [SocketServer brokerId=0] Shutdown completed (kafka.network.SocketServer)
[2019-10-16 20:01:30,384] INFO [KafkaServer id=0] shut down completed (kafka.server.KafkaServer)
2-使用nohup &操作,即 nohup ./bin/kafka-server-start.sh ./config/server.properties & 如下(nohup表示不挂断地运行命令, &表示在后台运行)
[root@izbp1aum9uyt0x56d3vepwz kafka_2.12-2.0.0]# nohup ./bin/kafka-server-start.sh  ./config/server.properties &
[1] 16704
[root@izbp1aum9uyt0x56d3vepwz kafka_2.12-2.0.0]# nohup: ignoring input and appending output to ‘nohup.out’
^C
[root@izbp1aum9uyt0x56d3vepwz kafka_2.12-2.0.0]#
3-创建topic:./kafka-topics.sh --create --zookeeper localhost:2181 --replication-factor 1 --partitions 1 --topic test
[root@izbp1aum9uyt0x56d3vepwz kafka_2.12-2.0.0]# cd /usr/local/kafka_2.12-2.0.0/bin/
[root@izbp1aum9uyt0x56d3vepwz bin]# ./kafka-topics.sh --create --zookeeper localhost:2181 --replication-factor 1 --partitions 1 --topic test
Created topic "test".
[root@izbp1aum9uyt0x56d3vepwz bin]# ./kafka-topics.sh --create --zookeeper localhost:2181 --replication-factor 1 --partitions 1 --topic tangyj
Created topic "tangyj".
4-查看topic:./kafka-topics.sh --list --zookeeper localhost:2181
[root@izbp1aum9uyt0x56d3vepwz bin]# ./kafka-topics.sh --list --zookeeper localhost:2181
tangyj
test
5-启动producer(使用topic: test):并发送消息hello tyj 启动指令:./kafka-console-producer.sh --broker-list 192.168.126.XXX:9092 --topic test
[root@izbp1aum9uyt0x56d3vepwz bin]#  ./kafka-console-producer.sh --broker-list 192.168.126.XXX:9092 --topic test
>hello tyj  #发送消息
6-启动consumer(使用topic: test),接收消息; 启动指令: ./kafka-console-consumer.sh --bootstrap-server 192.168.126.XXX:9092 --topic test --from-beginning
[root@izbp1aum9uyt0x56d3vepwz bin]#  ./kafka-console-consumer.sh --bootstrap-server 192.168.126.XXX:9092 --topic test --from-beginning
hello tyj #接收消息
参考资料
1-https://soyuone.github.io/2018/08/19/kafka-setup-linux/
2-https://www.cnblogs.com/yangtianle/p/8761909.html
3-https://blog.csdn.net/hl449006540/article/details/80216061

 浙公网安备 33010602011771号