

android中的toolbar使用
1:导入V7包
右键项目 ->open module setting ->Dependencies ->点击+号-> 选择Library Dependency-> 搜索“appcompat-v7”
打开app/build.gradle,发现已经成功引入

图1.1
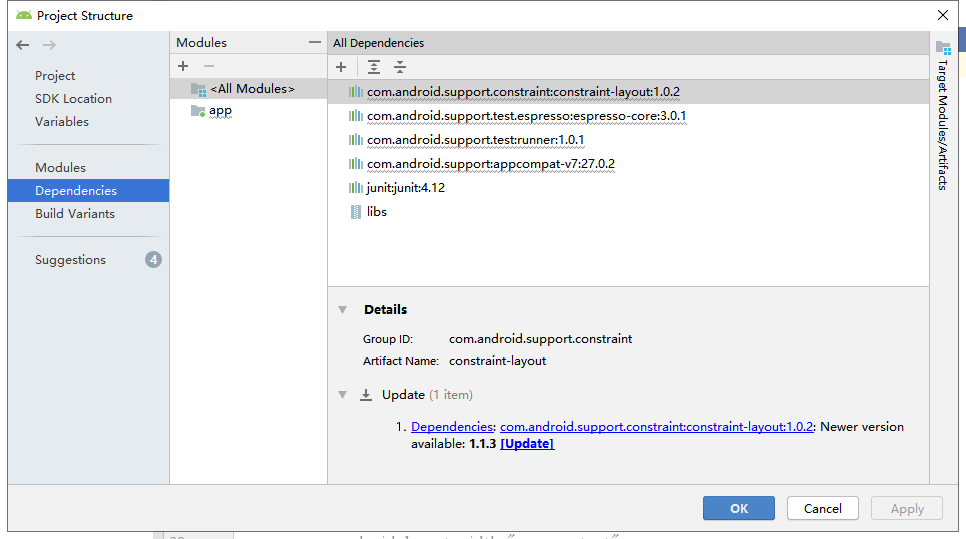
图1.2

图1.3

图1.4
2:activity_main中修改文件
网上一般都采用了相对布局的方法,不知道原因,猜测是因为这样的话就可以实现actionbar和toolbar共存并放在想放的位置上
<?xml version="1.0" encoding="utf-8"?>
<RelativeLayout
    xmlns:android="http://schemas.android.com/apk/res/android"
    xmlns:tools="http://schemas.android.com/tools"
    android:layout_width="match_parent"
    android:layout_height="match_parent"
    android:background="#fff"
    xmlns:app="http://schemas.android.com/apk/res-auto"
    tools:context=".MainActivity">
    <androidx.appcompat.widget.Toolbar
        android:id="@+id/toolbar"
        android:layout_width="match_parent"
        android:layout_height="?attr/actionBarSize"
        android:background="@color/colorPrimary"
        app:logo="@mipmap/app_logo"
        app:title="快速登录注册"
        app:titleTextColor="#fff"
        app:navigationIcon="@drawable/ic_menu"
        android:theme="@style/Base.Theme.AppCompat.Light"
        >
    </androidx.appcompat.widget.Toolbar>
</RelativeLayout>
3:Mainactivity.java
在多次尝试后,发现一件有趣的事情
Toolbar有两个,如果引入错误的话就会无法使用,同时需要和之前在配置文件中的toolbar相同类型,不然就会出现一个android.widget.Toolbar cannot be cast to androidx.appcompat.widget.Toolbar,大意就是找不到这个类(用3.2的写法,会报如3.3所示的错误)

图3.1

图3.2

图3.3

 浙公网安备 33010602011771号