二进制部署1.23.4版本k8s集群-7-安装Harbor
1、下载解压并作软链接
在CFZX55-200.host.com上操作。
下载harbor离线包,上传到200主机的/opt/src目录下
[root@cfzx55-200 src]# pwd
/opt/src
[root@cfzx55-200 src]# ll
total 598340
-rw-r--r-- 1 root root 612698835 Mar 15 12:17 harbor-offline-installer-v2.4.1.tgz
[root@cfzx55-200 src]#
[root@cfzx55-200 src]# tar xf harbor-offline-installer-v2.4.1.tgz -C /opt/
[root@cfzx55-200 src]# cd /opt/
[root@cfzx55-200 opt]# mv harbor/ harbor-v2.4.1
[root@cfzx55-200 opt]# ln -s /opt/harbor-v2.4.1/ /opt/harbor
2、修改配置文件
[root@cfzx55-200 opt]# cd harbor
[root@cfzx55-200 harbor]# cp harbor.yml.tmpl harbor.yml

[root@cfzx55-200 harbor]# vim harbor.yml
[root@cfzx55-200 harbor]# mkdir -pv /data/harbor/logs
mkdir: created directory ‘/data/harbor’
mkdir: created directory ‘/data/harbor/logs’

# 修改主机名
hostname: harbor.od.com
http:
  # port for http, default is 80. If https enabled, this port will redirect to https port
  # 修改端口号
  port: 180
# 注释https
# https related config
#https:
#  # https port for harbor, default is 443
#  port: 443
#  # The path of cert and key files for nginx
#  certificate: /your/certificate/path
#  private_key: /your/private/key/path
# 修改密码
harbor_admin_password: Harbor12345
# 修改数据存储位置
# The default data volume
data_volume: /data/harbor
# 修改日志存储位置
    location: /data/harbor/logs
3、安装docker-compose
[root@cfzx55-200 harbor]# yum install docker-compose -y
[root@cfzx55-200 harbor]# rpm -qa docker-compose
docker-compose-1.18.0-4.el7.noarc
4、启动harbor
# 修改配置文件后,需要执行./prepare
[root@cfzx55-200 harbor]# ./prepare
...
Successfully called func: create_root_cert
Generated configuration file: /compose_location/docker-compose.yml
Clean up the input dir

[root@cfzx55-200 harbor]# ./install.sh
...
✔ ----Harbor has been installed and started successfully.----
5、检查harbor启动情况
[root@cfzx55-200 harbor]# netstat -luntp
Active Internet connections (only servers)
Proto Recv-Q Send-Q Local Address           Foreign Address         State       PID/Program name
tcp        0      0 0.0.0.0:180             0.0.0.0:*               LISTEN      10092/docker-proxy
tcp        0      0 0.0.0.0:22              0.0.0.0:*               LISTEN      918/sshd
tcp        0      0 127.0.0.1:1514          0.0.0.0:*               LISTEN      9342/docker-proxy
udp        0      0 127.0.0.1:323           0.0.0.0:*                           713/chronyd
[root@cfzx55-200 harbor]# docker-compose ps
      Name                     Command               State             Ports
--------------------------------------------------------------------------------------
harbor-core         /harbor/entrypoint.sh            Up
harbor-db           /docker-entrypoint.sh 96 13      Up
harbor-jobservice   /harbor/entrypoint.sh            Up
harbor-log          /bin/sh -c /usr/local/bin/ ...   Up      127.0.0.1:1514->10514/tcp
harbor-portal       nginx -g daemon off;             Up
nginx               nginx -g daemon off;             Up      0.0.0.0:180->8080/tcp
redis               redis-server /etc/redis.conf     Up
registry            /home/harbor/entrypoint.sh       Up
registryctl         /home/harbor/start.sh            Up
[root@cfzx55-200 harbor]#
6、安装nginx并配置
实际使用时,不能直接使用IP地址,而是通过域名访问,因此需要安装反向代理。
6.1 安装nginx
[root@cfzx55-200 harbor]# yum install nginx -y
[root@cfzx55-200 harbor]# rpm -qa nginx
nginx-1.20.1-9.el7.x86_64
6.2 配置nginx
/etc/nginx/conf.d/harbor.od.com.conf
# 新建文件,内容如下
[root@cfzx55-200 harbor]# vim /etc/nginx/conf.d/harbor.od.com.conf
[root@cfzx55-200 harbor]# cat /etc/nginx/conf.d/harbor.od.com.conf
server {
    listen		80;
    server_name		harbor.od.com;

    client_max_body_size 1000m;

    location / {
        proxy_pass http://127.0.0.1:180;
    }
}
# 语法检查
[root@cfzx55-200 harbor]# nginx -t
nginx: the configuration file /etc/nginx/nginx.conf syntax is ok
nginx: configuration file /etc/nginx/nginx.conf test is successful
# 启动nginx并设置为开机启动
[root@cfzx55-200 harbor]# systemctl enable nginx
Created symlink from /etc/systemd/system/multi-user.target.wants/nginx.service to /usr/lib/systemd/system/nginx.service.
[root@cfzx55-200 harbor]# systemctl start nginx
# 检查状态
[root@cfzx55-200 harbor]# systemctl status nginx
6.3 访问测试
[root@cfzx55-200 harbor]# curl harbor.od.com
curl: (6) Could not resolve host: harbor.od.com; Name or service not known
访问失败,需要进行域名解析配置。
7、配置harbor的dns内网解析
在11主机上操作
添加harbor的A记录,注意serial序列号前滚一个序号
[root@cfzx55-11 ~]# vim /var/named/od.com.zone
[root@cfzx55-11 ~]# cat /var/named/od.com.zone
$ORIGIN od.com.
$TTL 600 ;
@	IN SOA	dns.od.com. dnsadmin.od.com. (
					2022031202	; serial
					10800	; refresh
					900	; retry
					604800	; expire
					86400 )	; minimum
	NS	dns.od.com.
$TTL 60 ;
dns		A	10.211.55.11
harbor		A	10.211.55.200
[root@cfzx55-11 ~]#
# 重启named服务
[root@cfzx55-11 ~]# systemctl restart named
# 域名解析测试
[root@cfzx55-11 ~]# dig -t A harbor.od.com +short
10.211.55.200
[root@cfzx55-11 ~]#
再在200上操作
[root@cfzx55-200 harbor]# curl harbor.od.com
<!doctype html>
<html>

。。。

</html>[root@cfzx55-200 harbor]#
8、浏览器打开
修改主机(运行虚拟机的电脑)配置文件,在文件的最后增加下面一行内容。
❯ sudo vim /etc/hosts
❯ cat /etc/hosts
10.211.55.200       harbor.od.com
用浏览器访问:http://harbor.od.com/
用户名:admin
密码:Harbor12345
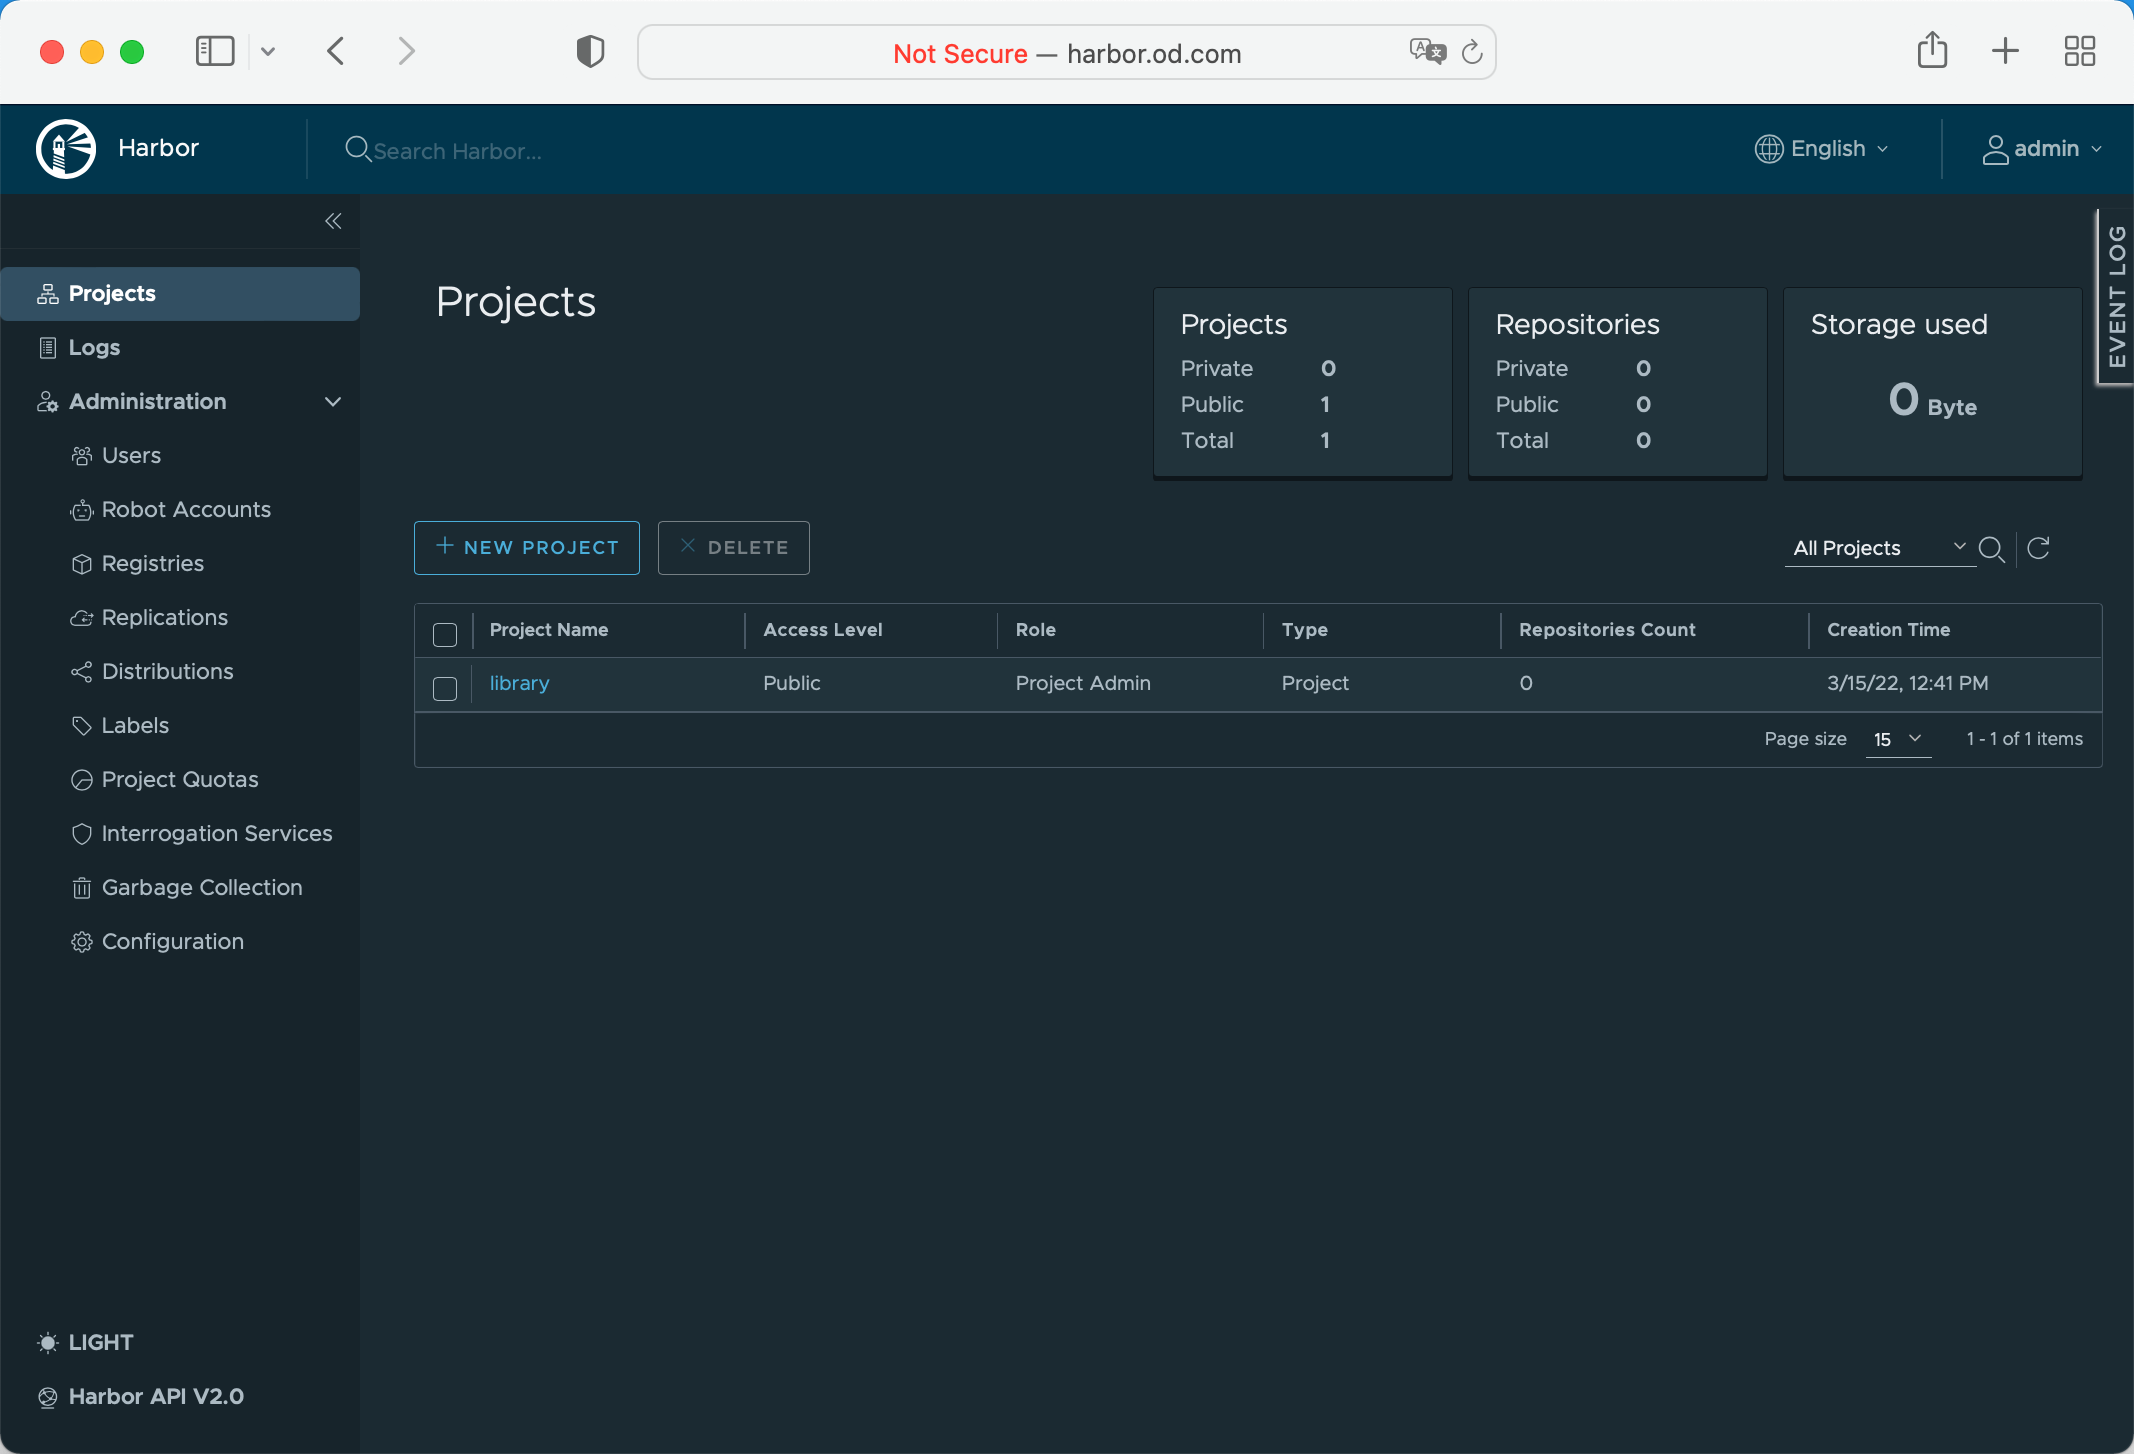
9、新建项目
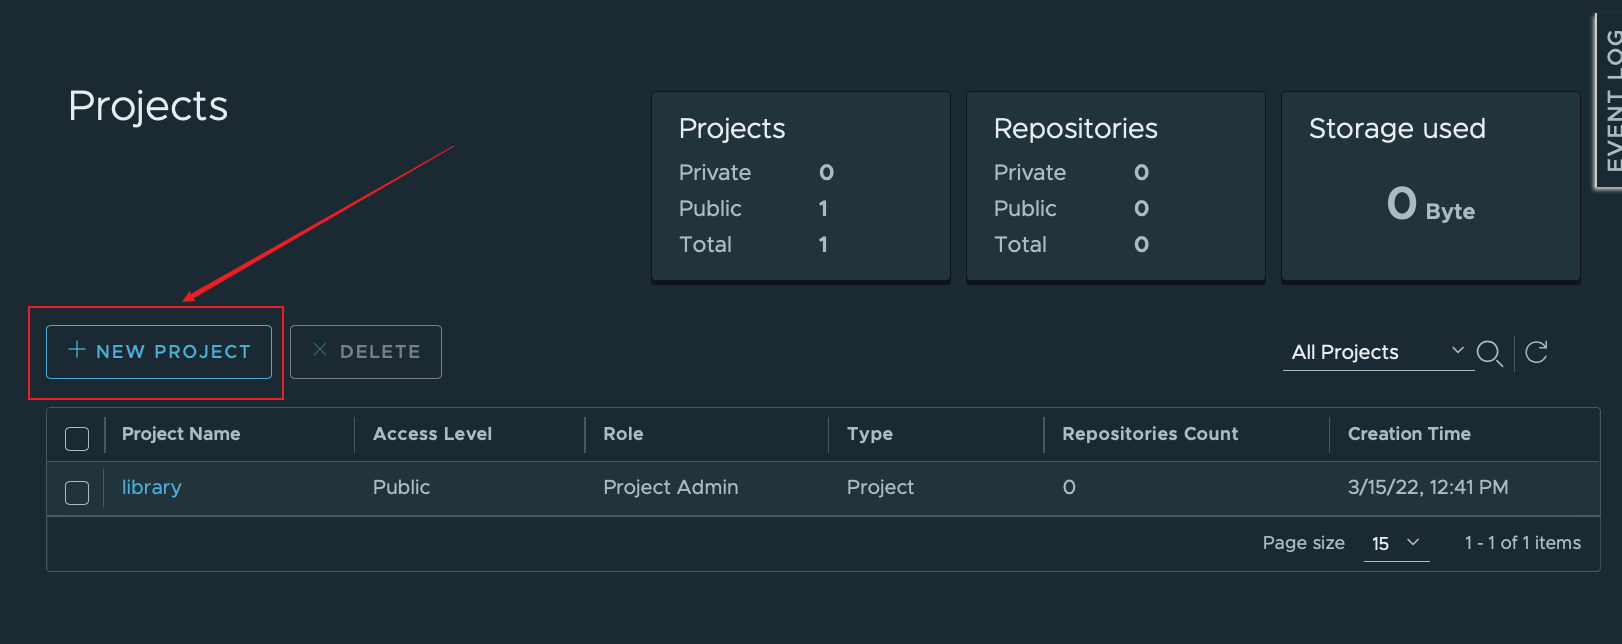
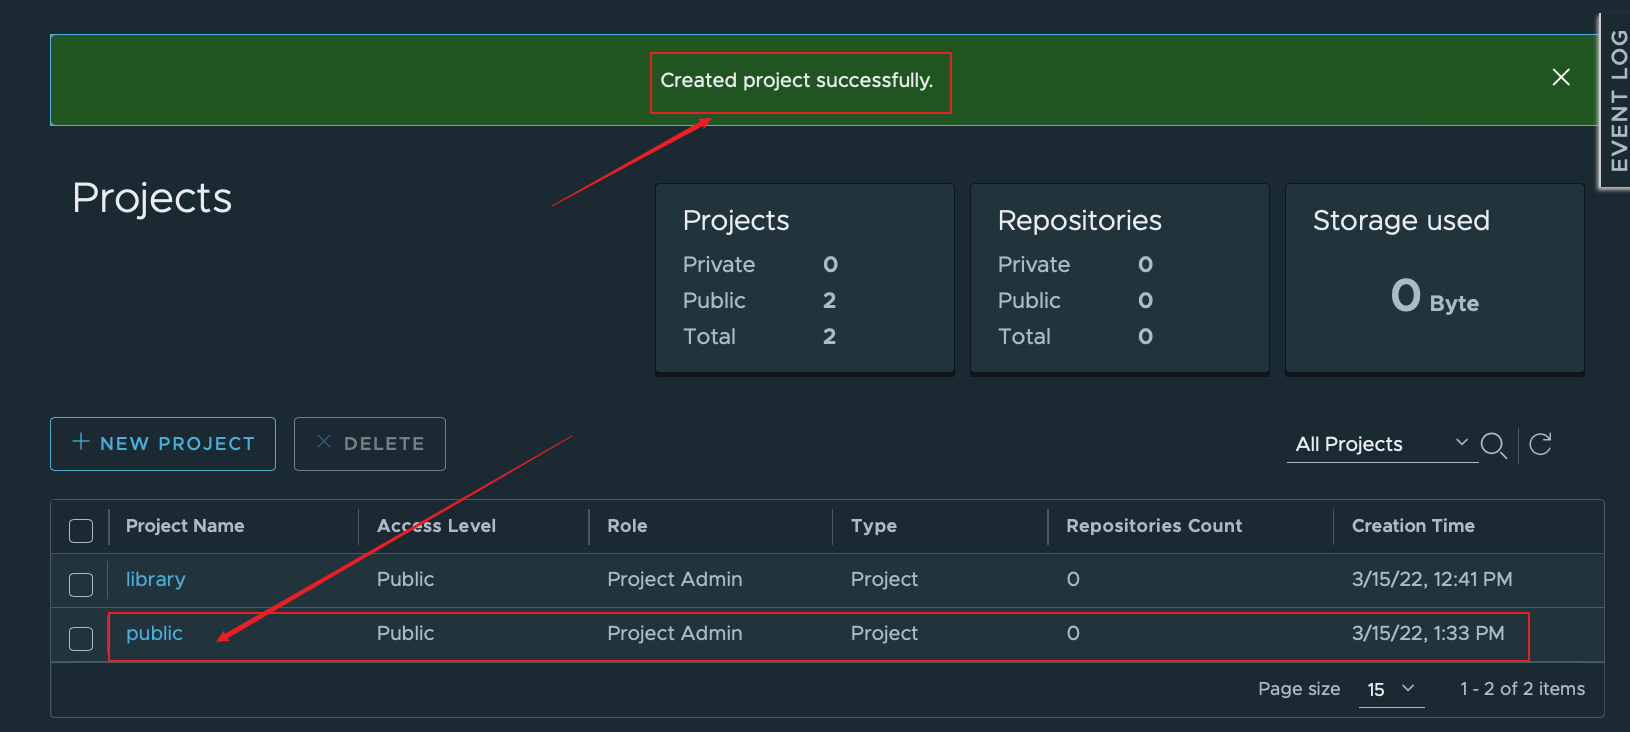
项目名称:public
访问级别:public
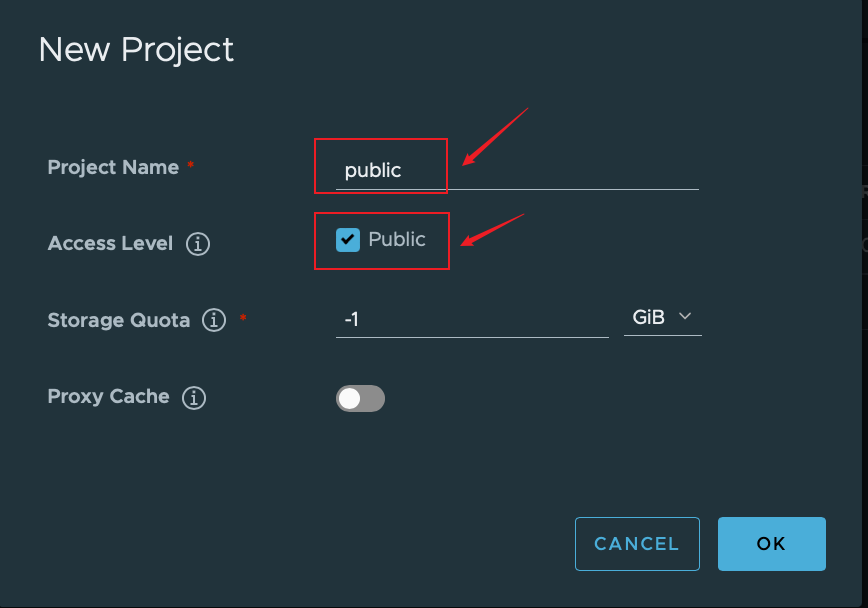
结果如下图:
10、配置http访问
[root@cfzx55-200 harbor]# cat /etc/docker/daemon.json
{
    "graph": "/data/docker",
    "storage-driver": "overlay2",
    "insecure-registries": ["registry.access.redhat.com","quay.io","harbor.od.com"],
    "registry-mirrors": ["https://q2gr04ke.mirror.aliyuncs.com"],
    "bip": "172.7.200.1/24",
    "exec-opts": ["native.cgroupdriver=systemd"],
    "live-restore": true
}
[root@cfzx55-200 harbor]#
daemon.json文件中,insecure-registries中配置了harbor.od.com,这样可以不使用证书直接用http方式访问。
11、给自建仓库上传镜像
# 拉取镜像
[root@cfzx55-200 harbor]# docker pull nginx:1.7.9
1.7.9: Pulling from library/nginx
Image docker.io/library/nginx:1.7.9 uses outdated schema1 manifest format. Please upgrade to a schema2 image for better future compatibility. More information at https://docs.docker.com/registry/spec/deprecated-schema-v1/
a3ed95caeb02: Pull complete
...
c9cec474c523: Pull complete
Digest: sha256:e3456c851a152494c3e4ff5fcc26f240206abac0c9d794affb40e0714846c451
Status: Downloaded newer image for nginx:1.7.9
docker.io/library/nginx:1.7.9
# 打标签
[root@cfzx55-200 harbor]# docker images | grep 1.7.9
nginx                         1.7.9     84581e99d807   7 years ago    91.7MB
[root@cfzx55-200 harbor]# docker tag 84581e99d807 harbor.od.com/public/nginx:v1.7.9
# 登录harbor
[root@cfzx55-200 harbor]# docker login harbor.od.com
Username: admin
Password:
WARNING! Your password will be stored unencrypted in /root/.docker/config.json.
Configure a credential helper to remove this warning. See
https://docs.docker.com/engine/reference/commandline/login/#credentials-store

Login Succeeded
[root@cfzx55-200 harbor]#

# 上传镜像
[root@cfzx55-200 harbor]# docker push harbor.od.com/public/nginx:v1.7.9
The push refers to repository [harbor.od.com/public/nginx]
5f70bf18a086: Pushed
4b26ab29a475: Pushed
ccb1d68e3fb7: Pushed
e387107e2065: Pushed
63bf84221cce: Pushed
e02dce553481: Pushed
dea2e4984e29: Pushed
v1.7.9: digest: sha256:b1f5935eb2e9e2ae89c0b3e2e148c19068d91ca502e857052f14db230443e4c2 size: 3012
[root@cfzx55-200 harbor]#
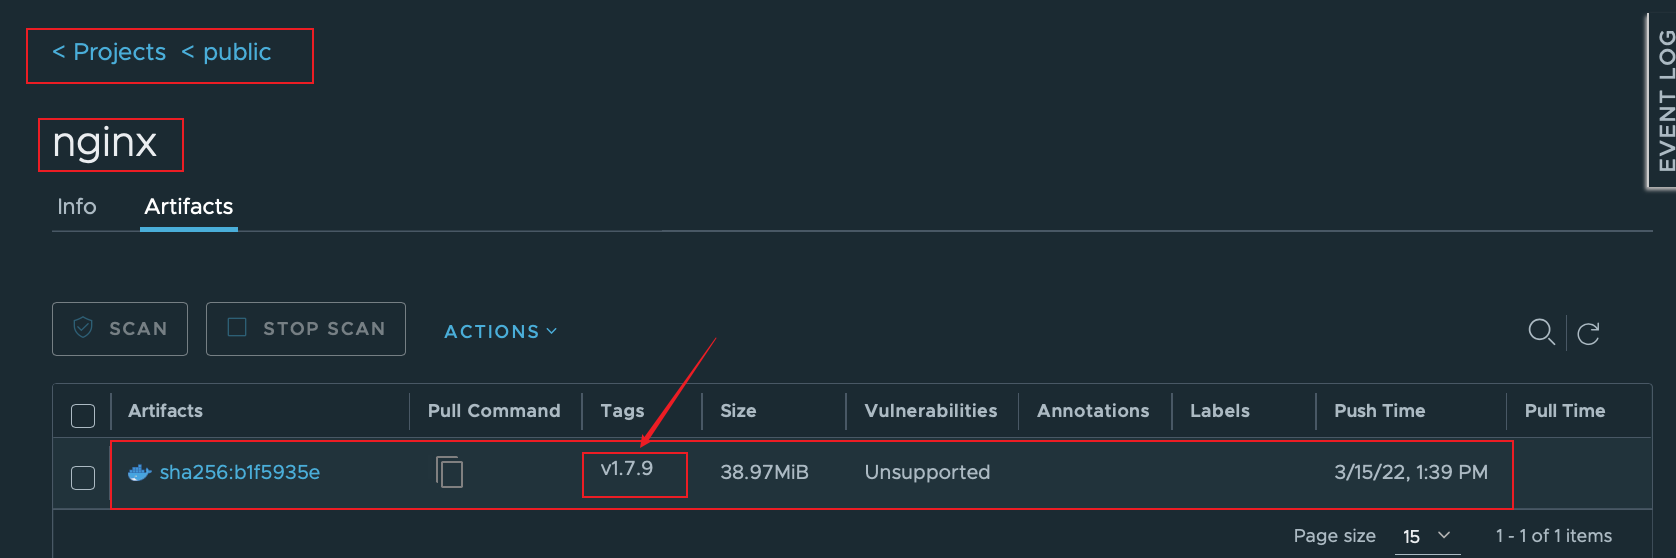
查看上传结果

 浙公网安备 33010602011771号