allure 生成测试报告
github 下载地址:https://github.com/allure-framework/allure2/releases
测试报告示例:https://allure-framework.github.io/allure-demo/
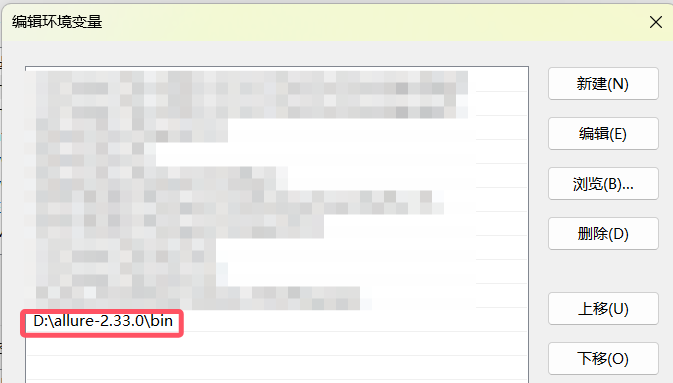
安装 Allure
下载zip包解压后,配置环境变量,放进PATH

安装allure的pytest插件:
pip install allure-pytest
执行测试并收集测试结果:
pytest --alluredir=/tmp/result --clean-alluredir
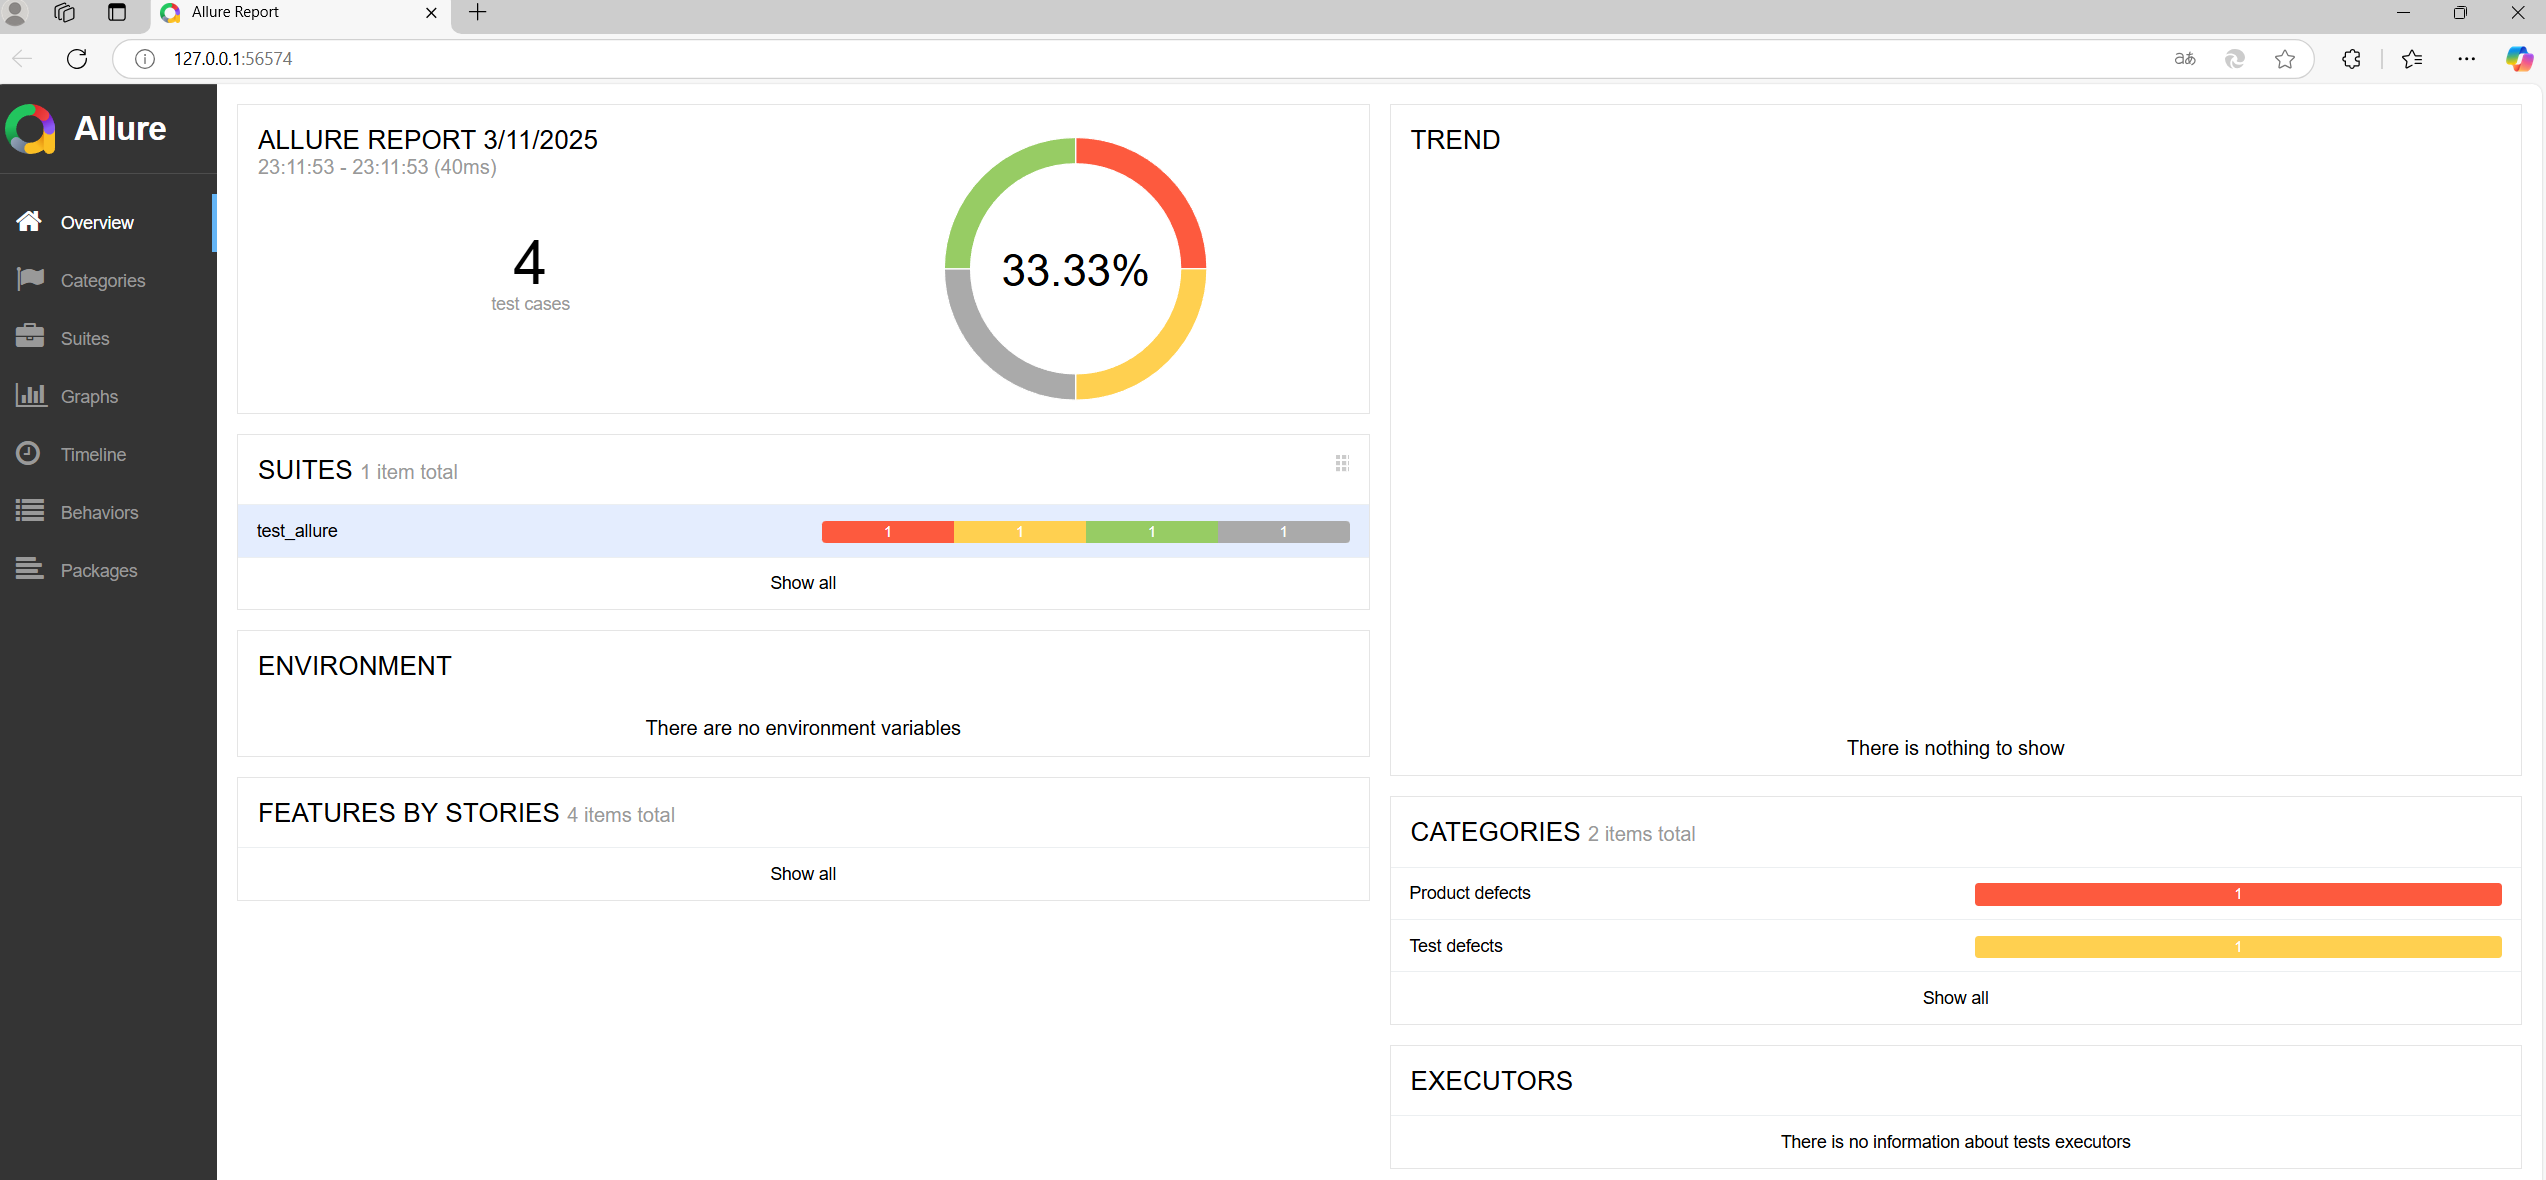
生成allure报告在线查看:
allure serve /tmp/result
执行上述命令,allure服务启动之后会自动在打开浏览器,显示allure的服务页面
生成报告保存至本地:
# 生成报告
allure generate /tmp/result -o /tmp/report --clean
# 打开报告
allure open -h 127.0.0.1 -p 8883 /tmp/report
快速使用
创建 test_allure.py,内容如下:
import pytest

class TestData:
    def test_success(self):
        assert True

    def test_failure(self):
        assert False

    def test_skip(self):
        pytest.skip('for a reason!')

    def test_broken(self):
        raise Exception('oops')
执行测试:
python -m pytest test_allure.py --alluredir=./result

生成allure报告:
allure serve ./result
常用方法
-
allure.feature() 报告中添加模块名称
-
allure.story() 报告中添加用例名称
-
allure.step() 报告中添加用例步骤
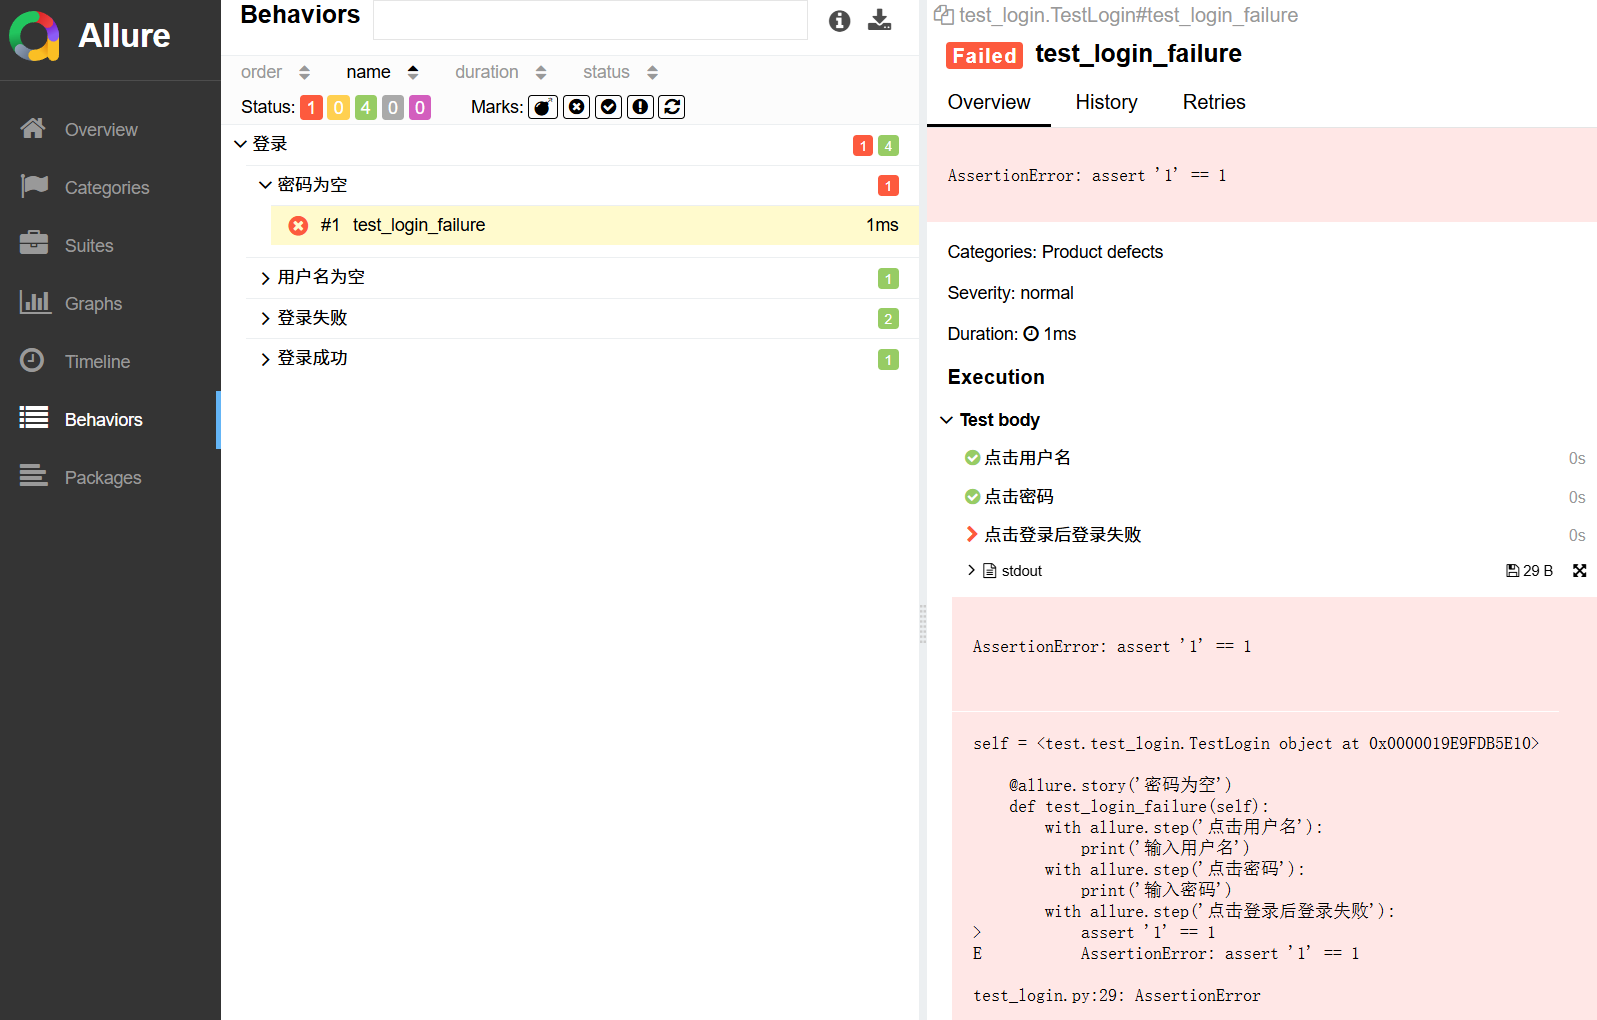
创建 test_login.py,内容如下:
import pytest
import allure

@allure.feature('登录模块')
class TestLogin():
    @allure.story('登录成功')
    def test_login_success(self):
        print('登录成功')
        pass

    @allure.story('登录失败')
    def test_login_success_a(self):
        print('登录成功')
        pass

    @allure.story('用户名为空')
    def test_login_success_b(self):
        print('用户名为空')
        pass


    @allure.story('密码为空')
    def test_login_failure(self):
        with allure.step('点击用户名'):
            print('输入用户名')
        with allure.step('点击密码'):
            print('输入密码')
        with allure.step('点击登录后登录失败'):
            assert '1' == 1
            print('登录失败')
        pass

    @allure.story('登录失败')
    def test_login_failure_a(self):
        print('登录失败')
        pass
查看生成的测试报告
python -m pytest test_login.py --alluredir=./result --clean-alluredir
allure serve ./result
# 只运行登录模块
python -m pytest test_login.py --allure-features '登录模块'
# 只运行登录成功用例
python -m pytest test_login.py --allure-stories '登录成功'
-
allure.link() 报告中添加链接
-
allure.testcase() 报告中添加用例管理系统链接
-
allure.issue() 添加bug管理系统链接
import allure

@allure.link("http://www.baidu.com", name="用例集链接")
def test_with_link():
	pass

TEST_CASE_LINK = 'https://github.com/qameta/allure-integrations/issues/8#issuecomment-268313637'
@allure.testcase(TEST_CASE_LINK, '用例管理系统')
def test_with_testcase_link():
	pass

# 这个装饰器在展示的时候会带 bug 图标的链接。可以在运行时通过参数 `--allure-link-pattern` 指定一个模板链接,以便将其与提供的问题链接类型链接模板一起使用。执行命令需要指定模板链接:`--allure-link-pattern=issue:https://ceshiren.com/t/topic/{}`
@allure.issue("15860", 'bug管理系统')
def test_with_issue():
pass
- allure.attach() 报告中添加附件(如图片、html)
allure.attach(body, name=None, attachment_type=None, extension=None)
百度搜索并生成 allure 报告的一个例子
import allure
import pytest
from selenium import webdriver
import time
from selenium.webdriver.common.by import By


@allure.testcase("http://www.github.com")
@allure.feature("百度搜索")
@pytest.mark.parametrize('test_data', ['allure', 'pytest', 'unittest'])
def test_steps_demo(test_data):
    with allure.step("打开百度"):
        driver = webdriver.Chrome()
        driver.get("https://www.baidu.com")

    with allure.step(f"输入搜索词:{test_data}"):
        driver.find_element(By.ID, "kw").send_keys(test_data)
        time.sleep(2)
        driver.find_element(By.ID, "su").click()
        time.sleep(2)

    with allure.step("保存图片"):
        driver.save_screenshot("./result/b.png")
        allure.attach.file("./result/b.png", attachment_type=allure.attachment_type.PNG)
    with allure.step("关闭浏览器"):
        driver.quit()

 浙公网安备 33010602011771号