iOS开发UI篇—Quartz2D简单使用(一)
iOS开发UI篇—Quartz2D简单使用(一)
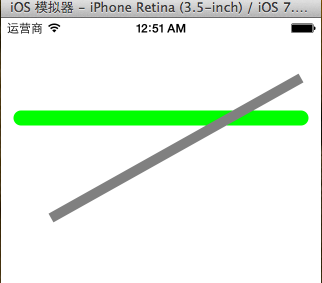
一、画直线
代码:
 1 //
 2 //  YYlineview.m
 3 //  03-画直线
 4 //
 5 //  Created by apple on 14-6-9.
 6 //  Copyright (c) 2014年 itcase. All rights reserved.
 7 //
 8
 9 #import "YYlineview.h"
10
11 @implementation YYlineview
12
13
14 // 当自定义view第一次显示出来的时候就会调用drawRect方法
15 - (void)drawRect:(CGRect)rect
16 {
17
18     // 1.取得和当前视图相关联的图形上下文(因为图形上下文决定绘制的输出目标)/
19     // 如果是在drawRect方法中调用UIGraphicsGetCurrentContext方法获取出来的就是Layer的上下文
20     CGContextRef  ctx=UIGraphicsGetCurrentContext();//不需要*,同id
21
22     // 2.绘图(绘制直线), 保存绘图信息
23     // 设置起点
24     CGContextMoveToPoint(ctx, 20, 100);
25     //设置终点
26     CGContextAddLineToPoint(ctx, 300, 100);
27
28
29     //设置绘图的状态
30     //设置线条的颜色为蓝色
31     CGContextSetRGBStrokeColor(ctx, 0, 1.0, 0, 1.0);
32     //设置线条的宽度
33     CGContextSetLineWidth(ctx, 15);
34     //设置线条起点和终点的样式为圆角
35     CGContextSetLineCap(ctx, kCGLineCapRound);
36     //设置线条的转角的样式为圆角
37     CGContextSetLineJoin(ctx, kCGLineJoinRound);
38     //3.渲染(绘制出一条空心的线)
39     CGContextStrokePath(ctx);
40
41 //    //注意线条不能渲染为实心的
42 //    CGContextFillPath(ctx);
43
44
45
46     //设置第二条线
47     //设置第二条线的起点
48     CGContextMoveToPoint(ctx, 50, 200);
49     //设置第二天线的终点(自动把上一条直线的终点当做起点)
50     CGContextAddLineToPoint(ctx, 300, 60);
51
52     //设置绘图的状态
53 //    CGContextSetRGBStrokeColor(ctx, 1.0, 0.7, 0.3, 1.0);
54     //第二种设置颜色的方式
55     [[UIColor grayColor] set];
56     //设置线条的宽度
57     CGContextSetLineWidth(ctx, 10);
58     //设置线条的起点和终点的样式
59     CGContextSetLineCap(ctx, kCGLineCapButt);
60
61     //渲染第二条线的图形到view上
62     //绘制一条空心的线
63     CGContextStrokePath(ctx);
64 }
65
66
67 @end
效果:
二、画三角形
代码:
 1 //
 2 //  YYrectview.m
 3 //  02-画三角形
 4 //
 5 //  Created by 孔医己 on 14-6-10.
 6 //  Copyright (c) 2014年 itcast. All rights reserved.
 7 //
 8
 9 #import "YYrectview.h"
10
11 @implementation YYrectview
12
13
14 - (void)drawRect:(CGRect)rect
15 {
16     //1.获得图形上下文
17     CGContextRef ctx=UIGraphicsGetCurrentContext();
18
19     //2.绘制三角形
20     //设置起点
21     CGContextMoveToPoint(ctx, 20, 100);
22     //设置第二个点
23     CGContextAddLineToPoint(ctx, 40, 300);
24     //设置第三个点
25     CGContextAddLineToPoint(ctx, 200, 200);
26     //设置终点
27 //     CGContextAddLineToPoint(ctx, 20, 100);
28     //关闭起点和终点
29     CGContextClosePath(ctx);
30
31     // 3.渲染图形到layer上
32     CGContextStrokePath(ctx);
33
34 }
35
36
37 @end
效果:
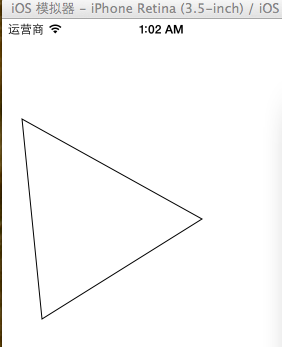
提示:关闭起点和终点 CGContextClosePath(ctx);
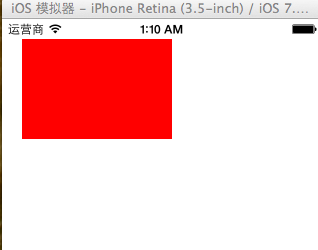
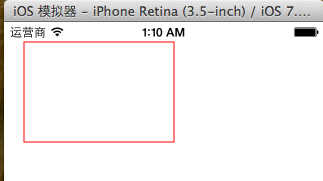
三、画四边形
代码:
 1 //
 2 //  YYrect.m
 3 //  03-画四边形
 4 //
 5 //  Created by 孔医己 on 14-6-10.
 6 //  Copyright (c) 2014年 itcast. All rights reserved.
 7 //
 8
 9 #import "YYrect.h"
10
11 @implementation YYrect
12
13
14 - (void)drawRect:(CGRect)rect
15 {
16
17     //1.获取图形上下文
18     CGContextRef ctx=UIGraphicsGetCurrentContext();
19     //2.画四边形
20     CGContextAddRect(ctx, CGRectMake(20, 20, 150, 100));
21
22     // 如果要设置绘图的状态必须在渲染之前
23     //    CGContextSetRGBStrokeColor(ctx, 1.0, 0, 0, 1.0);
24     // 绘制什么类型的图形(空心或者实心).就要通过什么类型的方法设置状态
25     //    CGContextSetRGBFillColor(ctx, 1.0, 0, 0, 1.0);
26
27     // 调用OC的方法设置绘图的颜色
28     //    [[UIColor purpleColor] setFill];
29     //    [[UIColor blueColor] setStroke];
30     // 调用OC的方法设置绘图颜色(同时设置了实心和空心)
31     //    [[UIColor greenColor] set];
32     [[UIColor colorWithRed:1.0 green:0 blue:0 alpha:1.0] set];
33
34
35     //3.渲染图形到layer上
36     //空心的
37     CGContextStrokePath(ctx);
38     //实心的
39 //    CGContextFillPath(ctx);
40
41 }
42
43
44 @end
提示:如果要设置绘图的状态必须在渲染之前。
效果(实心和空心):
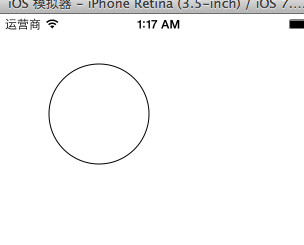
四、画圆
代码1:
- (void)drawRect:(CGRect)rect
{

    // 1.获取上下文
    CGContextRef ctx = UIGraphicsGetCurrentContext();
    // 画圆
    CGContextAddArc(ctx, 100, 100, 50, 0, 2 * M_PI, 0);

    // 3.渲染 (注意, 画线只能通过空心来画)
//    CGContextFillPath(ctx);
    CGContextStrokePath(ctx);

}
效果:
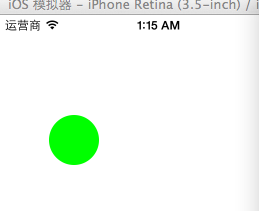
代码2:
 // 画圆
    // 1.获取上下文
    CGContextRef ctx = UIGraphicsGetCurrentContext();
    // 2.画圆
    CGContextAddEllipseInRect(ctx, CGRectMake(50, 100, 50, 50));

    [[UIColor greenColor] set];

    // 3.渲染
    //    CGContextStrokePath(ctx);
    CGContextFillPath(ctx);
效果:
代码3:
// 画椭圆
    // 1.获取上下文
    CGContextRef ctx = UIGraphicsGetCurrentContext();
    // 2.画圆
    CGContextAddEllipseInRect(ctx, CGRectMake(50, 100, 100, 230));

    [[UIColor purpleColor] set];

    // 3.渲染
    //    CGContextStrokePath(ctx);
    CGContextFillPath(ctx);
效果:

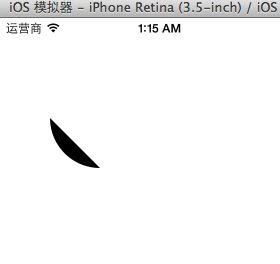
五、画圆弧
代码1:
    // 画圆弧
    // 1.获取上下文
    CGContextRef ctx = UIGraphicsGetCurrentContext();
    // 2.画圆弧
    // x/y 圆心
    // radius 半径
    // startAngle 开始的弧度
    // endAngle 结束的弧度
    // clockwise 画圆弧的方向 (0 顺时针, 1 逆时针)
    //    CGContextAddArc(ctx, 100, 100, 50, -M_PI_2, M_PI_2, 0);
    CGContextAddArc(ctx, 100, 100, 50, M_PI_2, M_PI, 0);
    CGContextClosePath(ctx);

    // 3.渲染
    //     CGContextStrokePath(ctx);
    CGContextFillPath(ctx);
效果:
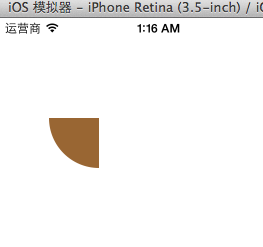
代码2:
    // 1.获取上下文
    CGContextRef ctx = UIGraphicsGetCurrentContext();
    // 2.画饼状图
    // 画线
    CGContextMoveToPoint(ctx, 100, 100);
    CGContextAddLineToPoint(ctx, 100, 150);
    // 画圆弧
    CGContextAddArc(ctx, 100, 100, 50, M_PI_2, M_PI, 0);
    //    CGContextAddArc(ctx, 100, 100, 50, -M_PI, M_PI_2, 1);

    // 关闭路径
    CGContextClosePath(ctx);
    [[UIColor brownColor]set];


    // 3.渲染 (注意, 画线只能通过空心来画)
    CGContextFillPath(ctx);
    //    CGContextStrokePath(ctx);
效果:

 浙公网安备 33010602011771号