
vue+element UI + axios封装文件上传及进度条组件
1.前言
之前在做项目的时候,需要实现一个文件上传组件并且需要有文件上传进度条,现将之前的实现过程简单记录一下,希望可以帮助到有需要的人。
项目用的是Vue框架,UI库使用的是element UI,前后端交互请求使用的是Vue官方推荐的axios。其中,UI方面主要使用了element UI库中的Upload文件上传组件、Progress 进度条组件。
2.文件上传
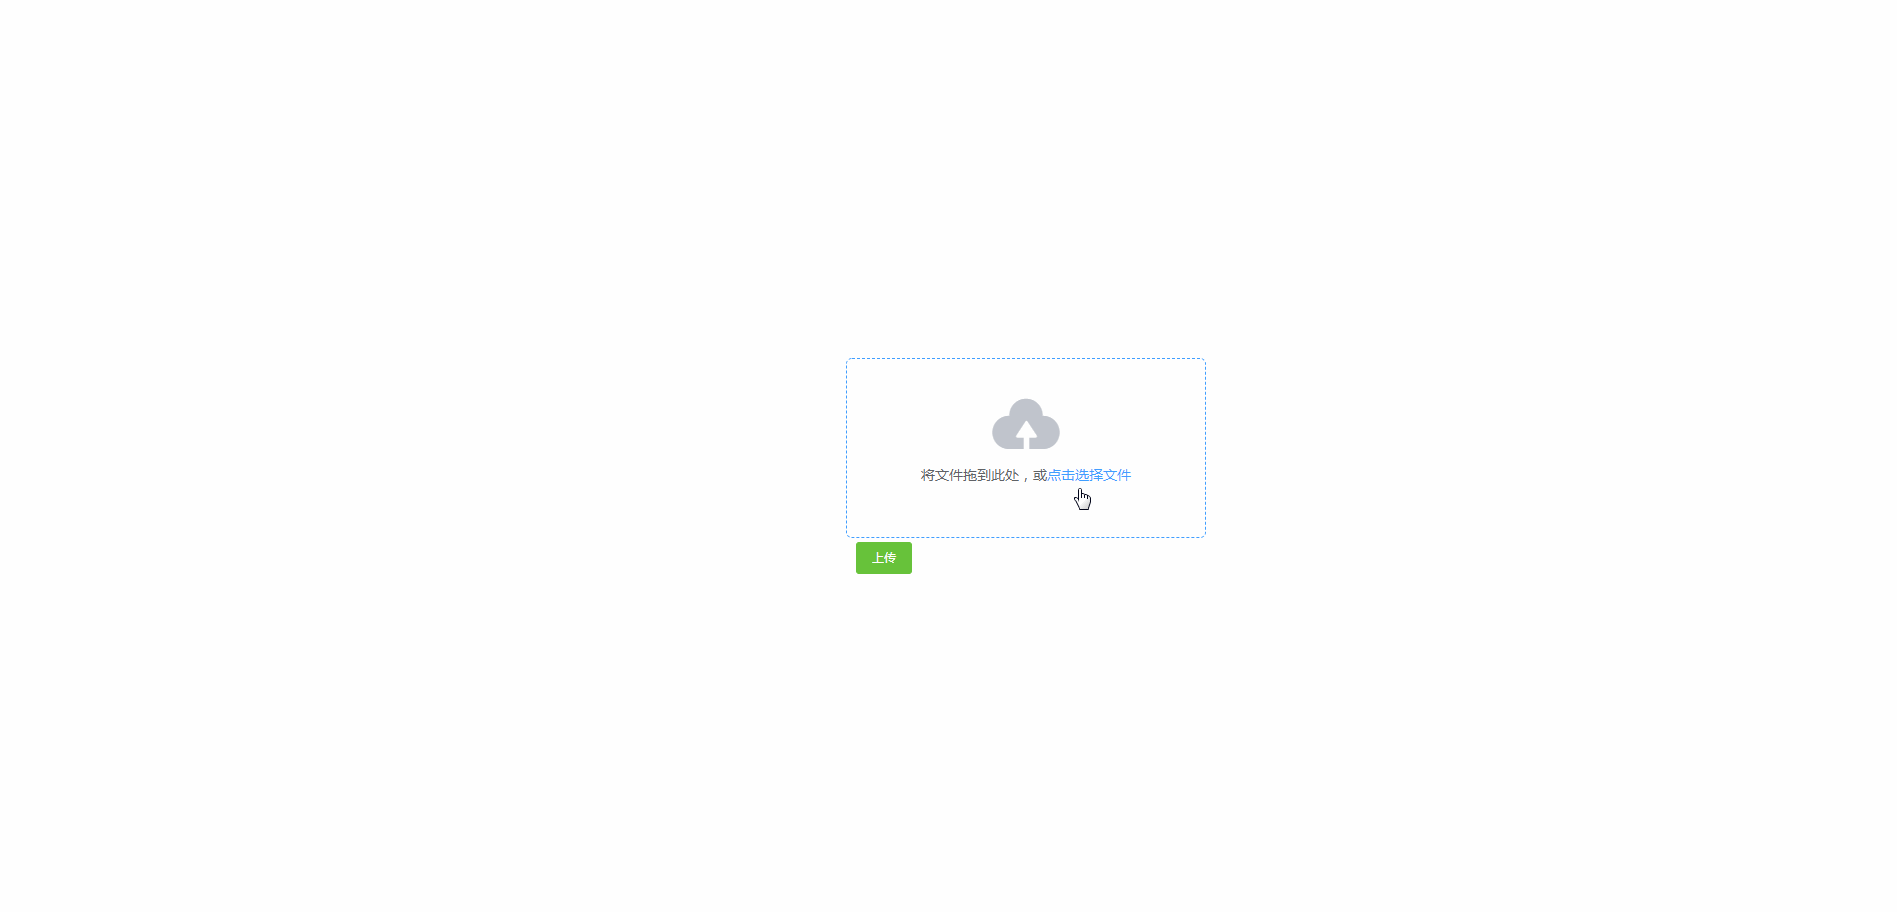
文件上传功能使用element UI库中的Upload文件上传组件实现,代码如下:
<div class="uploadfile">
      <el-upload
        ref="upload"
        class="upload-demo"
        :before-upload="beforeUpload"
        drag
        :auto-upload="false"
        :on-exceed="handleExceed"
      >
        <i class="el-icon-upload"></i>
        <div class="el-upload__text">将文件拖到此处,或<em>点击选择文件</em></div>
      </el-upload>
      <el-button style="margin-left: 10px;" size="small" type="success" @click="submitUpload">上传</el-button>
    </div>
当点击上传按钮,会触发submitUpload函数,同时该函数也会触发beforeUpload函数:
beforeUpload(file){
            let fd = new FormData();
            fd.append('file', file);
            let config = {
              onUploadProgress: progressEvent => {
                let complete = (progressEvent.loaded / progressEvent.total ).toFixed(2) * 100 ;
                this.percentage = complete;
                if (this.percentage >= 100){
                  this.dialogVisible = true
                }
              },
              headers: {
                'Content-Type': 'multipart/form-data'
              }
            };
            this.$axios.post(this.url,fd,config)
              .then((res)=>{

              })
              .catch((err)=>{

              })
          },
          submitUpload(){
            this.loading = true;
            this.tips = '正在上传中。。。';
            this.$refs.upload.submit();
          },
3.进度条
当点击上传后,整个页面被遮罩层遮挡,并显示上传进度:
<!--遮罩层-->
    <div class="loading" v-if="loading" >
      <h4 class="tips">{{tips}}</h4>
      <!--进度条-->
      <el-progress type="line" :percentage="percentage" class="progress" :show-text="true"></el-progress>
    </div>
进度条关键代码:
进度条的实现主要依靠axios中提供的onUploadProgress函数,该函数提供了文件已上传部分的大小progressEvent.loaded和文件总大小progressEvent.total,利用这两个数据我们就可以计算出已经上传文件的进度。
beforeUpload(file){
            let fd = new FormData();
            fd.append('file', file);
            let config = {
              onUploadProgress: progressEvent => {
                //progressEvent.loaded:已上传文件大小
                //progressEvent.total:被上传文件的总大小
                let complete = (progressEvent.loaded / progressEvent.total ).toFixed(2) * 100 ;
                this.percentage = complete;
                if (this.percentage >= 100){
                  this.dialogVisible = true
                }
              },
              headers: {
                'Content-Type': 'multipart/form-data'
              }
            };
            this.$axios.post(this.url,fd,config)
              .then((res)=>{

              })
              .catch((err)=>{

              })
          },
4.全部代码
封装好组件后,我们只需在父组件中调用该组件并传入文件上传到的目的url即可。
<UploadFile :url="/test/"/>
以下是该组件UploadFile.vue的全部代码:
<template>
  <div>
    <!--文件上传入口-->
    <div class="uploadfile">
      <el-upload
        ref="upload"
        class="upload-demo"
        :before-upload="beforeUpload"
        drag
        :auto-upload="false"
        :on-exceed="handleExceed"
      >
        <i class="el-icon-upload"></i>
        <div class="el-upload__text">将文件拖到此处,或<em>点击选择文件</em></div>
      </el-upload>
      <el-button style="margin-left: 10px;" size="small" type="success" @click="submitUpload">上传</el-button>
    </div>
    <!--遮罩层-->
    <div class="loading" v-if="loading" >
      <h4 class="tips">{{tips}}</h4>
      <!--进度条-->
      <el-progress type="line" :percentage="percentage" class="progress" :show-text="true"></el-progress>
    </div>
    <!--上传完成提示对话框-->
    <el-dialog
      title="提示"
      :visible="dialogVisible"
      width="30%"
      :modal-append-to-body='false'
    >
      <span>文件上传成功</span>
      <span slot="footer" class="dialog-footer">
        <el-button type="primary" @click="ensure">确 定</el-button>
      </span>
    </el-dialog>

  </div>
</template>

<script>
    import Vue from 'vue'
    import {Upload,Button,Progress,Dialog} from 'element-ui';
    Vue.use(Upload);
    Vue.use(Button);
    Vue.use(Progress);
    Vue.use(Dialog);

    export default {
        name: "UploadFile",
        data(){
          return {
            loading:false,
            percentage:0,
            tips:'',
            dialogVisible:false
          }
        },
        props:['url'],
        methods:{
          beforeUpload(file){
            let fd = new FormData();
            fd.append('file', file);
            let config = {
              onUploadProgress: progressEvent => {
                //progressEvent.loaded:已上传文件大小
                //progressEvent.total:被上传文件的总大小
                let complete = (progressEvent.loaded / progressEvent.total ).toFixed(2) * 100 ;
                this.percentage = complete;
                if (this.percentage >= 100){
                  this.dialogVisible = true
                }
              },
              headers: {
                'Content-Type': 'multipart/form-data'
              }
            };
            this.$axios.post(this.url,fd,config)
              .then((res)=>{

              })
              .catch((err)=>{

              })
          },
          handleExceed(){

          },
          submitUpload(){
            this.loading = true;
            this.tips = '正在上传中。。。';
            this.$refs.upload.submit();
          },
          ensure(){
            this.dialogVisible = false;
            this.loading = false;
          }
        }
    }
</script>

<style scoped>
  .uploadfile{
    width: 200px;
    height: 200px;
    position: absolute;
    top: 50%;
    left: 50%;
    margin-left: -100px;
    margin-top: -100px;
  }
   .loading{
    position: absolute;
    left: 0;
    top: 0;
    right: 0;
    bottom: 0;
    background: black;
    opacity: 0.8;
  }
  .progress{
    width: 200px;
    height: 200px;
    position: absolute;
    top: 50%;
    left: 50%;
    margin-left: -100px;
    margin-top: -100px;
  }
  .tips{
    color: #409eff;
    position: absolute;
    top: 50%;
    left: 50%;
    margin-left: -100px;
    margin-top: -150px;
  }

</style>
5.效果演示
主要说明原理,UI就自行发挥吧。
免责声明
- 本博客所有文章仅用于学习、研究和交流目的,欢迎非商业性质转载。
- 博主在此发文(包括但不限于汉字、拼音、拉丁字母)均为随意敲击键盘所出,用于检验本人电脑键盘录入、屏幕显示的机械、光电性能,并不代表本人局部或全部同意、支持或者反对观点。如需要详查请直接与键盘生产厂商法人代表联系。挖井挑水无水表,不会网购无快递。
- 博主的文章没有高度、深度和广度,只是凑字数。由于博主的水平不高(其实是个菜B),不足和错误之处在所难免,希望大家能够批评指出。
- 博主是利用读书、参考、引用、抄袭、复制和粘贴等多种方式打造成自己的文章,请原谅博主成为一个无耻的文档搬运工!
posted on 2018-09-25 17:30 难凉热血,码梦为生! 阅读(6649) 评论(0) 收藏 举报

 浙公网安备 33010602011771号