使用apidocjs生成接口文档
官方地址:https://apidocjs.com/
安装nodejs,这里不做介绍,请参考官方文档进行安装
通过npm全局安装apidoc
npm install apidoc -g
apidoc配置
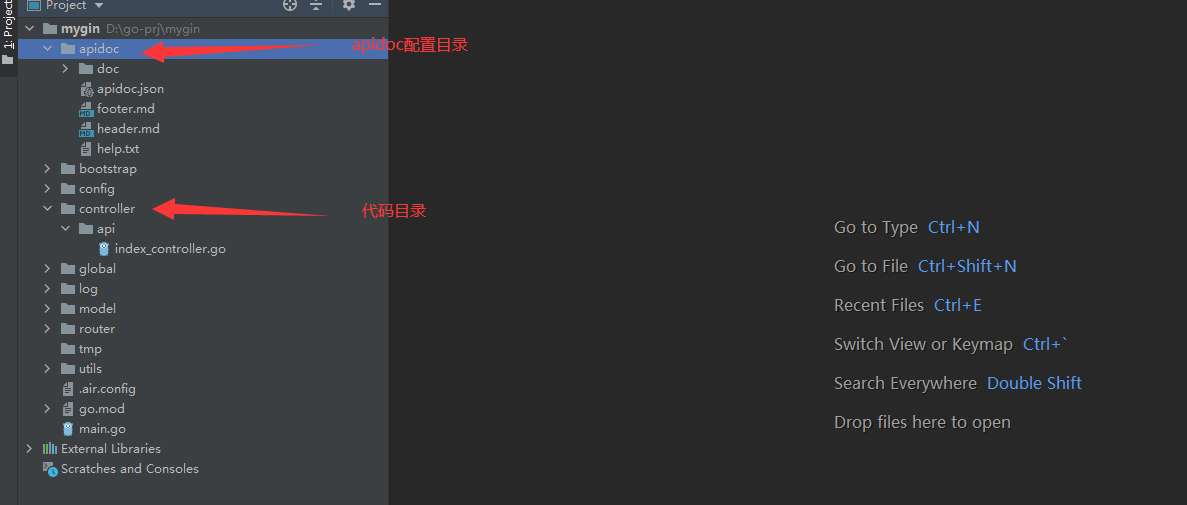
apidoc.json文件:
{
    "name": "我的文档",
    "version": "0.0.0",
    "description": "gin文档的一个示例",
    "title": "文档的标题",
    "url" : "https://api.github.com",
    "sampleUrl": "https://api.github.com",
    "header": {
        "title": "介绍",
        "filename": "header.md"
    },
    "footer": {
        "title": "结尾信息",
        "filename": "footer.md"
    }
}
name:文档的名称
version:文档的版本号
description:文档介绍
title:文档的标题
url:接口的请求地址
sampleUrl:示例接口请求的地址
header:获取引入当前目录的header.md文件,生成到文档头部
footer:获取引入当前目录的footer.md文件,生成到文档尾部
几乎完整的接口文档示例:
package api
import (
"github.com/gin-gonic/gin"
"mygin/utils/response"
)
//默认页
type Index struct {}
/**
* @apiDefine CommonParam
* @apiParam {string} token 全局参数登录凭证token
* @apiParam {string} [v] 全局参数版本号
*/
/**
* @api {get} /api/index 新闻首页
* @apiName 新闻首页信息
* @apiGroup 新闻相关
*
* @apiUse CommonParam
* @apiParam {int} id 新闻的唯一id
*
* @apiSuccess {string} title 新闻的标题
* @apiSuccess {string} content 新闻的内容
*/
func (u *Index) Index(context *gin.Context) {
response.Success(context, "ok", gin.H{
"title": "标题",
"content": "内容",
})
}
/**
* @api {post} /api/add 添加用户
* @apiName 添加用户
* @apiGroup 用户相关
*
* @apiUse CommonParam
*
* @apiParam {string} username 名称
* @apiParam {string} phone 手机号
*
*/
func (u *Index) Add(context *gin.Context) {
response.Success(context, "ok", gin.H{})
}
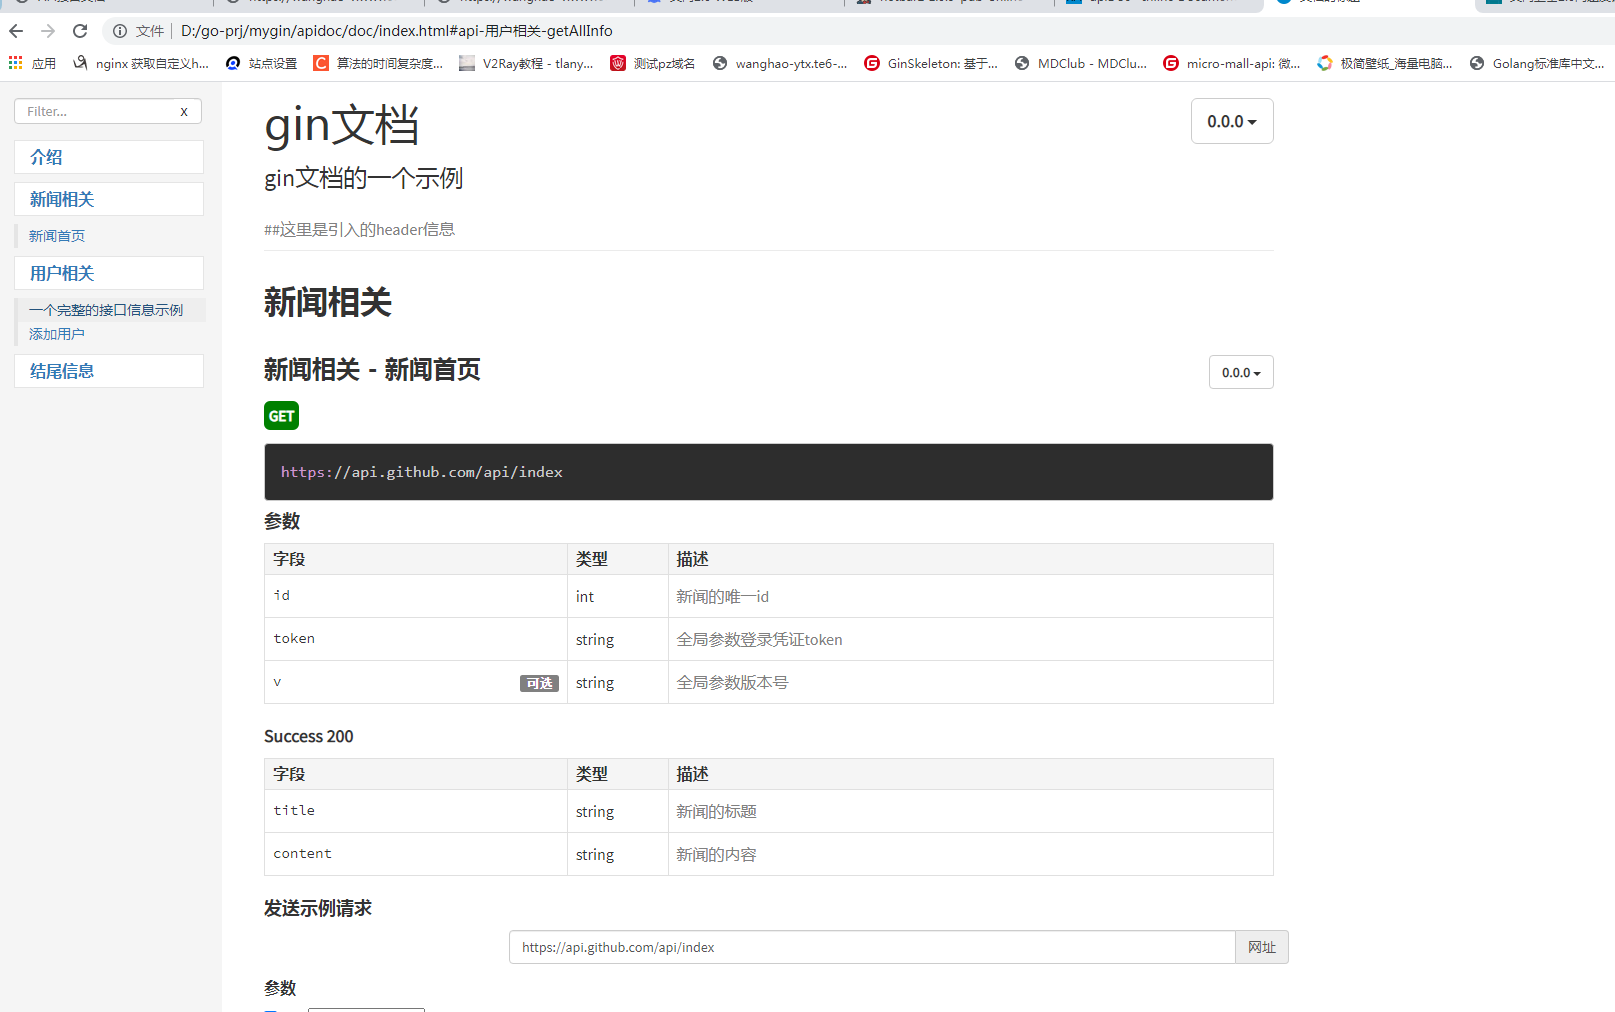
/**
* @api {get} /user/info 一个完整的接口信息示例
* @apiName getAllInfo
* @apiVersion 0.0.0
* @apiGroup 用户相关
*
* @apiUse CommonParam
*
* @apiExample {curl} 例子请求的使用方法:
* curl -i http://localhost/user/4711
*
* @apiDescription 这里是接口的简介信息
*
* @apiDeprecated 现在使用: (#Group:Name).
*
* @apiPermission 接口的权限介绍,admin用户可以访问
*
* @apiHeader {string} sign header头像信息,签名,这里的使用参考apiParam
* @apiHeaderExample {json} 头信息例子:
* {
* "Accept-Encoding": "Accept-Encoding: gzip, deflate"
* }
*
* @apiSampleRequest /user/info
*
* @apiParam {int} id 用户的唯一id
* @apiParam {int} id[n] 嵌套参数
* @apiParam {string {..5}="small","huge"} idx 更复杂的参数
* @apiParam {string} [phone] 用户的手机号
* @apiParam {string{0-255}} [msg] 消息
* @apiParam {string="wx","ali"} pay 支付类型wx,ali微信和支付宝
* @apiParam {string=1,2} [type] 类型1获取2设置
* @apiParam {string} country="EN" 必传参数国家,默认值是 "EN"
* @apiParam {int} [age=18] 可选参数age,不传默认值是18
* @apiParam (application-json) {string} pass 可以用来设置header信息?或者body信息?
* @apiParam {object} [address] 地址信息:比如是一个对象
* @apiParam {string} [address[street]] 可选,地址的街道
* @apiParam {string} address[city] 必须,地址的城市
*
* @apiParamExample {json} 参数的例子:
* {
* "id": 4711
* }
*
* @apiSuccess {string} username 名称
* @apiSuccess {string} password 密码
* @apiSuccess {date} registered 注册时间
* @apiSuccess (info) {string} key 加密的key
* @apiSuccess (info) {string} lastname Lastname of the User.
* @apiSuccess {boolean} active Specify if the account is active.
* @apiSuccess {object} profile 返回对象
* @apiSuccess {number} profile.age 年龄
* @apiSuccess {string} profile.image 图片
* @apiSuccess {object[]} profiles 返回数组
* @apiSuccess {number} profiles.age 年龄
* @apiSuccess {String} profiles.image 图片
*
* @apiSuccessExample 成功返回示例:
* HTTP/1.1 200 OK
* {
* "firstname": "John",
* "lastname": "Doe"
* }
*
* @apiError not_find 用户没有找到
*
* @apiErrorExample 错误返回示例:
* HTTP/1.1 200 Not Found
* {
* "error": "not_find"
* }
*/
func (u *Index) Tpl(context *gin.Context) {
response.Success(context, "ok", gin.H{})
}
cd 到apidoc目录

-i 书写了文档的代码目录 ,-o 文档输出的目录,会在该文件加下生成index.html等文件,然后直接打开就可以了

 浙公网安备 33010602011771号