

SpringBoot+Vue前后端分离
一、项目结构
前后端分离_测试
|
--Projects
  |
  --springboot-project
  --vue-project
二、准备初始项目
1.新建SpringBoot项目
https://www.cnblogs.com/used-conduit-onion/p/18692054
pom.xml
<?xml version="1.0" encoding="UTF-8"?>
<project xmlns="http://maven.apache.org/POM/4.0.0"
xmlns:xsi="http://www.w3.org/2001/XMLSchema-instance"
xsi:schemaLocation="http://maven.apache.org/POM/4.0.0 http://maven.apache.org/xsd/maven-4.0.0.xsd">
<modelVersion>4.0.0</modelVersion>
<groupId>groupId</groupId>
<artifactId>springboot-project</artifactId>
<version>1.0-SNAPSHOT</version>
<parent>
<groupId>org.springframework.boot</groupId>
<artifactId>spring-boot-starter-parent</artifactId>
<version>1.5.9.RELEASE</version>
</parent>
<properties>
<maven.compiler.source>8</maven.compiler.source>
<maven.compiler.target>8</maven.compiler.target>
<project.build.sourceEncoding>UTF-8</project.build.sourceEncoding>
</properties>
<dependencies>
<!-- Web 依赖:包含Spring MVC和嵌入式Tomcat -->
<dependency>
<groupId>org.springframework.boot</groupId>
<artifactId>spring-boot-starter-web</artifactId>
</dependency>
<dependency>
<groupId>com.fasterxml.jackson.dataformat</groupId>
<artifactId>jackson-dataformat-xml</artifactId>
<!-- <version>2.13.0</version> <!– 版本号可根据实际情况调整 –>-->
<version>2.8.10</version> <!-- 版本号可根据实际情况调整 -->
</dependency>
</dependencies>
<build>
<!-- 最终生成的JAR文件名称 -->
<finalName>contacts-backend</finalName>
<!-- 资源文件配置 -->
<resources>
<!-- 配置src/main/resources目录下的资源文件 -->
<resource>
<directory>src/main/resources</directory>
<includes>
<include>**/*</include> <!-- 包含所有资源文件 -->
</includes>
</resource>
<!-- 配置src/main/java目录下的配置文件 -->
<resource>
<directory>src/main/java</directory>
<includes>
<include>**/*.xml</include> <!-- 包含MyBatis等XML配置文件 -->
<include>**/*.properties</include> <!-- 包含属性配置文件 -->
</includes>
</resource>
</resources>
<!-- 构建插件配置 -->
<plugins>
<!-- Spring Boot Maven插件:用于打包可执行JAR -->
<plugin>
<groupId>org.springframework.boot</groupId>
<artifactId>spring-boot-maven-plugin</artifactId>
<version>1.5.9.RELEASE</version> <!-- 与Spring Boot父版本保持一致 -->
<configuration>
<!-- 指定Spring Boot应用的主类 -->
<mainClass>com.MainApplication</mainClass>
</configuration>
<executions>
<execution>
<goals>
<goal>repackage</goal> <!-- 重新打包,生成可执行JAR -->
</goals>
</execution>
</executions>
</plugin>
<!-- Maven编译插件:用于Java代码编译 -->
<plugin>
<groupId>org.apache.maven.plugins</groupId>
<artifactId>maven-compiler-plugin</artifactId>
<version>3.6.1</version> <!-- 适合1.5.9版本的编译器插件版本 -->
<configuration>
<source>1.8</source> <!-- 源代码编译版本 -->
<target>1.8</target> <!-- 目标字节码版本 -->
<encoding>UTF-8</encoding> <!-- 编译编码 -->
</configuration>
</plugin>
<!-- Maven清理插件:用于清理构建目录 -->
<plugin>
<groupId>org.apache.maven.plugins</groupId>
<artifactId>maven-clean-plugin</artifactId>
<version>3.0.0</version>
<configuration>
<filesets>
<!-- 清理外置资源目录(避免旧资源干扰) -->
<fileset>
<directory>${project.basedir}/target/dist/resources</directory>
<followSymlinks>false</followSymlinks>
</fileset>
</filesets>
</configuration>
</plugin>
</plugins>
</build>
</project>
application.yml
# 应用服务配置
server:
  port: 8989  # 服务端口
项目结构
前后端分离_测试/
|
--Projects/
  |
  --springboot-project/
    |
    --src/
      |
      --main/
        |
        --java/
          |
          --com/
            |
            --MainApplication.java
            --entity/
            --scheduling/
            --util/
            --controller/
              |
              --HelloWordController.java
        --resources/
          |
          --application.yml
      --test/
        |
        --java/
        --resources/
          |
          --application.yml
  --vue-project/
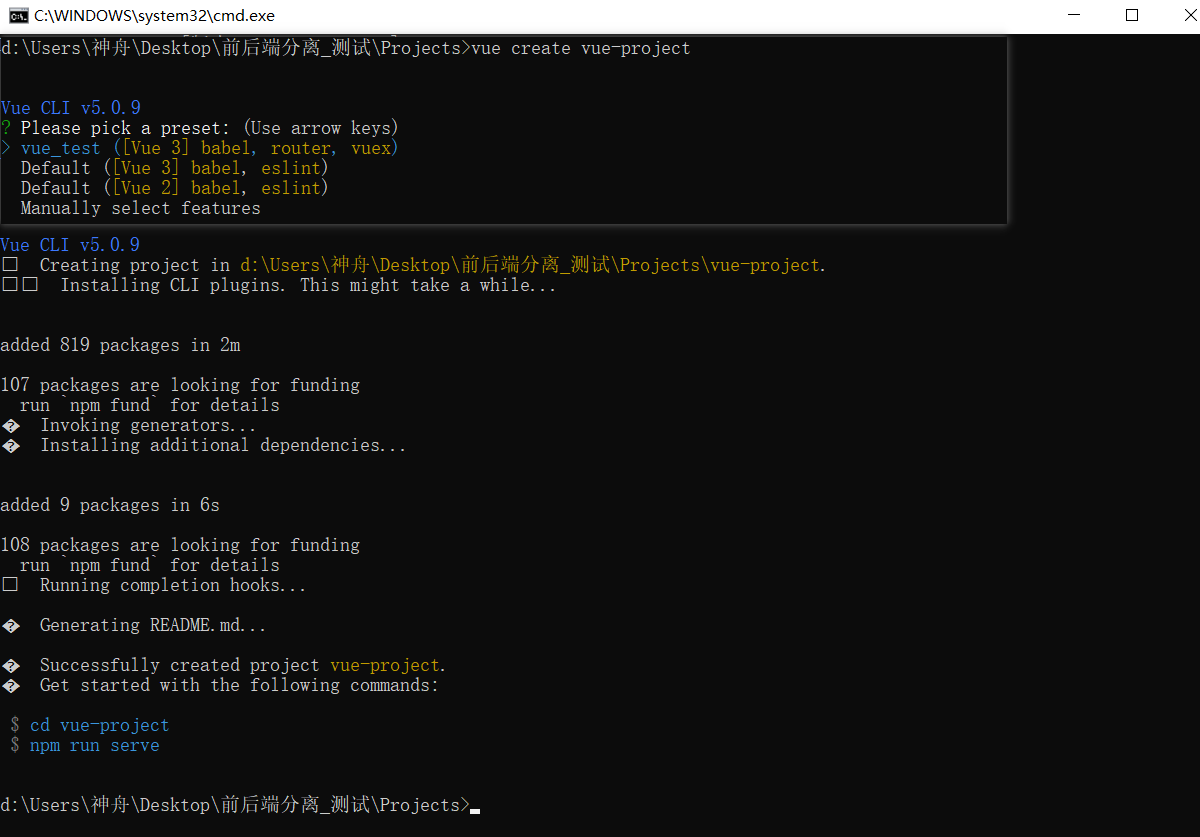
2.新建Vue项目
https://www.cnblogs.com/used-conduit-onion/p/19017691
三、代码
1.后端
启动类:MainApplication.java
package com;

import org.springframework.boot.SpringApplication;
import org.springframework.boot.autoconfigure.SpringBootApplication;
import org.springframework.context.annotation.ComponentScan;
import org.springframework.scheduling.annotation.EnableScheduling;

@ComponentScan(basePackages =    {"com.controller", "com.scheduling", "com"})  //扫描定时任务
@EnableScheduling // 开启定时任务支持
@SpringBootApplication
public class MainApplication {
    public static void main(String[] args) {
        SpringApplication.run(MainApplication.class, args);
    }
}
控制器:HelloWordController.java
package com.controller;

import org.springframework.web.bind.annotation.RequestMapping;
import org.springframework.web.bind.annotation.RestController;

@RestController
public class HelloWordController {
    @RequestMapping("/hello")
    public String hello(){
        return "hello world";
    }
}
过滤器:CorsConfig.java
package com.filter;

import org.springframework.context.annotation.Bean;
import org.springframework.context.annotation.Configuration;
import org.springframework.web.cors.CorsConfiguration;
import org.springframework.web.cors.UrlBasedCorsConfigurationSource;
import org.springframework.web.filter.CorsFilter;

@Configuration
public class CorsConfig {
    // 配置全局跨域过滤器
    @Bean
    public CorsFilter corsFilter() {
        CorsConfiguration config = new CorsConfiguration();
        // 允许前端的地址(Vue默认8080)
        config.addAllowedOrigin("http://localhost:8080");
        // 允许所有请求方法(GET、POST、PUT等)
        config.addAllowedMethod("*");
        // 允许所有请求头
        config.addAllowedHeader("*");
        // 允许携带Cookie
        config.setAllowCredentials(true);
        // 预检请求的缓存时间(30分钟),减少预检请求次数
        config.setMaxAge(1800L);

        // 配置所有接口都支持跨域
        UrlBasedCorsConfigurationSource source = new UrlBasedCorsConfigurationSource();
        source.registerCorsConfiguration("/**", config);

        return new CorsFilter(source);
    }
}
项目结构
前后端分离_测试/
|
--Projects/
  |
  --springboot-project/
    |
    --src/
      |
      --main/
        |
        --java/
          |
          --com/
            |
            --MainApplication.java
            --entity/
            --scheduling/
            --util/
            --controller/
              |
              --HelloWordController.java
            --filter
              |
              --CorsFilter.java
        --resources/
          |
          --application.yml
      --test/
        |
        --java/
        --resources/
          |
          --application.yml
  --vue-project/
2.前端
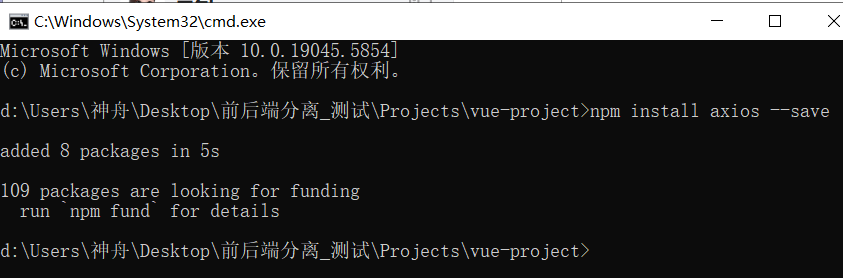
下载并安装axios
封装axios:request.js
// src/utils/request.js
import axios from 'axios';

// 创建axios实例,配置基础路径(后端SpringBoot的地址:8989)
const service = axios.create({
  baseURL: 'http://localhost:8989', // 后端接口的基础路径(必须和后端CorsConfig配置的一致)
  timeout: 5000, // 请求超时时间(5秒)
  withCredentials: true // 允许携带Cookie(和后端config.setAllowCredentials(true)对应)
});

// 导出实例,供其他组件使用
export default service;
HelloWordView.js
// src/utils/HelloWordView.js
// 导入依赖(axios封装实例+组件)
import request from '@/utils/request';
import HelloWorld from '@/components/HelloWorld.vue';

// 导出组件配置对象
export default {
  name: 'HelloWordView',
  components: {
    HelloWorld // 注册组件
  },
  data() {
    return {
      backendMsg: '' // 存储后端响应数据
    };
  },
  created() {
    this.getHelloFromBackend(); // 页面加载就调用后端接口
  },
  methods: {
    async getHelloFromBackend() {
      try {
        const response = await request({
          url: '/hello', // 后端接口相对路径
          method: 'get'
        });
        this.backendMsg = response.data; // 赋值后端返回的"hello world"
      } catch (error) {
        this.backendMsg = '请求失败:' + (error.message || '网络异常');
        console.error('接口调用出错:', error);
      }
    }
  }
};
HelloWordView.vue
<!-- src/views/HelloWordView.vue -->
<template>
  <div class="helloword">
    <!-- 显示后端返回的结果 -->
    <div class="hello-result">
      {{ backendMsg }}
    </div>
  </div>
</template>

<script src="../utils/HelloWordView.js"></script>

<style scoped>
.helloword {
  text-align: center;
  padding: 2rem;
}
.hello-result {
  margin: 1.5rem 0;
  padding: 1rem;
  border: 1px solid #e0e0e0;
  border-radius: 8px;
  color: #333;
  font-size: 1.1rem;
}
</style>
vue.config.js
const { defineConfig } = require('@vue/cli-service')
module.exports = defineConfig({
  transpileDependencies: true,
    devServer: {
    port: 8080 //配置端口
  }
})
路由:index.js
import { createRouter, createWebHistory } from 'vue-router'
import HomeView from '../views/HomeView.vue'
import HelloWordView from '../views/HelloWordView.vue' // 导入 HelloWordView 组件

const routes = [
  {
    path: '/',
    name: 'home',
    component: HomeView
  },
  {
    path: '/about',
    name: 'about',
    // route level code-splitting
    // this generates a separate chunk (about.[hash].js) for this route
    // which is lazy-loaded when the route is visited.
    component: () => import(/* webpackChunkName: "about" */ '../views/AboutView.vue')
  },
  // 新增 HelloWordView 的路由配置
  {
    path: '/hello', // 访问路径,可自定义
    name: 'helloWord', // 路由名称,需唯一
    component: HelloWordView // 关联组件
  }
]

const router = createRouter({
  history: createWebHistory(process.env.BASE_URL),
  routes
})

export default router
项目结构
前后端分离_测试/
|
--Projects/
  |
  --springboot-project/
    |
    --src/
      |
      --main/
        |
        --java/
          |
          --com/
            |
            --MainApplication.java
            --entity/
            --scheduling/
            --util/
            --controller/
              |
              --HelloWordController.java
            --filter
              |
              --CorsFilter.java
        --resources/
          |
          --application.yml
      --test/
        |
        --java/
        --resources/
          |
          --application.yml
  --vue-project/ # 已忽略未做修改的目录及文件
    |
    --router
      |
      --index.js
    --utils
      |
      --HelloWordView.js
      --request.js
    --views
      |
      --HelloWordView.vue
    --vue.config.js
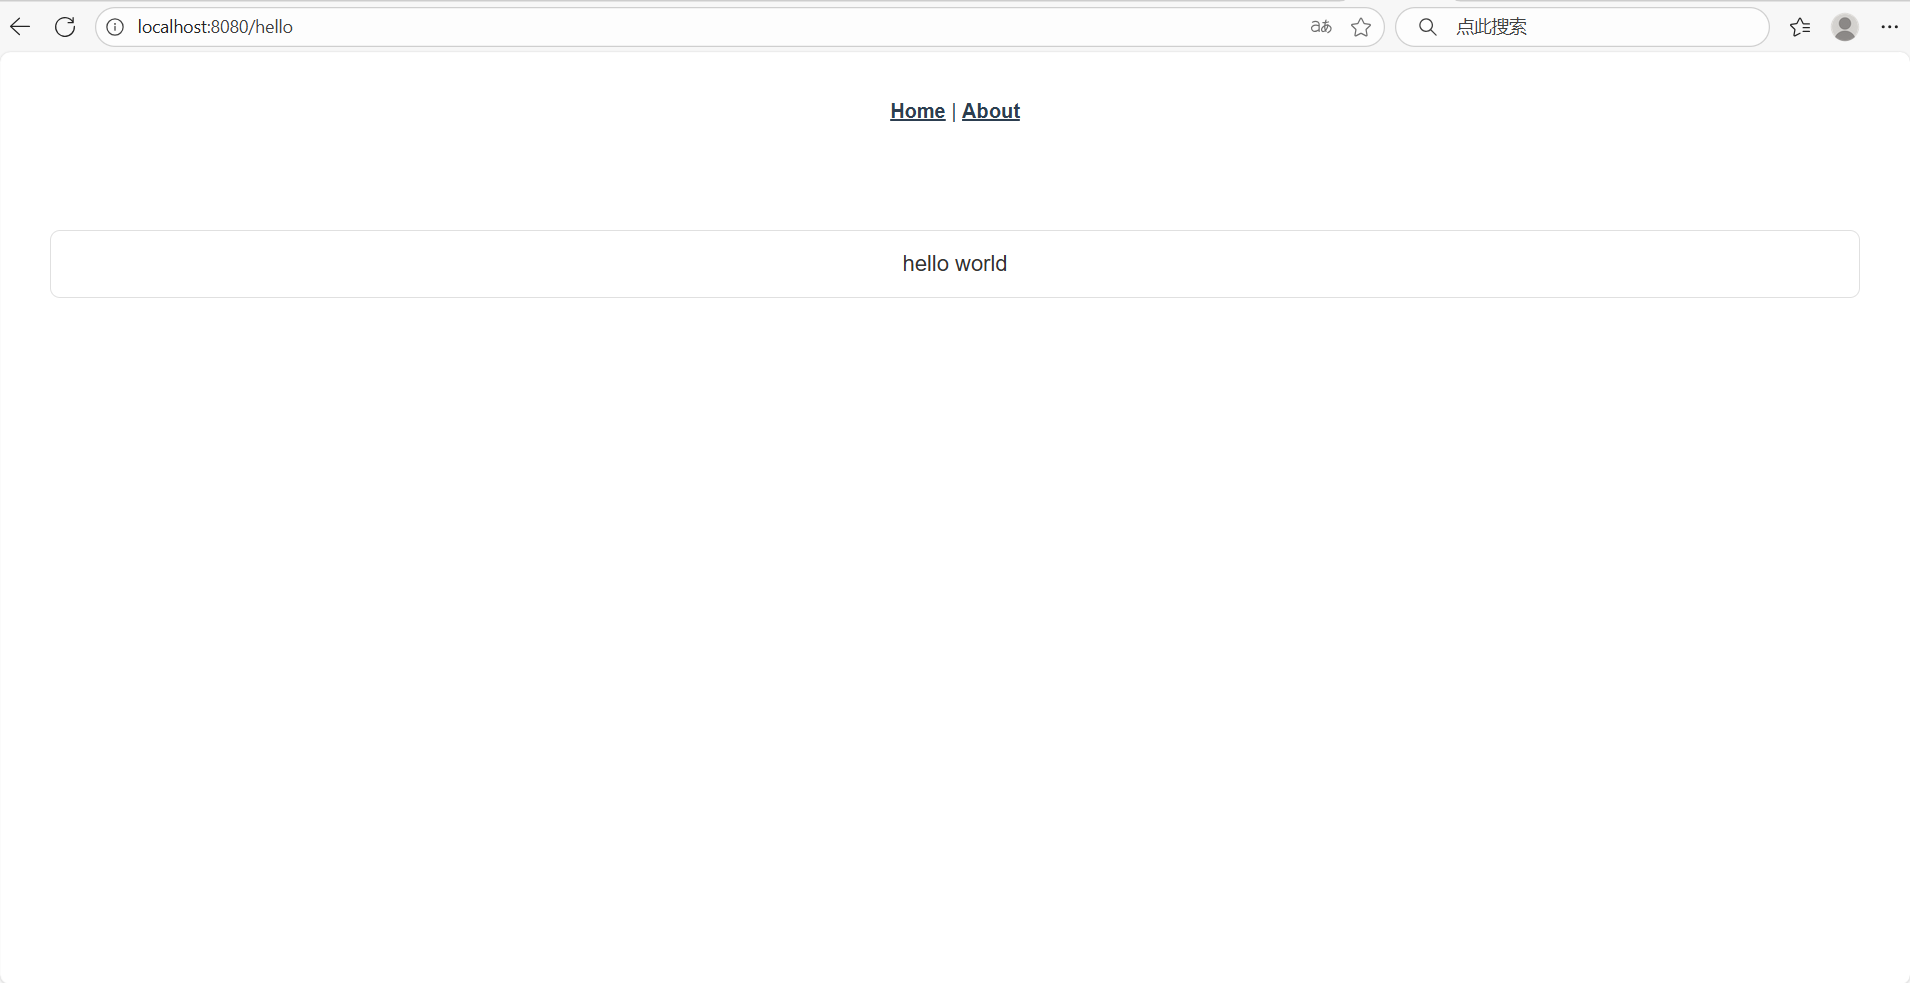
四、测试运行
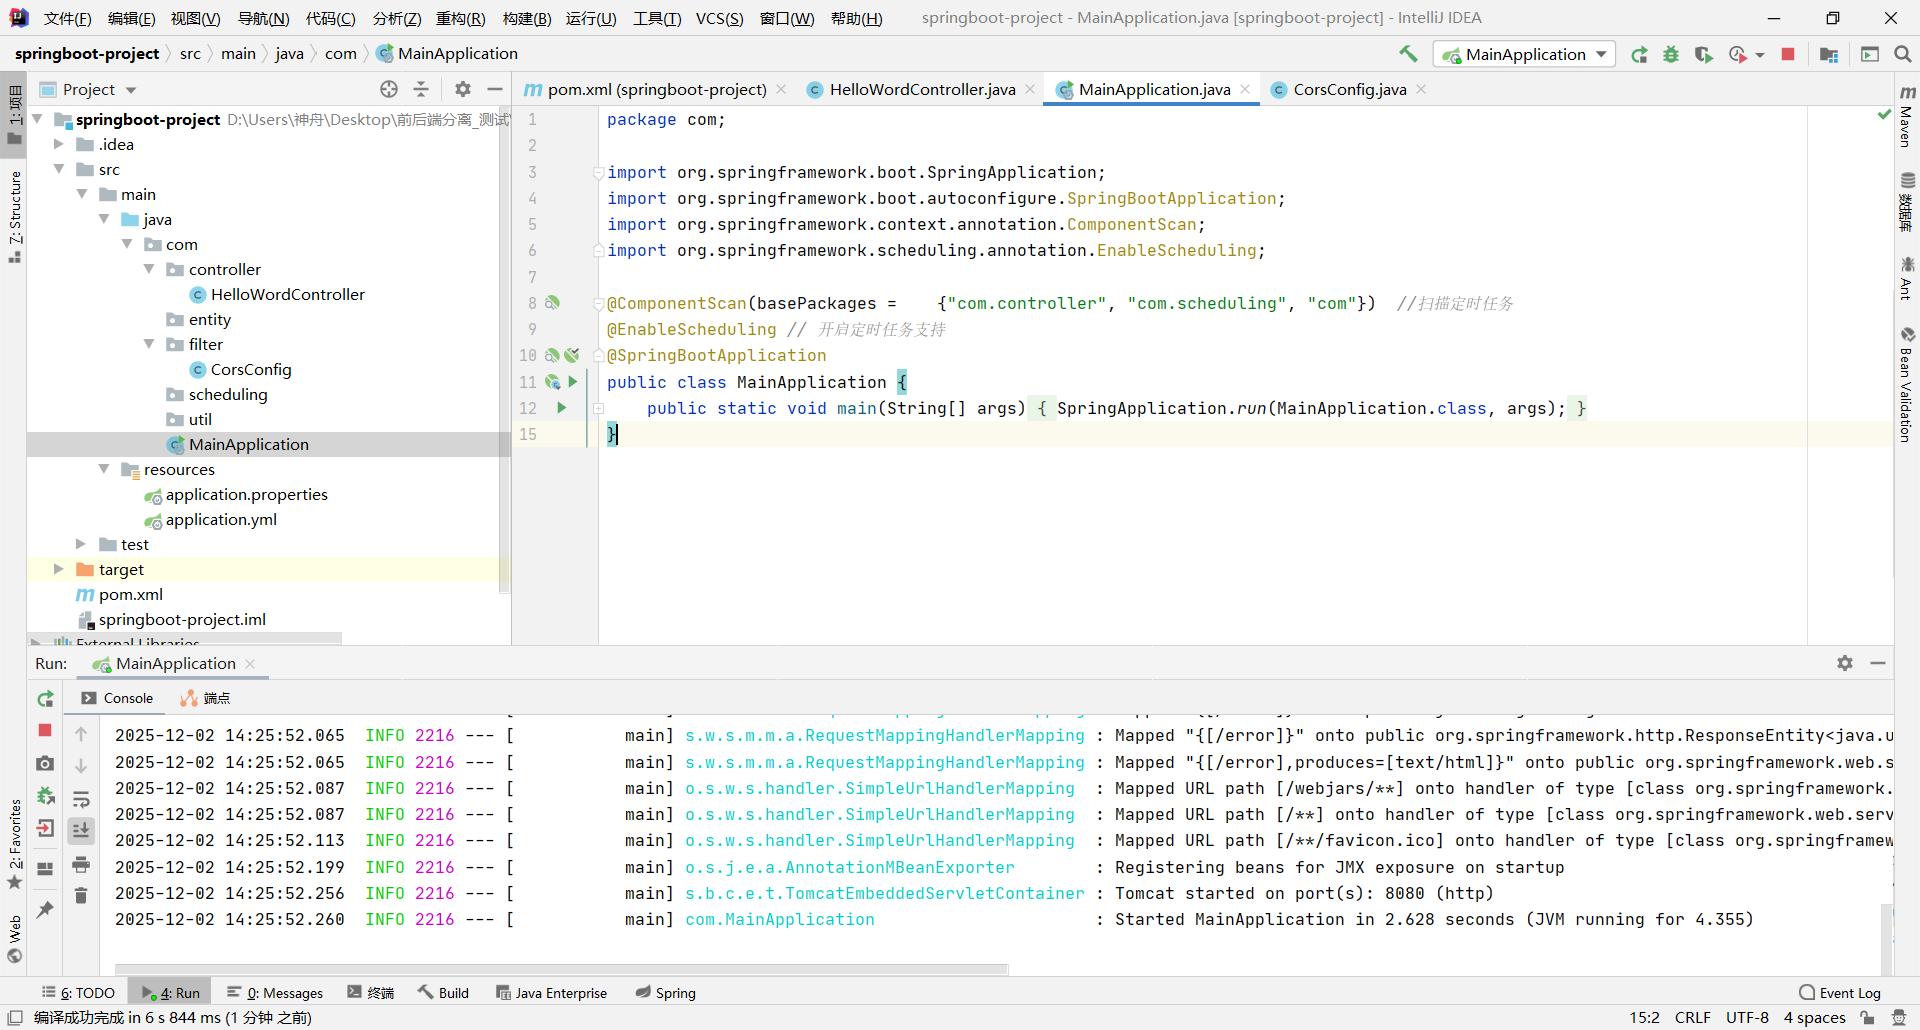
1.启动springboot-project
2.启动vue-project
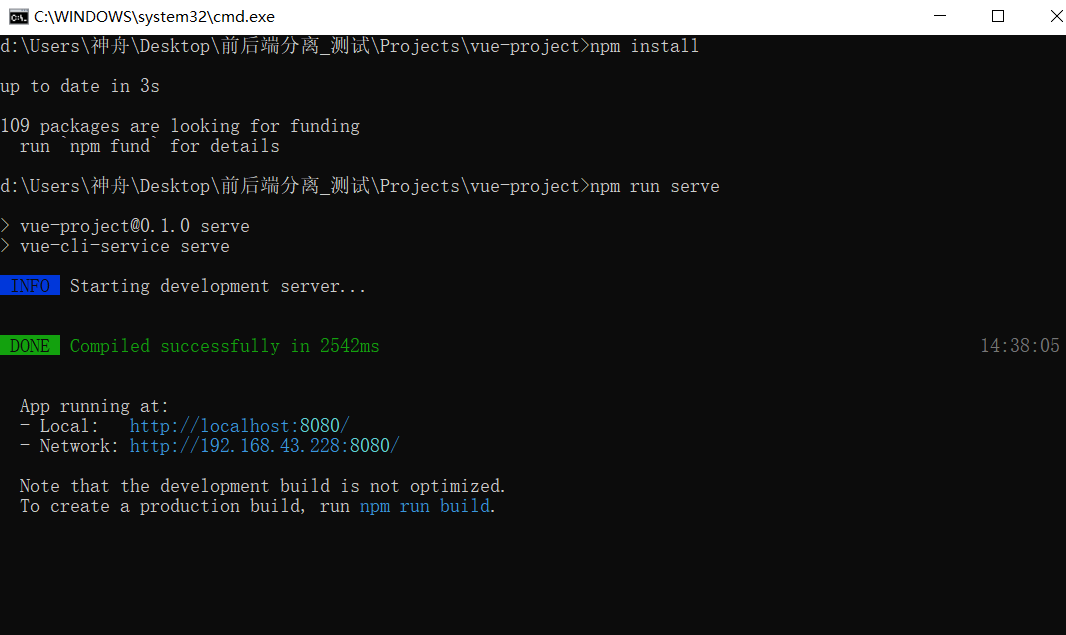
3.访问http://localhost:8080/hello

 浙公网安备 33010602011771号