

云--lnmp一键安装与wordpress(测试版)
操作系统:CentOS-7-x86_64-DVD-1804.iso
一、配置阿里yum源
https://www.cnblogs.com/used-conduit-onion/p/18800311
二、lnmp
1.下载
官网:https://www.lnmp.org/download.html
2.上传
官网:https://www.xshell.com/zh/xftp/
下载链接1:xftp7Plus(密码:5wcx)
3.解压
工作目录:/root
tar -zxf lnmp1.6-full.tar
4.安装
工作目录:/root
cd lnmp1.6-full
./install.sh
5.配置
5.1 选择MySQL和php版本
+------------------------------------------------------------------------+
|          LNMP V1.6 for CentOS Linux Server, Written by Licess          |
+------------------------------------------------------------------------+
|        A tool to auto-compile & install LNMP/LNMPA/LAMP on Linux       |
+------------------------------------------------------------------------+
|           For more information please visit https://lnmp.org           |
+------------------------------------------------------------------------+
You have 11 options for your DataBase install.
1: Install MySQL 5.1.73
2: Install MySQL 5.5.62 (Default)
3: Install MySQL 5.6.44
4: Install MySQL 5.7.26
5: Install MySQL 8.0.13
6: Install MariaDB 5.5.63
7: Install MariaDB 10.0.38
8: Install MariaDB 10.1.40
9: Install MariaDB 10.2.24
10: Install MariaDB 10.3.15
0: DO NOT Install MySQL/MariaDB
Enter your choice (1, 2, 3, 4, 5, 6, 7, 8, 9, 10 or 0): 2
You will install MySQL 5.5.62
===========================
Please setup root password of MySQL.
Please enter: 000000
MySQL root password: 000000
===========================
Do you want to enable or disable the InnoDB Storage Engine?
Default enable,Enter your choice [Y/n]: y
You will enable the InnoDB Storage Engine
===========================
You have 9 options for your PHP install.
1: Install PHP 5.2.17
2: Install PHP 5.3.29
3: Install PHP 5.4.45
4: Install PHP 5.5.38
5: Install PHP 5.6.40 (Default)
6: Install PHP 7.0.33
7: Install PHP 7.1.30
8: Install PHP 7.2.19
9: Install PHP 7.3.6
Enter your choice (1, 2, 3, 4, 5, 6, 7, 8 or 9): 5
You will install PHP 5.6.40
===========================
You have 3 options for your Memory Allocator install.
1: Don't install Memory Allocator. (Default)
2: Install Jemalloc
3: Install TCMalloc
Enter your choice (1, 2 or 3): 1
You will install not install Memory Allocator.

Press any key to install...or Press Ctrl+c to cancel
5.2 MySQL权限
工作目录:任意
mysql -uroot -p000000
grant all privileges on . to root@localhoat identified by '000000' with grant option;
grant all privileges on . to root@"%" identified by '000000' with grant option;
ps:
赋予本地主机登录的root用户对任意数据库任意表的全部操作权限
赋予任意远程主机登录的root用户对任意数据库任意表的全部操作权限
root无限大,什么都可以做
5.3 准备数据库
工作目录:mysql -uroot -p000000
create database wordpres;
三、WordPress
1.下载
官网:https://cn.wordpress.org/download/releases/
2.上传
官网:https://www.xshell.com/zh/xftp/
下载链接1:xftp7Plus(密码:5wcx)
3.解压
工作目录:/root
unzip wordpress-4.7.3-zh_CN.zip
4.配置
4.1 移动
工作目录:/root
rm -rf /home/wwwroot/default/index.html
cp -rf wordpress/* /root/wwwroot/default/
chmod 777 /home/wwwroot/default/*
4.2 数据库配置
工作目录:/root/wwwroot/default/
cp wp-config-sample.php wp-config.php
vi wp-config.php
/** WordPress数据库的名称 */
define('DB_NAME', 'wordpress');

/** MySQL数据库用户名 */
define('DB_USER', 'root');

/** MySQL数据库密码 */
define('DB_PASSWORD', '000000');

/** MySQL主机 */
define('DB_HOST', 'localhost');

/** 创建数据表时默认的文字编码 */
define('DB_CHARSET', 'utf8');
4.3 登录设置
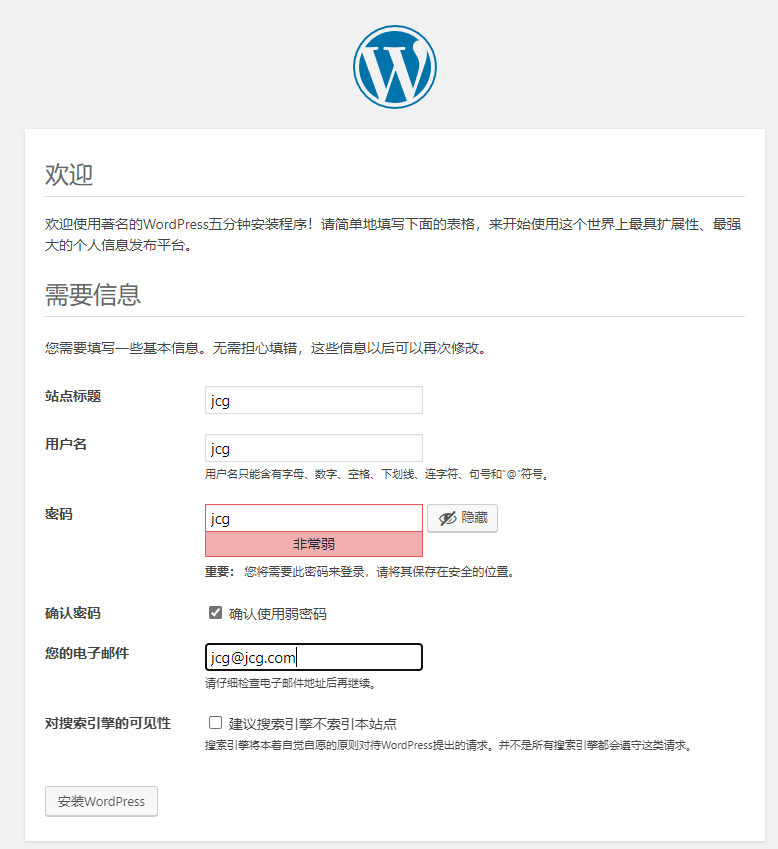
ps:
在这里刷新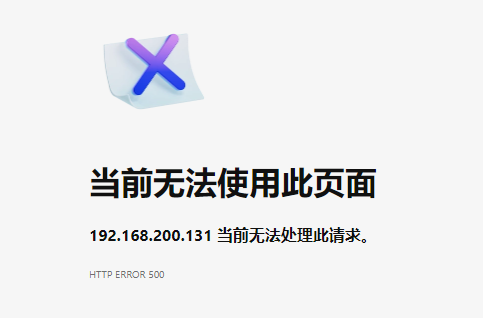
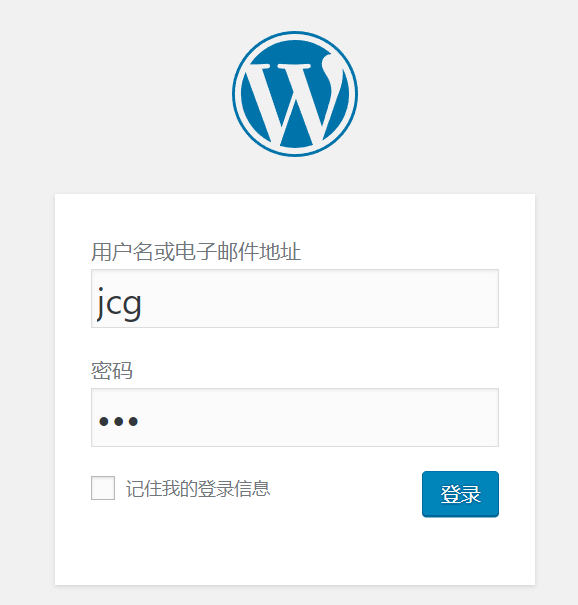
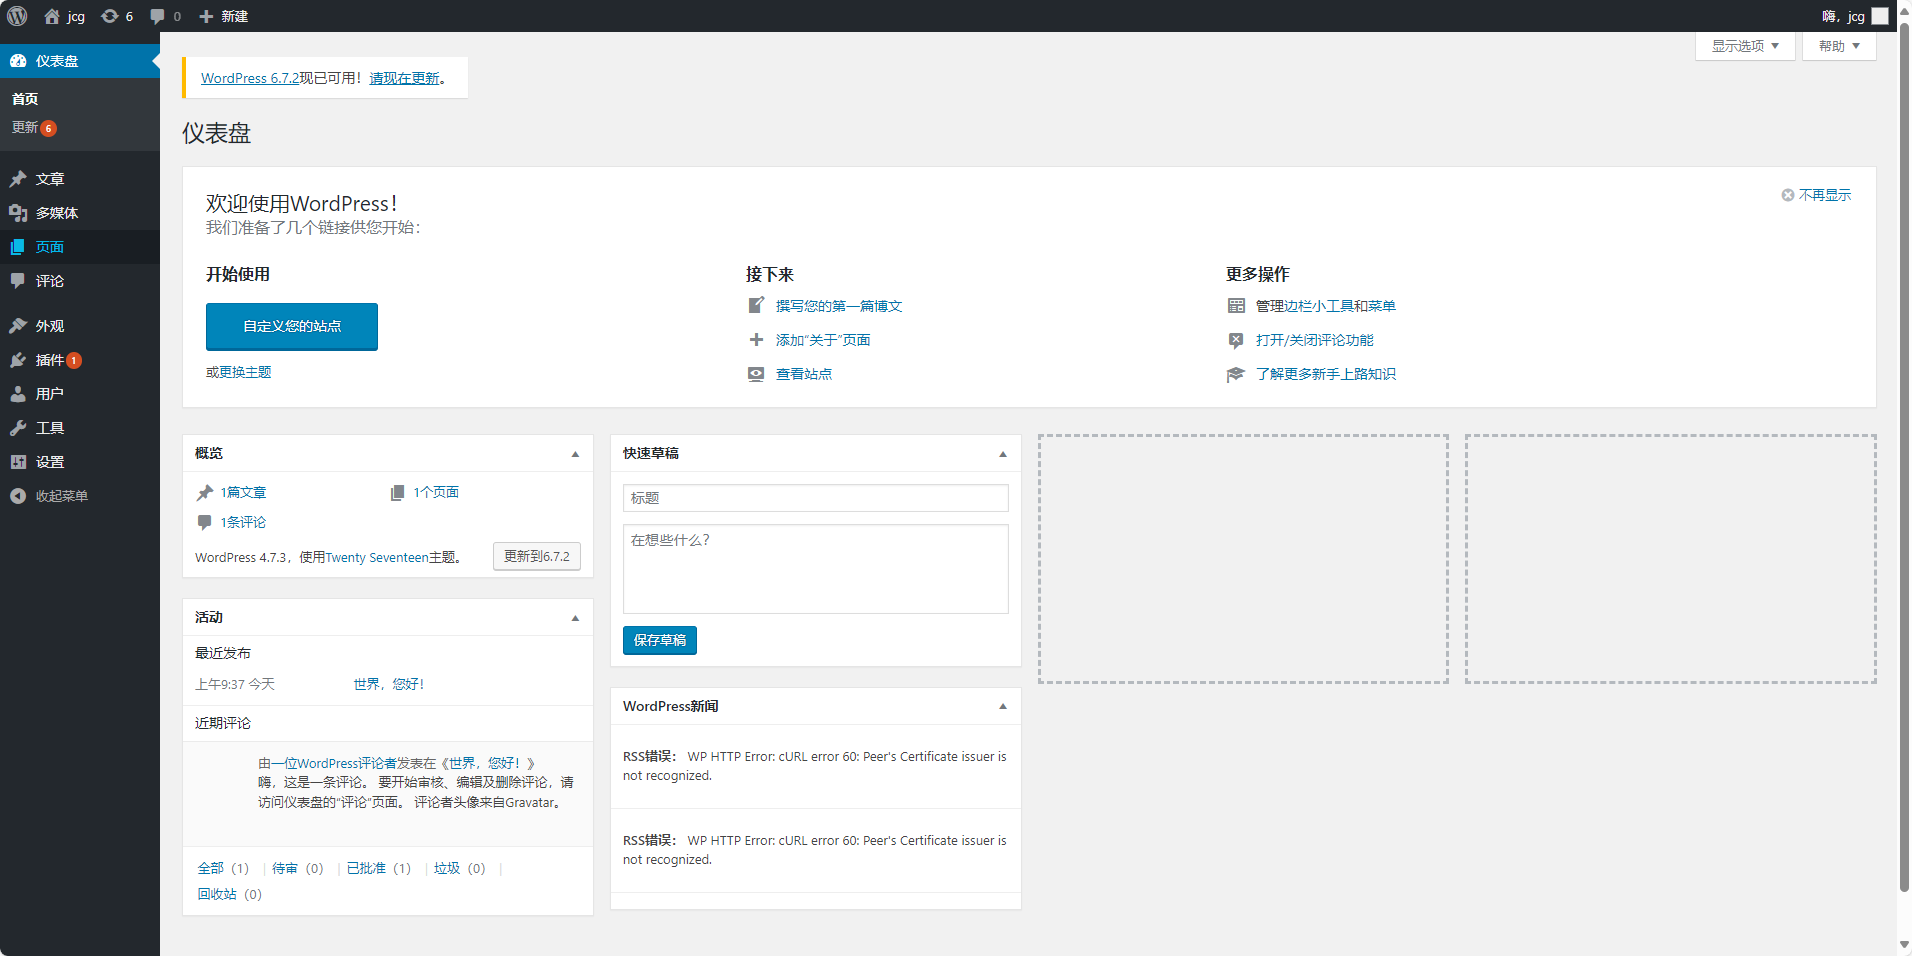
4.4 登录
效果图:
ps:
1.可以通过删库重新进行步骤4.3
mysql -uroot -p000000
drop database wordpress;
create database wordpress;

 浙公网安备 33010602011771号