

kubernetes实战篇之nexus oss服务器部署及基于nexus的docker镜像仓库搭建
Nexus oss仓库管理平台搭建
Nexus是一款仓库管理工具,支持Npm,bower,maven,nuget,apt,yum甚至docker,helm等各种仓库,说的通俗以下,就是私服镜像仓库.并且有免费版,OSS版即为免费版,下载的时候请注意版本的选择.
往下面滚动页面,可以看到Choose your Nexus,有osx,windows和unix版本可供选择.这里我选择的是windows版本.
下载的内容是一个压缩包,下载完成后把压缩包解压.解压后有两个文件夹,我们进入nexus-3.x.x文件夹下的bin目录,我们在当前目录下打开cmd或者从任意位置打开cmd,然后cd到上述目录.执行nexus.exe /run来安装nexus
注册服务
安装完成以后,执行nexus.exe /install Nexus Service来注册服务
启动服务
执行命令nexus.exe /start Nexus Service来启动服务
通过以上操作,实际上是往windows服务里面添加了一个名字叫作
nexus service的服务,我们可以通过powerhsell命令Get-Service "nexus service"来找到这个服务,通过Restart-Service "nexus service"来重启它.
以上执行完成以后,就可以通过打开浏览器,输入localhost:8081来访问它,也可以通过其它局域网主机使用IP:8081方式来访问它.
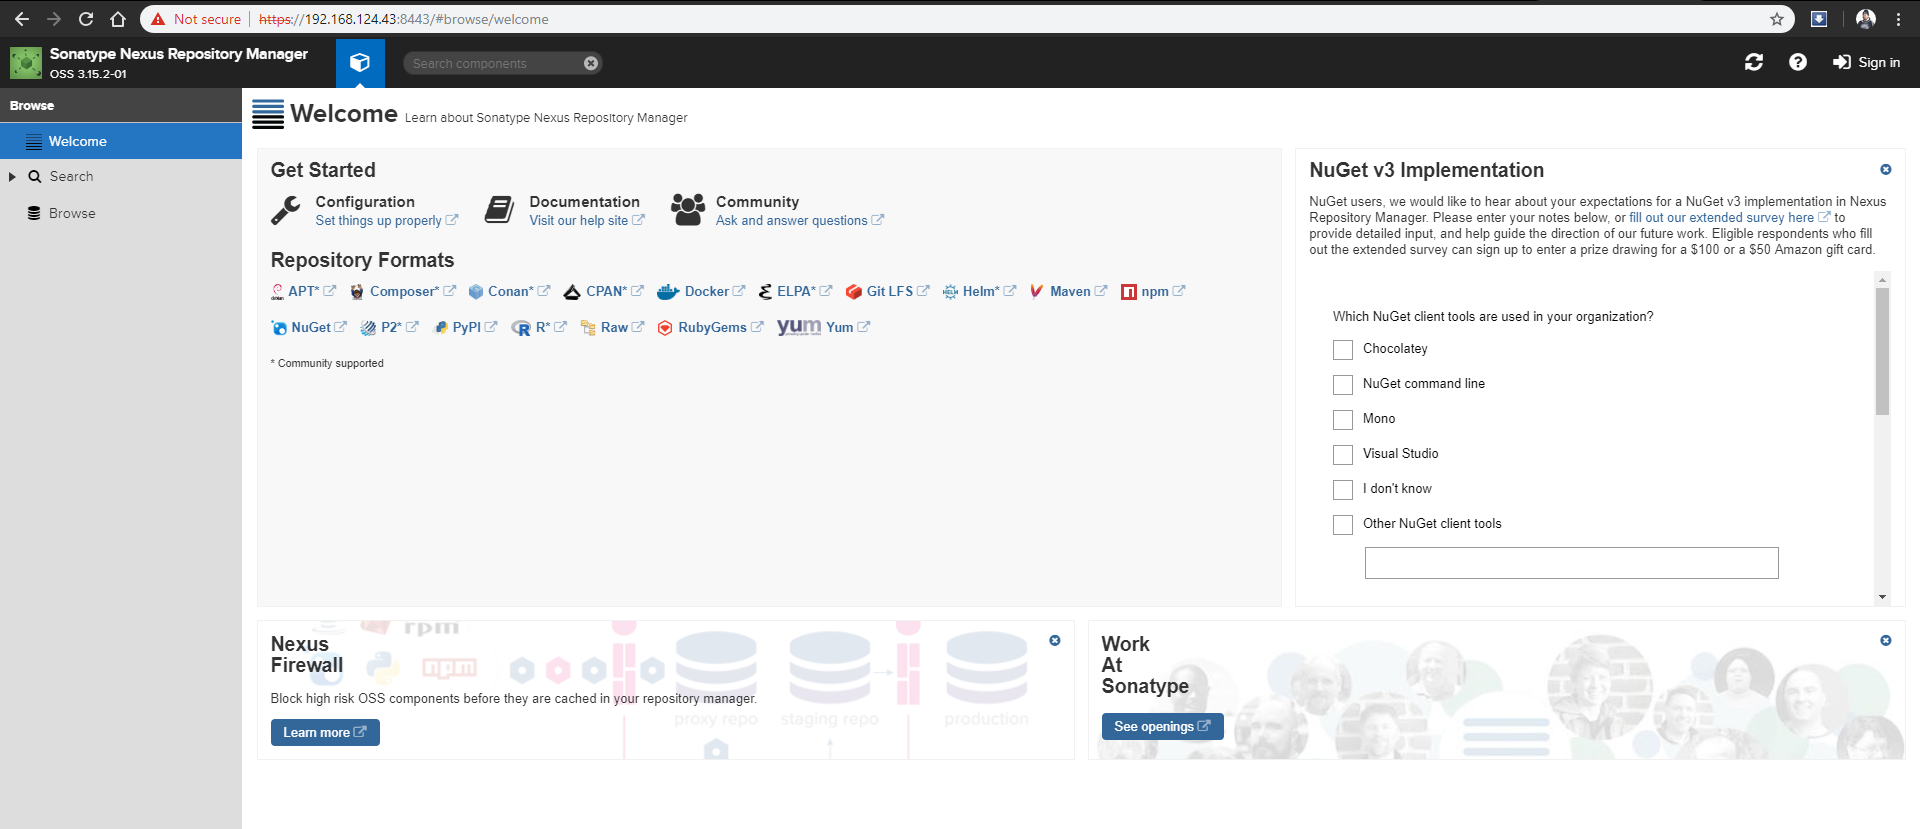
通过首页,我们可以看到Nexus罗列出来的支持的仓库类型,非常丰富.
注意,大家可能看到我访问的端口号并不是
8081而是8443,这是因为我设置的http自动跳转到https,并且指定的https端口为8443,这里之所以要启用https是因为下面即将讲到的docker镜像上传需要使用https.这部分内容将在下一节讲解.
登陆
注意,如果没有登陆,Nexus并不是以显著的方式提示你登陆,但是非登陆用户功能受限.要想实现一些管理功能,必须登陆.登陆需要点击右上角
sign in按钮.默认登陆用户名为admin密码为admin123.
Nexus搭建docker镜像仓库
上一节我们讲了如何在windows下安装nexus,本节我们讲解如何来搭建nexus来搭建docker镜像仓库.
我们进入web管理界面,点击齿轮图标,然后点击Repositories.如下图示
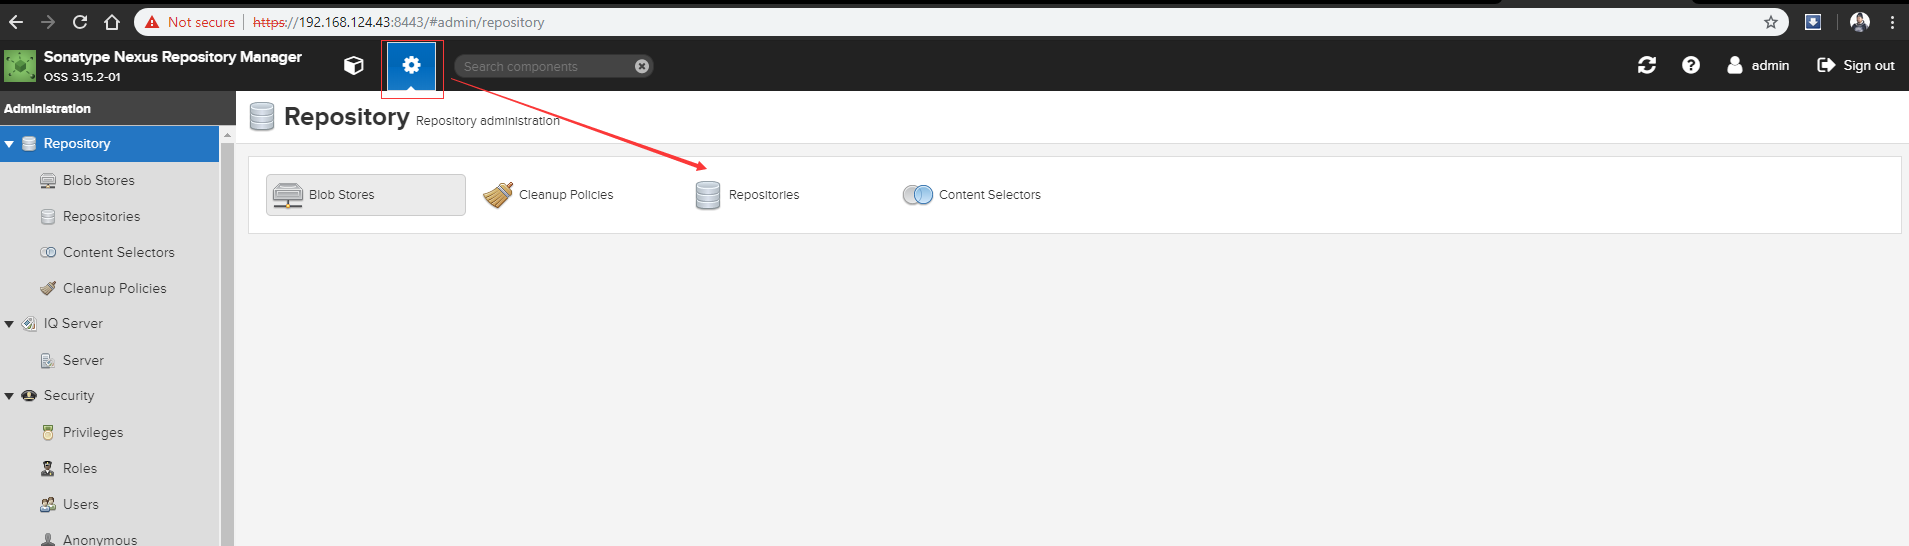
注意,以上操作需要登陆.登陆方式为点击右上角
sign in,然后用默认admin,admin123登陆.详细请见上一节内容
然后点击create repository按钮.如下图操作
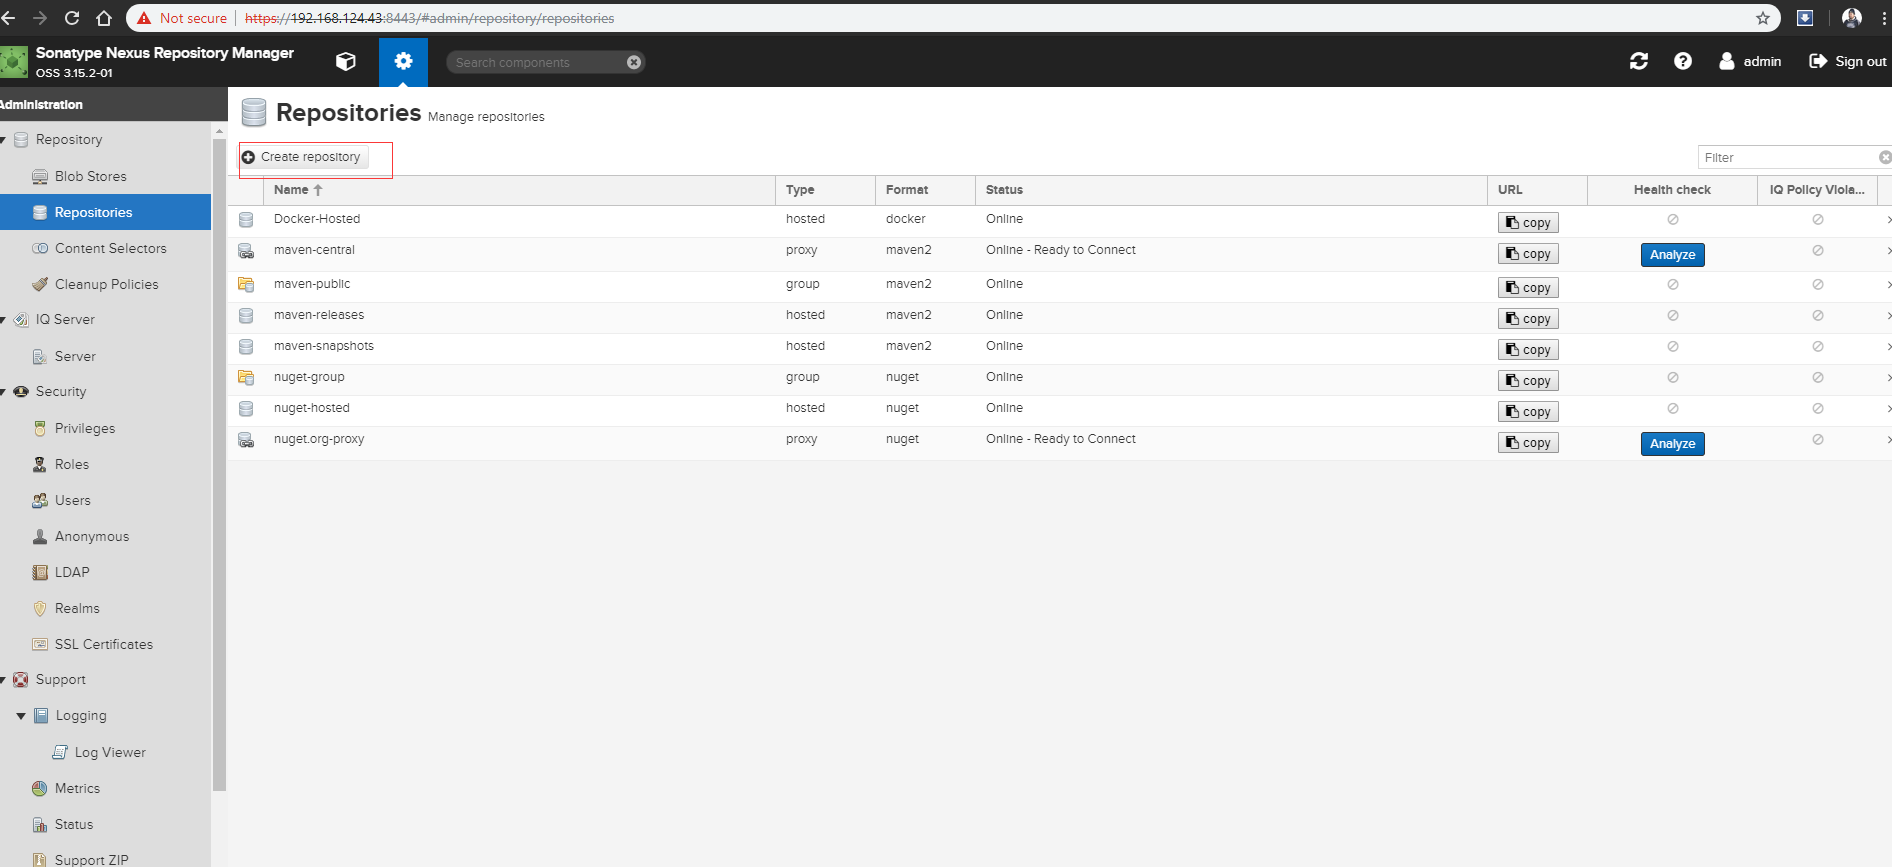
页面出来了非常多的仓库类型供选择,由于我们要创建的是docker仓库,这里选择的是docker hosted
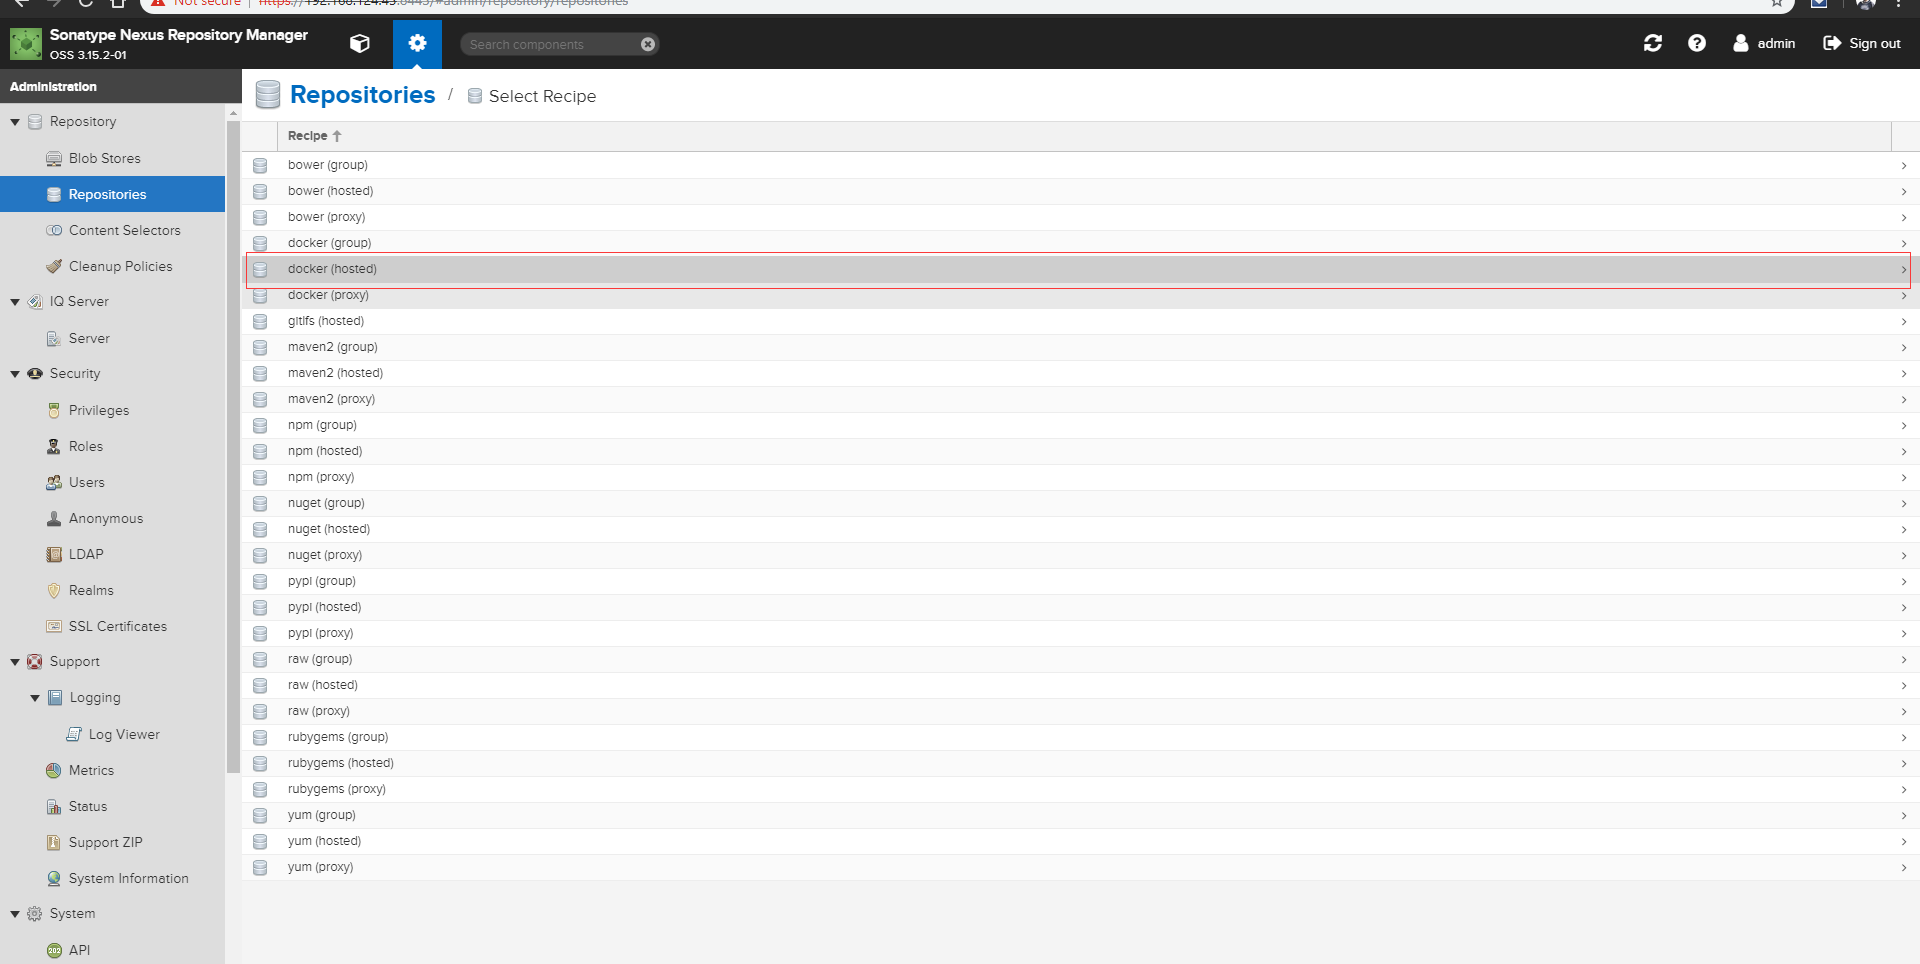
点击后出现如下界面
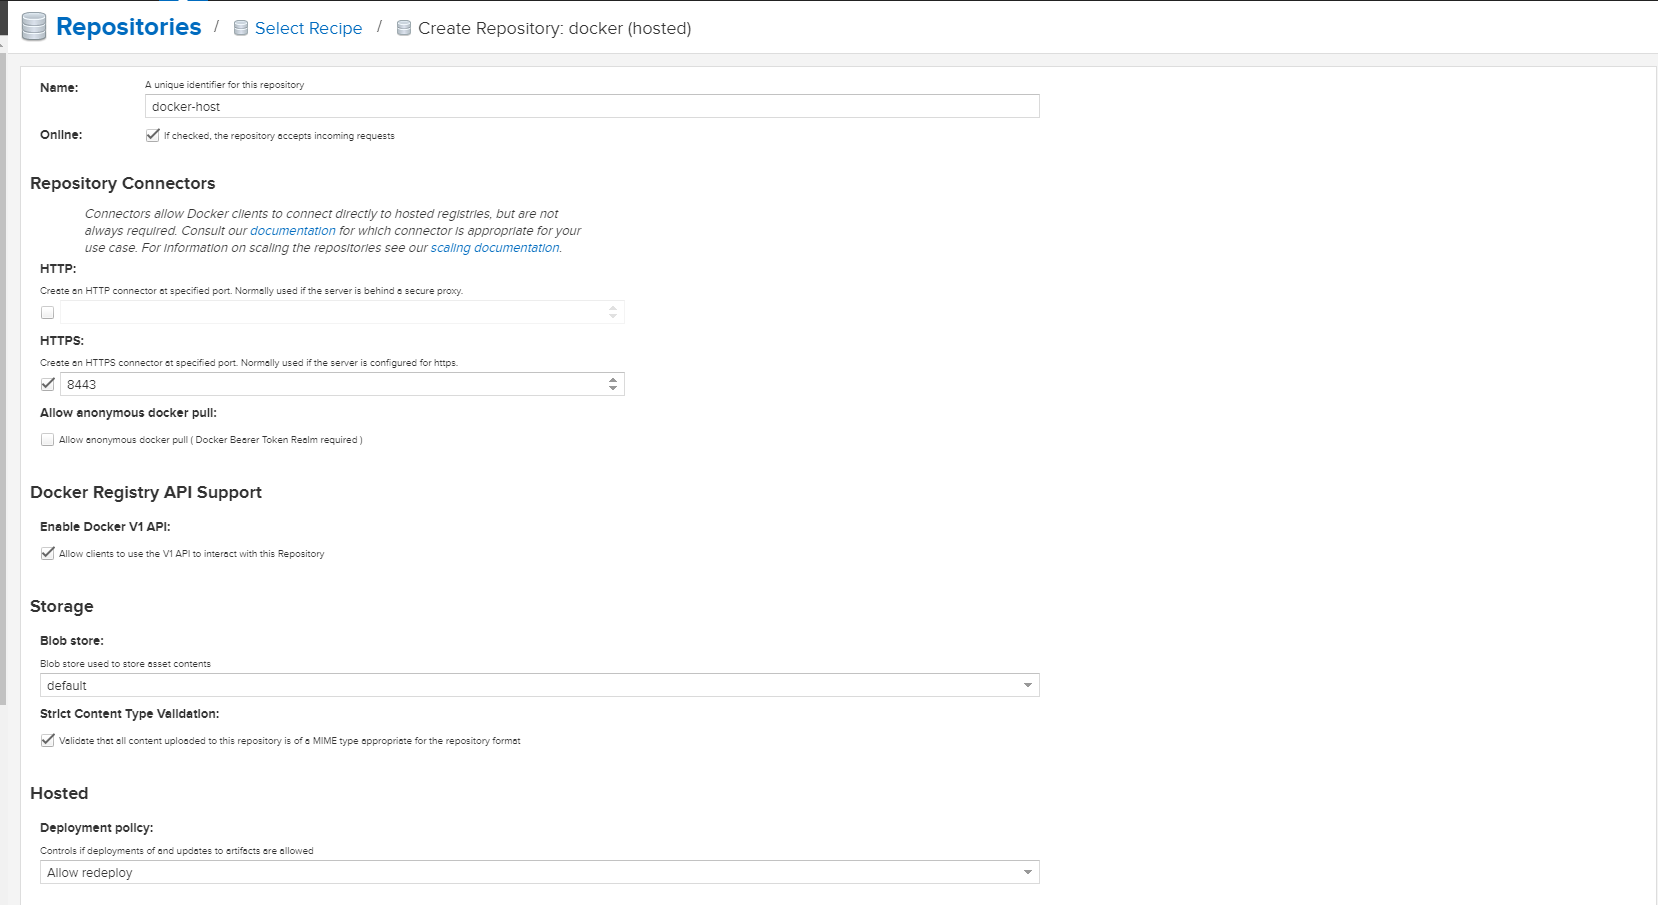
配置上面填写的内容,填写完成后我们点击左下角create repository来创建仓库
nexus服务器支持https配置
由于我们使用的是https方式通讯,因此我们需要对nexus服务器进行配置,以支持https.由于我们的证书是自己生成的,因此docker客户端也需添加对自己生成key的信任.
服务端开启监听ssl协议端口
进到nexus-xxx-xxx目录下(前面一节提到的从官网下载的nexus压缩包解压后的一个目录),进到ect目录下,里面有一个nexus-default.properties文件,用文本编辑器打开它
在# Jetty section注释下面添加一行,内容为application-port-ssl=8443
在nexus-args一行尾部添加,${jetty.etc}/jetty-http-redirect-to-https.xml,以指示服务器自动将http跳转到https
生成证书秘钥
网上有很多生成密码证书的博客文章,使用的工具也不尽相同.这里,我们使用java jkd自带的keytool.exe来生成ssl证书.
进入到nexus-xxx-xxx目录下的ect/ssl目录下,执行以下命令:
keytool -genkeypair -keystore keystore.jks -storepass nexus3 -keypass nexus3 -alias jetty -keyalg RSA -keysize 2048 -validity 5000 -dname "CN=${NEXUS_DOMAIN}, OU=Example, O=Sonatype, L=Unspecified, ST=Unspecified, C=US" -ext "SAN=DNS:${NEXUS_DOMAIN},IP:${NEXUS_IP_ADDRESS}" -ext "BC=ca:true"
其中${NEXUS_IP_ADDRESS}替换为你的实际ip地址,${NEXUS_DOMAIN}如果没有域名可以随便填写
需要注意的是,如果由于环境变量配置问题导致
keytool命令找不到,则需要显式指定keytool.exe完整路径,然后后面带上要执行的命令.
修改jetty-https.xml
进入到nexus-xxx-xxx目录下的etc/jetty目录下,用文本编辑器打开jetty-https.xml文件
把里面对应的内容修改为如下配置:
    <Set name="KeyStorePath"><Property name="karaf.etc"/>/ssl/keystore.jks</Set>
    <Set name="KeyStorePassword">nexus3</Set>
    <Set name="KeyManagerPassword">nexus3</Set>
    <Set name="TrustStorePath"><Property name="karaf.etc"/>/ssl/keystore.jks</Set>
    <Set name="TrustStorePassword">nexus3</Set>
注意以上内容全是修改,而不是新增,修改的时候找到相同key的修改即可.
重启nexus服务器
可以通过上一节介绍的powershell命令Restart-Service "nexus service来重启服务,以使配置生效.
需要注意的是,执行以上命令需要以管理员身份启动powershell.除了使用命令以外,也可以进入到服务管理里面找到名为
nexus service的服务,然后手动重启它.
执行完以上配置以后,我们再打开浏览器访问https://..localhost:8443或者http://localhost:8081
注意,重启服务以后,如果以上内容不能马上响应,可以等一会时间再观察看看.
配置客户端信任ca证书
我的docker服务器安装在192.168.122.65上面.下面介绍centos和ubuntu下如何添加证书信任
centos下添加证书信任
#生成cert文件
[root@localhost ~]# keytool -printcert -sslserver 192.168.124.43:8443 -rfc >nexus.crt
[root@localhost ~]# yum install ca-certificates
[root@localhost ~]# update-ca-trust force-enable
# 还可以放在/etc/docker/certs.d/192.168.124.43:8443目录下
[root@localhost ~]# mv nexus.crt /etc/pki/ca-trust/source/anchors/nexus.crt
[root@localhost ~]# update-ca-trust
[root@localhost ~]# service docker restart
[root@localhost ~]# docker login -u admin -p admin123 192.168.124.43:8002
Login Succeeded
ubuntu下添加信任证书
对于Ubuntu系统来说certificate的存放路径是 /usr/local/share/ca-certificates
### 生成cert文件
[root@localhost ~]# keytool -printcert -sslserver 192.168.124.43:8443 -rfc >nexus.crt
# 还可以放在/etc/docker/certs.d/192.168.124.43:8443目录下
[root@localhost ~]# mv nexus.crt /usr/local/share/ca-certificates/nexus.crt
[root@localhost ~]# update-ca-certificates
[root@localhost ~]# service docker restart
[root@localhost ~]# docker login -u admin -p admin123 192.168.124.43:8002
在redhat系统中,如果报Unkonw authority错误,修改
/etc/pki/tls/openssl.cnf。在其中的[ v3_ca]部分,添加subjectAltName选项
[ v3_ca ]
subjectAltName = IP:192.168.124.43
然后再执行以下命令
[root@localhost ~]# service docker restart
[root@localhost ~]# docker login -u admin -p admin123 192.168.124.43:8002
Login Succeeded
注,网上有不少介绍使用http访问的方法,但是却没有执行成功,大家可以尝试一下
[root@localhost centos]# vi /etc/docker/daemon.json
{
  "insecure-registries": [
    "192.168.124.43:8003"
  ],
  "disable-legacy-registry": true
上传镜像到docker仓库
- 为镜像打标签
docker tag 镜像名:tag名 192.168.124.43:8002/镜像名:tag名
我里,我没有自己创建镜像,而是随便找了一个已以存在的镜像,然后打上标签,如下
192.168.124.43:8002/rancher/nginx-ingress-controller-defaultbackend
通过执行docker push命令把它推到远程私服仓库
[root@localhost ~]# docker push 192.168.124.43:8002/rancher/nginx-ingress-controller-defaultbackend
The push refers to a repository [192.168.124.43:8002/rancher/nginx-ingress-controller-defaultbackend]
d62604d5d244: Pushed
1.4: digest: sha256:f63ced70bc85ca753e715c93b0adc3115510a6575129102383236c30112379e5 size: 528
[root@localhost ~]#
注意,推送前是需要先登陆的,登陆的方法上面也介绍过了
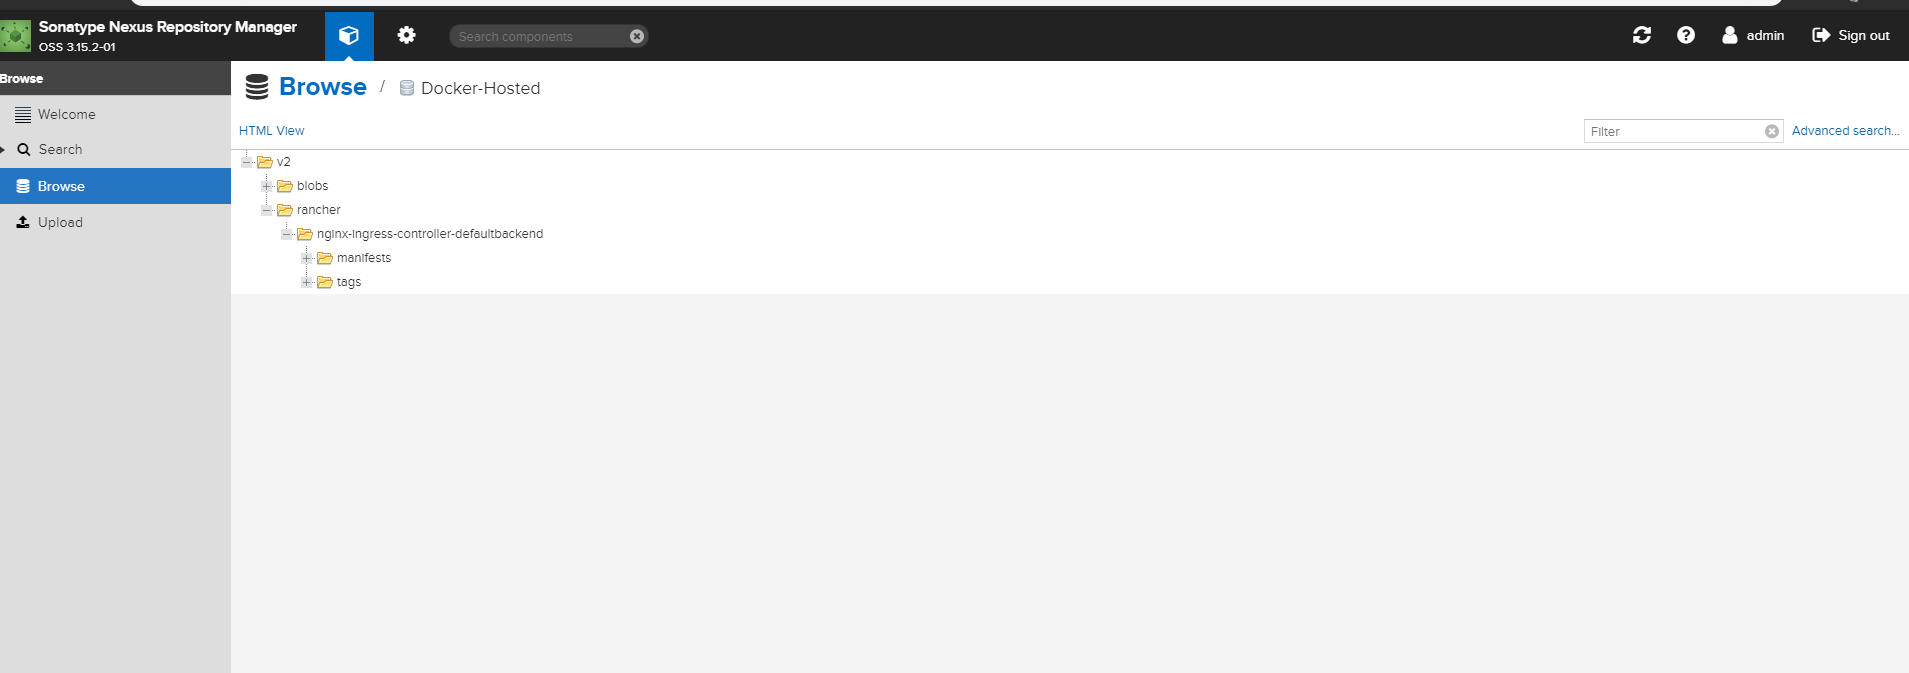
我们登陆nexus web管理界面,点击左侧Broswe,可以看到已经有内容push进来了
我们执行docker search命令
[root@localhost ~]# docker search 192.168.124.43:8002/rancher/nginx-ingress-controller-defaultbackend
NAME                                                                      DESCRIPTION   STARS     OFFICIAL   AUTOMATED
192.168.124.43:8002/rancher/nginx-ingress-controller-defaultbackend:1.4                 0
[root@localhost ~]#
可以看到能够从远程服务器上搜索到它.
拉取上传的镜像
实际环境中,生成docker镜像和服务器和使用docker镜像的服务器往往不是同一台服务器.这里我们使用另一个服务器192.168.124.59来拉取刚刚上传的镜像
需要注意的是,这里基于的前提是用于拉取镜像的服务器已经安装了docker,docker的安装可以参考其它章节或者网络上的教程
-
执行
keytool -printcert -sslserver 192.168.59.1:8443 -rfc >nexus.crt -
执行
yum install ca-certificates来安装
-紧接着执行update-ca-trust force-enable
-
执行
mv nexus.crt /etc/pki/ca-trust/source/anchors/nexus.crt -
执行
update-ca-trust -
service docker restart
-
执行login
docker login -u admin -p admin123 192.168.124.43:8002
[root@k8s-master ~]# docker login -u admin -p admin123 192.168.124.43:8002
WARNING! Using --password via the CLI is insecure. Use --password-stdin.
WARNING! Your password will be stored unencrypted in /root/.docker/config.json.
Configure a credential helper to remove this warning. See
https://docs.docker.com/engine/reference/commandline/login/#credentials-store

Login Succeeded
然后我们执行docker pull
[root@k8s-master ~]# docker pull 192.168.124.43:8002/rancher/nginx-ingress-controller-defaultbackend:1.4
1.4: Pulling from rancher/nginx-ingress-controller-defaultbackend
5990baa43a5e: Pull complete
Digest: sha256:f63ced70bc85ca753e715c93b0adc3115510a6575129102383236c30112379e5
Status: Downloaded newer image for 192.168.124.43:8002/rancher/nginx-ingress-controller-defaultbackend:1.4
[root@k8s-master ~]#
注意pull的时候要带上版本的tag
以上,我们从一台服务器(192.168.122.65)推送镜像到私服,然后用另一台服务器拉取(192.168.124.59).需要注意的是,由于服务端使用了自已生成的https证书,因此docker镜像生产端和消费端都要添加ca证书信任

 浙公网安备 33010602011771号