
Gin-Go学习笔记四:Gin-Web框架 文件的上传下载
文件的上传和下载
1->文件的上传
文件的上传,采用的是uploadify.js这个插件.
本事例实现的是上传图片文件,其他的文件上传也一样。
2->文件的下载
文件的下载有两个实现的方式:
1->url路径指向文件的路径,浏览器自行下载。但此方法存在缺陷:图片文件,text,pdf等文件会在浏览器中自动显示,不会执行下载功能
2->使用gin 暂时没带有的下载方法
3>新建一个fileopt.go控制器,具体代码如下:
package controllers

import (
	"io"
	"log"
	"os"
	"fmt"
	"github.com/gin-gonic/gin"
	"net/http"
)
/**文件上传下载操作页面**/
func Fileopthtml(c *gin.Context){
	c.HTML(http.StatusOK, "fileopt.html", gin.H{
		"title": "GIN: 文件上传下载操作布局页面",
	})
}

/**上传方法**/
func Fileupload(c *gin.Context){
	//得到上传的文件
	file, header, err := c.Request.FormFile("image") //image这个是uplaodify参数定义中的   'fileObjName':'image'
	if err != nil {
		c.String(http.StatusBadRequest, "Bad request")
		return
	}
	//文件的名称
	filename := header.Filename

	fmt.Println(file, err, filename)
    //创建文件
	out, err := os.Create("static/uploadfile/"+filename)
	//注意此处的 static/uploadfile/ 不是/static/uploadfile/
	if err != nil {
		log.Fatal(err)
	}
	defer out.Close()
	_, err = io.Copy(out, file)
	if err != nil {
		log.Fatal(err)
	}
	c.String(http.StatusCreated, "upload successful")
}

/**下载方法**/
func Filedown(c *gin.Context){
	//暂时没有提供方法
}
4>新建一个html页面,名为fileopt.html,其代码如下:
<!DOCTYPE html>

<html>
      <head>
        <title>首页 - 用户列表页面</title>
        <link rel="shortcut icon" href="/static/img/favicon.png" />
        <link rel="stylesheet" href="/static/uploadify/uploadify.css" rel="stylesheet"/>
        <script type="text/javascript" src="/static/js/jquery-2.1.1.min.js"></script>
        <script src="/static/uploadify/jquery.uploadify.min.js"></script>
      </head>
    <body>
        <!--上传部分-->
        <form method="POST" action="/Home/UploadFile" enctype="multipart/form-data">
            <input type="file" name="image" id="file_upload">
            <div id="imgdiv" style="display:none;">

            </div>

        </form>
        <!--下载图片-->
        <button value="下载图片" onclick="download()">下载图片</button>
        <!--JS部分-->
       <script type="text/javascript">

        //页面的初始化
        $(function () {
            $("#file_upload").uploadify({       //绑定元素
            'fileObjName':'image',//html input标签的name属性的值吧。
            'debug':false,
            'auto':true,    //自动上传
            'multi':true,
            'removeCompleted':false, //上传完成以后是否保存进度条
            'buttonText':'选择文件',
            'cancelImg':'/static/uploadify/uploadify-cancel.png',
            'swf':'/static/uploadify/uploadify.swf', //必须设置  swf文件路径
            'uploader':'/home/fileuplaod',         //必须设置,上传文件触发的url
            'fileTypeDesc':'FileType',
            'fileTypeExts':'*.jpg;*.jpge;*.gif;*.png;',
            'multi':true,
            'onUploadSuccess': function (file, data, response) {
               $("#imgdiv").show();
               var html='<image src="/static/uploadfile/'+file.name+'" style="height:150px;width:150px;margin:20px;"/>';
               $("#imgdiv").append(html);
            }
          });

        });
        //下载图片
        function download(){
          //暂时没有提供后台的方法
          //gin暂时没有实现下载方法
          //只有使用url
          window.location.href="/static/img/1.jpg";
        }
  </script>
 </body>
</html>
5>在路由中添加路由
package routers

import (
  "github.com/gin-gonic/gin"
  . "GinLearn/GinLearn/apis" //api部分
  . "GinLearn/GinLearn/controllers" //constroller部分
 )

func InitRouter() *gin.Engine{
  router := gin.Default()
  //Hello World
  router.GET("/", IndexApi)
  //渲染html页面
  router.LoadHTMLGlob("views/*")
  router.GET("/home/index", ShowHtmlPage)
  //列表页面
  router.GET("/home/list", ListHtml)
  router.POST("/home/PageData", GetDataList)
  router.POST("/home/PageNextData", PageNextData)

  //新增页面
  router.GET("/home/add", AddHtml)
  router.POST("/home/saveadd", AddPersonApi)

   //编辑页面
   router.GET("/home/edit", EditHtml)
   router.POST("/home/saveedit", EditPersonApi)

    //删除
    router.POST("/home/delete", DeletePersonApi)

    //Bootstrap布局页面
    router.GET("/home/bootstrap", Bootstraphtml)

    //文件的上传和下载
    router.GET("/home/fileopt", Fileopthtml)
    router.POST("/home/fileuplaod", Fileupload)
    router.GET("/home/filedown", Filedown)

    return router
 }
6>项目的结构如下:
7>执行的效果如下:
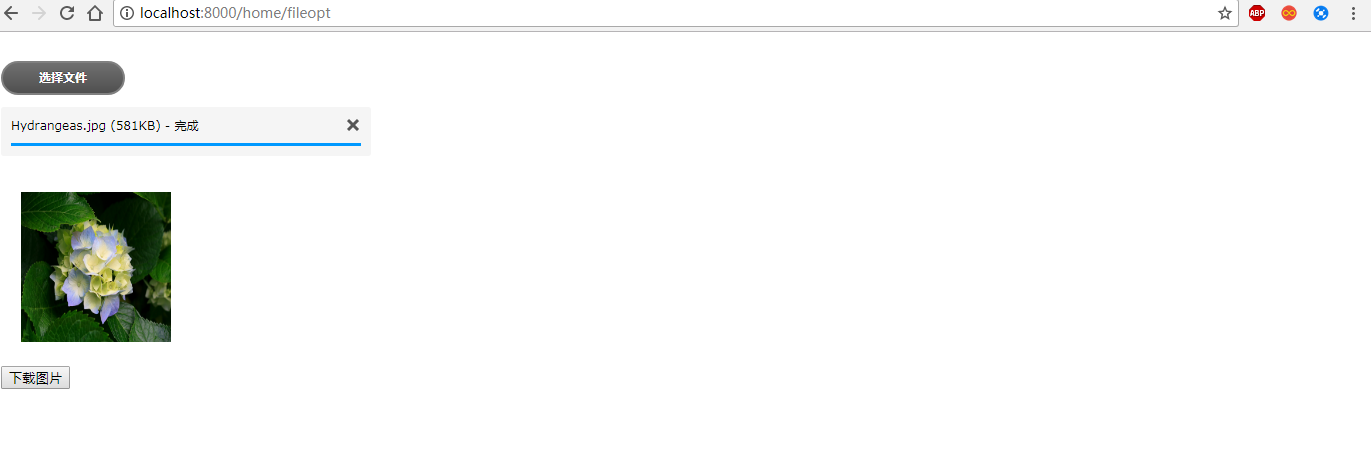
1->文件操作的页面如下,路由如下:

2->点击选择文件按钮,选择需要上传的图片,点击打开按钮,效果如下:
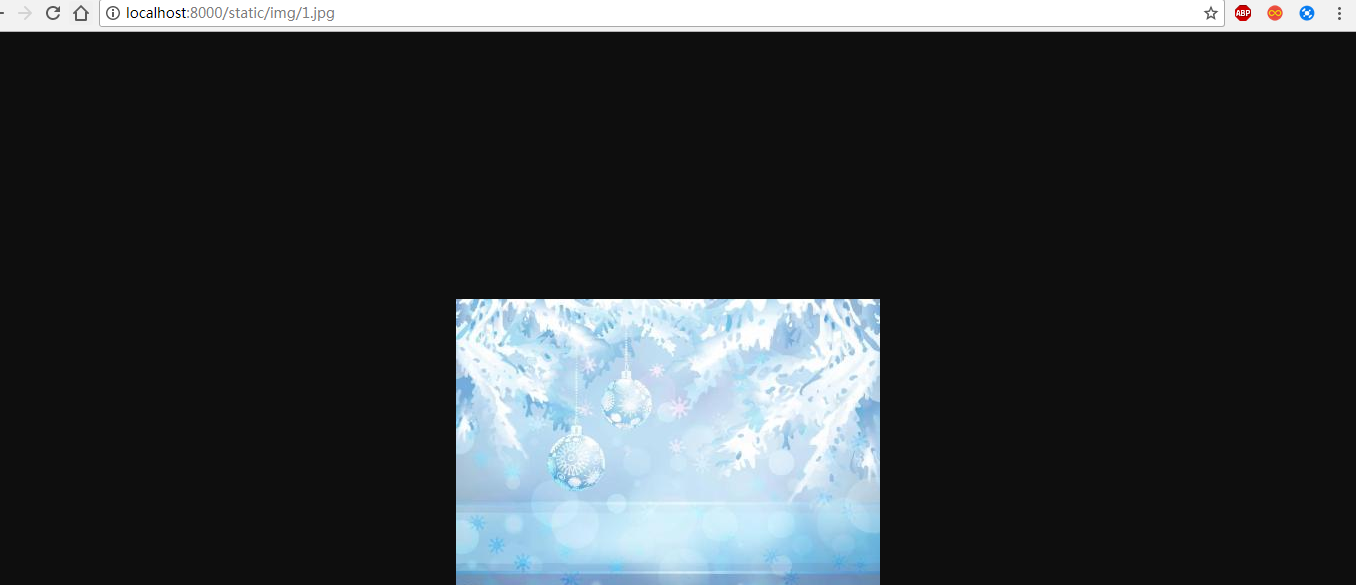
3->点击下载图片按钮,浏览器下载一张指定的图片
8>下一章,将文件内容的读取。

 浙公网安备 33010602011771号