微服务config(八)
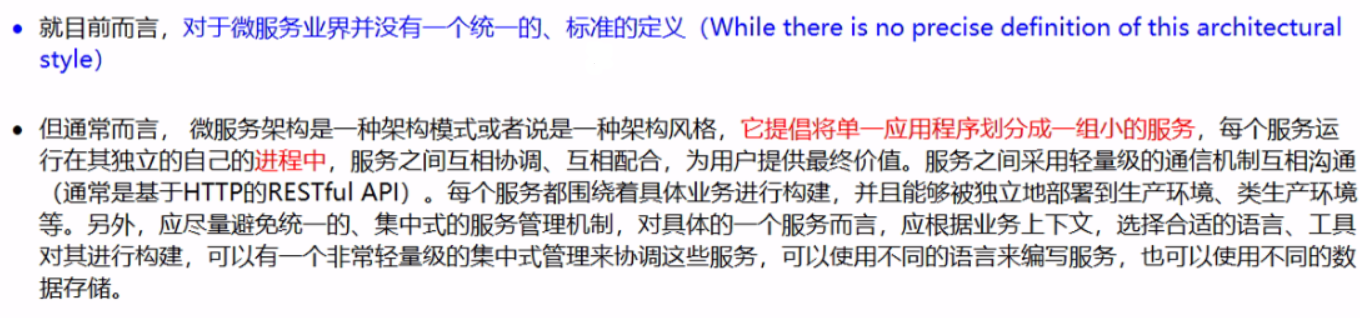
是什么?
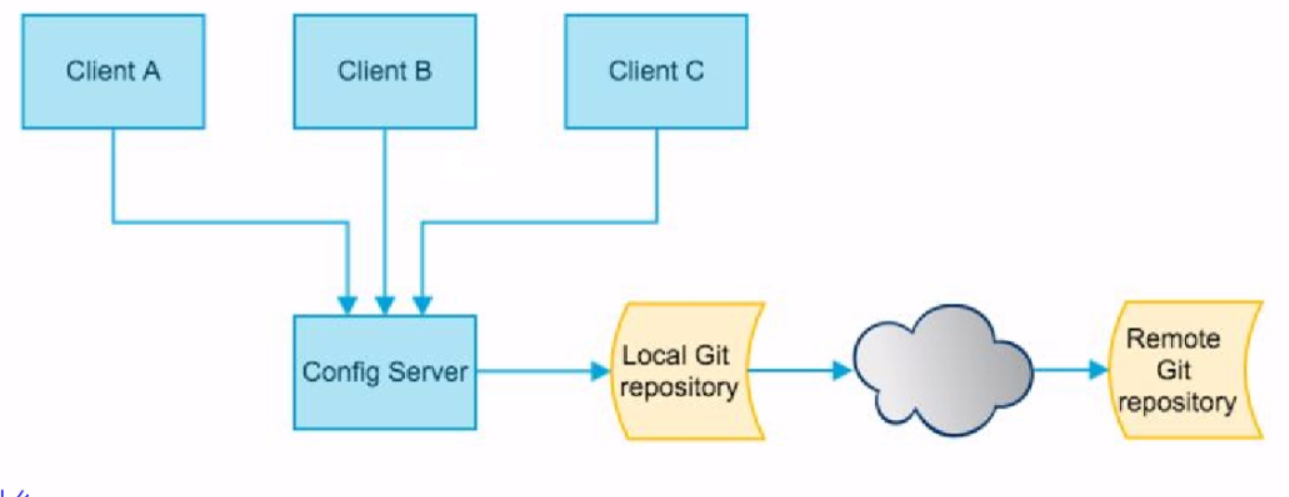
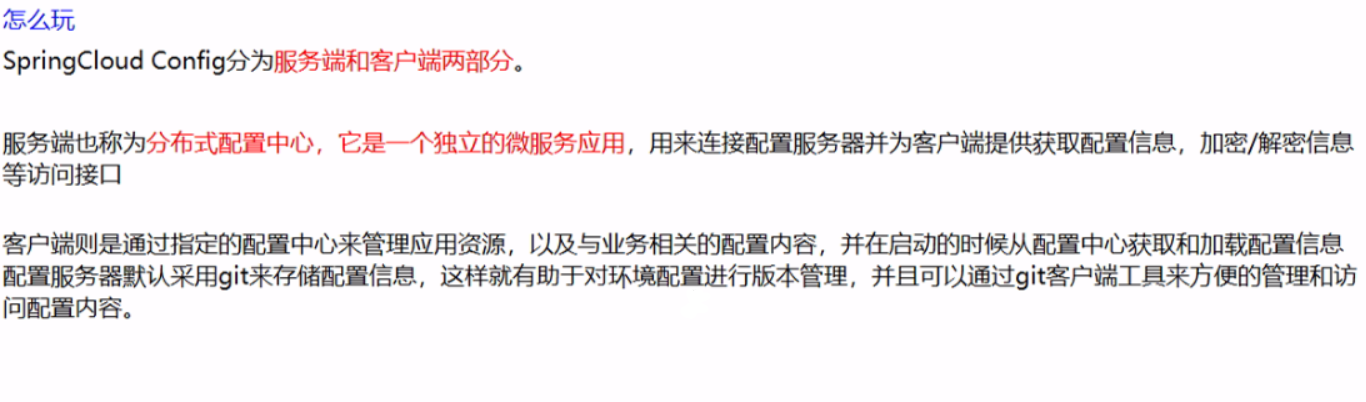
怎么玩?



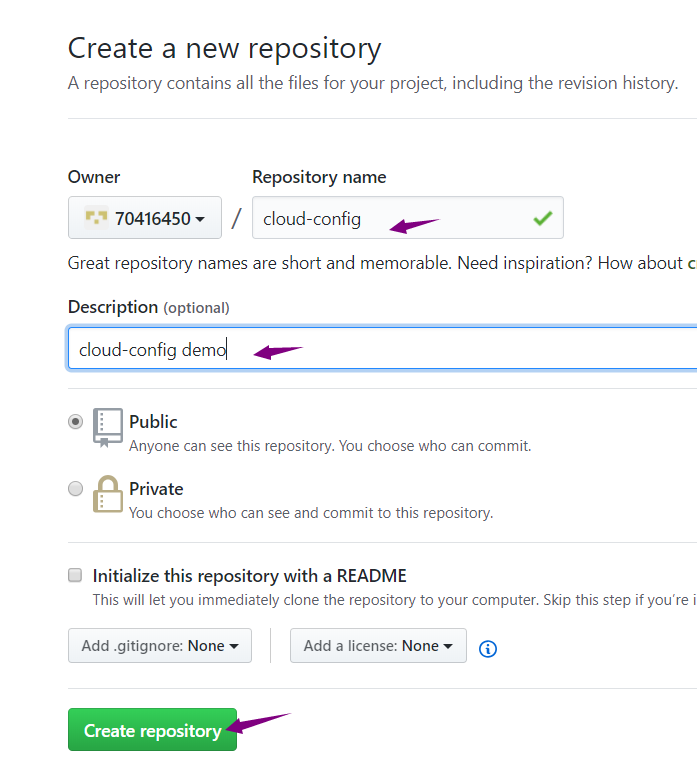
开始了,现在github上新建一个仓库
复制ssh地址
git@github.com:70416450/cloud-config.git
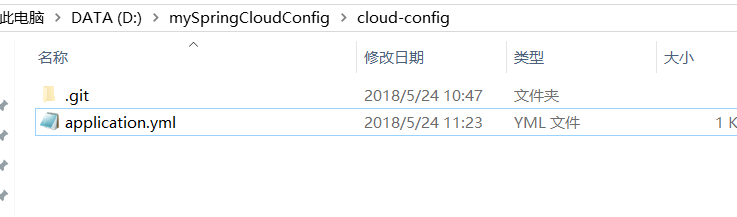
新建本地文件夹D:\mySpringCloudConfig
执行git命令拉取git仓库目录结构及交由git管理
在本地文件夹建立application.yml文件

spring:
profiles:
active:
- dev
---
spring:
profiles: dev #开发环境
application:
name: cloud-config-tzy-dev
---
spring:
profiles: test #测试环境
application:
name: cloud-config-tzy-test
#一定要保存为UTF-8格式
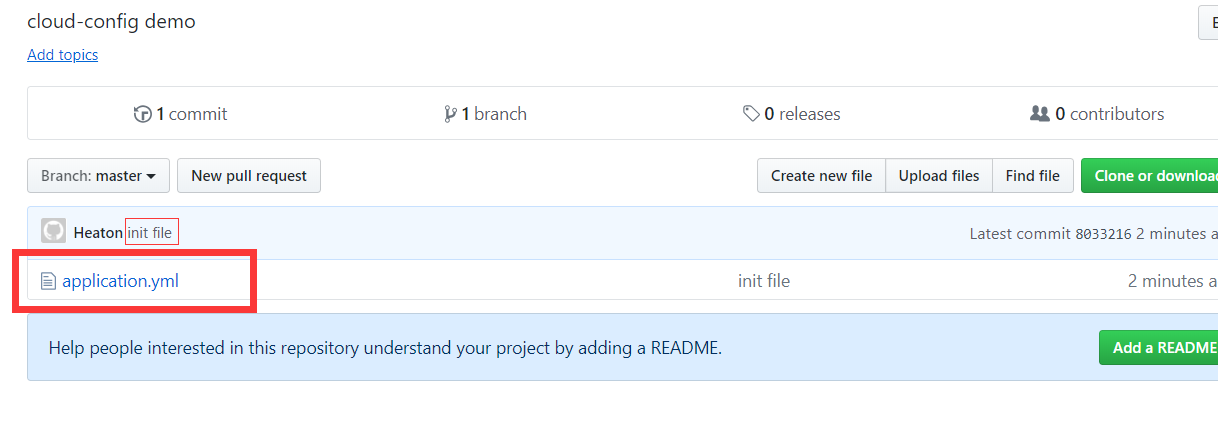
三连提交(添加,提交,上传)
$ git add .
$ git commit -m "init file"
$ git push origin master
开始建立config-service工程 cloud-config-3344(大管家)
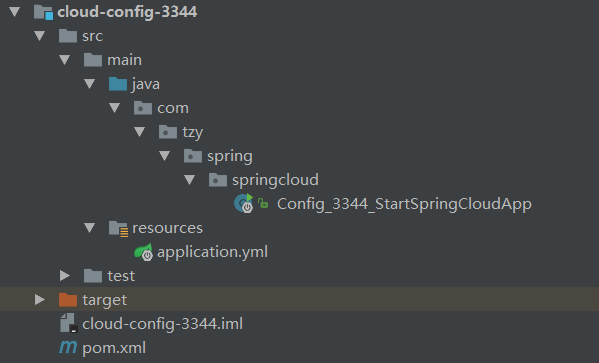
pom
yml
server:
port: 3344
spring:
application:
name: cloud-config
cloud:
config:
server:
git:
uri: git@github.com:70416450/cloud-config.git #GitHub上面的git仓库名字
>启动类
import org.springframework.boot.SpringApplication;
import org.springframework.boot.autoconfigure.SpringBootApplication;
import org.springframework.cloud.config.server.EnableConfigServer;
@SpringBootApplication
@EnableConfigServer
public class Config_3344_StartSpringCloudApp
{
public static void main(String[] args)
{
SpringApplication.run(Config_3344_StartSpringCloudApp.class, args);
}
}
>好了启动3344看看效果吧
>访问[http://localhost:3344/application-dev.yml](http://localhost:3344/application-dev.yml) 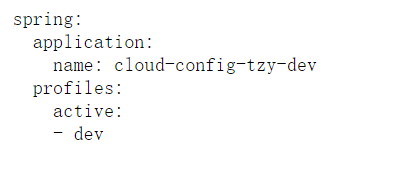 >访问[http://localhost:3344/application-test.yml](http://localhost:3344/application-test.yml) 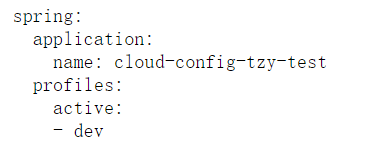 >访问[http://localhost:3344/application-xxxxxx.yml](http://localhost:3344/application-xxxxxx.yml) 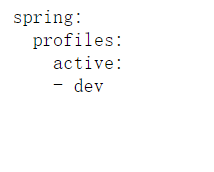 >官网提供的访问方式  >试试[http://localhost:3344/application/dev/master](http://localhost:3344/application/dev/master)  >[http://localhost:3344/master/application-dev.yml](http://localhost:3344/master/application-dev.yml) 
客户端
在本地文件夹新建cloud-config-client.yml
spring:
profiles:
active:
- dev
---
server:
port: 8201
spring:
profiles: dev #开发环境
application:
name: cloud-config-client
eureka:
client:
service-url:
defaultZone: http://eureka-dev.com:7001/eureka/
---
server:
port: 8202
spring:
profiles: test #开发环境
application:
name: cloud-config-client
eureka:
client:
service-url:
defaultZone: http://eureka-test.com:7001/eureka/
#一定要保存为UTF-8格式
三连提交(添加,提交,上传)
$ git add .
$ git commit -m "init file"
$ git push origin master
新建module cloud-config-client-3355 pom文件如下
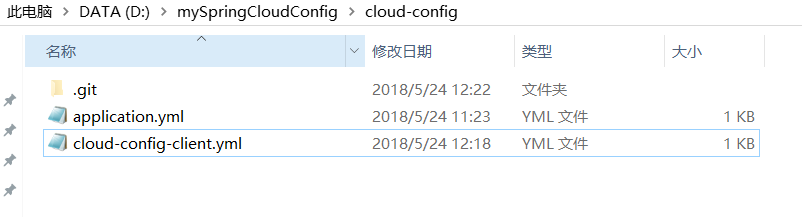
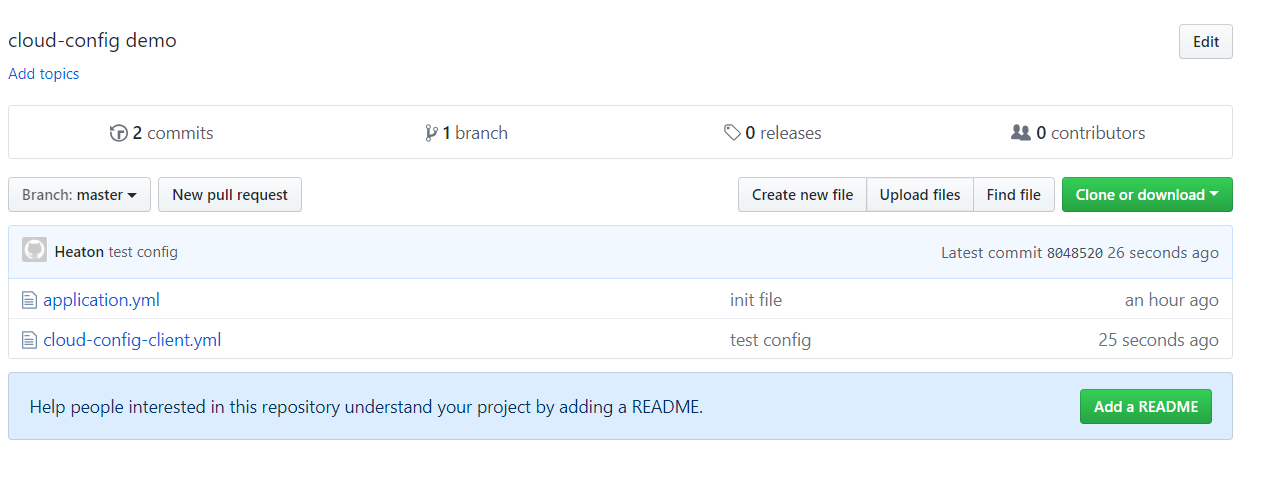
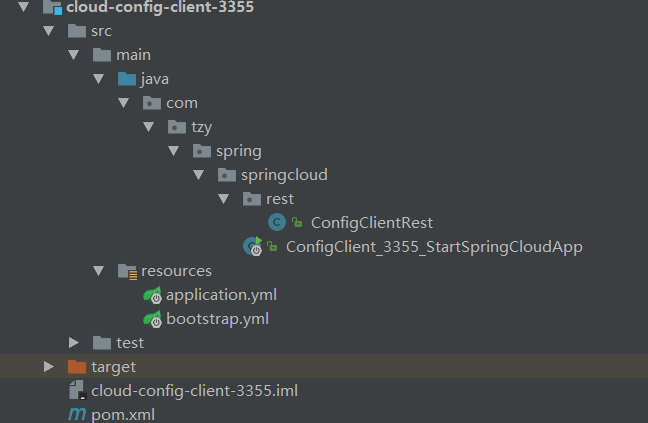
然后建立bootstrap.yml 和application.yml(application.yml文件可以不建立,如果建立,一定要和GIT上配置的一样)
bootstrap.yml 优先级别比application.yml高,所以有这个文件的情况下,优先访问这个文件
bootstrap.yml
spring:
cloud:
config:
name: cloud-config-client #需要从github上读取的资源名称,注意没有yml后缀名
profile: test #本次访问的配置项
label: master
uri: http://localhost:3344 #本微服务启动后先去找3344号服务,通过SpringCloudConfig获取GitHub的服务地址
application.yml
spring:
application:
name: cloud-config-client
请求类接口ConfigClientRest.java
import org.springframework.beans.factory.annotation.Value;
import org.springframework.web.bind.annotation.RequestMapping;
import org.springframework.web.bind.annotation.RestController;
@RestController
public class ConfigClientRest
{
@Value("${spring.application.name}")
private String applicationName;
@Value("${eureka.client.service-url.defaultZone}")
private String eurekaServers;
@Value("${server.port}")
private String port;
@RequestMapping("/config")
public String getConfig()
{
String str = "applicationName: " + applicationName + "\t eurekaServers:" + eurekaServers + "\t port: " + port;
System.out.println("******str: " + str);
return "applicationName: " + applicationName + "\t eurekaServers:" + eurekaServers + "\t port: " + port;
}
}
启动类
import org.springframework.boot.SpringApplication;
import org.springframework.boot.autoconfigure.SpringBootApplication;
@SpringBootApplication
public class ConfigClient_3355_StartSpringCloudApp
{
public static void main(String[] args)
{
SpringApplication.run(ConfigClient_3355_StartSpringCloudApp.class, args);
}
}
开启3344和3355,调整test环境和dev环境,测试(删除applicatin.yml文件测试没有问题)
http://localhost:8202/config
http://localhost:8201/config


好了现在来重点

新建cloud-config-eureka-client.yml
spring:
profiles:
active:
- dev
---
server:
port: 7001 #注册中心占用7001端口
spring:
profiles: dev #开发环境
application:
name: cloud-config-eureka-client
eureka:
instance:
hostname: eureka7001.com
client:
register-with-eureka: false
fetch-register: false
service-url:
defaultZone: http://eureka7001.com:7001/eureka/
---
server:
port: 7001 #注册中心占用7001端口
spring:
profiles: test #开发环境
application:
name: cloud-config-eureka-client
eureka:
instance:
hostname: eureka7001.com
client:
register-with-eureka: false
fetch-register: false
service-url:
defaultZone: http://eureka7001.com:7001/eureka/
#一定要保存为UTF-8格式
>新建cloud-config-dept-client.yml
spring:
profiles:
active:
- dev
---
server:
port: 8001 #注册中心占用7001端口
spring:
profiles: dev #开发环境
application:
name: cloud-config-dept-client # 对外暴露的微服务名字 很重要很重要很重要很重要
datasource:
type: com.alibaba.druid.pool.DruidDataSource # 当前数据源操作类型
driver-class-name: org.gjt.mm.mysql.Driver # mysql驱动包
url: jdbc:mysql://localhost:3306/cloudDB01 # 数据库名称
username: root
password: root
dbcp2:
min-idle: 5 # 数据库连接池的最小维持连接数
initial-size: 5 # 初始化连接数
max-total: 5 # 最大连接数
max-wait-millis: 200 # 等待连接获取的最大超时时间
mybatis:
config-location: classpath:mybatis/mybatis.cfg.xml # mybatis配置文件所在路径
type-aliases-package: com.tzy.spring.entities # 所有Entity别名类所在包
mapper-locations:
- classpath:mybatis/mapper/**/*.xml # mapper映射文件
eureka:
client:
service-url:
defaultZone: http://eureka7001.com:7001/eureka/
---
server:
port: 8001 #注册中心占用7001端口
spring:
profiles: test #开发环境
application:
name: cloud-config-dept-client # 对外暴露的微服务名字 很重要很重要很重要很重要
datasource:
type: com.alibaba.druid.pool.DruidDataSource # 当前数据源操作类型
driver-class-name: org.gjt.mm.mysql.Driver # mysql驱动包
url: jdbc:mysql://localhost:3306/cloudDB02 # 数据库名称
username: root
password: root
dbcp2:
min-idle: 5 # 数据库连接池的最小维持连接数
initial-size: 5 # 初始化连接数
max-total: 5 # 最大连接数
max-wait-millis: 200 # 等待连接获取的最大超时时间
mybatis:
config-location: classpath:mybatis/mybatis.cfg.xml # mybatis配置文件所在路径
type-aliases-package: com.tzy.spring.entities # 所有Entity别名类所在包
mapper-locations:
- classpath:mybatis/mapper/**/*.xml # mapper映射文件
eureka:
client:
service-url:
defaultZone: http://eureka7001.com:7001/eureka/
#一定要保存为UTF-8格式
>>三连提交(添加,提交,上传) >$ git add . >$ git commit -m "two file" >$ git push origin master  >先做配置版的服务端7001,新建module工程cloud-config-eureka-client-7001 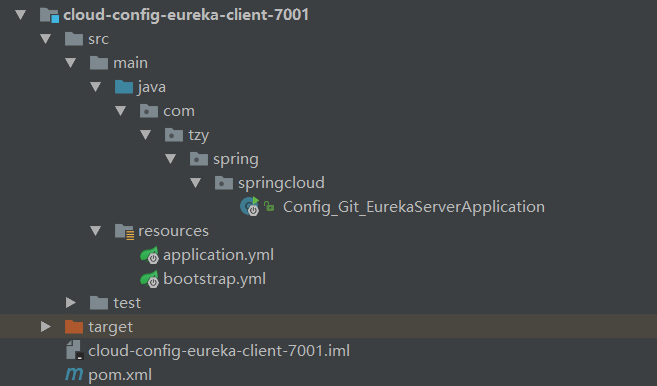 >pom
bootstrap.yml
spring:
cloud:
config:
name: cloud-config-eureka-client #需要从github上读取的资源名称,注意没有yml后缀名
profile: dev
label: master
uri: http://localhost:3344 #SpringCloudConfig获取的服务地址
application.yml
spring:
application:
name: cloud-config-eureka-client
启动3344和当前7001
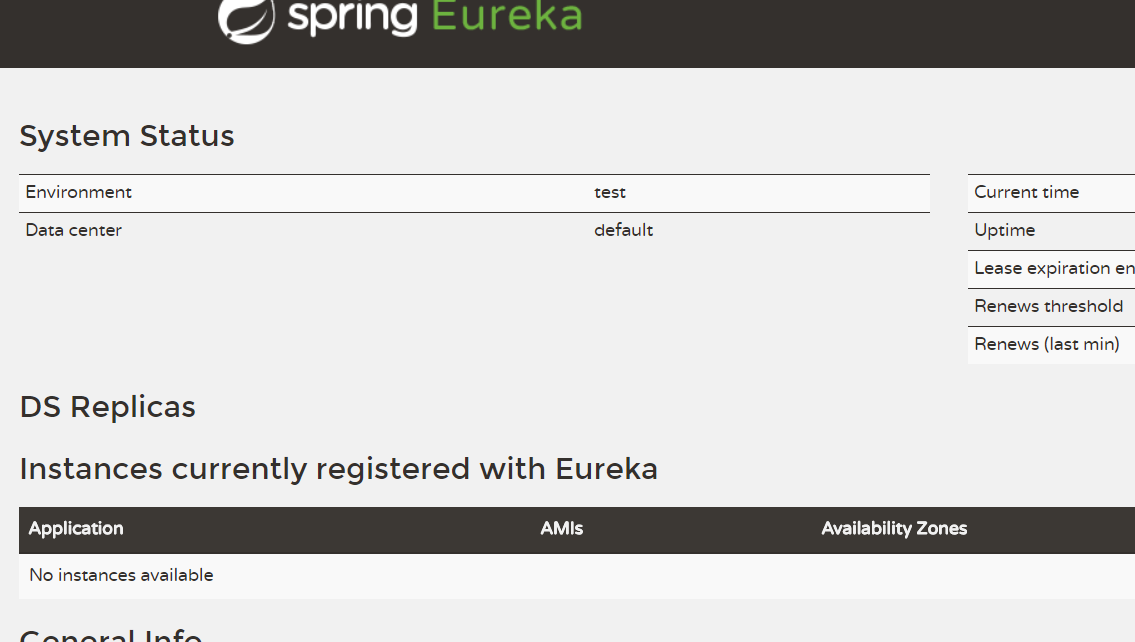
http://eureka7001.com:7001/
成功了eureka,下面来个微服务提供者,新建module工程cloud-config-dept-client-8001
接口什么的全都是复制的cloud-provider-dept-8001工程的,下面只提出不同点
pom
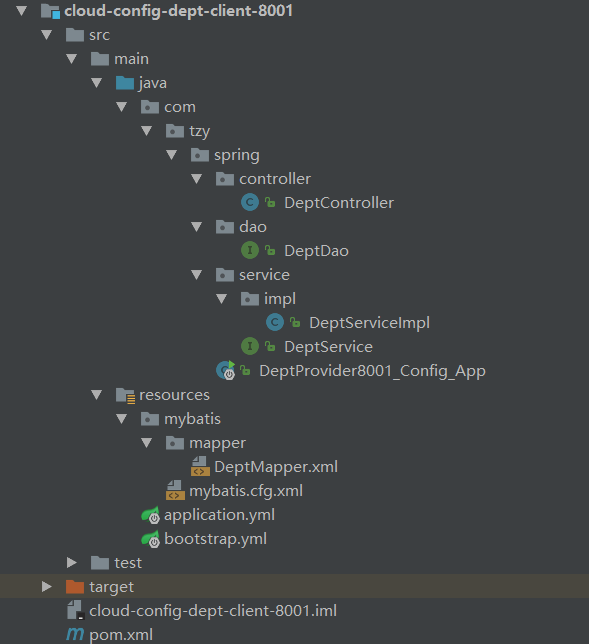
>bootstrap.yml
spring:
cloud:
config:
name: cloud-config-dept-client #需要从github上读取的资源名称,注意没有yml后缀名
#profile配置是什么就取什么配置dev or test
profile: dev
#profile: test
label: master
uri: http://localhost:3344 #SpringCloudConfig获取的服务地址
application.yml
spring:
application:
name: cloud-config-dept-client
启动类
import org.springframework.boot.SpringApplication;
import org.springframework.boot.autoconfigure.SpringBootApplication;
import org.springframework.cloud.client.discovery.EnableDiscoveryClient;
import org.springframework.cloud.netflix.eureka.EnableEurekaClient;
@SpringBootApplication
@EnableEurekaClient //本服务启动后会自动注册进eureka服务中
@EnableDiscoveryClient //服务发现
public class DeptProvider8001_Config_App
{
public static void main(String[] args)
{
SpringApplication.run(DeptProvider8001_Config_App.class, args);
}
}
>启动3344,上面的7001,现在的8001 [http://localhost:8001/dept/list](http://localhost:8001/dept/list)  修改环境为test自己玩吧 - 现在运维工程师直接把配置文件的数据库改到3号库,在提交到git上,那么程序不需要停止,动态的连上了3号库。
至此结束

您的资助是我最大的动力!
金额随意,欢迎来赏!

 浙公网安备 33010602011771号