关于Node.js使用nodemailer邮件插件的使用教程
搭建原因:
在百度上找关于nodemailer静态页面邮箱验证码发送的相关资料太过零散,有些只有相关的代码部分,没有搭建的过程,所以为了记录方便大家,特意写一篇文章记录一下,此服务只能单独部署,不能添加在其他的vue项目中,试过好多版本,将此模块导入之后全部报错,所以将他单独分离出来,做一个邮件服务来启动,静态页面只传递相关参数到模板就行。
环境:
我的node环境版本:v12.19.0
npm版本:6.14.8
nodemailer版本:最新版
nodemailer-git地址https://github.com/nodemailer/nodemailer
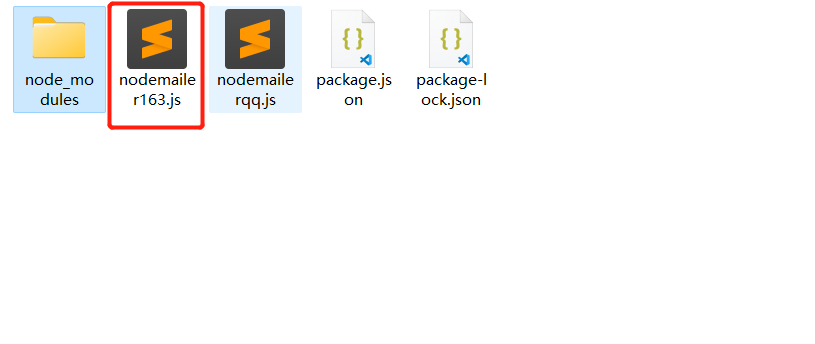
1.首先搭建环境-首先新建一个邮件服务的空文件夹email用来存放邮件模块的module
然后再此文件夹中打开cmd窗口 依次运行
npm init -y
npm install nodemailer
2.模块都安装好之后,在文件夹中新建 nodemaile.js文件
3.文件内容
// 邮箱验证
const nodemailer = require('nodemailer'); //发送邮件的node插件

function sendEmail (data){
    let transporter = nodemailer.createTransport({
        host: 'smtp.163.com', //163邮箱smtp服务地址
        port: 465, // SMTP 端口
        auth: {   //发送者的账户和授权码
            user: 'xxxxx@163.com', //个人邮箱账户
            pass: 'xxxxxx', //smtp授权码,到邮箱设置下获取
        }
    });
    let mailOptions = {
        from: 'xxxxxxxx@163.com', // 发送者昵称和地址
        to: data.email, // 接收者的邮箱地址
        subject: '激活验证码', // 邮件主题
        html: data.content
    };
    //发送邮件
    transporter.sendMail(mailOptions, (error, info) => {
        if (error) {
            return console.log(error);
        }
        console.log('邮件发送成功 ID:', info.messageId);
    });
}

let yzm = '95559'
let data = {
    email:'xxxxxxx@qq.com', // 接收者的邮箱
    // 邮件模板,可自行修改
    content:`
    <head>
    <base target="_blank" />
    <style type="text/css">::-webkit-scrollbar{ display: none; }</style>
    <style id="cloudAttachStyle" type="text/css">#divNeteaseBigAttach, #divNeteaseBigAttach_bak{display:none;}</style>
    <style id="blockquoteStyle" type="text/css">blockquote{display:none;}</style>
    <style type="text/css">
        body{font-size:14px;font-family:arial,verdana,sans-serif;line-height:1.666;padding:0;margin:0;overflow:auto;white-space:normal;word-wrap:break-word;min-height:100px}
        td, input, button, select, body{font-family:Helvetica, 'Microsoft demo', verdana}
        pre {white-space:pre-wrap;white-space:-moz-pre-wrap;white-space:-pre-wrap;white-space:-o-pre-wrap;word-wrap:break-word;width:95%}
        th,td{font-family:arial,verdana,sans-serif;line-height:1.666}
        img{ border:0}
        header,footer,section,aside,article,nav,hgroup,figure,figcaption{display:block}
        blockquote{margin-right:0px}
        </style>
    </head>
    <body tabindex="0" role="listitem">
    <table width="700" border="0" align="center" cellspacing="0" style="width:700px;">
        <tbody>
        <tr>
            <td>
                <div style="width:700px;margin:0 auto;border-bottom:1px solid #ccc;margin-bottom:30px;">
                    <table border="0" cellpadding="0" cellspacing="0" width="700" height="39" style="font:12px Tahoma, Arial, 宋体;">
                        <tbody><tr><td width="210"></td></tr></tbody>
                    </table>
                </div>
                <div style="width:680px;padding:0 10px;margin:0 auto;">
                    <div style="line-height:1.5;font-size:14px;margin-bottom:25px;color:#4d4d4d;">
                        <strong style="display:block;margin-bottom:15px;">尊敬的用户:<span style="color:#f60;font-size: 16px;"></span>您好!</strong>
                        <strong style="display:block;margin-bottom:15px;">
                            您正在进行<span style="color: red">XXX账号申请</span>操作,请在验证码输入框中输入:<span style="color:#f60;font-size: 24px">${yzm}</span>,以完成操作。
                        </strong>
                    </div>
                    <div style="margin-bottom:30px;">
                        <small style="display:block;margin-bottom:20px;font-size:12px;">
                            <p style="color:#747474;">
                                注意:此操作可能会修改您的密码、登录邮箱或绑定手机。如非本人操作,请及时登录并修改密码以保证帐户安全
                                <br>(工作人员不会向你索取此验证码,请勿泄漏!)
                            </p>
                        </small>
                    </div>
                </div>
                <div style="width:700px;margin:0 auto;">
                    <div style="padding:10px 10px 0;border-top:1px solid #ccc;color:#747474;margin-bottom:20px;line-height:1.3em;font-size:12px;">
                        <p>此为系统邮件,请勿回复<br>
                            请保管好您的邮箱,避免账号被他人盗用
                        </p>
                        <p>Bertil Chan</p>
                    </div>
                </div>
            </td>
        </tr>
        </tbody>
    </table>
    </body>
`
}

sendEmail(data)
4.运行
在当前目录cmd窗口中输入,返回下图结果表示发送成功
node nodemailerqq.js
5.注意事项。
在使用邮件发送之前,先开通163邮箱或者是qq邮箱的stmp权限
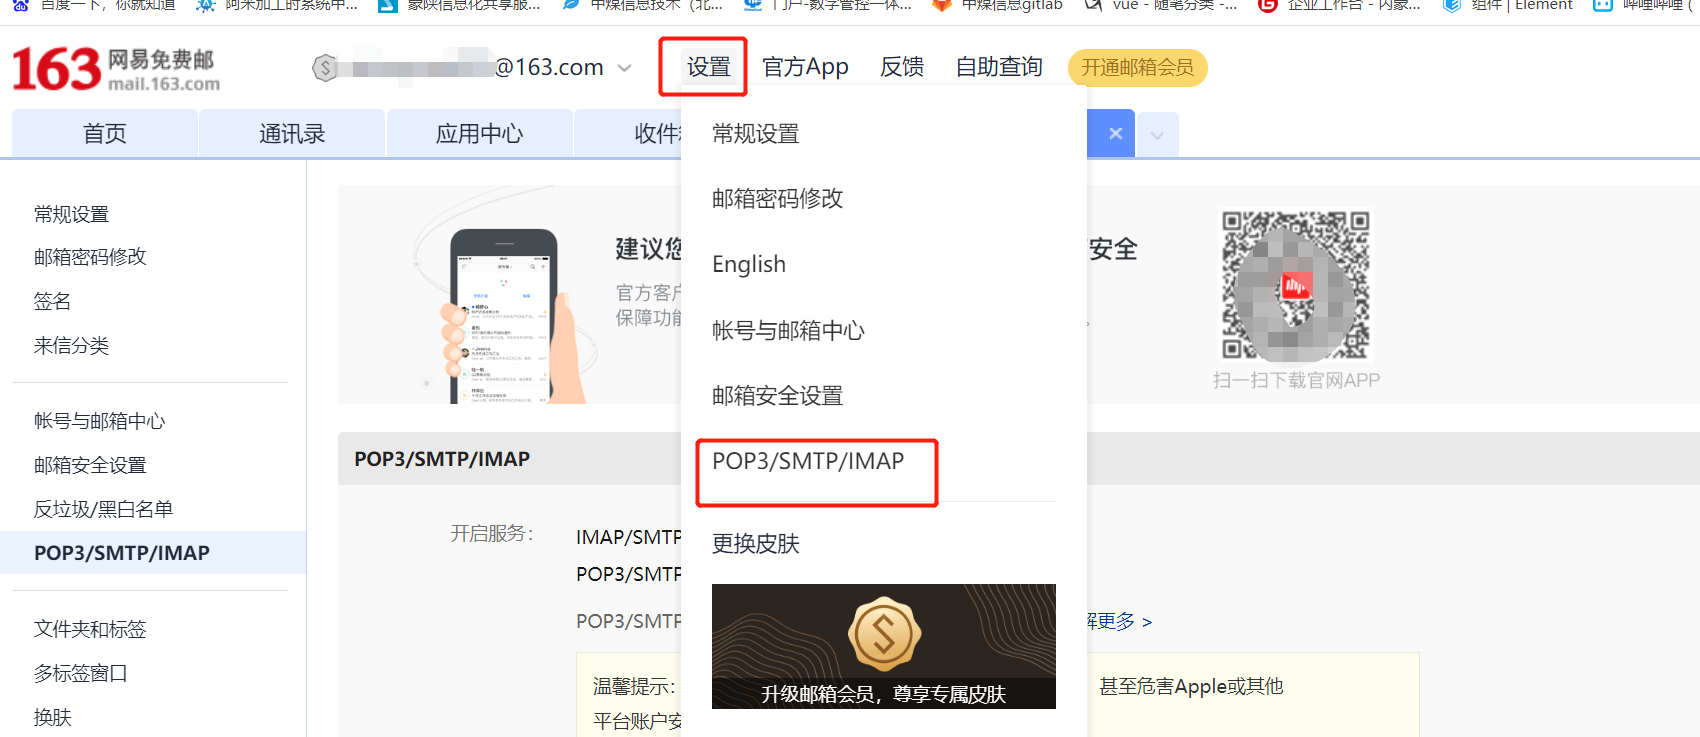
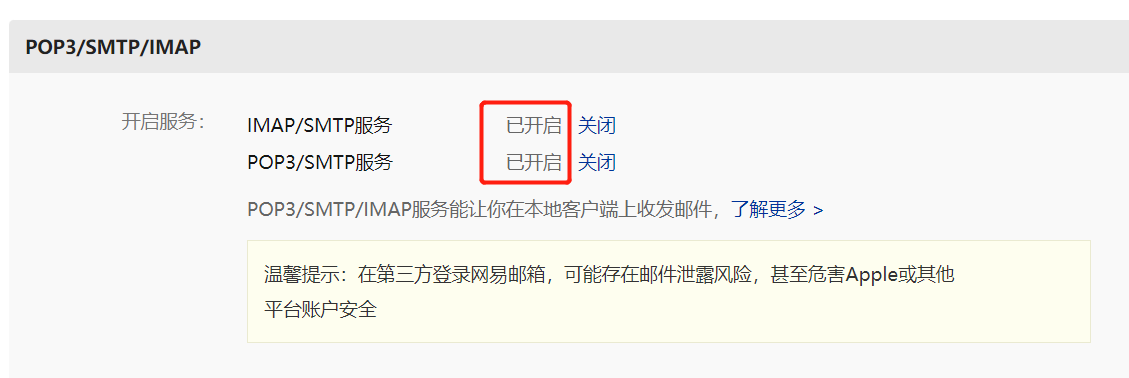
开通之后回获取到stmp的授权码,这个授权码是第3步中文件内容必须要用使用。
全部配置成功之后,运行nodemailer.js 邮箱就会收到此邮件。

6.创建邮件服务端,可以使项目直接调用邮件服务端服务就能发送邮件至邮箱
首先使用npm install express命令安装express库,然后使用npm install body-parser安装body-parser库,这个库是用来解析参数的。
在项目文件夹中新建emailget.js
emailget.js代码:
const nodemailer = require("nodemailer");
var bodyParser = require("body-parser");
let express = require('express');
let app = express();
app.use(bodyParser.urlencoded({extended: false}))// 这一句会解决掉一个错误

app.get('/email', function(req, res) {
  let transporter = nodemailer.createTransport({
        host: 'smtp.163.com',
        port: 465, // SMTP 端口
        auth: {   //发送者的账户和授权码
            user: 'xxxxx@163.com', //账户
            pass: 'xxxxx', //smtp授权码,到邮箱设置下获取
        }
    });
    let mailOptions = {
        from: 'xxxxx@163.com', // 发送者昵称和地址
        to: req.query.email, // 接收者的邮箱地址
        subject: req.query.name, // 邮件主题
        html: req.query.content
    };
    console.log(mailOptions)
    //发送邮件
    transporter.sendMail(mailOptions, (error, info) => {
        if (error) {
            return console.log(error);
        }
        console.log('邮件发送成功 ID:', info.messageId);
        res.write('邮件发送成功 ID:', info.messageId);
        res.end();
    });


});
app.listen('8081',() => {
  console.log("服务器启动成功");
});//开启服务端口号8081
7.使用postman测试接口,以上.js文件是使用get方式发送的请求

post请求待测试
本文来自博客园,作者:西北后生,转载请注明原文链接:https://www.cnblogs.com/tianyuanblog/articles/16667301.html

 浙公网安备 33010602011771号