


linux 安装mysql (5.6)
记录一下安装过程,不必每次都百度搜教程。
从mysql官网上下载自己适合的mysql版本https://dev.mysql.com/downloads/mysql/5.6.html#downloads
只不过要账号,我没有,自己改了一个wget地址下载的
wget http://dev.mysql.com/get/Downloads/MySQL-5.6/mysql-5.6.45-linux-glibc2.12-x86_64.tar.gz
wget http://dev.mysql.com/get/Downloads/MySQL-5.7/mysql-5.7.17-linux-glibc2.5-x86_64.tar.gz
我自己安装的5.6 x64版本
首先进入/usr/soft,把文件下载到这里,或者把下载好的文件传到这个文件
没有soft文件夹就 mkdir soft新建一个
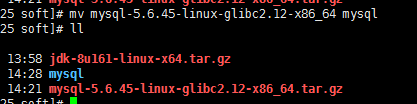
下面是我已经上传好的

解压tar -zxvf mysql-5.6.45-linux-glibc2.12-x86_64.tar.gz

得到解压后的文件

将解压后的文件重命名为mysql
mv mysql-5.6.45-linux-glibc2.12-x86_64 mysql
把文件移到 /usr/local
mv /usr/soft/mysql ./

创建mysql用户组及用户
groupadd mysql
useradd -r -g mysql mysql

进入到mysql目录,执行添加MySQL配置的操作
cd mysql/
cp support-files/my-default.cnf /etc/my.cnf

输入y确定
编辑/etc/my.cnf文件
vi /etc/my.cnf
在配置文件里添加或者修改配置
# For advice on how to change settings please see
# http://dev.mysql.com/doc/refman/5.6/en/server-configuration-defaults.html
# *** DO NOT EDIT THIS FILE. It's a template which will be copied to the
# *** default location during install, and will be replaced if you
# *** upgrade to a newer version of MySQL.

[mysqld]

# Remove leading # and set to the amount of RAM for the most important data
# cache in MySQL. Start at 70% of total RAM for dedicated server, else 10%.
# innodb_buffer_pool_size = 128M

# Remove leading # to turn on a very important data integrity option: logging
# changes to the binary log between backups.
# log_bin

# These are commonly set, remove the # and set as required.
basedir = /usr/local/mysql
datadir = /usr/local/mysql/data
port = 3306
# server_id = .....
socket = /tmp/mysql.sock
character-set-server = utf8
skip-name-resolve
log-err = /usr/local/mysql/data/error.log
pid-file = /usr/local/mysql/data/mysql.pid

# Remove leading # to set options mainly useful for reporting servers.
# The server defaults are faster for transactions and fast SELECTs.
# Adjust sizes as needed, experiment to find the optimal values.
# join_buffer_size = 128M
# sort_buffer_size = 2M
# read_rnd_buffer_size = 2M

sql_mode=NO_ENGINE_SUBSTITUTION,STRICT_TRANS_TABLES
摁esc键 输入':wq'保存退出
在mysql当前目录下设定目录的访问权限(注意后面的小点,表示当前目录)
chown -R mysql .
chgrp -R mysql .
scripts/mysql_install_db --user=mysql
chown -R root .
chown -R mysql data
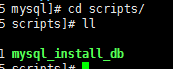
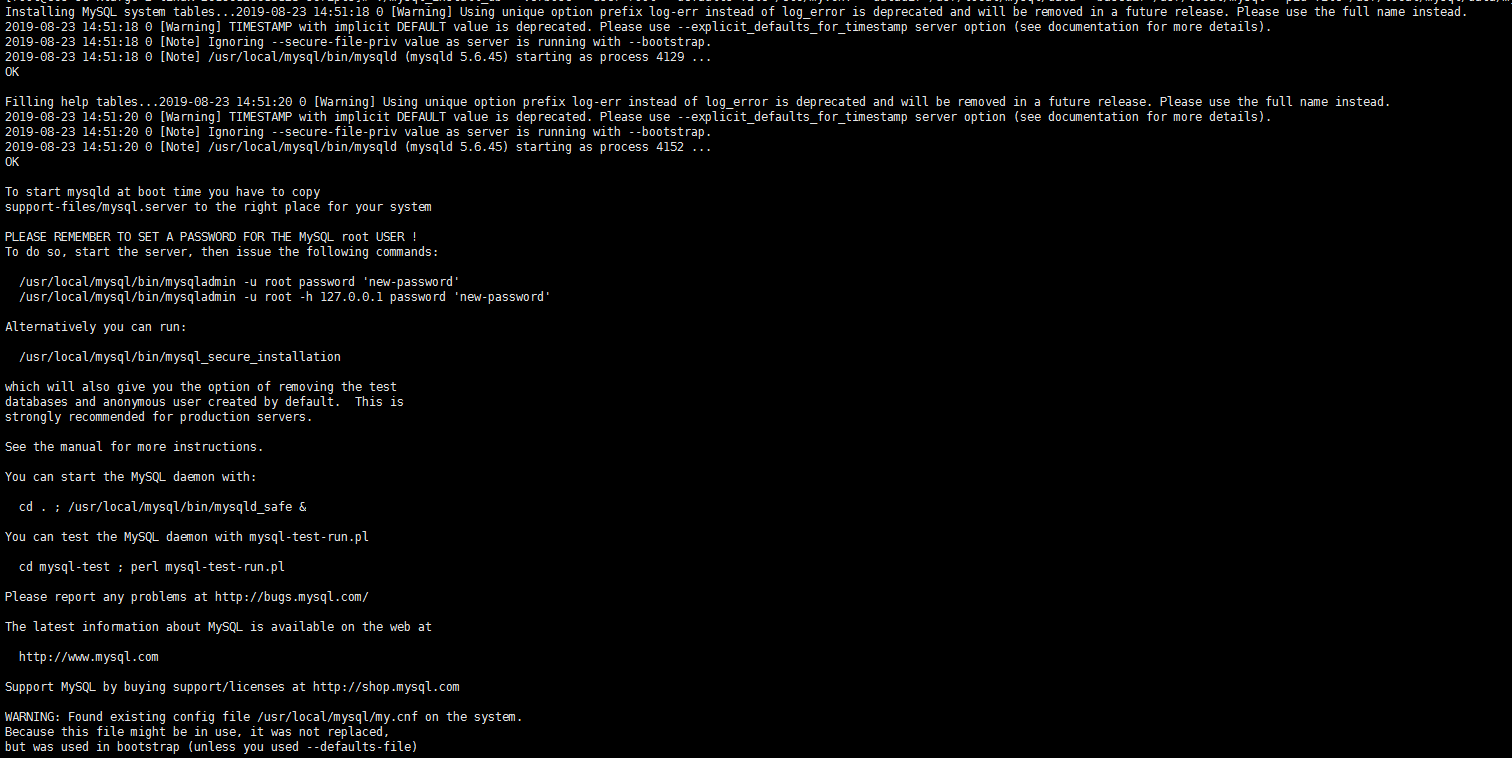
初始化数据(在mysql/scripts下有个 mysql_install_db 可执行文件初始化数据库),进入mysql/scripts目录下
执行下面命令
./mysql_install_db --verbose --user=root --defaults-file=/etc/my.cnf --datadir=/usr/local/mysql/data --basedir=/usr/local/mysql --pid-file=/usr/local/mysql/data/mysql.pid --tmpdir=/tmp
启动mysql,进入/usr/local/mysql/bin
./mysqld_safe --defaults-file=/etc/my.cnf --socket=/tmp/mysql.sock --user=root &
设置开机启动,新开启shell中断后,进入mysql目录,执行下面命令
cp /usr/local/mysql/support-files/mysql.server /etc/init.d/mysqld
cp /usr/local/mysql/support-files/mysql.server /etc/rc.d/init.d/mysql
chmod 700 /etc/init.d/mysql
chkconfig --add mysqld
chkconfig --level 2345 mysqld on
chown mysql:mysql -R /usr/local/mysql/
重启linux
reboot
查看mysql状态
service mysqld status

添加mysql命令
ln -s /usr/local/mysql/bin/mysql /usr/bin

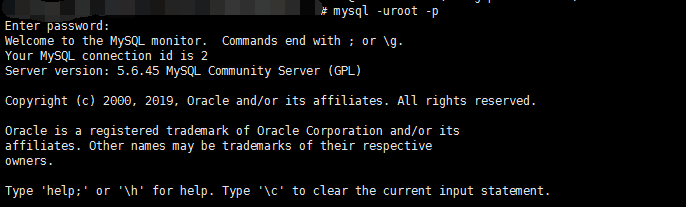
登录mysql,执行下面命令
mysql -uroot -p
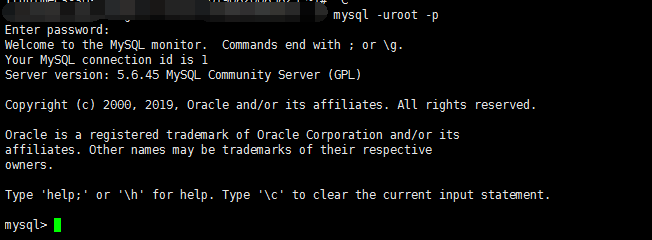
没有密码,直接回车
输入下面两个命令,更改访问权限
GRANT ALL PRIVILEGES ON *.* TO 'root'@'%' IDENTIFIED BY 'duan' with grant option;
Flush privileges;
![]()

修改root密码
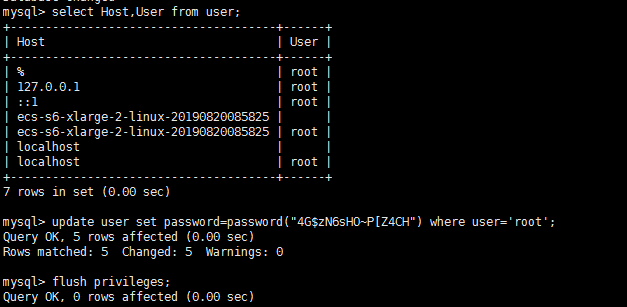
mysql>use mysql;
mysql> update user set password=password("新密码") where user='root'; 【密码注意大小写】
mysql> flush privileges;
mysql> exit;
 保存退出exit

可以重启一下服务器reboot

我这里直接关闭mysql然后重启一下

关闭mysql
service mysqld stop
启动mysql
service mysqld start

然后用新设置的密码登录
mysql -uroot -p
OK了
记录一下,不会忘,真特么机智

 浙公网安备 33010602011771号