通过WinSW部署vite前端包为windows服务
安装 winsw
进入 winsw 的下载页面,下载 sampleminimal.xml 和 WinSW-x64.exe 文件。如:

配置 winsw 部署 vite 前端包
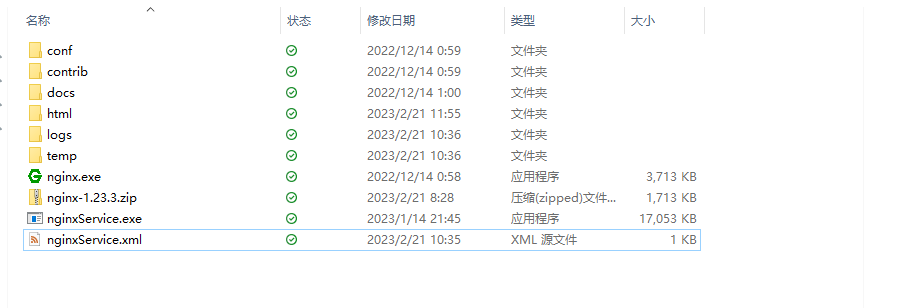
1、将 dist 目录和刚下载的 sampleminimal.xml 和 WinSW-x64.exe 文件放置到同一个目录
2、把 sampleminimal.xml 和 WinSW-x64.exe 文件修改为同一个名称,建议使用『项目名 + Service』的命名方式。如:toolboxService.xml, toolboxService.exe
3、下载nginx,并解压到对应目录
4、修改 xml 文件,配置如下:
<service>
    <id>nginxService</id>
    <name>nginxService</name>
    <description>nginx service</description>
   <!-- 开机启动 -->
   <startmode>Automatic</startmode>
   <!-- 日志配置 -->
   <logpath>%BASE%\logs</logpath>
   <logmode>rotate</logmode>
   <executable>%BASE%\nginx.exe</executable>
   <stopexecutable>%BASE%\nginx.exe -s stop</stopexecutable>
 </service>
注意:
- 在 logpath 中,不使用
%Base%相对路径会导致日志不输出 - 其中
-p 8900用于指定端口
3.1 修改nginx配置
location / {
    root   D:/MyFiles/OneDrive/JavaService/nginx-service/html/toolbox;
    index  index.html index.htm;
			try_files $uri $uri/ /index.html;
}
4、安装或卸载 Windows 服务
- 使用管理员身份运行 Powershell,并进入到 jar 包所在目录,如:
cd D:\project - 在 Powershell 通过以下命令安装、卸载服务
# 安装服务
./nginxService.exe install

# 卸载服务(需要先停止服务)
./nginxService.exe uninstall
注意:没有使用管理员身份运行 Powershell,在执行安装时会申请权限。
5、 启动或停止 Windows 服务
- 通过命令进行管理,脚本如下:
# 启动服务
net start nginxService

# 停止服务
net stop nginxService

# winsw 命令行帮助手册
.\nginxService.exe /?
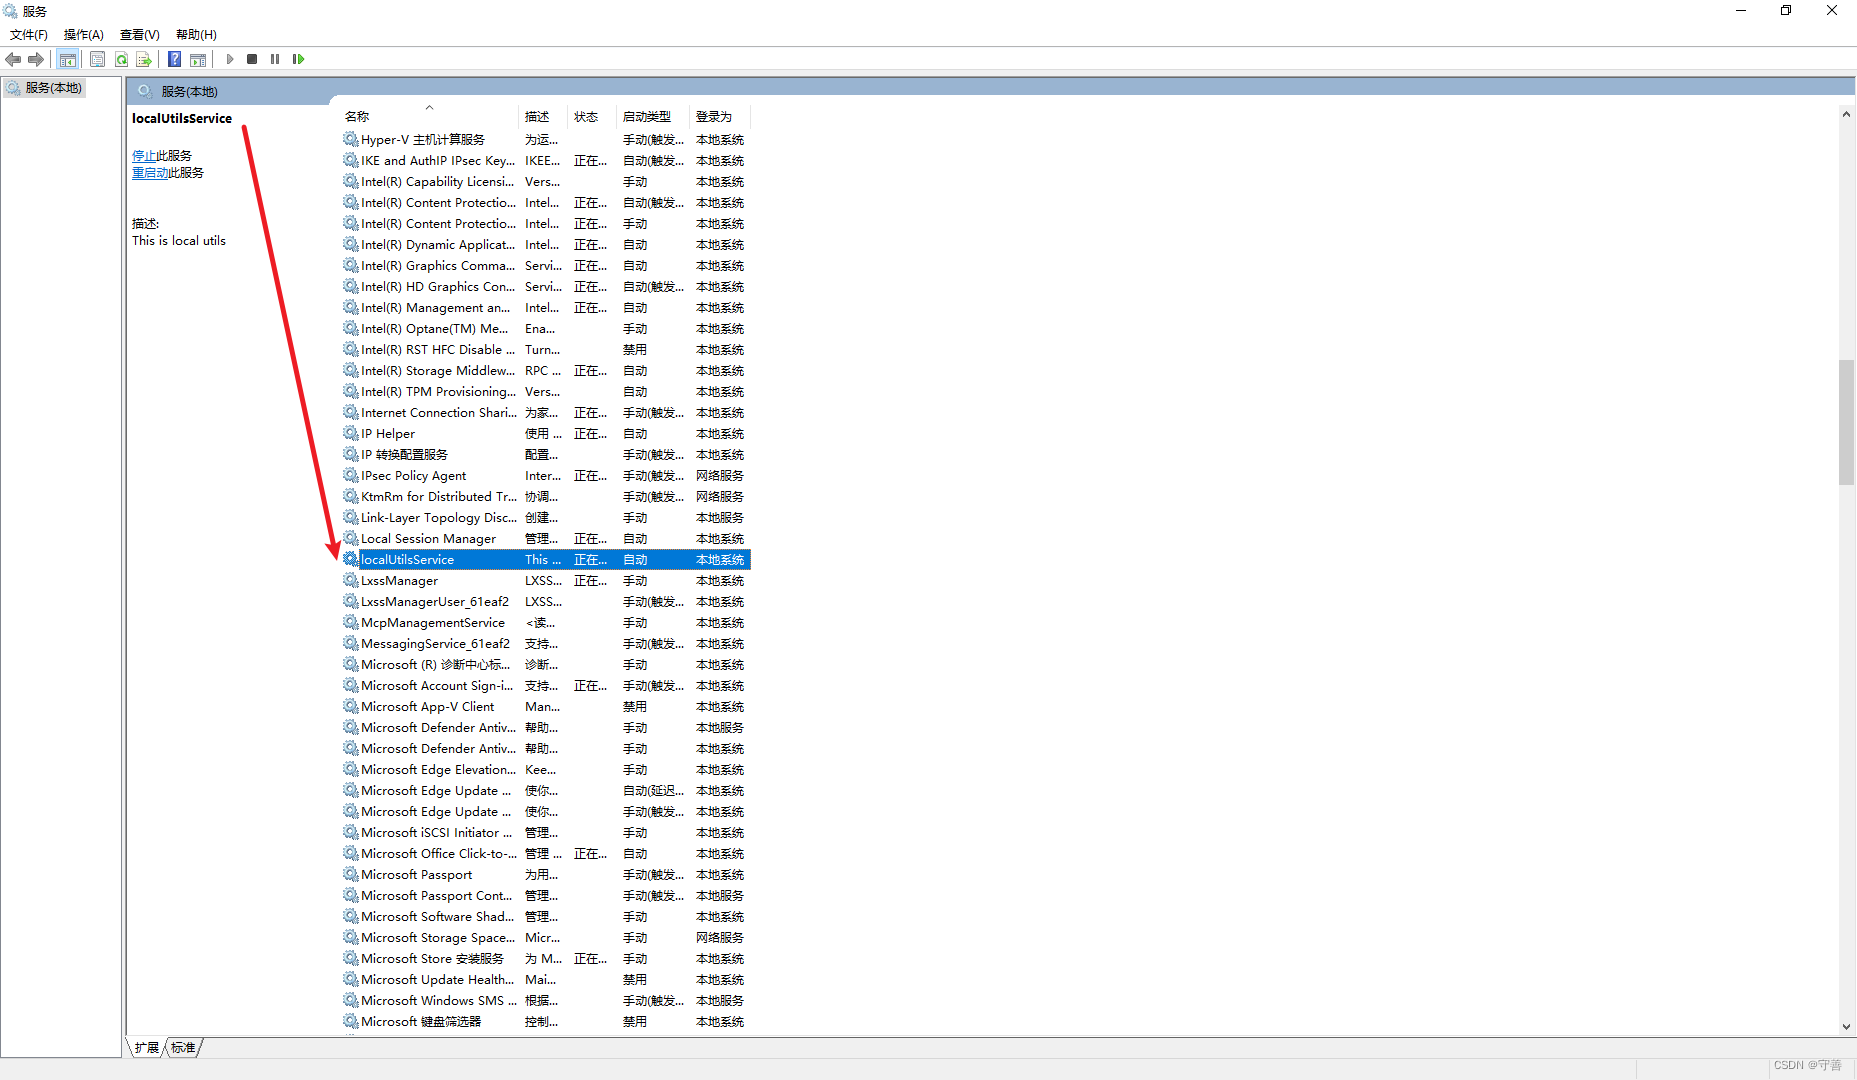
- 或者进入 Windows 服务管理器,找到对应服务进行管理(win+r 快捷键输入services.msc即可打开),如图:
认识作者
本文首发于微信公众号『守厚』,取名自知黑守白,厚德载物,欢迎关注留言


 浙公网安备 33010602011771号