刚开博客,先自定义一波主题
在设置>>博客设置中就可以找到修改设置。
修改设置下方第一块 “页面定制CSS代码”中可以为原有博客模板自定义CSS样式(这边并不建议勾选该块下方的禁用模板默认CSS,禁用意味着整个blog重写CSS样式)
html{
overflow:hidden;
}

body.has-navbar{
width:100%;
}

body #home{
border-radius:32px;
background:#FFFFFFAA;
position:fixed;
left:5%;
margin-top:20px;
padding-top:10px;
height:80%;
}

#blogTitle
{
text-align:center;
}

#navigator
{
margin:0;
}

body #home #main #sideBar{
position:fixed;
left:80%;
top:10%;
}

body #footer{
position:absolute;
bottom:0;
width:92%;

}
#background{
z-index:-3;
position:fixed;
height:100%;
width:100%;
   background-image:url('https://images.cnblogs.com/cnblogs_com/tanyui/1904636/o_201222060428%E6%9B%BE%E7%BB%8F%E7%9A%84%E6%99%9A%E9%9C%AD.jpg');
background-size:cover;
background-repeat:no-repeat;
}
#scroll_box{
width: 18px;
height: 90%;
border-radius: 10px;
position: fixed;
left:75%;
top:20px;
overflow: hidden;
}
#scroll_item{
margin: 4px auto;
width: 10px;
height: 50px;
background-color: #90CAF9;
border-radius: 10px;
border: 1px solid #90CAF9;
position: absolute;
left:0;
right: 0;
top:0;
}
.scroll_run
{
background-color:#1DE9B6;
border:1px solid #1DE9B6;
}
写入以上代码后便达到了预期大概的效果:
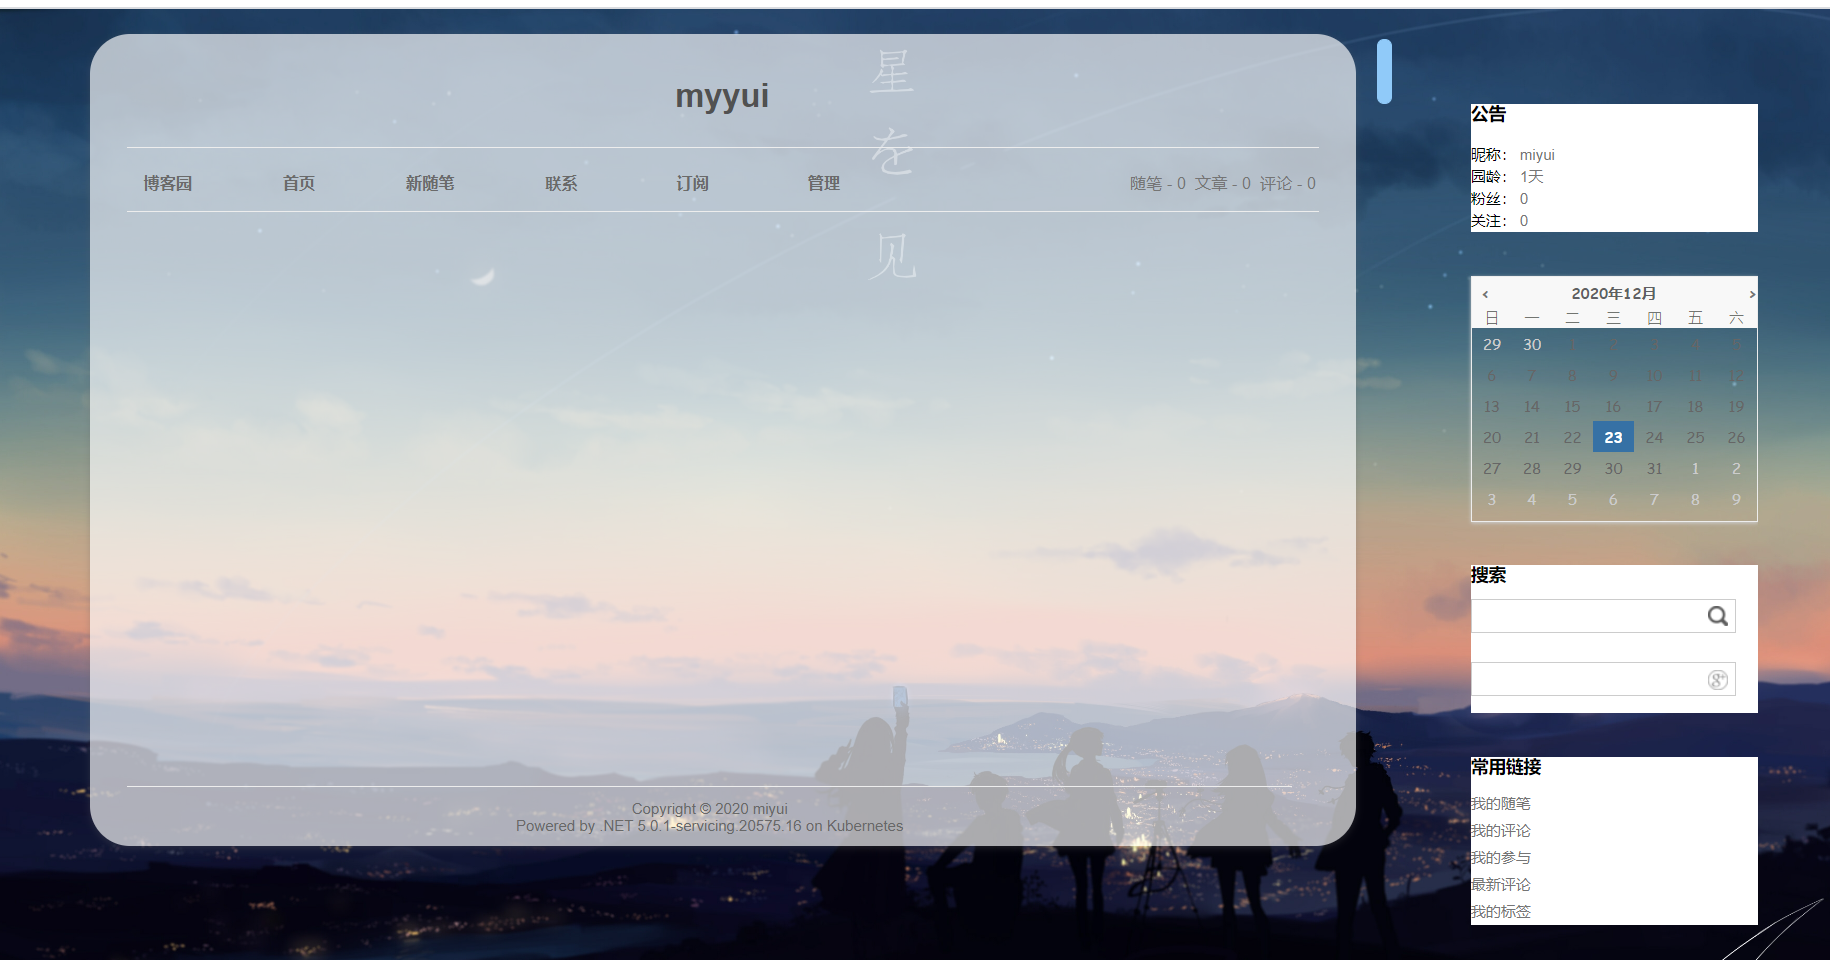
因为我不太喜欢当内容太多的时候需要右方的浏览器自带的滚动条滚动栏目,觉得只要左边的栏目框里滚动预览就好,所以决定自定义一波滚动条,这也是为什么上面的
html标签的css样式定义了overflow:hidden的原因。这样的话有多花里胡哨就有多花里胡哨!(其实本人真的挺懒的呜呜,不会太漂亮的)。
网上搜索了很多关于滚动条的js办法,但没发现太好的,而且有的随着内容变多滚动条和内容显示误差越来越大,要么就是看不懂,所以自己改善了一下。
首先另开一个html页面做实验
整个html页面如下:
  1 <!DOCTYPE html>
  2 <html lang="en">
  3 <head>
  4     <meta charset="UTF-8">
  5     <meta name="viewport" content="width=device-width, initial-scale=1.0">
  6     <title>自制滚动条</title>
  7     <style>
  8         *{
  9             margin: 0;
 10             padding: 0;
 11         }
 12         #box{
 13             width: 50%;
 14             height: 500px;
 15             background: #42424277;
 16             overflow: hidden;
 17             box-shadow: 0 0 10px 2px black;
 18         }
 19         #content{
 20             position: relative;
 21             top:0;
 22             width: 90%;
 23         }
 24         #box #content div{
 25             width: 90%;
 26             height: 200px;
 27             background: #e786e7;
 28             margin: 20px;
 29         }
 30         #scroll_box{
 31             width: 18px;
 32             height: 90%;
 33             border-radius: 10px;
 34             border: 1px solid #e786e7;
 35             position: fixed;
 36             right: 30px;
 37             top:20px;
 38             overflow: hidden;
 39         }
 40         #scroll_item{
 41             margin: 4px auto;
 42             width: 10px;
 43             height: 50px;
 44             background-color: #e786e7;
 45             border-radius: 10px;
 46             border: 1px solid #e786e7;
 47             position: absolute;
 48             left:0;
 49             right: 0;
 50             top:0;
 51         }
 52     </style>
 53 </head>
 54 <body>
 55     <div id="box">
 56         <div id="content">
 57             <div>1</div>
 58             <div>2</div>
 59             <div>1</div>
 60             <div>2</div>
 61             <div>1</div>
 62             <div>2</div>
 63             <div>1</div>
 64             <div>2</div>
 65             <div>1</div>
 66             <div>2</div>
 67             <div>1</div>
 68             <div>2</div>
 69             <div>1</div>
 70             <div>2</div>
 71             <div>1</div>
 72             <div>2</div>
 73         </div>
 74     </div>
 75     <div id="scroll_box"><div id="scroll_item"></div></div>
 76     <script>
 77         let scroll_box=document.querySelector("#scroll_box");
 78         let scroll_item=document.querySelector("#scroll_item");
 79         let box=document.querySelector("#box");
 80         let content=document.querySelector("#content");
 81         let scale=box.offsetHeight/content.offsetHeight;
 82         if(scale>=1)
 83             scale=1;
 84         scroll_item.style.height=scroll_box.clientHeight*scale-8+"px";
 85         let y=0;  //共用百分比参数
 86         let max=content.offsetHeight-box.offsetHeight+100;//内容最多可滚动大小
 87         box.addEventListener("wheel",(e)=>
 88         {
 89             if(scale<1)
 90             {
 91                 if(e.wheelDelta<0)
 92                     y+=5;
 93                 else if(e.wheelDelta>0)
 94                     y-=5;
 95                 if(y<0)
 96                     y=0;
 97                 else if(y>100)
 98                     y=100;
 99                 console.log(y);
100                 content.style.top="-"+max*y/100+"px";
101                 scroll_item.style.top=(scroll_box.clientHeight-scroll_item.clientHeight-8)*y/100+"px";
102             }
103         });
104         let isdown=false;
105         let first;
106         let isrun=true;
107         scroll_item.addEventListener("mousedown",(e)=>
108         {
109             isdown=true;
110             first=e.clientY;
111         });
112         window.addEventListener("mouseup",()=>
113         {
114             isdown=false;
115         });
116         window.addEventListener("mousemove",(e)=>
117         {
118             if(scale<1&&isdown&&isrun)
119             {
120                 setTimeout(function(){
121                     isrun=false;
122                     console.log(isdown);
123                     let gap=e.clientY-first;
124                     let result=scroll_item.offsetTop-4+gap;
125                     first=e.clientY;
126                     if(result<0)
127                         result=0;
128                     else if(result>scroll_box.clientHeight-scroll_item.clientHeight-8)
129                         result=scroll_box.clientHeight-scroll_item.clientHeight-8;
130                     scroll_item.style.top=result+"px";
131                     y=result*100/(scroll_box.clientHeight-scroll_item.clientHeight-8);
132                     content.style.top="-"+max*y/100+"px";
133                     isrun=true;
134                 },50);
135             }
136         });
137     </script>
138 </body>
139 </html>
这个滚动条可以用轮轴控制,也可以用鼠标拖拽微调。
这里先夸夸自己哈哈,60多行就搞定啦!(啊哈哈哈啊哈哈咳咳,让菜鸡自娱自乐一下,表打我);
原理是:当滚动内容的时候,鼠标务必放到内容元素中去。滚动条和滚动盒子映射成内容窗口和内容。
1、当用轮轴滚动时
定义一个百分比变量,该百分比变量用于滚动条确定自身位置以及内容确定自身位置;
既然是百分比,那么它的最大值只能是100,最小值是0;
轮轴滚动是粗略的滚动,这里自定义每次滚动只能是增加或减少5,即滚动百分之五的内容和进度条
当百分比变量超过100便等于100,小于0便等于0,这样便可以放置滚动出去。
这里要注意的是内容滚动和进度条滚动是相反的,因为要看下面的内容,内容本身要往上走,即top为负值。
还有一件事!在做这些类似滚动条比较精细的要注意margin边框或者其他边框的值,因为如果用到了这些值,即这些值的大小不为0且在显示内容中比较显眼,那么在做这种比较精细的工作时一定要把这些值考虑进去,这就是为什么我上面有些计算中有减去8的原因,因为我的css样式中上下margin加起来为8,而dom对象中的clientHeight这些并不包含边框的值。
2、用鼠标拖拽时
模仿原生滚动条,按下并拖拽才可以拖拽,松开则不拖拽,离开进度条仍然可以拖拽。
在运用节流思想,节省浏览器资源。
定义一个是否按下变量isdown以及是否函数是否空闲变量isrun
给滚动条注册监听事件,一旦按下,isdown就为true;
再给window注册监听事件,一旦松开,isdown就为false;一旦移动就进行判断,判断是否先按下再移动的。否则不执行内部函数。
而且每次移动时,一定要更新间隔值,否则间隔会有较大的误差,以至于没办法达到理想的效果。上述的123行到125行即是更新间隔值,将鼠标移动的间隔反馈到滚动条上。
试验成功!!接下来只要看博客增加随笔时会增加到哪一个标签上,稍作上述代码的修改即可。

 浙公网安备 33010602011771号