
Three.js
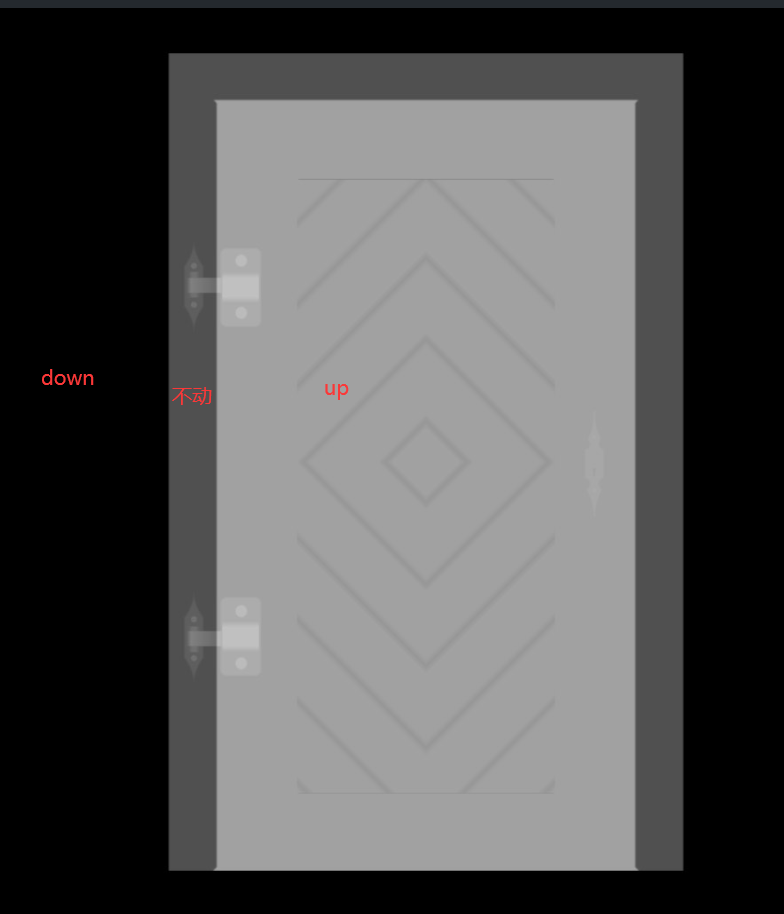
右手坐标系
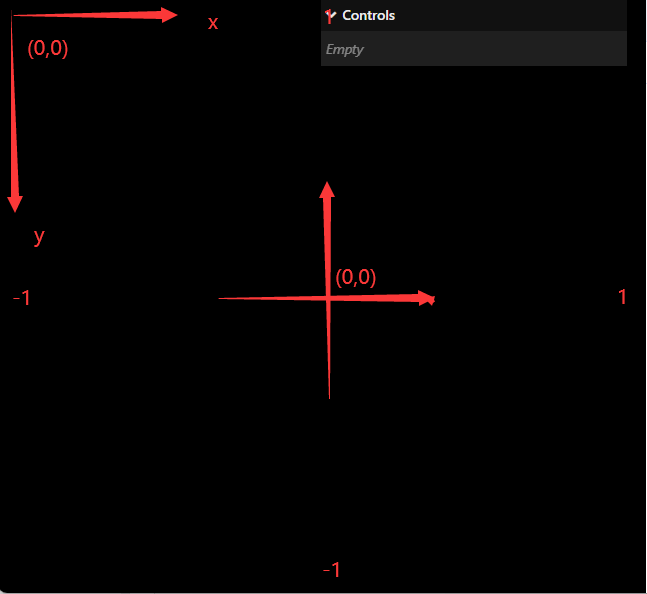
// js的坐标系原点在左上角(0,0)转化为原点在屏幕正中心
// 并且右上角的点为(1,1)左上角的点为(-1,-1)
// 如果理解不了可以画个坐标轴感受下
const half = {
    width: window.innerWidth / 2,
    height: window.innerHeight / 2
}
window.addEventListener('mouseover', (event) => {
    //坐标轴平移
    //除以 half.width:将范围从 [ -width/2, width/2 ] 映射到 [ -1, 1 ]。
    mouse.x = (event.clientX - half.width) / half.width
    //原来的y轴正方向朝下, 取反
    mouse.y = -(event.clientY - half.height) / half.height
})
// 每秒转一圈 使用gsap可以实现
const clock = new THREE.Clock()
function tick() {
    const time = clock.getElapsedTime()
    mesh.rotation.y = time * Math.PI * 2 //一秒转一圈
    renderer.render(scene, camera)
    window.requestAnimationFrame(tick)
}
tick()
使用OrbitControls可以实现
const client = {
    x: 0,
    y: 0
}

canvas.addEventListener('mousemove', (e) => {
    client.x = (e.clientX / sizes.width - 0.5);
    client.y = -(e.clientY / sizes.height - 0.5);
})


const tick = () =>
{
    // Update objects
    // *3增加速度, Math.PI * 2 转一圈,sin() cos()两个组合是个球
    camera.position.x = Math.sin(client.x * Math.PI * 2) * 3;
    camera.position.z = Math.cos(client.x * Math.PI * 2) * 3
    camera.position.y = client.y * 5;
    camera.lookAt(mesh.position)

    // Render
    renderer.render(scene, camera)

    // Call tick again on the next frame
    window.requestAnimationFrame(tick)
}

tick()
canvas 可以动态占满可视区
window.addEventListener('resize', () => {
    sizes.width = window.innerWidth
    sizes.height = window.innerHeight
    camera.aspect = sizes.width / sizes.height
    camera.updateProjectionMatrix()
    renderer.setSize(sizes.width, sizes.height)
})

.webgl {
  position: fixed; //隐藏滚动条
  top: 0;
  left: 0;
  overflow: hidden; //隐藏笔记本触摸板上滑底部有白块
}
Sets device pixel ratio. This is usually used for HiDPI device to prevent blurring output canvas.
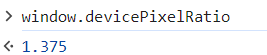


renderer.setPixelRatio(Math.min(window.devicePixelRatio, 2))
双击全屏显示
window.addEventListener('dblclick', () => {
//这个方法有访问限制性 webkitFullscreenElement
    if (!document.fullscreenElement) {
        canvas.requestFullscreen()
    }else{
        document.exitFullscreen()
    }
})
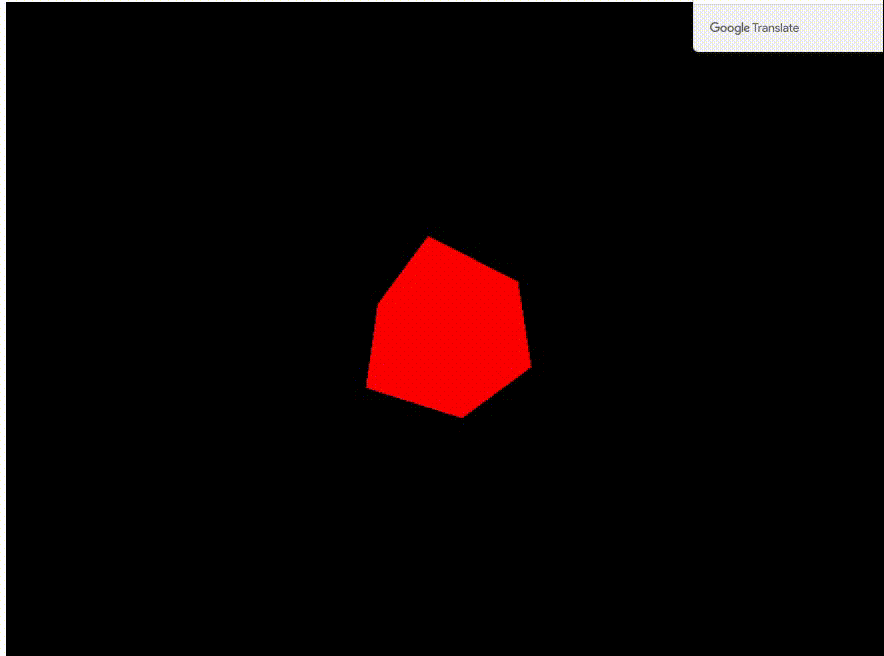
自定义形状
//count 三角形个数,每个三角形3个顶点,每个顶点由(x, y, z)确定
const vertices = new Float32Array(count * 3 * 3)

for (let i = 0; i < count * 3 * 3; i++) {
    vertices[i] = (Math.random() - 0.5)
}
//TypedArray,是个数组,每个顶点怎么确定(x, y, z)--长度为3, 以3分隔开
const positionAttribute = new THREE.BufferAttribute(vertices, 3)
const geometry = new THREE.BufferGeometry()
geometry.setAttribute('position', positionAttribute)
给形状添加纹理
const textureLoader = new THREE.TextureLoader()
const texture = textureLoader.load('/textures/door/color.jpg')
texture.colorSpace = THREE.SRGBColorSpace //颜色变灰的解决办法

const material = new THREE.MeshBasicMaterial({ map: texture })
metarial:
mesh:
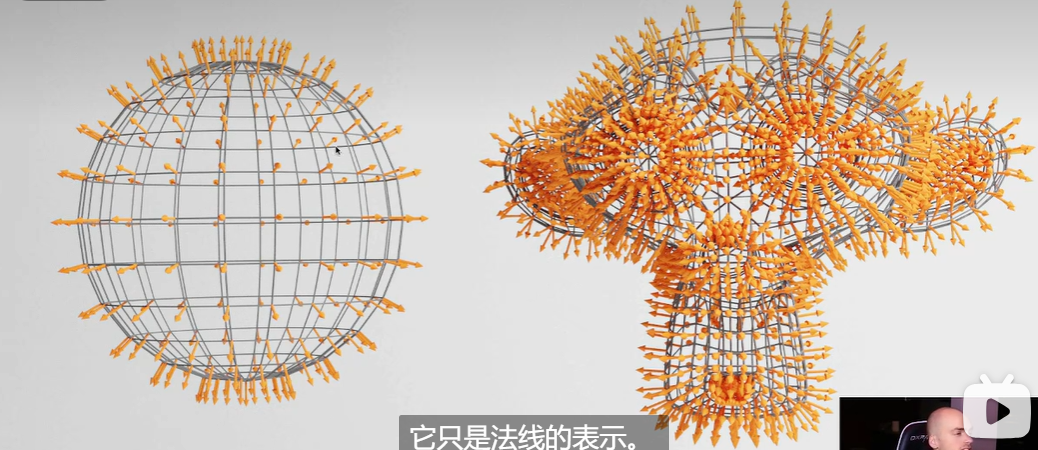
法线的方向:有何用?灯光、反射、折射
光相关:

阴影支持:
PointLight
DirectionalLight
SpotLight
directionalLight.castShadow = true
//产生阴影的形状
sphere.castShadow = true
//接收阴影
plane.receiveShadow = true
renderer.shadowMap.enabled = true
baking shadow
使用3D软件制作阴影,静态
const bakedShadow = new THREE.TextureLoader().load('/textures/bakedShadow.jpg')
bakedShadow.colorSpace = THREE.SRGBColorSpace

const plane = new THREE.Mesh(
    new THREE.PlaneGeometry(5, 5),
    new THREE.MeshBasicMaterial({
        map: bakedShadow
    })
)
动态,可以移动的阴影
const simpleShadow = new THREE.TextureLoader().load('/textures/simpleShadow.jpg')
simpleShadow.colorSpace = THREE.SRGBColorSpace

const sphereShadow = new THREE.Mesh(
    new THREE.PlaneGeometry(1.5, 1.5),
    new THREE.MeshBasicMaterial({
        color: 0x000000,
        transparent: true,
        alphaMap: simpleShadow
    })
)
sphereShadow.rotation.x = - Math.PI * 0.5
sphereShadow.position.y = plane.position.y + 0.01


tick()方法:
//update the sphere
sphere.position.x = Math.cos(elapsedTime) * 1.5
sphere.position.z = Math.sin(elapsedTime) * 1.5
sphere.position.y = Math.abs(Math.sin(elapsedTime * 3))

//update the shadow
sphereShadow.position.x = sphere.position.x
sphereShadow.position.z = sphere.position.z
sphereShadow.material.opacity = (1 - sphere.position.y) * 0.3
map:
displacementMap:
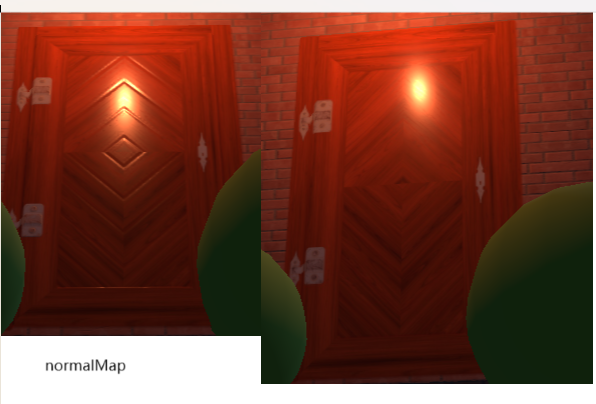
normalMap:
aoMap:需要uv
door.geometry.setAttribute('uv2', new THREE.Float32BufferAttribute(door.geometry.attributes.uv.array, 2))
雾:
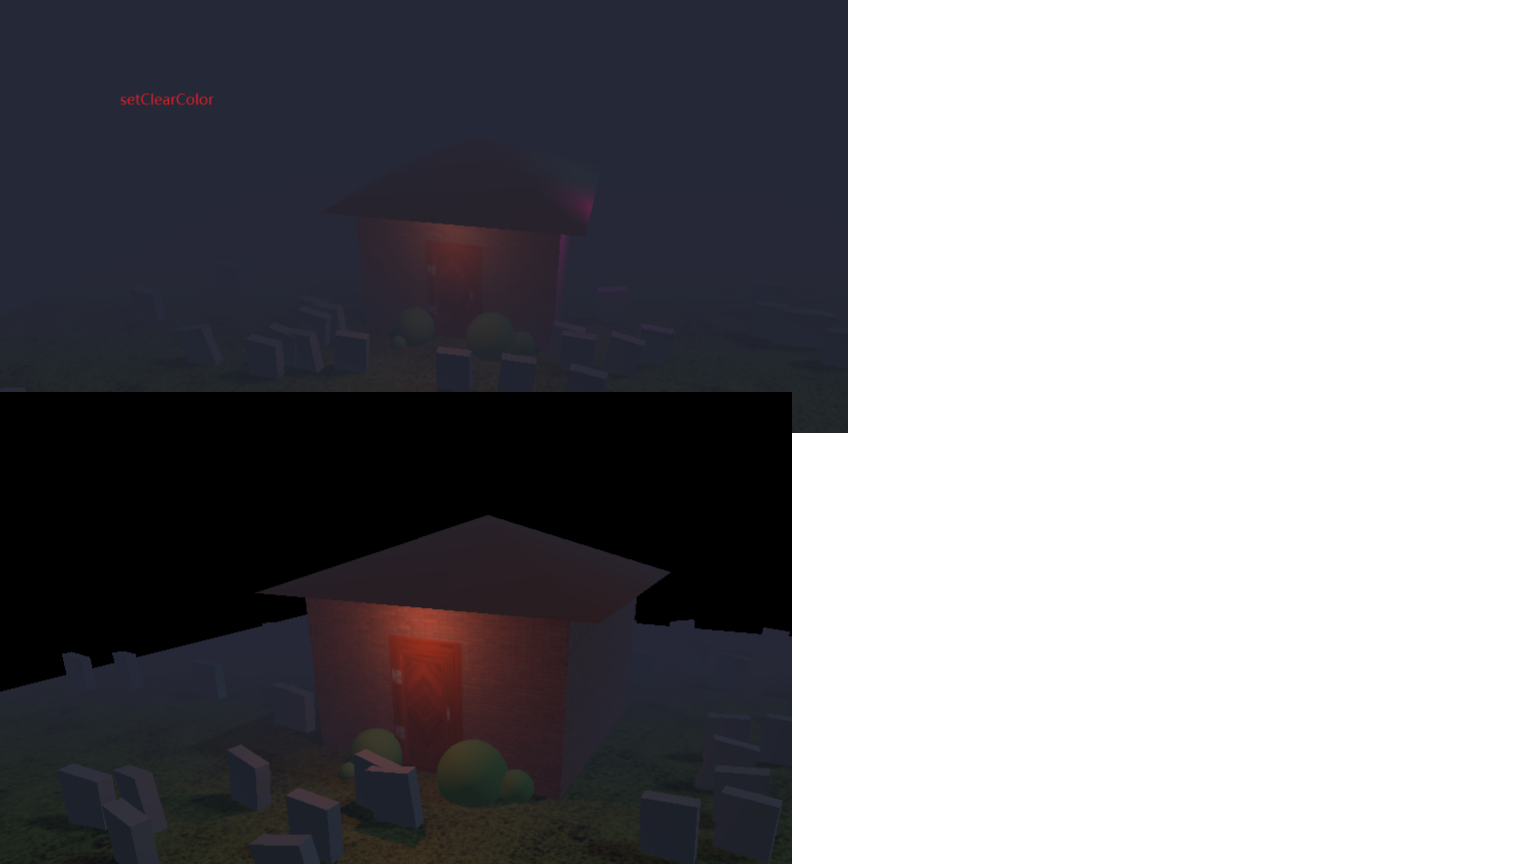
const fog = new THREE.Fog('#262837', 1, 15)
scene.fog = fog
//后面黑色背景雾模糊
renderer.setClearColor('#252837')
粒子:前面粒子遮挡后面粒子的解决方法
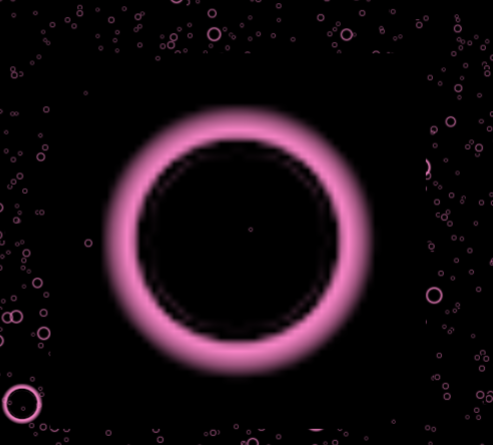
- 边缘处遮挡了后面的粒子
particlesMaterial.alphaTest = 0.001

2.
particlesMaterial.depthTest = false
缺点:新的geometry前会有粒子
3.
particlesMaterial.depthWrite = false
交叉处会变白,多种颜色混合在一起,性能有影响
particlesMaterial.blending = THREE.AdditiveBlending
没有使用

 浙公网安备 33010602011771号