Walle - 瓦力上线部署系统搭建攻略
背景知识:Walle - 瓦力是一个支持svn、git、多用户、多项目、多环境同时部署的上线部署系统,http://www.oschina.net/news/68610/walle-0-9-2
实验系统:CentOS 6.6_x86_64
实验前提:防火墙和selinux都关闭
实验说明:本实验共有1台主机,IP分配192.168.19.84
实验软件:walle-web-0.9.5 httpd-2.2 mysql-5.5 php-5.4
一、基础准备
1.下载walle-web源码:
mkdir -pv /data/www
cd /data/www
wget https://codeload.github.com/meolu/walle-web/tar.gz/v0.9.5
tar xf v0.9.5
mv walle-web-0.9.5 walle-web
cd
2.安装LAMP环境:
yum -y install httpd php php-mysql php-mbstring mysql-server
service httpd start
service mysqld start
3.加入php页面支持:
vim /etc/httpd/conf/httpd.conf
--------------------------------------------->
DirectoryIndex index.php index.html index.html.var     //增加index.php
4.mysql创建数据库并修改root密码:
mysql
--------------------------------------------->
CREATE DATABASE walle;
UPDATE mysql.user SET Password=PASSWORD(123456) WHERE User='root';
FLUSH PRIVILEGES;
quit
二、安装walle-web
1.修改配置文件,连接数据库:
vim /data/www/walle-web/config/local.php
--------------------------------------------->
'db' => [
            'dsn'       => 'mysql:host=127.0.0.1;dbname=walle',     //数据库地址与库名称
            'username'  => 'root',                                  //连接数据库用户
            'password'  => '123456',                                //用户密码
        ],
2.安装composer:
curl -sS https://getcomposer.org/installer | php
mv composer.phar /usr/local/bin/composer
3.安装vendor:
可从 http://pan.baidu.com/s/1c0wiuyc 下载,下载完成后解压到项目根目录。
tar xf vendor.tgz
mv vendor /data/www/walle-web/
4.初始化项目:
cd /data/www/walle-web/
./yii run/setup             //需要回答yes
三、最后的配置
1.配置httpd的虚拟主机:
vim /etc/httpd/conf/httpd.conf
---------------------------------------------->
#DocumentRoot "/var/www/html"                 //注释掉此行
<VirtualHost *:80>                            //在最后添加此段配置
    ServerName walle.jason.com
    DocumentRoot /data/www/walle-web/web
      <Directory "/data/www/walle-web/web">
        Options  FollowSymLinks
        AllowOverride ALL
        Order allow,deny
        Allow from all
      </Directory>
</VirtualHost>
---------------------------------------------->
service httpd restart
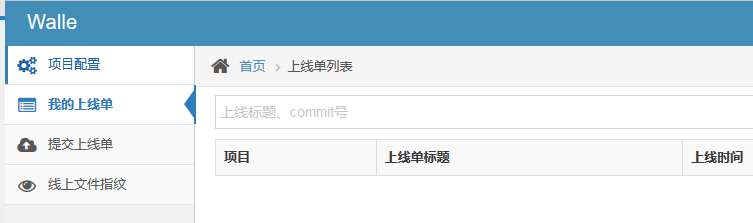
2.使用浏览器访问http://192.168.19.84测试,用户名和密码均为admin:

至此,服务器搭建完毕,感谢观看,谢谢!

 浙公网安备 33010602011771号