linux kernel编译以及根文件系统的制作
由于工作中经常使用的是Aspeed的芯片,因此这里使用的是Aspeed的Linux kernel,可以从github上下载该内核代码。
1.1 生成deconfig文件
因为Aspeed芯片是Arm芯片,可以通过下面命令查询当前支持的芯片:
make ARCH=arm CROSS_COMPILE=arm-linux-gnueabihf- help
  multi_v7_lpae_defconfig     - multi_v7_defconfig with CONFIG_ARM_LPAE enabled

  am200epdkit_defconfig       - Build for am200epdkit
  aspeed_g4_defconfig         - Build for aspeed_g4
  aspeed_g5_defconfig         - Build for aspeed_g5
  aspeed_g6_defconfig         - Build for aspeed_g6
  assabet_defconfig           - Build for assabet
  at91_dt_defconfig           - Build for at91_dt
  ....
  ....
AST2600使用的是aspeed_g6_deconfig,然后使用下面命令生成配置:
make ARCH=arm CROSS_COMPILE=arm-linux-gnueabihf- aspeed_g6_defconfig
1.2 配置内核的编译选项
使用下面命令配置你所需要的内核的编译选项:
make ARCH=arm CROSS_COMPILE=arm-linux-gnueabihf- menuconfig
使用KGDB,路径是:Kernel hacking > Generic Kernel Debugging Instruments

1.3 执行编译
执行下面命令进行编译:
make ARCH=arm CROSS_COMPILE=arm-linux-gnueabihf- -j 8
2 编译busybox
2.1 静态编译busybox
本文使用busybox来制作根文件系统,busybox的源码也可以从[github](GitHub - mirror/busybox: BusyBox mirror)上下载。我使用的是1.36.1stable的版本。修改busybox的Makefile文件:

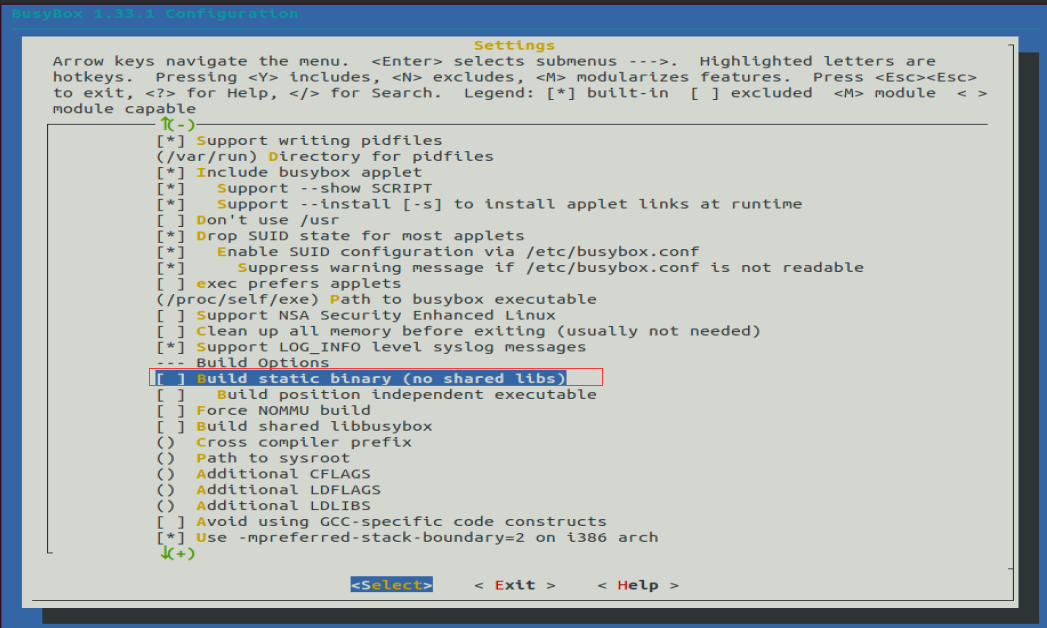
使用下面命令进入配置界面并设置使用静态编译:
sudo make menuconfig
路径在:-> Settings-> Build static binary
使用下面命令编译并安装busybox:
sudo make
sudo make install CONFIG_PREFIX=/home/nfs/rootfs
CONFIG_PREFIX=/home/nfs/rootfs是指定的安装路径,这里可以在自己的环境上自定义选择安装的路径。
3 制作根文件系统
1 创建一个空文件夹,并把busybox编译完的二进制文件包括文件夹拷贝至创建的文件夹中
busybox 默认会安装到 ./_install 目录下:
 ~/code/OS/busybox/busybox/_install$ ls
bin  linuxrc  sbin  usr
把上述的文件夹包括文件夹中的内容一并拷贝到新文件夹中:
mkdir -p ~/qemu ; cp _install/ ~/qemu/rootfs/ -rf
cd ~/qemu/rootfs/
2 创建init文件
rm linuxrc
ln -s bin/busybox init
3 创建控制台设备文件
mkdir dev
sudo mknod -m 600 dev/console c 5 1
注意是在前面创建的新文件夹下面执行上面的命令
4 创建配置文件目录及文件
mkdir etc
touch etc/inittab
inittab 的内容如下:
::sysinit:/etc/init.d/rcS
::askfirst:-/bin/sh
::restart:/sbin/init
::ctrlaltdel:/sbin/reboot
::shutdown:/bin/umount -a -r
::shutdown:/sbin/swapoff -a
5 创建初始化脚本
mkdir init.d
touch etc/init.d/rcS
chmod +x etc/init.d/rcS
初始化脚本 rcS 的内容为:
#!/bin/sh
export PATH=/sbin:/bin:/usr/bin;/usr/sbin;
export HOSTNAME=dhd
echo "dhd minisystem start..."
6 制作根文件系统
find . | cpio -o -H newc | gzip > ../rootfs.img
4 测试内核以及文件系统
将前面编译生成的内核文件zImage移动到和rootfs.img相同的路径下,然后使用下面命令启动内核:
sudo qemu-system-arm -M ast2600-evb -kernel zImage -dtb aspeed-ast2600-evb.dtb \
-initrd rootfs.img \
-monitor none -nographic
最后能看到内核的打印并最后能进入文件系统:
[    0.000000] Booting Linux on physical CPU 0xf00
[    0.000000] Linux version 6.6.52 (cambricon@ubuntu20) (arm-linux-gnueabihf-gcc (Ubuntu 9.4.0-1ubuntu1~20.04.2) 9.4.0, GNU ld (GNU Binutils for Ubuntu) 2.34) #2 SMP Wed Jan 15 11:22:51 HKT 2025
[    0.000000] CPU: ARMv7 Processor [410fc075] revision 5 (ARMv7), cr=10c5387d
[    0.000000] CPU: div instructions available: patching division code
[    0.000000] CPU: PIPT / VIPT nonaliasing data cache, VIPT aliasing instruction cache
[    0.000000] OF: fdt: Machine model: AST2600 EVB
[    0.000000] Memory policy: Data cache writealloc
[    0.000000] Reserved memory: created CMA memory pool at 0xbc000000, size 64 MiB
[    0.000000] OF: reserved mem: initialized node video, compatible id shared-dma-pool
[    0.000000] OF: reserved mem: 0xbc000000..0xbfffffff (65536 KiB) map reusable video
[    0.000000] Reserved memory: created CMA memory pool at 0xb8000000, size 64 MiB
[    0.000000] OF: reserved mem: initialized node rvas, compatible id shared-dma-pool
[    0.000000] OF: reserved mem: 0xb8000000..0xbbffffff (65536 KiB) map reusable rvas
[    0.000000] Reserved memory: created CMA memory pool at 0xb7000000, size 16 MiB
[    0.000000] OF: reserved mem: initialized node framebuffer, compatible id shared-dma-pool
[    0.000000] OF: reserved mem: 0xb7000000..0xb7ffffff (16384 KiB) map reusable framebuffer
[    0.000000] Reserved memory: created DMA memory pool at 0xb6f00000, size 1 MiB

....
5 参考链接
1. 文件系统的制作可参考:用Busybox制作Linux最小根文件系统 | 人生几何用Busybox制作Linux最小根文件系统 | 人生几何
2. 内核编译命令的含义:linux kernel 编译的过程中 make defconfig、 make menuconfig、 make savedefconfig、 make olddefconfig 的含义 - 白菜没我白 - 博客园

 浙公网安备 33010602011771号