jenkins SonarQube代码质量检测
0.修改系统内核参数配置
# limits.conf
echo -e "* soft nproc unlimited" >> /etc/security/limits.conf
echo -e "* hard nproc unlimited" >> /etc/security/limits.conf
echo -e "* soft nofile 655350" >> /etc/security/limits.conf
echo -e "* hard nofile 655350" >> /etc/security/limits.conf

# /etc/proflie
echo -e "ulimit -SHn 655350" >> /etc/profile
echo -e "ulimit -SHu unlimited" >> /etc/profile
echo -e "ulimit -SHd unlimited" >> /etc/profile
echo -e "ulimit -SHm unlimited" >> /etc/profile
echo -e "ulimit -SHs unlimited" >> /etc/profile
echo -e "ulimit -SHt unlimited" >> /etc/profile
echo -e "ulimit -SHv unlimited" >> /etc/profile

# /etc/sysctl.conf
echo -e "vm.max_map_count=262144" >> /etc/sysctl.conf
source /etc/profile
sysctl -p
1.安装SonarQube服务端,需要java支持,数据库支持,这里我安装mysql
# 安装jdk
yum install git java unzip wget -y

# 下载数据文件
cd /usr/local/src/
wget https://mirrors.tuna.tsinghua.edu.cn/mysql/yum/mysql-5.7-community-el7-x86_64/mysql-community-client-5.7.30-1.el7.x86_64.rpm
wget https://mirrors.tuna.tsinghua.edu.cn/mysql/yum/mysql-5.7-community-el7-x86_64/mysql-community-common-5.7.30-1.el7.x86_64.rpm
wget https://mirrors.tuna.tsinghua.edu.cn/mysql/yum/mysql-5.7-community-el7-x86_64/mysql-community-libs-5.7.30-1.el7.x86_64.rpm
wget https://mirrors.tuna.tsinghua.edu.cn/mysql/yum/mysql-5.7-community-el7-x86_64/mysql-community-server-5.7.30-1.el7.x86_64.rpm


# 安装数据库
yum localinstall mysql-community-*.rpm -y


# yum安装的5.7数据库,需要到安装日志里查找临时密码,
[root@sonarqube ~]# grep "password" /var/log/mysqld.log
2020-06-22T02:36:11.991805Z 1 [Note] A temporary password is generated for root@localhost: ECzc3j53os_k
2020-06-22T02:37:29.505656Z 0 [Note] Shutting down plugin 'validate_password'
2020-06-22T02:37:31.066495Z 0 [Note] Shutting down plugin 'sha256_password'
2020-06-22T02:37:31.066499Z 0 [Note] Shutting down plugin 'mysql_native_password'


# 启动数据库,#关闭密码严格校验,#[mysqld]中添加配置选项,重启数据库
systemctl start mysqld

#关闭密码严格校验#
vim /etc/my.cnf
validate-password=off

# 修改mysql密码及授权root,指定网段连接
[root@sonarqube ~]# mysql -u root -p
mysql> ALTER USER 'root'@'localhost' IDENTIFIED BY 'xxxx';
mysql> grant all privileges on *.* to 'root'@'10.1.8.%' identified by 'xxxx' with grant option;

# 建立数据库
[root@sonarqube ~]#
[root@sonarqube ~]# mysql -uroot -pxxxx -e "CREATE DATABASE sonar DEFAULT CHARACTER SET utf8;"
[root@sonarqube ~]# mysql -uroot -pxxxx -e "show databases"
2.下载sonar并安装
useradd sonar
cd /usr/local/src/
https://binaries.sonarsource.com/Distribution/sonarqube/sonarqube-7.8.zip
unzip sonarqube-7.8.zip -d /usr/local/
ln -sv /usr/local/sonarqube-7.8/ /usr/local/sonarqube
3.修改sonar配置文件
vim /usr/local/sonarqube/conf/sonar.properties
sonar.jdbc.username=root          # 数据库用户
sonar.jdbc.password=phxxxxx  # 数据库密码

#----- Embedded Database (default)
# H2 embedded database server listening port, defaults to 9092
#sonar.embeddedDatabase.port=9092

#----- DEPRECATED
#----- MySQL >=5.6 && <8.0
# Support of MySQL is dropped in Data Center Editions and deprecated in all other editions
# Only InnoDB storage engine is supported (not myISAM).
# Only the bundled driver is supported. It can not be changed.
sonar.jdbc.url=jdbc:mysql://localhost:3306/sonar?useUnicode=true&characterEncoding=utf8&rewriteBatchedStatements=true&useConfigs=maxPerformance&useSSL=false    # 数据库连接
4.启动sonar
chown -R sonar.sonar /usr/local/sonarqube/
su - sonar -c "/usr/local/sonarqube/bin/linux-x86-64/sonar.sh start"
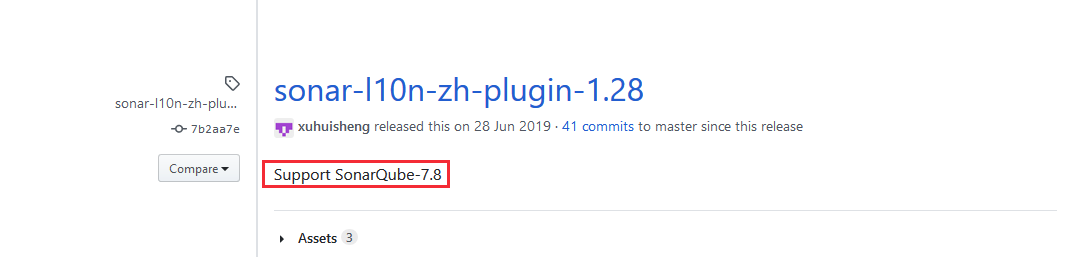
5.浏览器打开,默认账号密码,admin.admin,安装中文汉化包
# 下载中文语言包到插件目录,并对于所支持的版本
cd /usr/local/sonarqube/extensions/plugins
wget https://github.com/SonarQubeCommunity/sonar-l10n-zh/releases/download/sonar-l10n-zh-plugin-1.28/sonar-l10n-zh-plugin-1.28.jar
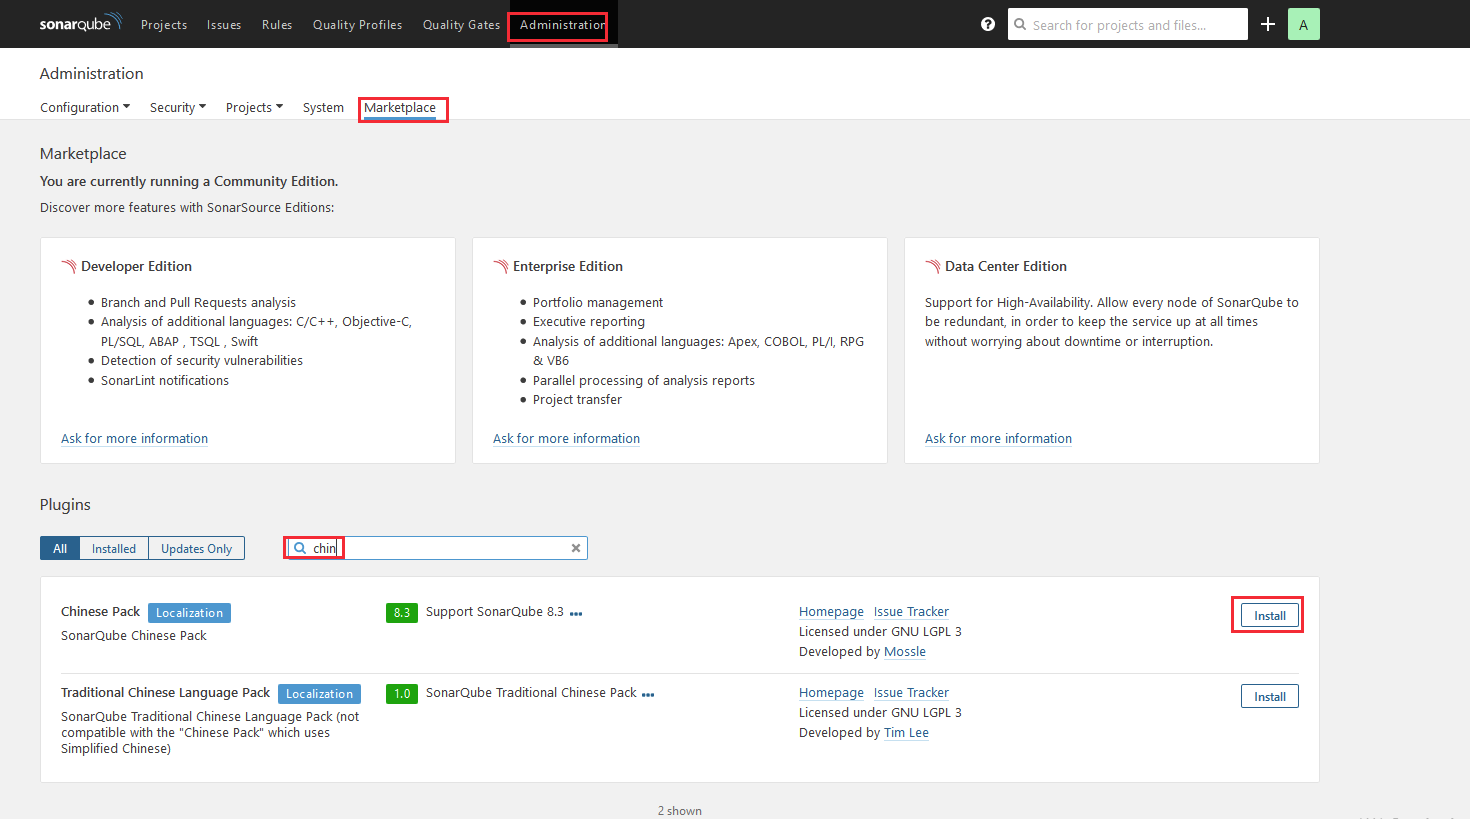
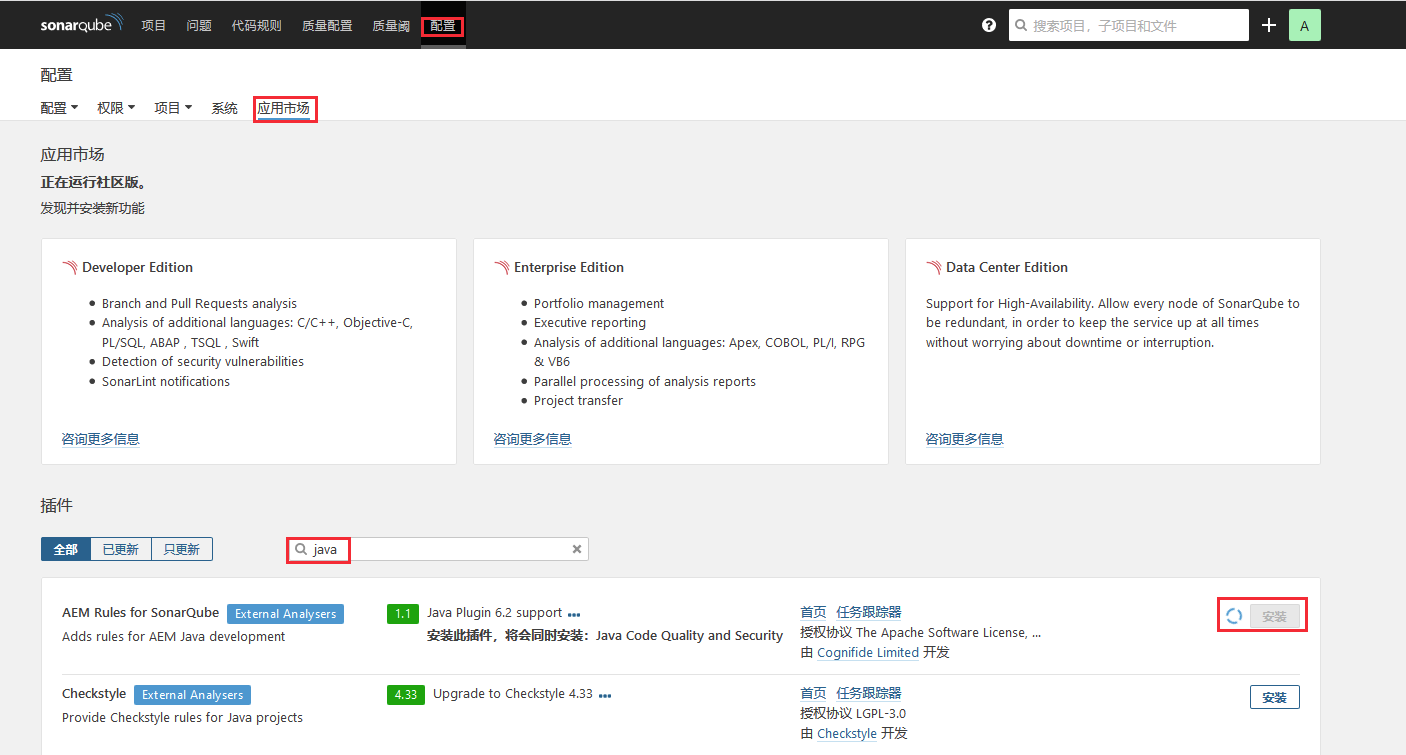
6.安装代码检查插件
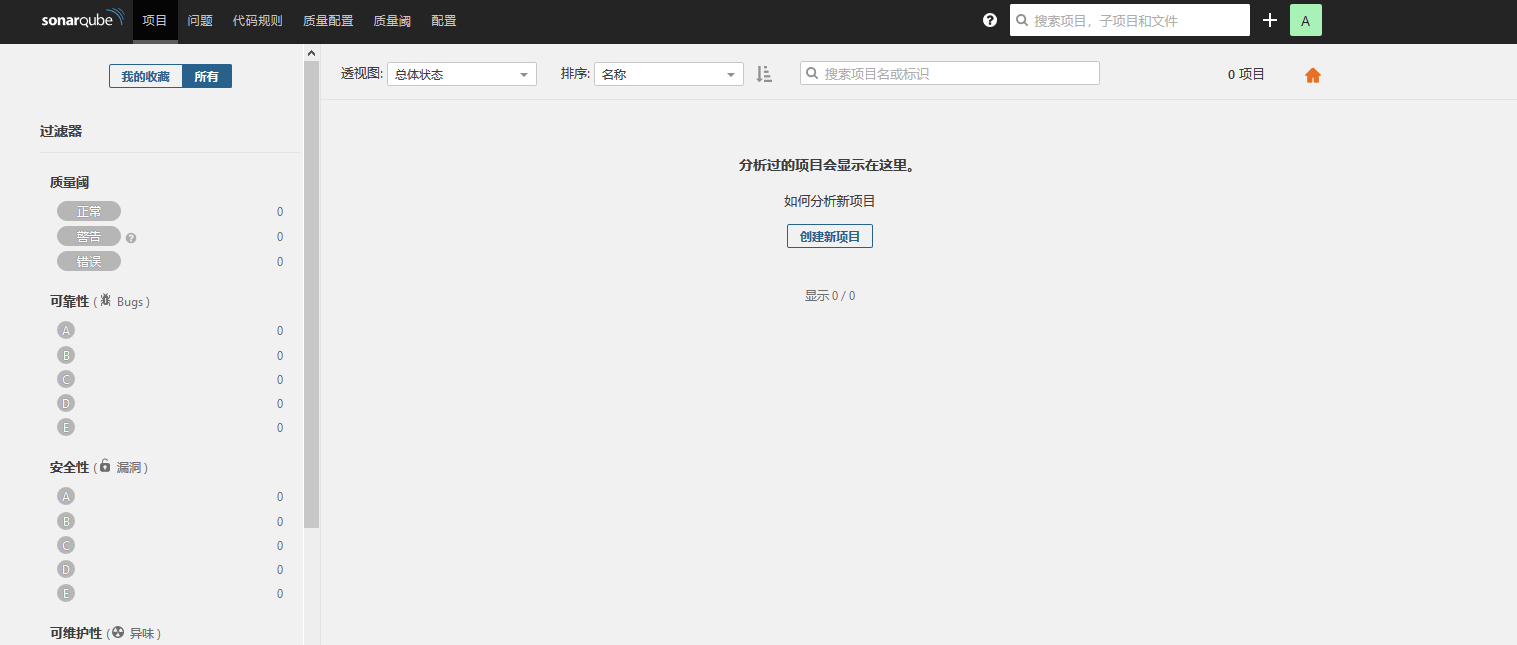
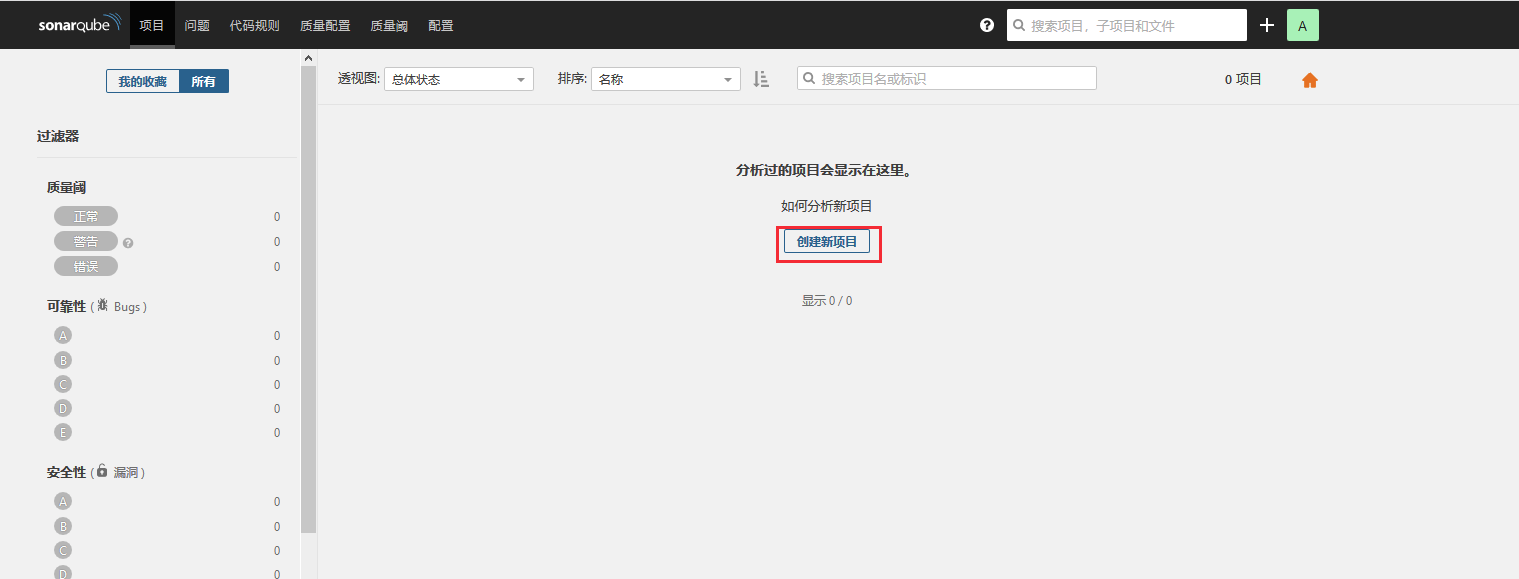
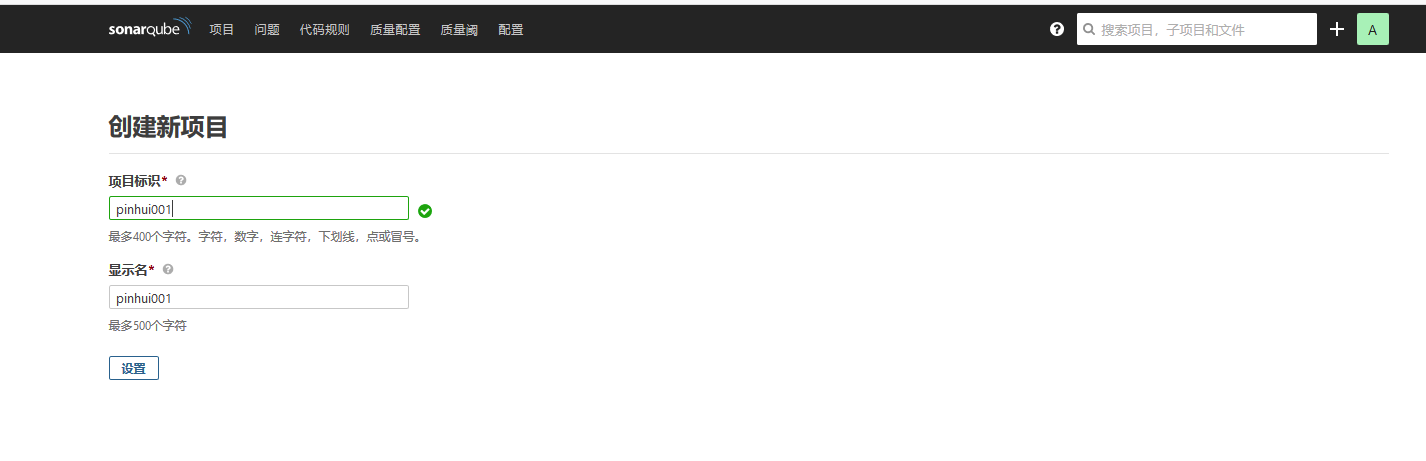
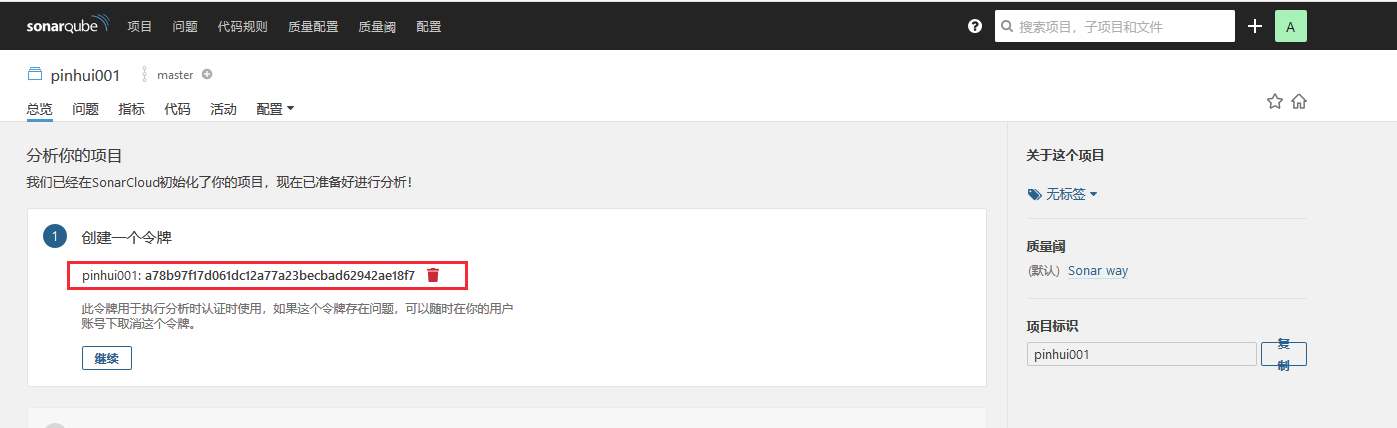
7.创建项目,生产token
8.客户端安装sonarscanner,jenkins服务端安装scan
cd /usr/local/src/
wget https://binaries.sonarsource.com/Distribution/sonar-scanner-cli/sonar-scanner-cli-4.3.0.2102-linux.zip
unzip sonar-scanner-cli-4.3.0.2102-linux.zip -d /usr/local/
ln -sv /usr/local/sonar-scanner-4.3.0.2102-linux/ /usr/local/sonar-scanner


# 配置连接sonar服务端
vim /usr/local/sonar-scanner/conf/sonar-scanner.properties

#----- Default SonarQube server
sonar.host.url=http://10.1.8.201:9000
sonar.login=a78b97f17d061dc12a77a23becbad62942ae18f7    # 前面生产的token

#----- Default source code encoding
sonar.sourceEncoding=UTF-8
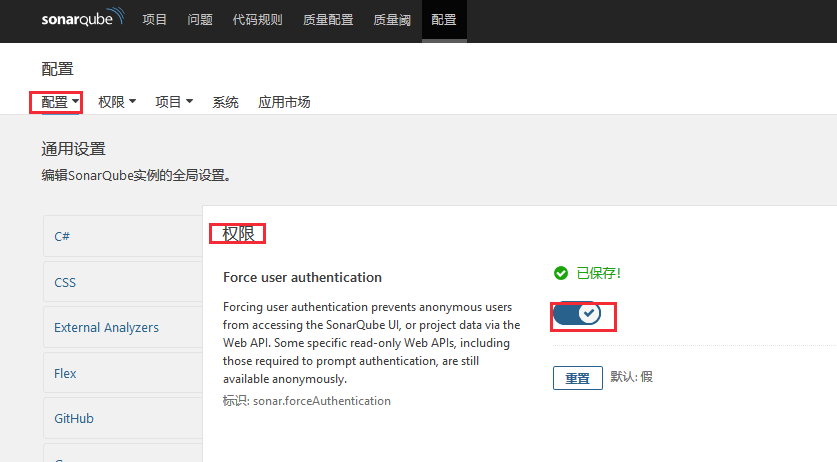
客户端用token需要服务端开启
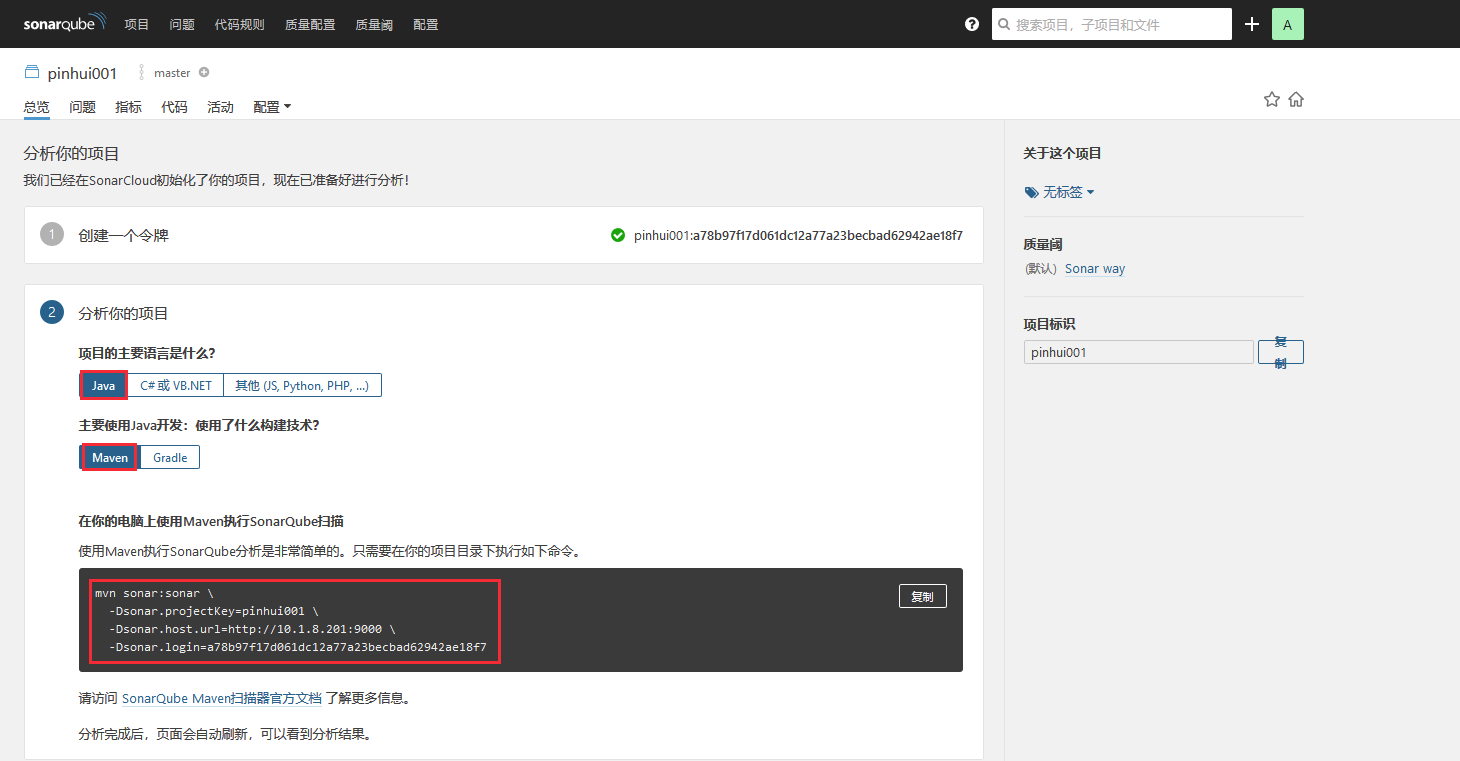
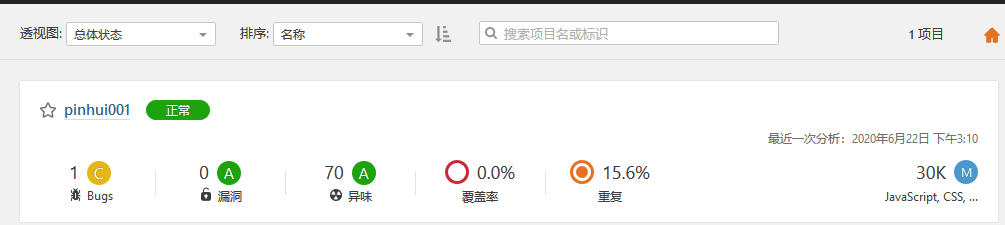
9.代码扫描测试
# 进入目录进行代码扫描


# 扫描代码
cd /var/lib/jenkins/workspace/prod-v1.0-wejiu-web-admin
/usr/local/sonar-scanner/bin/sonar-scanner -Dsonar.projectKey=pinhui001 -Dsonar.sources=.


# 扫描java代码
mvn sonar:sonar \
  -Dsonar.projectKey=pinhui001 \
  -Dsonar.host.url=http://10.1.8.201:9000 \
  -Dsonar.login=a78b97f17d061dc12a77a23becbad62942ae18f7

 浙公网安备 33010602011771号