asp.net core微服务之基于abp vnext制作项目脚手架
首先说明,尊重原创,本文是参考https://www.cnblogs.com/myshowtime/p/14507675.html这篇文章写的,里面内容有部分是直接拷贝过来的。感谢作者分享!!!
前期准备工作
使用命令 abp new LS.Template --template module --no-ui --version 4.3.0 创建基于abp vnext 4.3.0的项目。然后在这个解决方案的基础上,删除多余的东东,并加入自己团队的元素。
这部分不是本文重点,所以不做过多介绍。
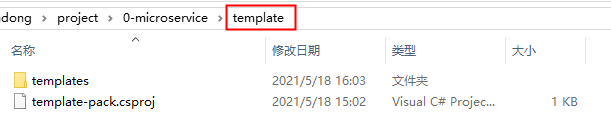
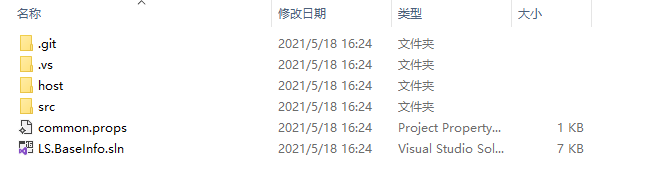
模板项目位置

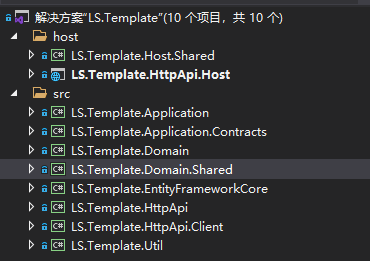
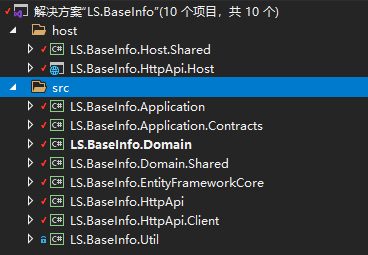
模板项目结构
构建模板
先在“\template\templates”目录下创建“.template.config”目录,具体命令为:mkdir .template.config ,

然后在该目录下添加“template.json”文件,具体内容为:
{
  "$schema": "http://json.schemastore.org/template",
  "author": "Ben",
  "classifications": [ "Template" ],
  "name": "LS.Template",
  "identity": "LS.Template",
  "shortName": "ls-template",
  "tags": {
    "language": "C#"
  },
  "sourceName": "Template"
}
上面是一些基本的描述信息,需要注意的是 "sourceName" 属性,它相当于一个变量,我们通过这个属性,可以创建LS.BaseInfo,LS.Trace这样的解决方案和项目。
另外,特别说明一点:如果我的模板项目是LS.Equipment,那么sourceName的值改为Equipment也是可以生成脚手架的。
打包模板
在“\template”目录下添加“template-pack.csproj”文件
具体内容为:
<Project Sdk="Microsoft.NET.Sdk">

  <PropertyGroup>
    <PackageType>Template</PackageType>
    <PackageVersion>1.0.0</PackageVersion>
    <PackageId>LS.Template</PackageId>
    <Title>LS.Template</Title>
    <Authors>Ben</Authors>
    <Description>LS.Template</Description>
    <PackageTags>dotnet-new;templates;LS.Template</PackageTags>

    <TargetFramework>netstandard2.1</TargetFramework>

    <IncludeContentInPack>true</IncludeContentInPack>
    <IncludeBuildOutput>false</IncludeBuildOutput>
    <ContentTargetFolders>content</ContentTargetFolders>
    <NoWarn>$(NoWarn);NU5128</NoWarn>
  </PropertyGroup>

  <ItemGroup>
    <Content Include="templates\**\*" Exclude="templates\**\bin\**;templates\**\obj\**;templates\.git" />
    <Compile Remove="**\*" />
  </ItemGroup>

</Project>
我们指定了程序包的基础信息,版本ID, 描述信息,包含了 templates 文件夹下的所有文件,然后排除了 bin\ 和 obj\ 文件夹的dll文件。
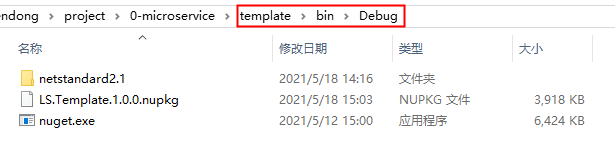
运行 dotnet pack 命令进行打包, 你可以在 /bin/debug/ 文件夹找到 生成的 nupkg 文件
推送到Nuget服务器
从网上下载一个nuget.exe文件,放在 /template 目录下,我的nuget.exe的版本是:5.6.0
然后执行以下命令,输入账号、密码,将代码推送到nuget仓库:
nuget.exe push bin/debug/LS.Template.0.1.0.nupkg ben111 -Source http://192.168.3.222:8081/repository/nuget-hosted/
说明:我的nuget仓库是使用nexus搭建的。上面命令中的ben111相当于是这个仓库的key,这么理解就可以了。不加也没关系,我的另一篇文章有说明。linux下 docker + nexus 搭建.net core能使用的nuget服务器
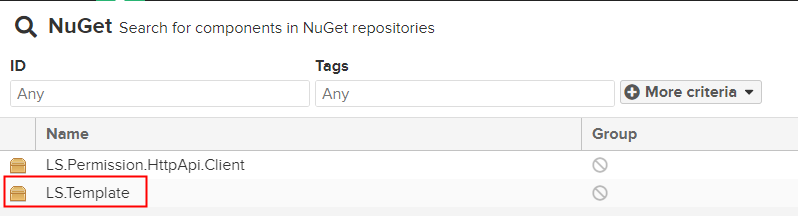
下面看下效果:
安装模板
安装前,你的nuget包源,必须事先添加了自己的nuget仓库地址,不然无法安装。
至于如何添加nuget包源,有2种方式,第一种是在vs2019 nuget包管理器里面添加;第二种是通过dotnet nuget命令添加。
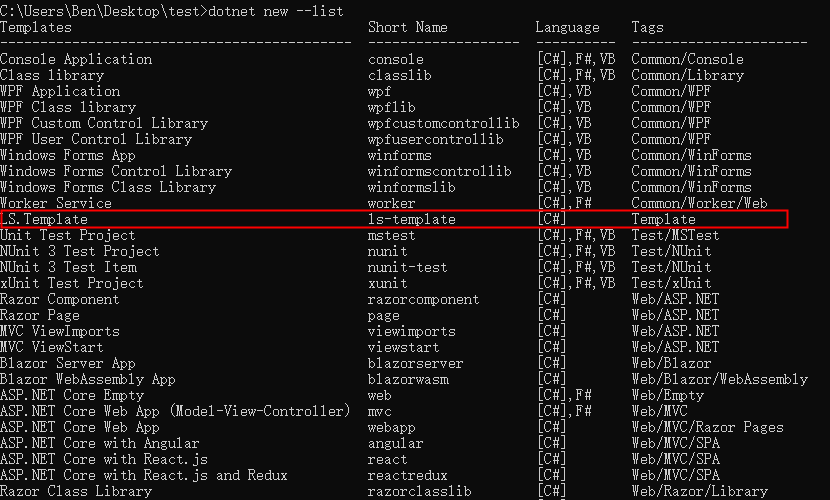
在终端中运行 dotnet new --install LS.Template 命令安装,安装成功后,应该可以看到下边的输出,里边包含了我们的自定义模板。

或者使用 dotnet new --list 命令查看,没问题的话,列表里面应该会有。
使用模板
运行 dotnet new LS.Template --name=BaseInfo ,--name 指定了变量值,它会自动帮我们生成 BaseInfo 项目,这很棒!牛逼!

至此,大功告成。概括一下:
打包: dotnet pack
推送: nuget.exe push bin/debug/LS.Template.0.1.0.nupkg ben111 -Source http://192.168.3.222:8081/repository/nuget-hosted/
安装: dotnet new --install LS.Template
使用: dotnet new LS.Template --name=BaseInfo
如果说模板改了后,重新推送到nuget服务器,那么我们下次根据模板生成的时候,需要先安装模板 dotnet new --install LS.Template ,否则使用的还是之前的模板。
再次说明,尊重原创,本文是参考https://www.cnblogs.com/myshowtime/p/14507675.html这篇文章写的,里面内容有部分是直接拷贝过来的。感谢作者分享!!!

 浙公网安备 33010602011771号