
Linux部署Nginx
Nginx
Nginx是一款轻量级Web服务器、也是一款反向代理服务器。
Nginx能干什么
举例说明:
1.可直接支持Rails和PHP的程序。
2.可作为HTTP反向代理服务器。
3.作为负载均衡服务器。
4.作为邮件代理服务器。
5.帮助实现前端动静分离。
Nginx特点:
高稳定 高性能 资源占用少 功能丰富 模块化结构 支持热部署
Nginx的安装
首先要安装Nginx的依赖
一、安装 gcc
可使用gcc -v查看服务器是否安装
安装 Nginx 的编译环境 gcc
yum install gcc
二、安装pcre
nginx 的 http 模块使用 pcre 解析正则表达式,所以安装 perl 兼容的正则表达式库
yum install pcre-devel
三、安装zlib
nginx 使用 zlib 对 http 包的内容进行 gzip
yum install zlib zlib-devel
四、安装 Open SSL
nginx 不仅支持 http 协议,还支持 https(即在 ssl 协议上传输 http),如果使用了 https ,需要安装 OpenSSL 库
yum install openssl openssl-devel
也可使用综合命令:
yum -y install gcc zlib zlib-devel pcre-devel openssl openssl-devel
安装Nginx
进入官网下载Nginx http://nginx.org/
然后上传到环境上面:
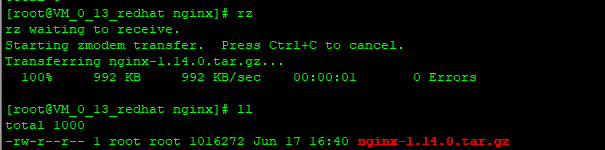
然后执行解压命令(我把该文件放在java的Nginx文件夹下面):
tar -zxvf nginx-1.14.0.tar.gz -C /root/java/nginx
然后执行下面命令(后面的):
./configure
--prefix=
如果不指定目录,使用默认配置时,nginx 被安装到 /usr/local/nginx 下。
继续执行 编译:
make
然后再执行--如果使用了自定义配置,nginx的安装目录为 –prefix 指定的目录:
make install
然后执行:
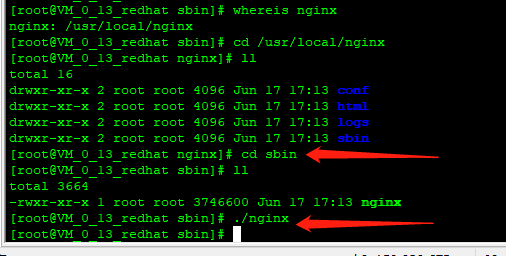
whereis nginx
可以看到Nginx成功安装到这里了。

然后进入目录sbin执行./nginx 启动Nginx下面命令:
然后进行进程查看:
ps -aux|grep nginx
或
ps -ef | grep nginx

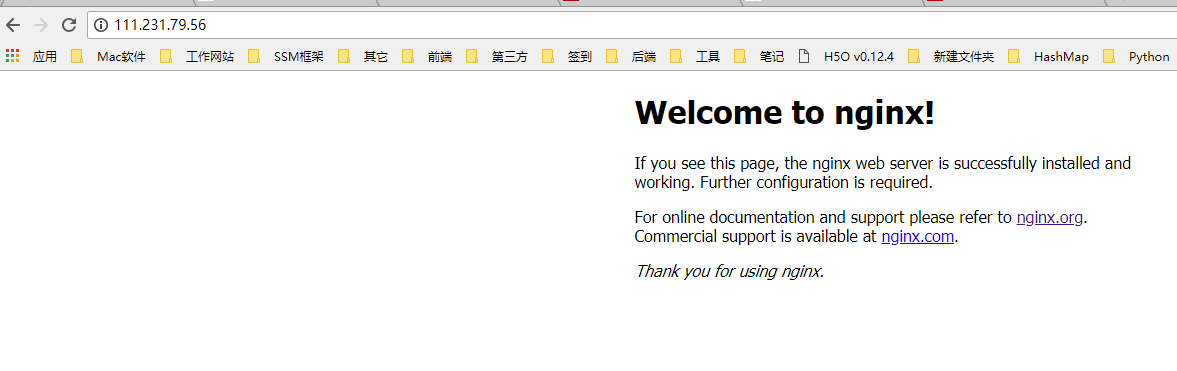
然后进行远程访问:因为默认是80端口,Nginx端口也是80,所以可以不用输入端口。出现Nginx欢迎的界面就证明安装成功。
Nginx关闭
执行下面命令查看进程:
ps -ef |grep nginx
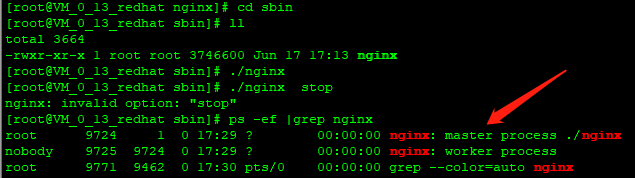
然后找到master端口9724
然后执行kill命令:
优雅停止 kill -QUIT 主进程号
快速停止 kill -TERM 主进程号
强制停止 kill -9 nginx
配置Nginx命令
首先配置Nginx环境变量
使用命令:
vim /etc/profile
在配置文件后面添加:
export NGINX_HOME=/usr/local/nginx
export PATH=$PATH:$NGINX_HOME/sbin
然后保存, 重新编译 /etc/profile 文件
source /etc/profile
注:如果配置文件和nginx解压的目录不一个的话,需要指定配置文件,使用下面命令:
/usr/local/nginx/sbin/nginx -c /root/java/nginx/nginx-1.14.0/conf/nginx.conf
这样就可以使用
nginx -s stop 关闭
nginx -s reload 重启命令了
配置Nginx
小功能:
进入nginx目录的conf下面创建文件夹:
mkdir vhost
然后编辑nginx.conf 在里面添加一段话:
include vhost/*.conf;
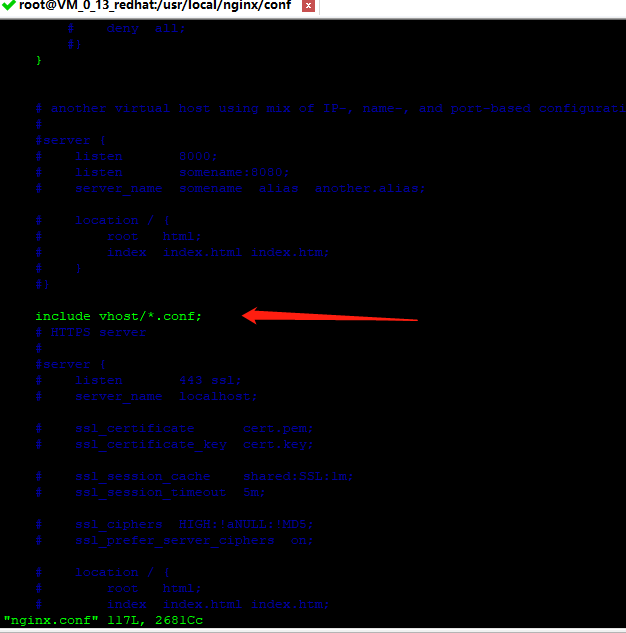
这样就可以区分对待每个conf配置文件了。
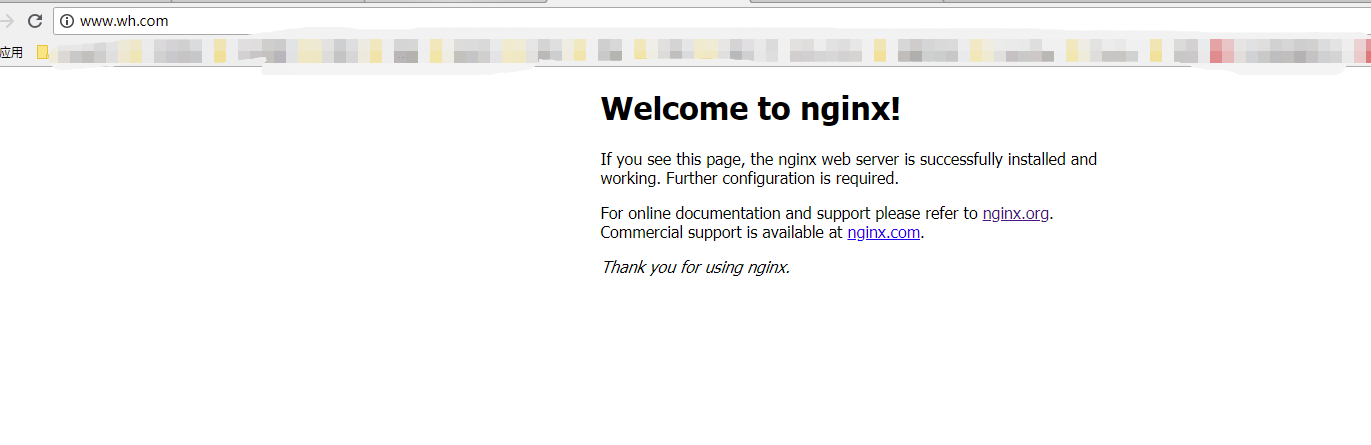
然后新建文件,配置nginx映射,在vhost下面新建了一个配置文件,如下配置,把www.wh.com映射到nginx欢迎页面,然后启动Nginx:
server {
    # 监听端口
    listen 80;
    autoindex on;
    # 监听域名
    server_name www.wh.com;
    #access_log /usr/local/nginx/logs/access.log combined;
    index index.html index.htm index.jsp index.php;
    #root /devsoft/apache-tomcat-7.0.73/webapps/mmall;
    #error_page 404 /404.html;
    if ( $query_string ~* ".*[\;'\<\>].*" ){
        return 404;
    }
    location / {
        # 映射地址
        proxy_pass http://127.0.0.1:80/;
        add_header Access-Control-Allow-Origin '*';
    }
}
然后在本机的host文件中修改代理:把地址www.wh.com映射到111.231.79.56,然后访问:

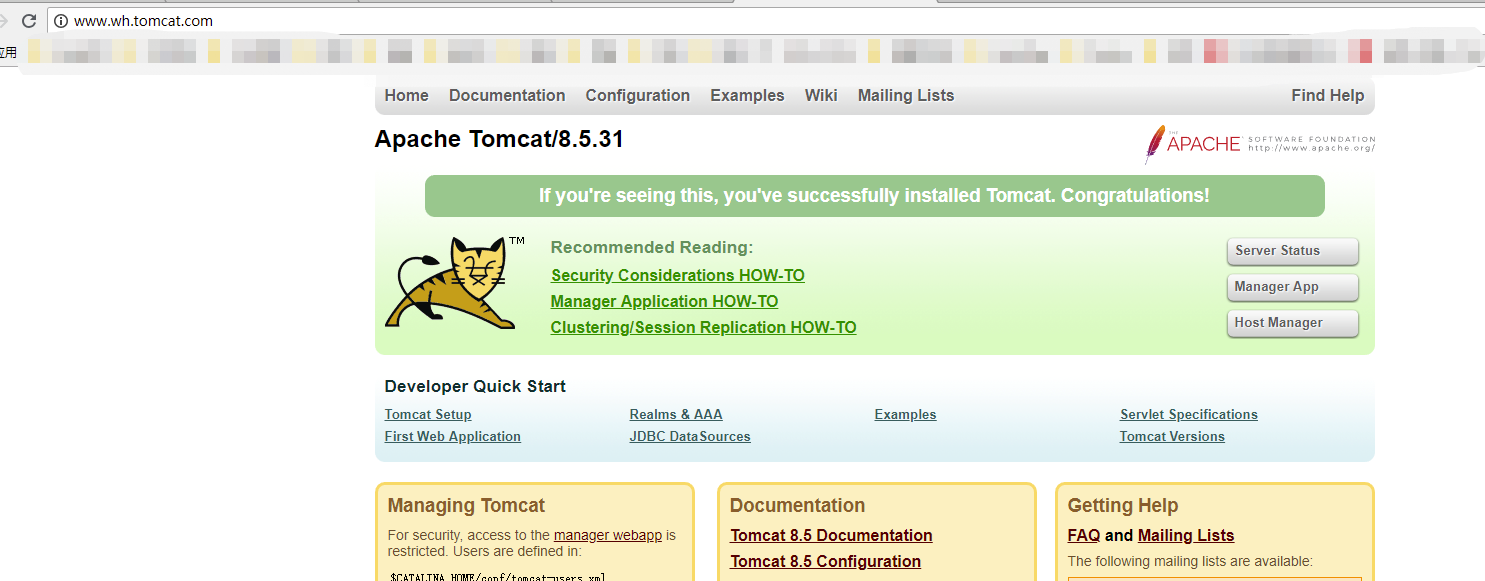
如上所示,映射成功。也可以映射Tomcat8080对口,首先修改Nginx配置文件配置tomcat映射,然后到本机的host修改映射:
server {
    listen 80;
    autoindex on;
    server_name www.wh.tomcat.com;
    #access_log /usr/local/nginx/logs/access.log combined;
    index index.html index.htm index.jsp index.php;
    #root /devsoft/apache-tomcat-7.0.73/webapps/mmall;
    #error_page 404 /404.html;
    if ( $query_string ~* ".*[\;'\<\>].*" ){
        return 404;
    }
    location / {
        proxy_pass http://127.0.0.1:8080/;
        add_header Access-Control-Allow-Origin '*';
    }
}

然后访问tomcat的网站,如下所示:
也可以把Nginx映射
location .proxy_pass
地址改为:
location .root
然后root对应服务器目录即可正常访问。服务器上面的文件资源。

 浙公网安备 33010602011771号