
jprofiler9.1.1 安装与配置
一、安装部分
安装包:
1、jprofiler_linux_9_1_1.rpm
2、jprofiler_windows-x64_9_1_1.exe
- 需要注意的是,Linux 和 Windows 安装的版本号必须一致
在 Linux 安装 jprofiler9 完成;在 Windows 安装 jprofiler9 完成;--安装非常容易,在网上搜索一堆
二、配置部分
1、在 Win 中打开JP

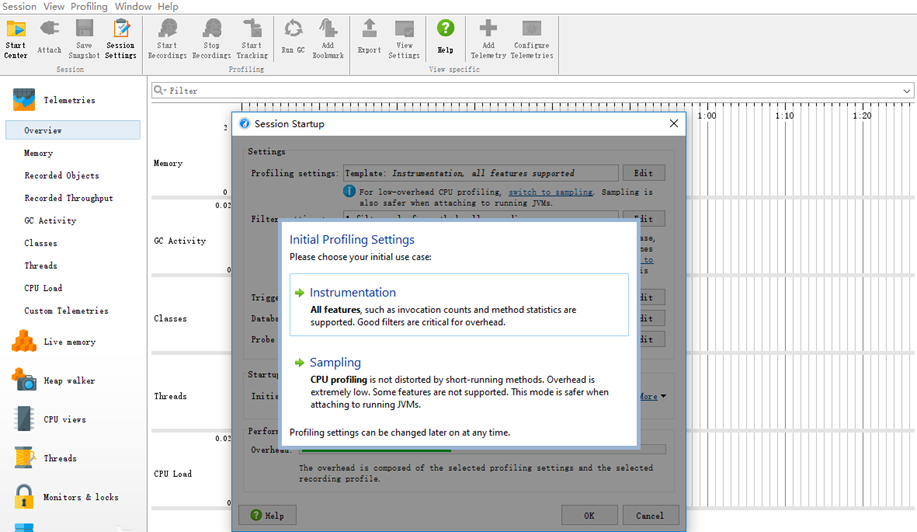
1、Follow me:
以下都是简单对照选择,看到什么像就选择:

3、Application Server:
查看系统、应用等所需要的相关信息可参考 -- http://www.cnblogs.com/snooper/p/8497170.html
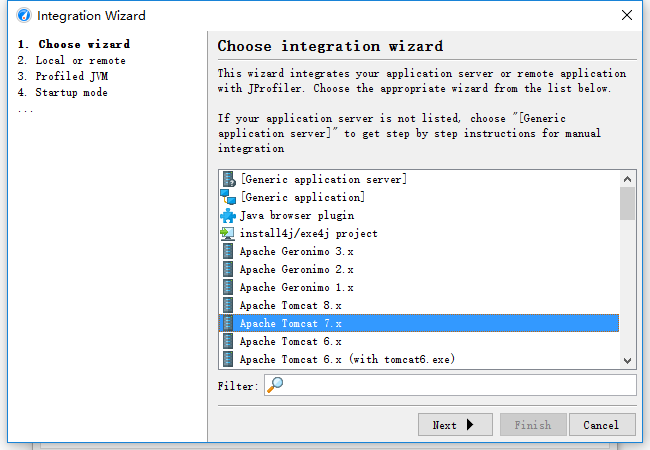
4、Linux X86/AMD64

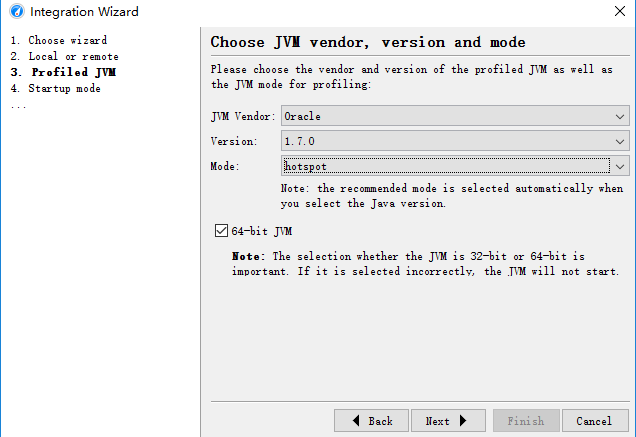
5、JVM vendor
6、一会再连接

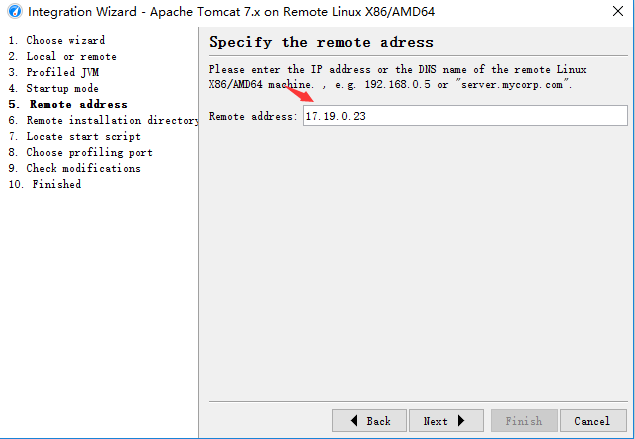
7、填写所需要监控的 Linux 服务器 IP地址(这里不需要填写端口)
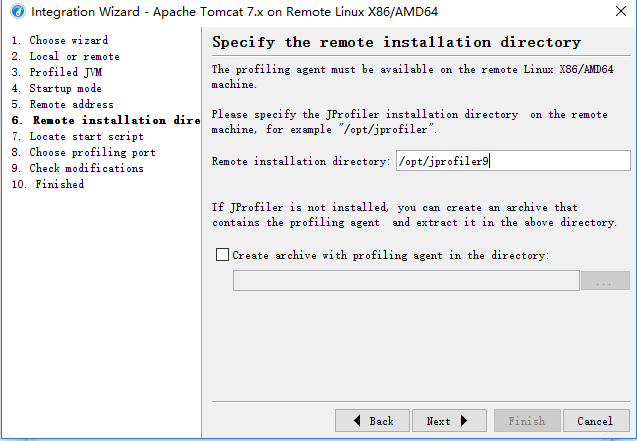
8、 找到 JP 在 Linux 中的安装路径
1 [root@test1 bin]# whereis jprofiler
2 jprofiler: /usr/local/bin/jprofiler /usr/local/jprofiler9.1 /opt/jprofiler9/bin/jprofiler.vmoptions /opt/jprofiler9/bin/jprofiler /opt/jprofiler9/bin/jprofiler.jar
填写 JP 在 Linux 中 正确的安装路径
9、这里填写的是项目的启动脚本地址,也就是说,这得先将 Linux 服务器上的项目启动脚本下载到 Windows ,然后再指定:
记下这个路径,后面还会用到;
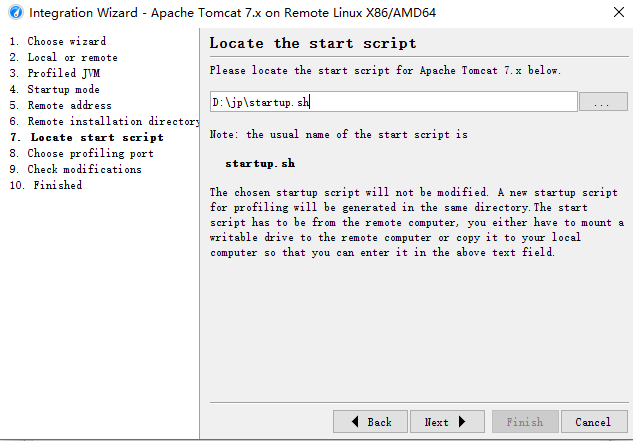
如下:/usr/local/tomcat/tomcat_jdt/bin/startup.sh 就是所需要的脚本文件,将其下载到 Windows ;
 1 [root@test1 ~]# cd /usr/local/tomcat/tomcat_jdt/bin/
 2 [root@test1 bin]# ll
 3 total 1952
 4 -rw-r--r--. 1 root root   26826 Jan 18  2017 bootstrap.jar
 5 -rw-r--r--. 1 root root   13007 Jan 18  2017 catalina.bat
 6 -rwxr-xr-x  1 root root   20963 Jul  6  2017 catalina.sh
 7 -rwxr-xr-x. 1 root root   20837 Jan 18  2017 catalina.sh.bak
 8 -rw-r--r--. 1 root root    1647 Jan 18  2017 catalina-tasks.xml
 9 -rw-r--r--. 1 root root   24283 Jan 18  2017 commons-daemon.jar
10 -rw-r--r--. 1 root root  204944 Jan 18  2017 commons-daemon-native.tar.gz
11 -rw-r--r--. 1 root root    2040 Jan 18  2017 configtest.bat
12 -rwxr-xr-x. 1 root root    1922 Jan 18  2017 configtest.sh
13 -rwxr-xr-x. 1 root root    7888 Jan 18  2017 daemon.sh
14 -rw-r--r--. 1 root root    2091 Jan 18  2017 digest.bat
15 -rwxr-xr-x. 1 root root    1965 Jan 18  2017 digest.sh
16 -rw-r--r--. 1 root root 1159554 Jan 18  2017 EZHTTP.zip
17 -rw-r--r--. 1 root root    3430 Jan 18  2017 setclasspath.bat
18 -rwxr-xr-x. 1 root root    3547 Jan 18  2017 setclasspath.sh
19 -rw-r--r--. 1 root root    2020 Jan 18  2017 shutdown.bat
20 -rwxr-xr-x. 1 root root    1902 Jan 18  2017 shutdown.sh
21 -rw-r--r--. 1 root root    2022 Jan 18  2017 startup.bat
22 -rwxr-xr-x  1 root root    2159 Mar 10 17:47 startup_jprofiler.sh
23 -rwxr-xr-x. 1 root root    1904 Jan 18  2017 startup.sh
24 -rw-r--r--. 1 root root   38197 Jan 18  2017 tomcat-juli.jar
25 -rw-r--r--. 1 root root  388787 Jan 18  2017 tomcat-native.tar.gz
26 -rw-r--r--. 1 root root    4021 Jan 18  2017 tool-wrapper.bat
27 -rwxr-xr-x. 1 root root    5024 Jan 18  2017 tool-wrapper.sh
28 -rw-r--r--. 1 root root    2026 Jan 18  2017 version.bat
29 -rwxr-xr-x. 1 root root    1908 Jan 18  2017 version.sh
10、默认
11、一会再启动
12、完成后,就会加出一项了
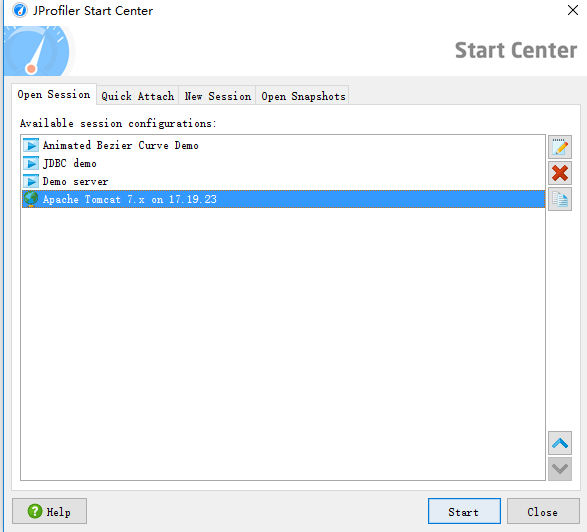
13、到此,配置完成;但尚未可以启动,还得继续:
14、打开本机 D:\jp 会看到生成了一个新的文件 startup_jprofiler.sh

15、将 startup_jprofiler.sh 上传到 Linux 服务器的项目应用的 /usr/local/tomcat/tomcat_jdt/bin 下,并授予可执行的权限
1 [root@test1 bin]# cd /usr/local/tomcat/tomcat_jdt/bin
2 [root@test1 bin]# chmod +x startup_jprofiler.sh
16、终极配置到此完成!
17、先关闭当前项目的 Tomcat ,然后 通过上传的脚本文件 startup_jprofiler.sh 来启动项目
1  [root@test1 bin]# cd /usr/local/tomcat/tomcat_jdt/bin
2  [root@test1 bin]# ./shutdown.sh
3  [root@test1 bin]# ./startup_jprofiler.sh
18、在 jprofiler 点击 Start 启动吧
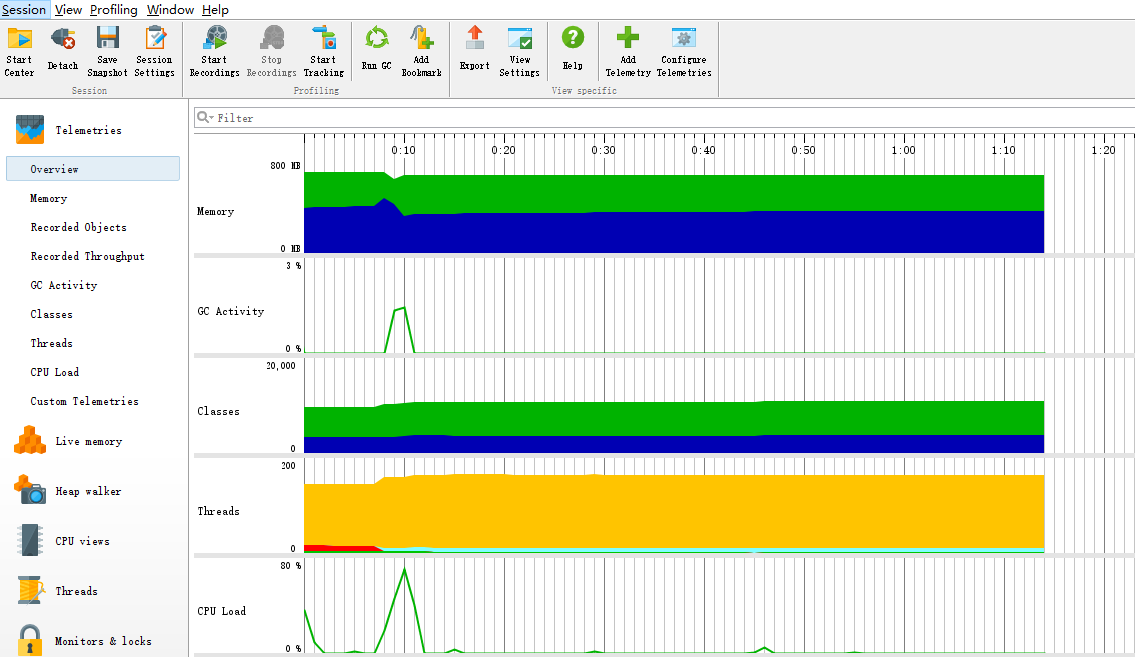
连接成功示例图
- 遇到的问题:
最容易遇到的问题是点击 Start 启动时,报错:
Could not find agent library /opt/jprofiler9/bin/linux-x86/libjprofilerti.so
解决方法:
cd /usr/local/tomcat/tomcat_jdt/bin/startup_jprofiler.sh
找到
1 ...
2 # The following lines have been added by the
3 # application server integration wizard of JProfiler
4
5 CATALINA_OPTS="-agentpath:/opt/jprofiler9/bin/linux-x86/libjprofilerti.so=port=8849,nowait $CATALINA_OPTS"
6 export CATALINA_OPTS
7
8 # end of modifications
9 ...
将 linux-x86 修改为 linux-x64 ,修改完成后,应为:
1 ...
2 # The following lines have been added by the
3 # application server integration wizard of JProfiler
4
5 CATALINA_OPTS="-agentpath:/opt/jprofiler9/bin/linux-x86/libjprofilerti.so=port=8849,nowait $CATALINA_OPTS"
6 export CATALINA_OPTS
7
8 # end of modifications
9 ...
再次连接,OK,成功。

 浙公网安备 33010602011771号