【移动开发学习】 Android Studio 编写一个简单的微信界面
 1 <?xml version="1.0" encoding="utf-8"?>
 2 <androidx.constraintlayout.widget.ConstraintLayout xmlns:android="http://schemas.android.com/apk/res/android"
 3     xmlns:app="http://schemas.android.com/apk/res-auto"
 4     xmlns:tools="http://schemas.android.com/tools"
 5     android:layout_width="match_parent"
 6     android:layout_height="match_parent">
 7
 8     <include
 9         layout="@layout/top"
10         android:id="@+id/topLayout"
11         android:layout_width="match_parent"
12         android:layout_height="wrap_content"
13         app:layout_constraintTop_toTopOf="parent"
14         app:layout_constraintStart_toStartOf="parent"
15         app:layout_constraintEnd_toEndOf="parent"/>
16
17     <androidx.fragment.app.FragmentContainerView
18         android:id="@+id/fragmentContainerView"
19         android:layout_width="0dp"
20         android:layout_height="0dp"
21         app:layout_constraintBottom_toTopOf="@+id/bottomLayout"
22         app:layout_constraintEnd_toEndOf="parent"
23         app:layout_constraintHorizontal_bias="0.496"
24         app:layout_constraintStart_toStartOf="parent"
25         app:layout_constraintTop_toBottomOf="@+id/topLayout"
26         app:layout_constraintVertical_bias="0.448" />
27
28     <include
29         android:id="@+id/bottomLayout"
30         app:layout_constraintBottom_toBottomOf="parent"
31         app:layout_constraintEnd_toEndOf="parent"
32         app:layout_constraintStart_toStartOf="parent"
33         layout="@layout/bottom"
34         android:layout_width="0dp"
35         android:layout_height="wrap_content" />
36
37 </androidx.constraintlayout.widget.ConstraintLayout>
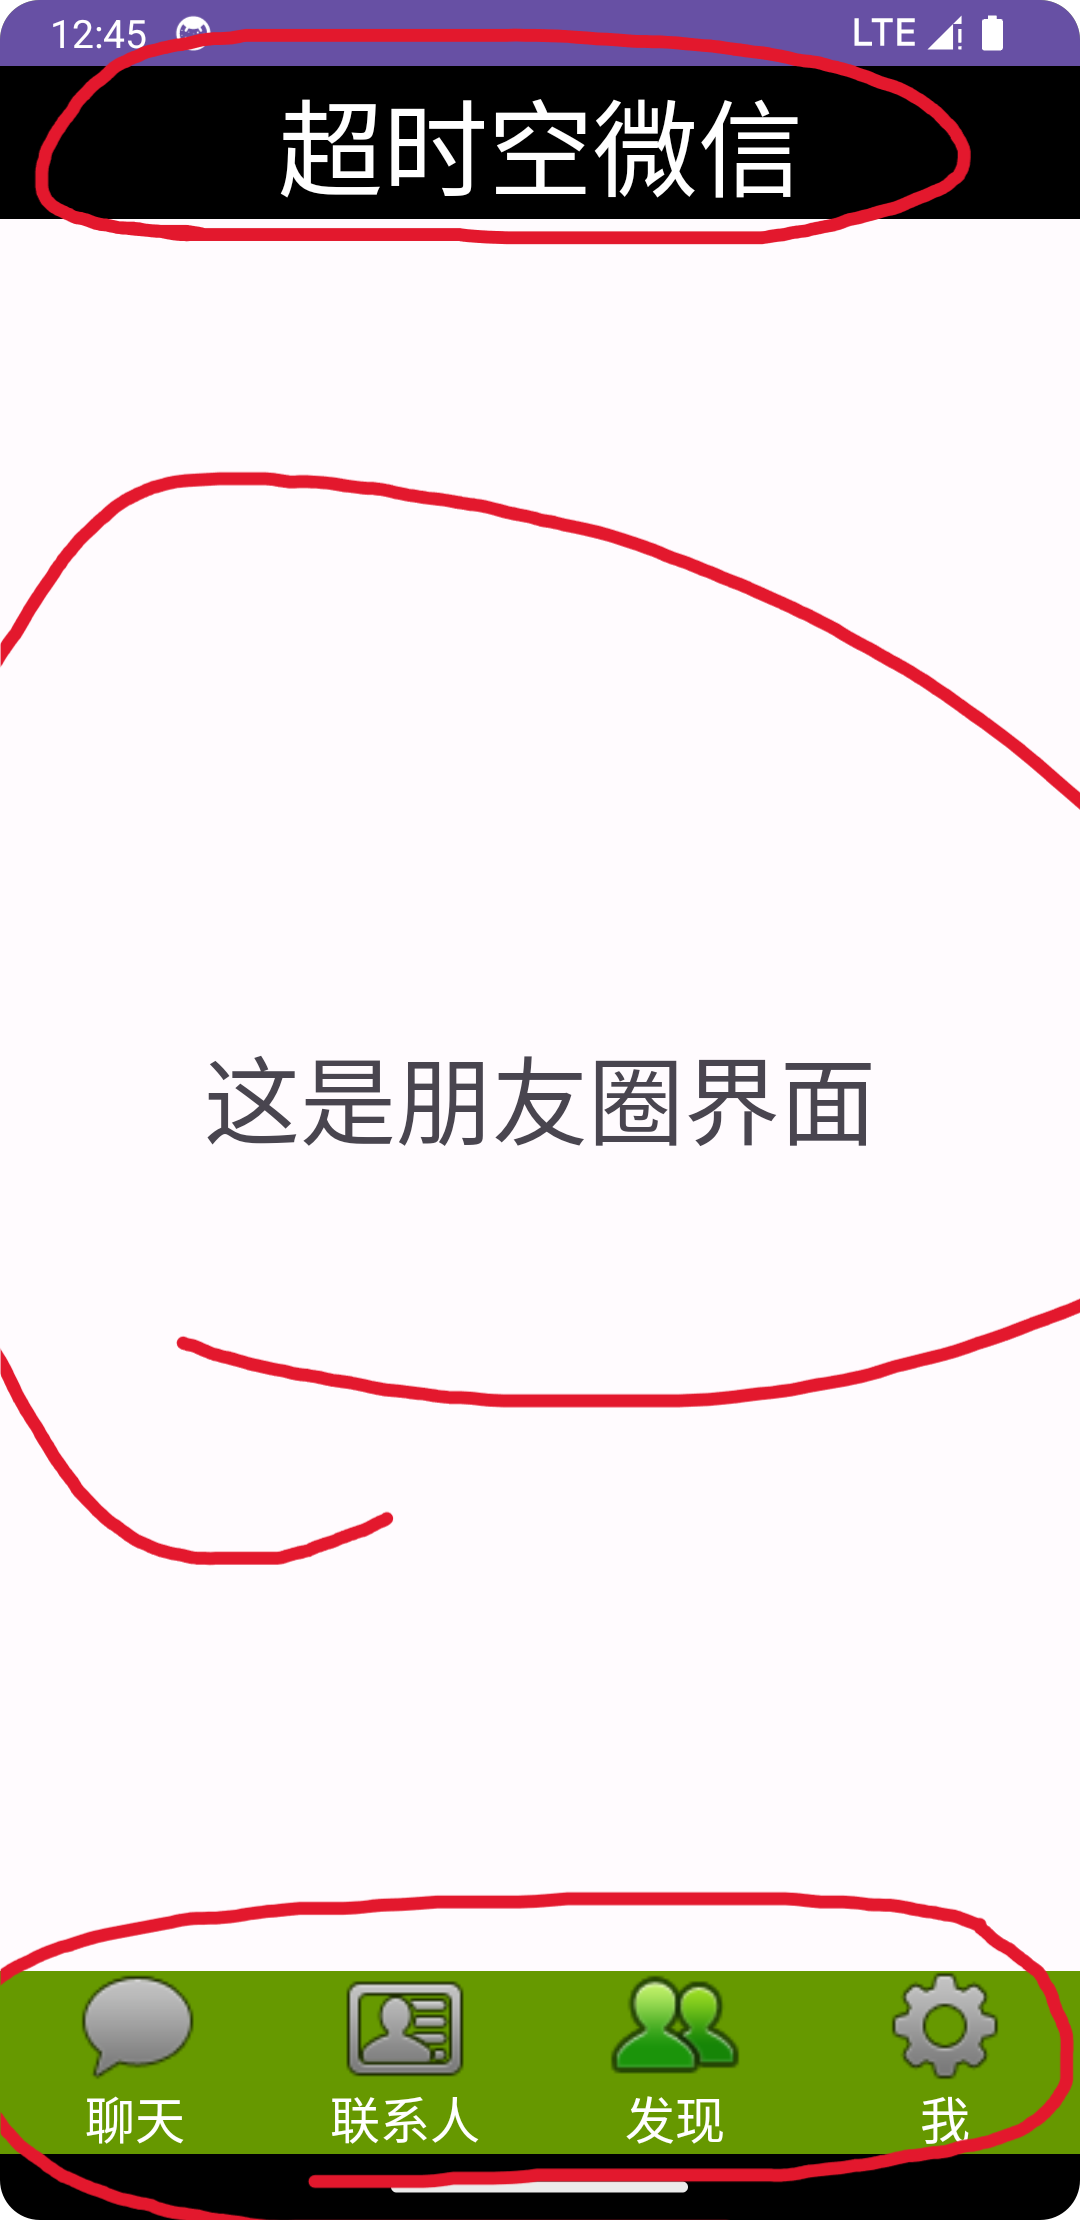
然后我们再来编写其中的fragment,就目前学习进度而言,只需要做到中间页面可以互相切换fragment即可,不需要对内容进行细节补充
所以在编写完一个之后另外三个直接cv即可。每一个fragment.xml对应一个fragment.java。
下面是一个fragment.java和fragment.xml


package com.example.test;

import android.os.Bundle;

import androidx.fragment.app.Fragment;
import android.view.LayoutInflater;
import android.view.View;
import android.view.ViewGroup;

/**
 * A simple {@link Fragment} subclass.
 * Use the {@link Fragment1# newInstance} factory method to
 * create an instance of this fragment.
 */
public class Fragment1 extends Fragment {

    // TODO: Rename parameter arguments, choose names that match
    // the fragment initialization parameters, e.g. ARG_ITEM_NUMBER
    private static final String ARG_PARAM1 = "param1";
    private static final String ARG_PARAM2 = "param2";

    // TODO: Rename and change types of parameters
    private String mParam1;
    private String mParam2;

    public Fragment1() {
        // Required empty public constructor
    }

    @Override
    public View onCreateView(LayoutInflater inflater, ViewGroup container,
                             Bundle savedInstanceState) {
        // Inflate the layout for this fragment
        return inflater.inflate(R.layout.fragment1, container, false);
    }
}
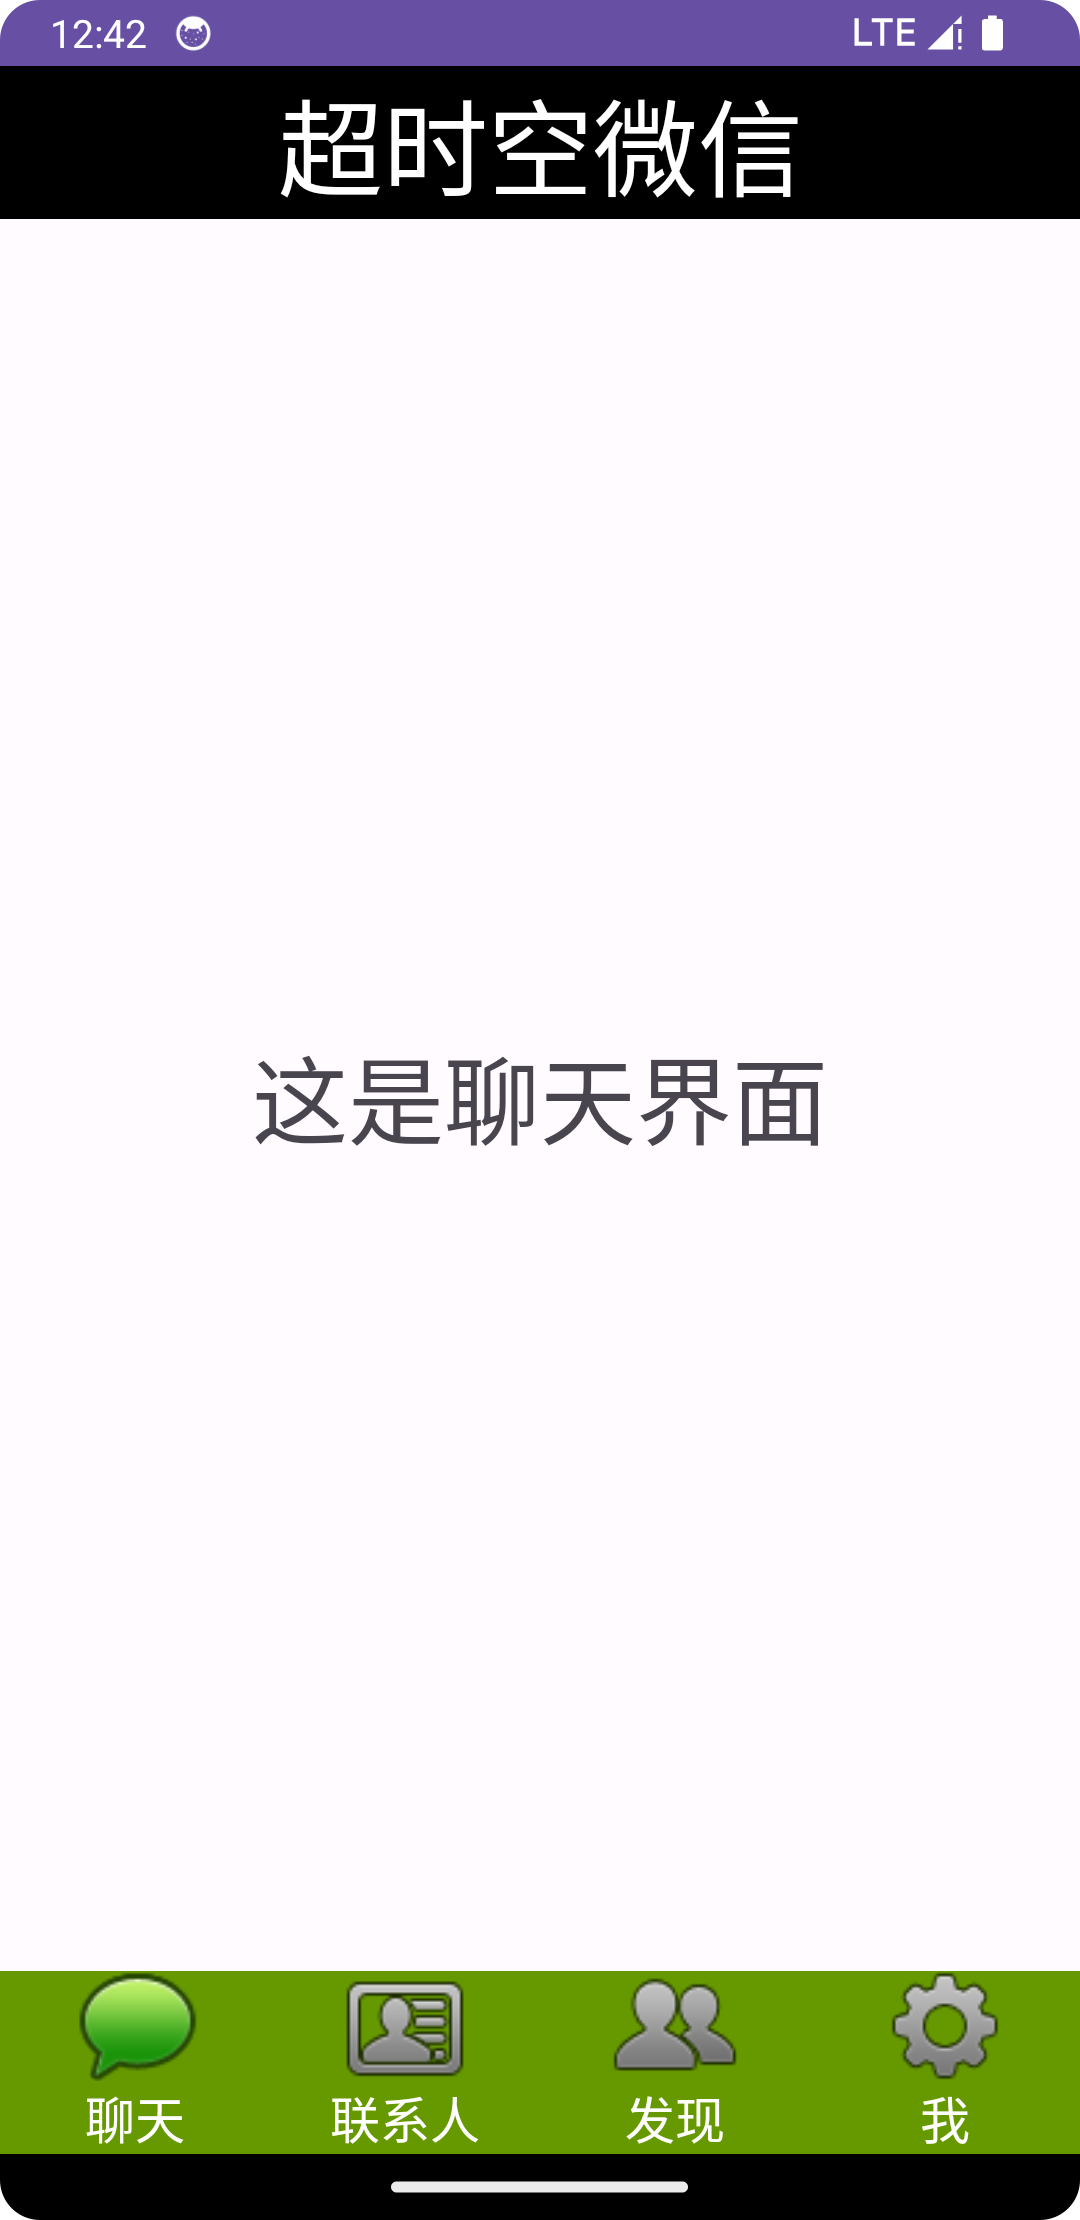
<?xml version="1.0" encoding="utf-8"?>
<FrameLayout xmlns:android="http://schemas.android.com/apk/res/android"
    xmlns:tools="http://schemas.android.com/tools"
    android:layout_width="match_parent"
    android:layout_height="match_parent"
    tools:context=".Fragment1">

    <!-- TODO: Update blank fragment layout -->
    <TextView
        android:layout_width="match_parent"
        android:layout_height="match_parent"
        android:gravity="center"
        android:text="这是聊天界面"
        android:textSize="35sp" />

</FrameLayout>
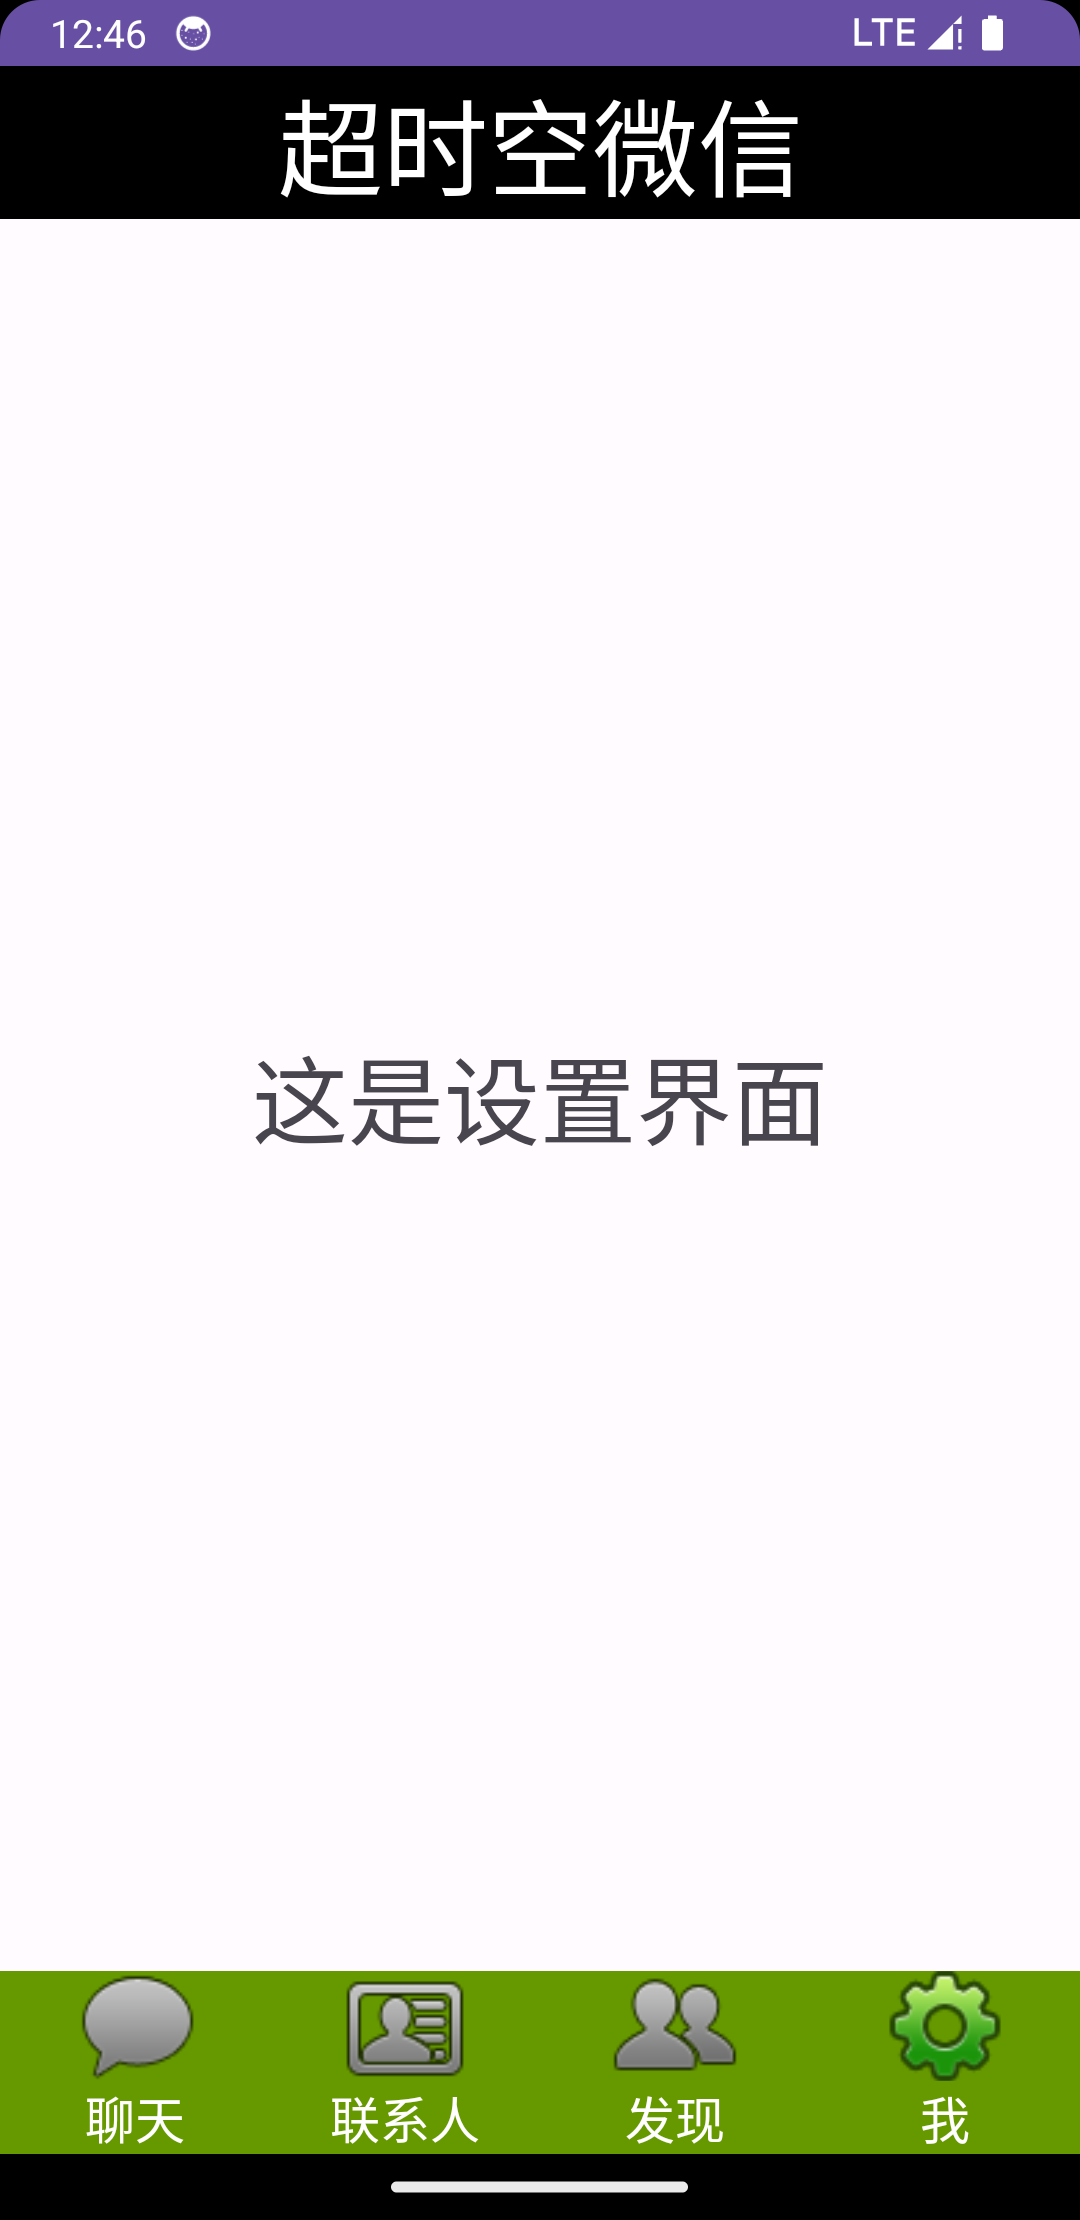
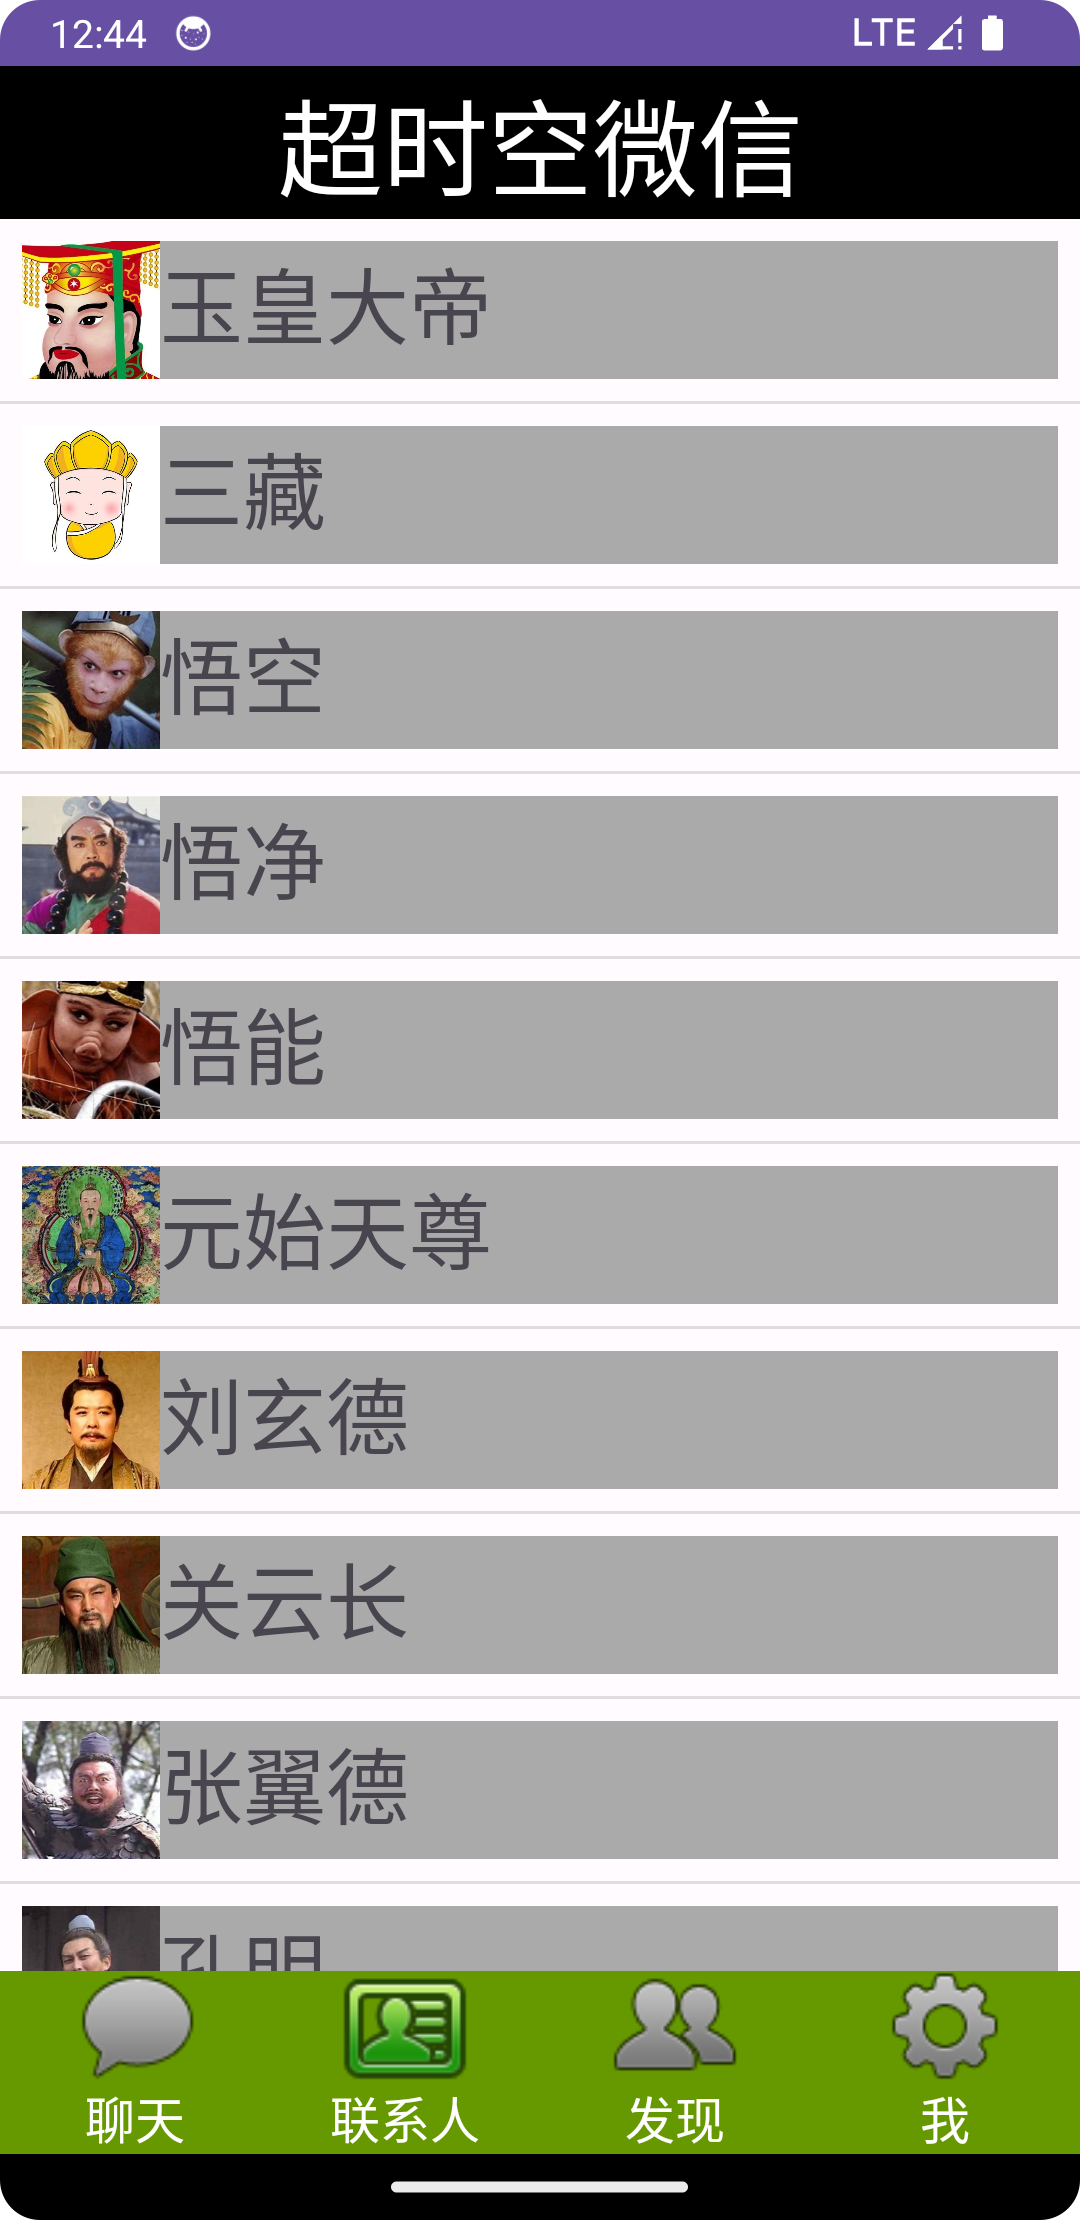
现在我们来将其中一个fragment改进一下来让它有更多的细节,这里我把“联系人”界面进行了细节扩充,在其中加入了一些小说人物的头像以及他们的姓名,看起来就像微信里的联系人界面
首先在layout中在添加一个xml文件用来使用recyclerview,我将其命名为activity_recycler_view.xml,代码如下
<?xml version="1.0" encoding="utf-8"?>
<androidx.constraintlayout.widget.ConstraintLayout xmlns:android="http://schemas.android.com/apk/res/android"
    android:layout_width="match_parent"
    android:layout_height="match_parent">

    <androidx.recyclerview.widget.RecyclerView
        android:id="@+id/recyclerview"
        android:layout_width="match_parent"
        android:layout_height="match_parent"/>

</androidx.constraintlayout.widget.ConstraintLayout>
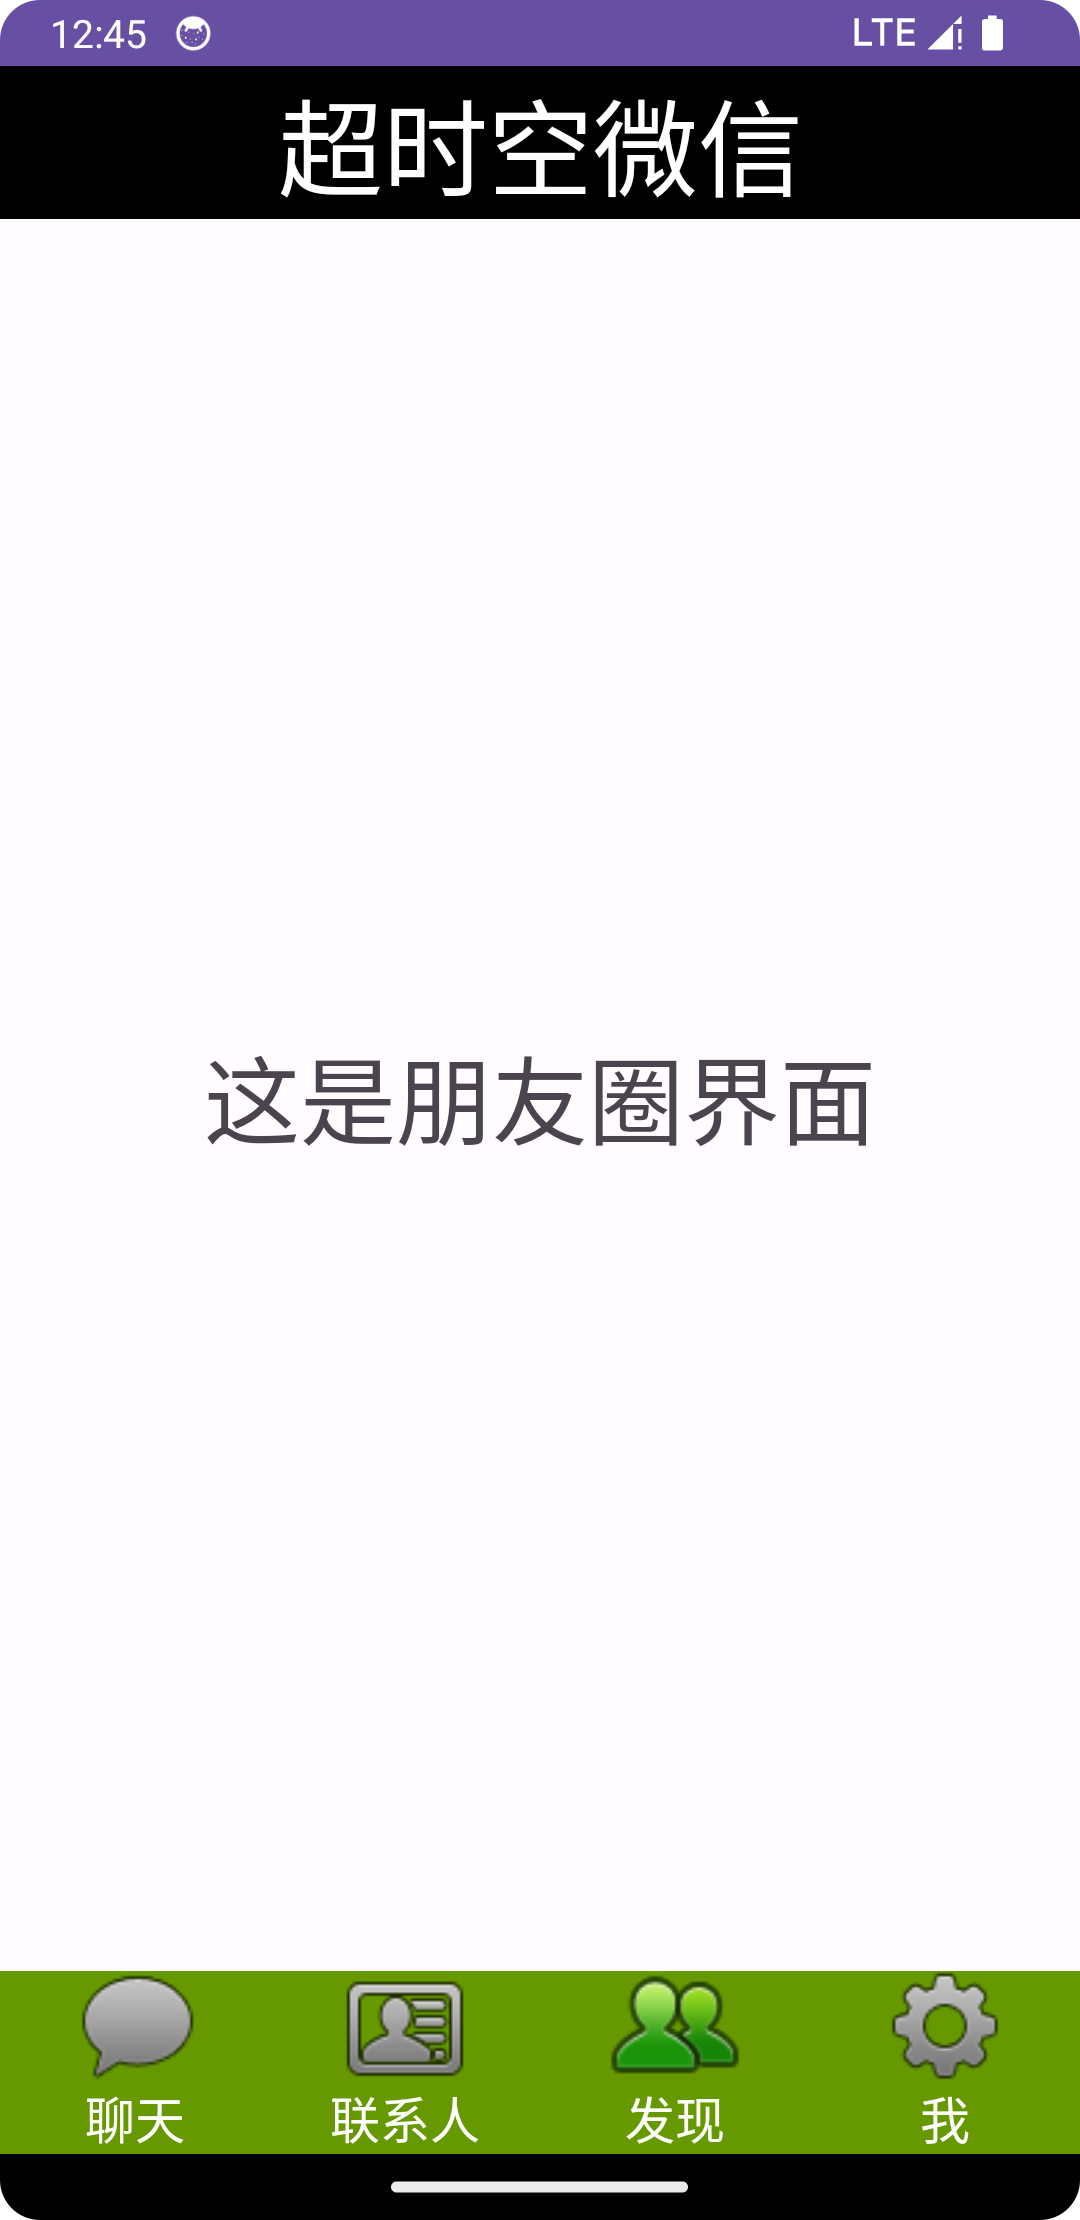
目前我们已经做出了雏形,但是每个主页都是空白并没有内容,接下来将其中一个页面填充一点细节
为了实现如图的头像+名字的这种结构,我们还需要创建一个xml来简单地编写一个规范
<?xml version="1.0" encoding="utf-8"?>
<LinearLayout xmlns:android="http://schemas.android.com/apk/res/android"
    android:layout_width="match_parent"
    android:layout_height="wrap_content"
    android:background="@android:color/darker_gray"
    android:layout_margin="8dp"
    android:orientation="horizontal">

<!-- 这个是头像 -->
    <ImageView
        android:id="@+id/tv_img"
        android:layout_width="50dp"
        android:layout_height="50dp"
        android:textSize="30sp" />

    <TextView
        android:id="@+id/tv_content"
        android:layout_width="wrap_content"
        android:layout_height="wrap_content"
        android:text="内容"
        android:textSize="30sp" />
</LinearLayout>
在ImageView中我们不用给出图片的路径,因为我们会在java文件中动态的设置他们
接下来创建一个RecyclerViewAdapter.java, 在Android中,RecyclerView是一个更强大和灵活的列表视图组件,用于显示大量数据,并支持动态添加、删除和刷新数据。
适配器(Adapter)负责将数据绑定到RecyclerView上。
定义RecyclerViewAdapter类:
这个类继承自RecyclerView.Adapter,它是用来将数据源(在这里是mList和mSrc)与RecyclerView控件进行绑定的。这个构造函数接受三个参数:context(上下文对象)、src(包含图片资源的列表)、和list(包含文本数据的列表)
1 public class RecyclerViewAdapter extends RecyclerView.Adapter<RecyclerViewAdapter.Myviewholder> {
2     private List<String> mList;
3     private List<Integer> mSrc;
4     private Context context;
5     public RecyclerViewAdapter(Context context, List<Integer> src, List<String> list) {
6         this.mSrc = src;
7         this.mList = list;
8         this.context=context;
9     }
实现onCreateViewHolder方法:
onCreateViewHolder方法负责创建并返回新的ViewHolder对象,它通过LayoutInflater将定义在R.layout.item中的布局实例化为一个View对象,并将其传递给Myviewholder类的构造函数
1    @NonNull
2     @Override
3     public Myviewholder onCreateViewHolder(@NonNull ViewGroup parent, int viewType){
4         View view=(View)LayoutInflater.from(parent.getContext()).inflate(R.layout.item,parent,false);
5         Myviewholder myviewholder=new Myviewholder((view));
6         return myviewholder;
7     }
实现onBindViewHolder方法:
onBindViewHolder方法用于将数据绑定到ViewHolder上,这里根据position参数获取对应位置的图片资源和文本数据,并设置到ViewHolder中的ImageView和TextView中
1 @Override
2     public void onBindViewHolder(@NonNull Myviewholder holder, int position) {
3         holder.tvimg.setImageResource(mSrc.get(position));
4         holder.tvContent.setText(mList.get(position));
5         position++;
6     }
实现getItemCount方法:
getItemCount方法返回数据源的大小,告诉RecyclerView有多少个数据需要显示
1 @Override
2     public int getItemCount() {
3         return mList.size();
4     }
定义Myviewholder内部类:
这个内部类继承自RecyclerView.ViewHolder,它持有itemView的子视图的引用。在构造函数中,通过itemView.findViewById方法获取了R.id.tv_img和R.id.tv_content对应的ImageView和TextView对象
1 public class Myviewholder extends RecyclerView.ViewHolder{
2         TextView tvContent;
3         ImageView tvimg;
4         public Myviewholder(@NonNull View itemView) {
5             super(itemView);
6             tvimg=itemView.findViewById((R.id.tv_img));
7             tvContent=itemView.findViewById(R.id.tv_content);
8         }
9     }
然后创建一个fragment来初始化一些数据并用我们上面自定义的adapter来显示我们的列表数据
 1 public View onCreateView(LayoutInflater inflater, ViewGroup container, Bundle savedInstanceState){
 2         View view= inflater.inflate(R.layout.activity_recycler_view, container, false);
 3         context = view.getContext();
 4         InitData();
 5         RecyclerView recyclerView = view.findViewById(R.id.recyclerview);
 6         RecyclerViewAdapter adapter = new RecyclerViewAdapter(context, mSrc, mList);
 7         recyclerView.setAdapter(adapter);
 8         LinearLayoutManager manager = new LinearLayoutManager(context);
 9         manager.setOrientation(LinearLayoutManager.VERTICAL);
10         recyclerView.setLayoutManager(manager);
11         recyclerView.addItemDecoration(new DividerItemDecoration(context,LinearLayoutManager.VERTICAL ));
12         return view;
13     }
最后编写MainActivity.java来完成界面转换,底部按钮变化等逻辑
  1 package com.example.test;
  2
  3 import androidx.appcompat.app.AppCompatActivity;
  4 import androidx.fragment.app.Fragment;
  5 import androidx.fragment.app.FragmentManager;
  6
  7 import android.view.View;
  8 import android.os.Bundle;
  9 import android.widget.LinearLayout;
 10 import android.widget.ImageButton;
 11
 12
 13 public class MainActivity extends AppCompatActivity implements View.OnClickListener {
 14     private LinearLayout linearLayout1, linearLayout2, linearLayout3, linearLayout4;
 15     Fragment fragment1,fragment2,fragment3,fragment4;
 16     ImageButton img1, img2, img3, img4;
 17     FragmentManager manager;
 18     int transaction;
 19
 20     @Override
 21     protected void onCreate(Bundle savedInstanceState) {
 22         super.onCreate(savedInstanceState);
 23         setContentView(R.layout.mainlayout);
 24
 25         linearLayout1 = findViewById(R.id.chat);
 26         linearLayout2 = findViewById(R.id.people);
 27         linearLayout3 = findViewById(R.id.moment);
 28         linearLayout4 = findViewById(R.id.settings);
 29
 30         //这些图片参数用来实现被点击是底部tab图标的变化
 31         img1 = findViewById(R.id.button1);
 32         img2 = findViewById(R.id.button2);
 33         img3 = findViewById(R.id.button3);
 34         img4 = findViewById(R.id.button4);
 35
 36         manager = getSupportFragmentManager();
 37
 38         fragment1 = new Fragment1();
 39         fragment2 = new settingFragment();
 40         fragment3 = new Fragment3();
 41         fragment4 = new Fragment4();
 42
 43         inital();
 44         fragmentHide();
 45         showfragment(fragment1);
 46         img1.setImageResource(R.drawable.tab_weixin_pressed);
 47
 48         linearLayout1.setOnClickListener(this);
 49         linearLayout2.setOnClickListener(this);
 50         linearLayout3.setOnClickListener(this);
 51         linearLayout4.setOnClickListener(this);
 52     }
 53
 54     public void onClick(View view) {
 55         /*
 56             每次遇到点击事件时,首先消除以前操作留下的fragmen和imagebutton
 57             然后在修改对应的img和fragment
 58         */
 59         fragmentHide();
 60         if (view.getId() == R.id.chat) {
 61             showfragment(fragment1);
 62             img1.setImageResource(R.drawable.tab_weixin_pressed);
 63         } else if (view.getId() == R.id.people) {
 64             showfragment(fragment2);
 65             img2.setImageResource(R.drawable.tab_address_pressed);
 66         } else if (view.getId() == R.id.moment) {
 67             showfragment(fragment3);
 68             img3.setImageResource(R.drawable.tab_find_frd_pressed);
 69         } else if (view.getId() == R.id.settings) {
 70             showfragment(fragment4);
 71             img4.setImageResource(R.drawable.tab_settings_pressed);
 72         }
 73     }
 74
 75     private void showfragment(Fragment fragment) {
 76         transaction=manager.beginTransaction()
 77                 .show(fragment)
 78                 .commit();
 79     }
 80
 81     //初始化容器内的元素
 82     public void inital(){
 83         transaction=manager.beginTransaction()
 84                 .add(R.id.fragmentContainerView,fragment1)
 85                 .add(R.id.fragmentContainerView,fragment2)
 86                 .add(R.id.fragmentContainerView,fragment3)
 87                 .add(R.id.fragmentContainerView,fragment4)
 88                 .commit();
 89     }
 90
 91     //初始化ui显示,每次程序启动时自动打开第一个fragment,并且点亮第一个icon
 92     public void fragmentHide(){
 93         img1.setImageResource(R.drawable.tab_weixin_normal);
 94         img2.setImageResource(R.drawable.tab_address_normal);
 95         img3.setImageResource(R.drawable.tab_find_frd_normal);
 96         img4.setImageResource(R.drawable.tab_settings_normal);
 97         transaction=manager.beginTransaction()
 98                 .hide(fragment1)
 99                 .hide(fragment2)
100                 .hide(fragment3)
101                 .hide(fragment4)
102                 .commit();
103     }
104 }
在这段代码中,linearLayout1, linearLayout2, linearLayout3, linearLayout4,这些变量会检测用户是否点击,一旦出现点击事件,程序便会根据点击的实际情况来改变mainlayout(onclick方法)中androidx.fragment.app.FragmentContainerView的元素,以达到界面互相切换的目的,同时imagebutton变量也会根据点击来变化(onclick方法),当某个tab处于激活状态是,该tab对应的按钮就会自动
亮起,其他按钮熄灭。

 浙公网安备 33010602011771号