PhotonOS 基本设置及Docker和Portainer部署
Now we get to the tricky stuff that kind of makes Photon a pain because is comes up secure and lacking in network nicetities. I use Photon as a single root user, so that requires some additional setup to have a remote SSH work properly.
- Set up static IP
- Allow external hosts to ping
- Enable remote root login
- Start and Enable Docker
Set Up Static IP
Access the virtual console in the VMware Host Client and log into your new VM using the root password specified during setup.
To change the IP address from DHCP to static…
# Edit network config file
vi /etc/systemd/network/99-dhcp-en.network
For a host with IP 10.0.200.20/24, DNS and gateway at 10.0.200.1, and in a “mydomain.local” DNS zone change the file to this:
[Match]
Name=e*

[Network]
Address=10.0.200.20/24
Gateway=10.0.200.1
DNS=10.0.200.1
Domains=mydomain.local
NTP=pool.ntp.org
Make sure you have the security right, restart networking and check if you have the new IP active.
# set up security, restart networking and show interfaces
chmod 644 /etc/systemd/network/99-dhcp-en.network
systemctl restart systemd-networkd
ifconfig
Set Up External Ping
If you’re like me, then you like to know when your servers are up by having them send back a reply to an ICMP Echo request. Here are the steps for that:
# change and save iptables
iptables -A OUTPUT -p icmp -j ACCEPT
iptables -A INPUT -p icmp -j ACCEPT
iptables-save >/etc/systemd/scripts/ip4save
Enable Remote Root Login
The ssh daemon does not allow for remote root login by default. If you are OK with not creating special system users, then you need to enable root login by changing “PermitRootLogin no” to “PermitRootLogin yes” in the daemon config file.
# edit ssh daemon config
vi /etc/ssh/sshd_config

# search for "PermitRootLogin no"
# located at line 125
# change it to this
PermitRootLogin yes

# restart sshd
systemctl restart sshd
Start and Enable Docker
The real glory of this procedure is that Docker comes pre-installed in Photon OS, so you avoid all that mess.
# update to latest docker version
yum update -y
# start docker for the first time
systemctl start docker
# enable docker to start automatically
systemctl enable docker
# check that it is working
docker info
docker run hello-world
That’s All Folks!
检查当前时区
timedatectl是一个命令行工具,它允许你查看并且修改系统时间和日期。现代所有基于systemd的linux系统中都可以使用它,
timedatectl
回车后会输入你系统当前的时区信息
               Local time: Sun 2022-06-12 17:35:14 CST
           Universal time: Sun 2022-06-12 09:35:14 UTC
                 RTC time: Sun 2022-06-12 09:35:14
                Time zone: Asia/Shanghai (CST, +0800)
System clock synchronized: yes
              NTP service: active
          RTC in local TZ: no
查看所有时区 timedatectl list-timezones
设置时区timedatectl set-timezone 时区
示例:设置时区为上海
timedatectl set-timezone Asia/Shanghai更新系统
tdnf update
开启docker
systemctl start docker && systemctl enable docker && systemctl status docker
安装pmd
tdnf install pmd
systemctl start pmd && systemctl enable pmd && systemctl status pmd
安装portainer
在Photon OS命令行下拉起Portainer Docker
$ docker volume create portainer_data
$ docker run -d -p 9000:9000 --name portainer --restart always -v /etc/localtime:/etc/localtime -v /var/run/docker.sock:/var/run/docker.sock -v portainer_data:/data -v /root/public:/public portainer/portainer
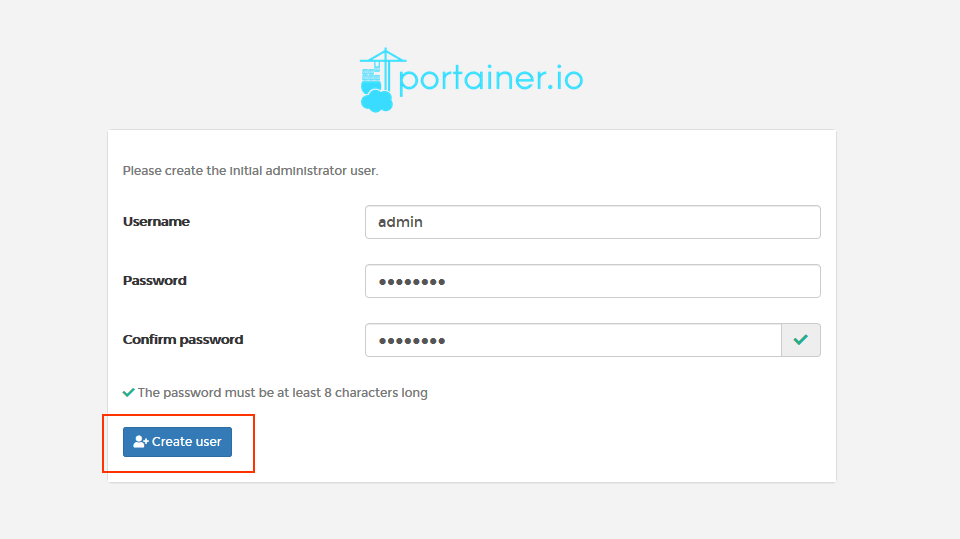
容器拉起来以后访问Photon OS的IP:9000即可打开Portainer管理页面。第一次登入需要新建用户名及密码。
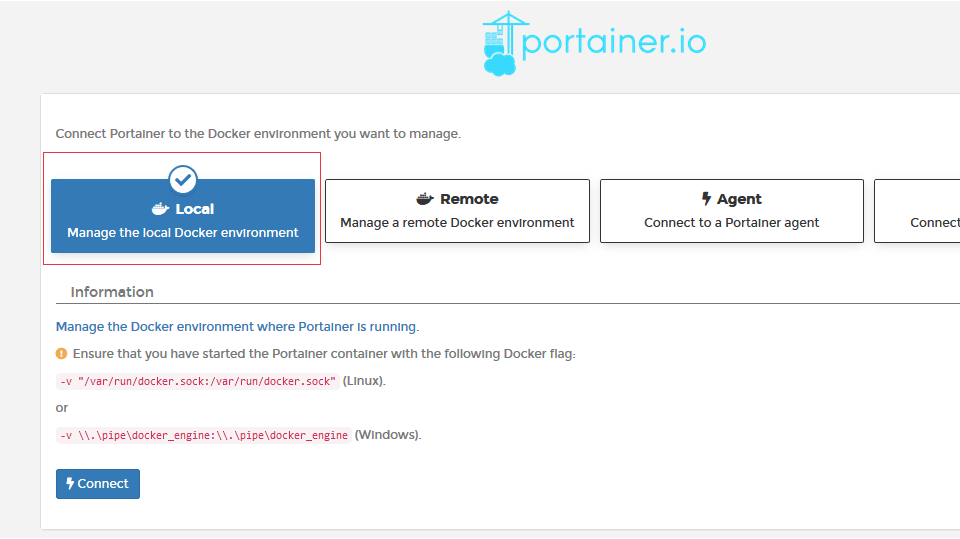
因为我们安装的是单主机docker,这里选择Local即可。
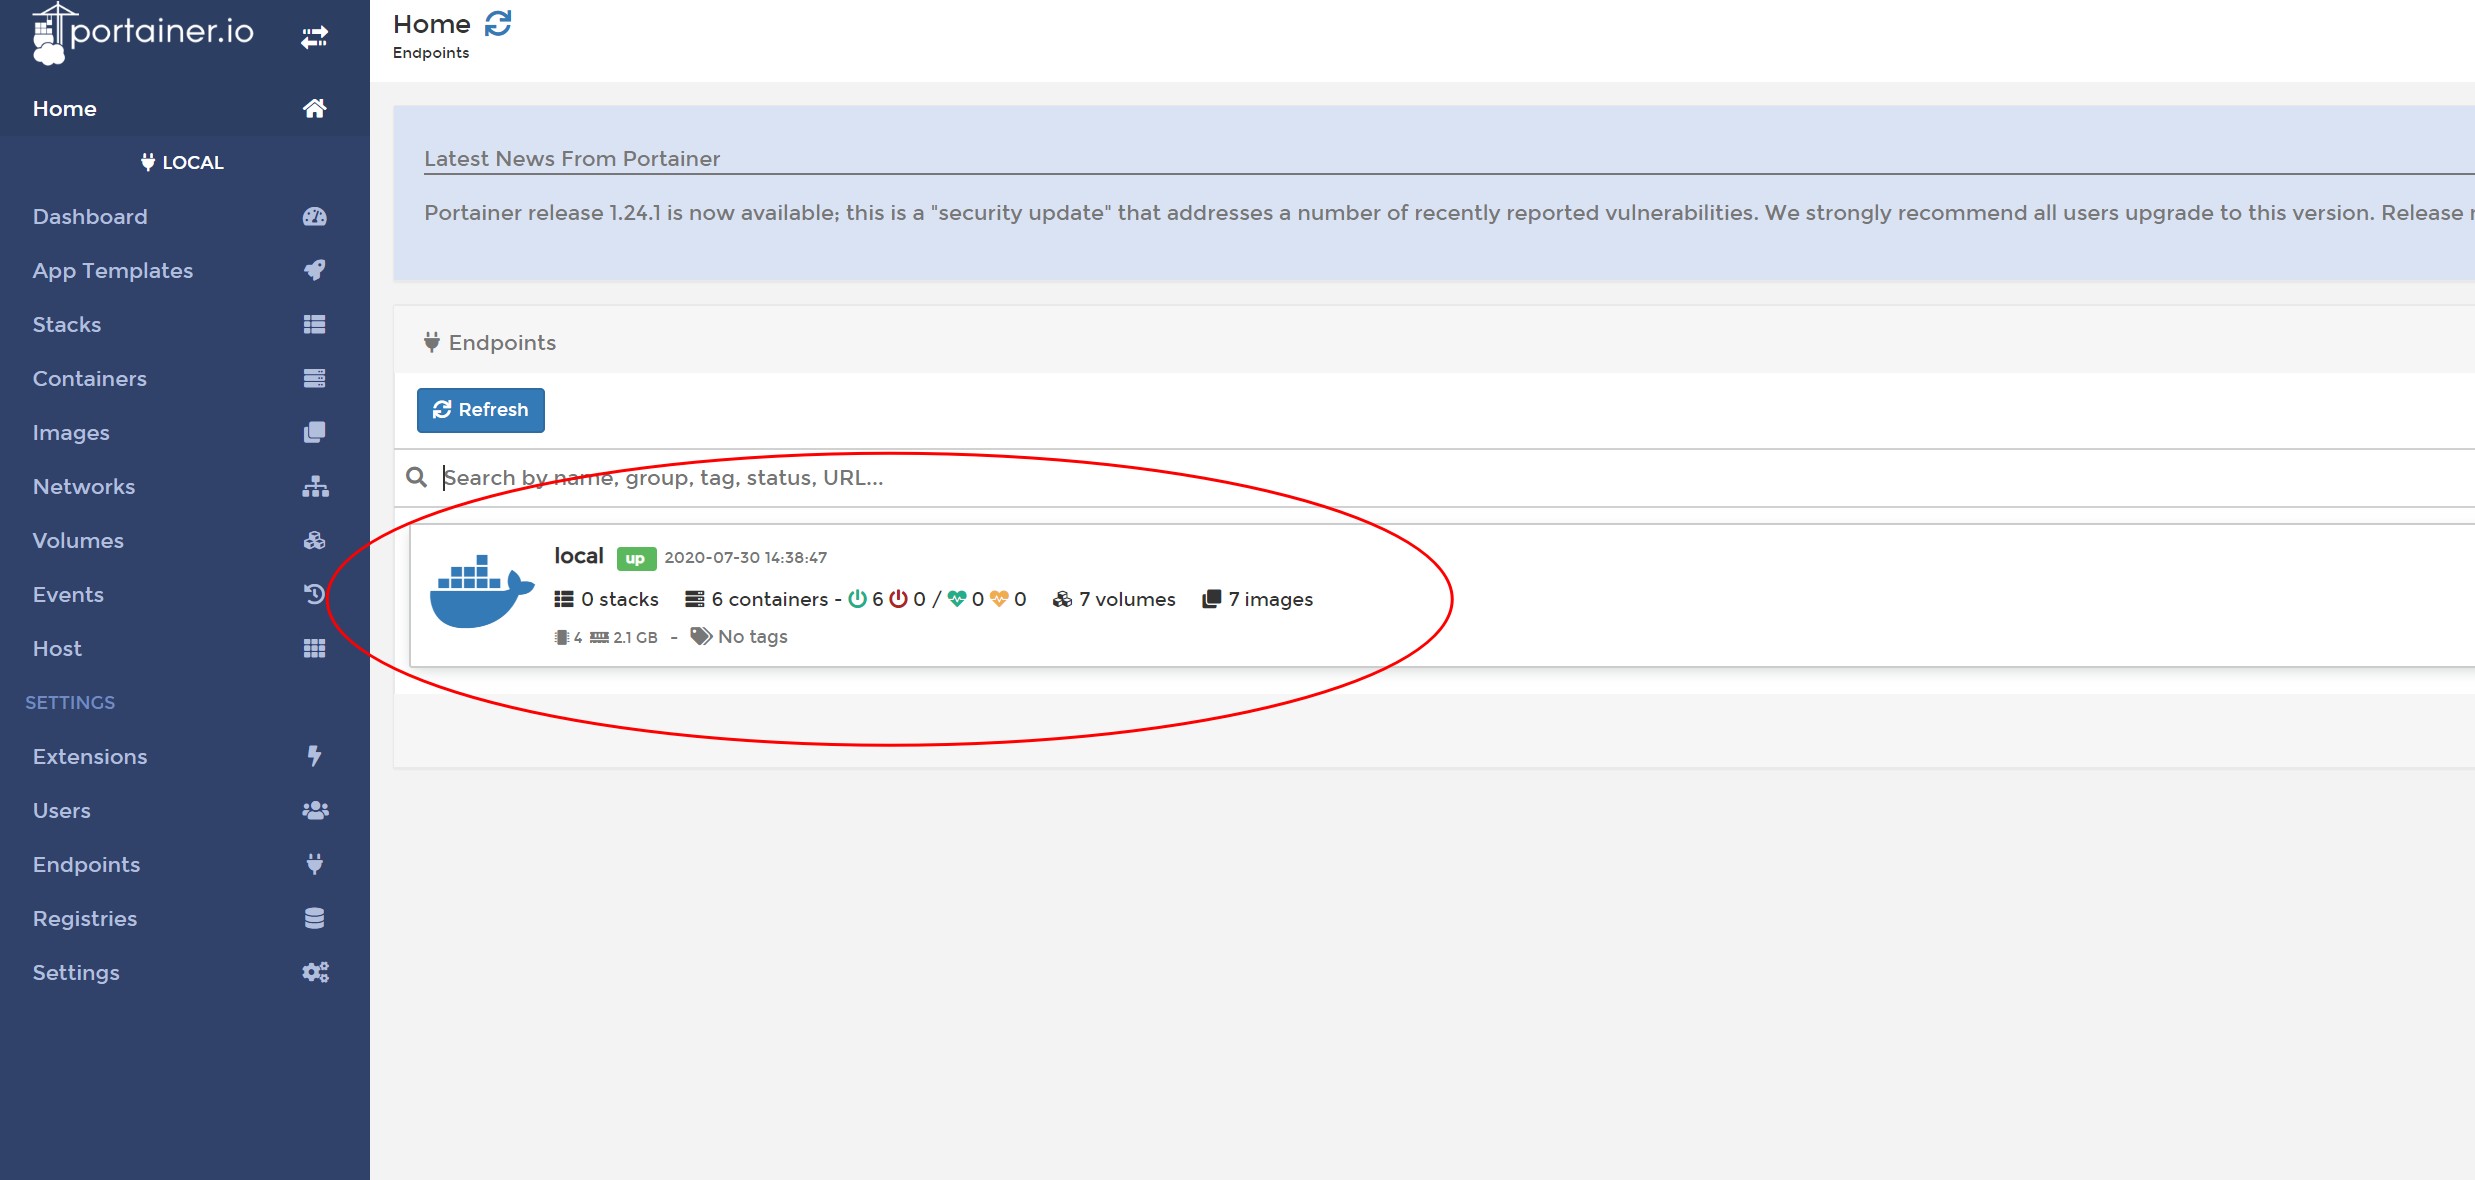

进入管理面板后点击Docker图标进入dashboard,再点击containers进入容器配置

选择Add container新建容器。
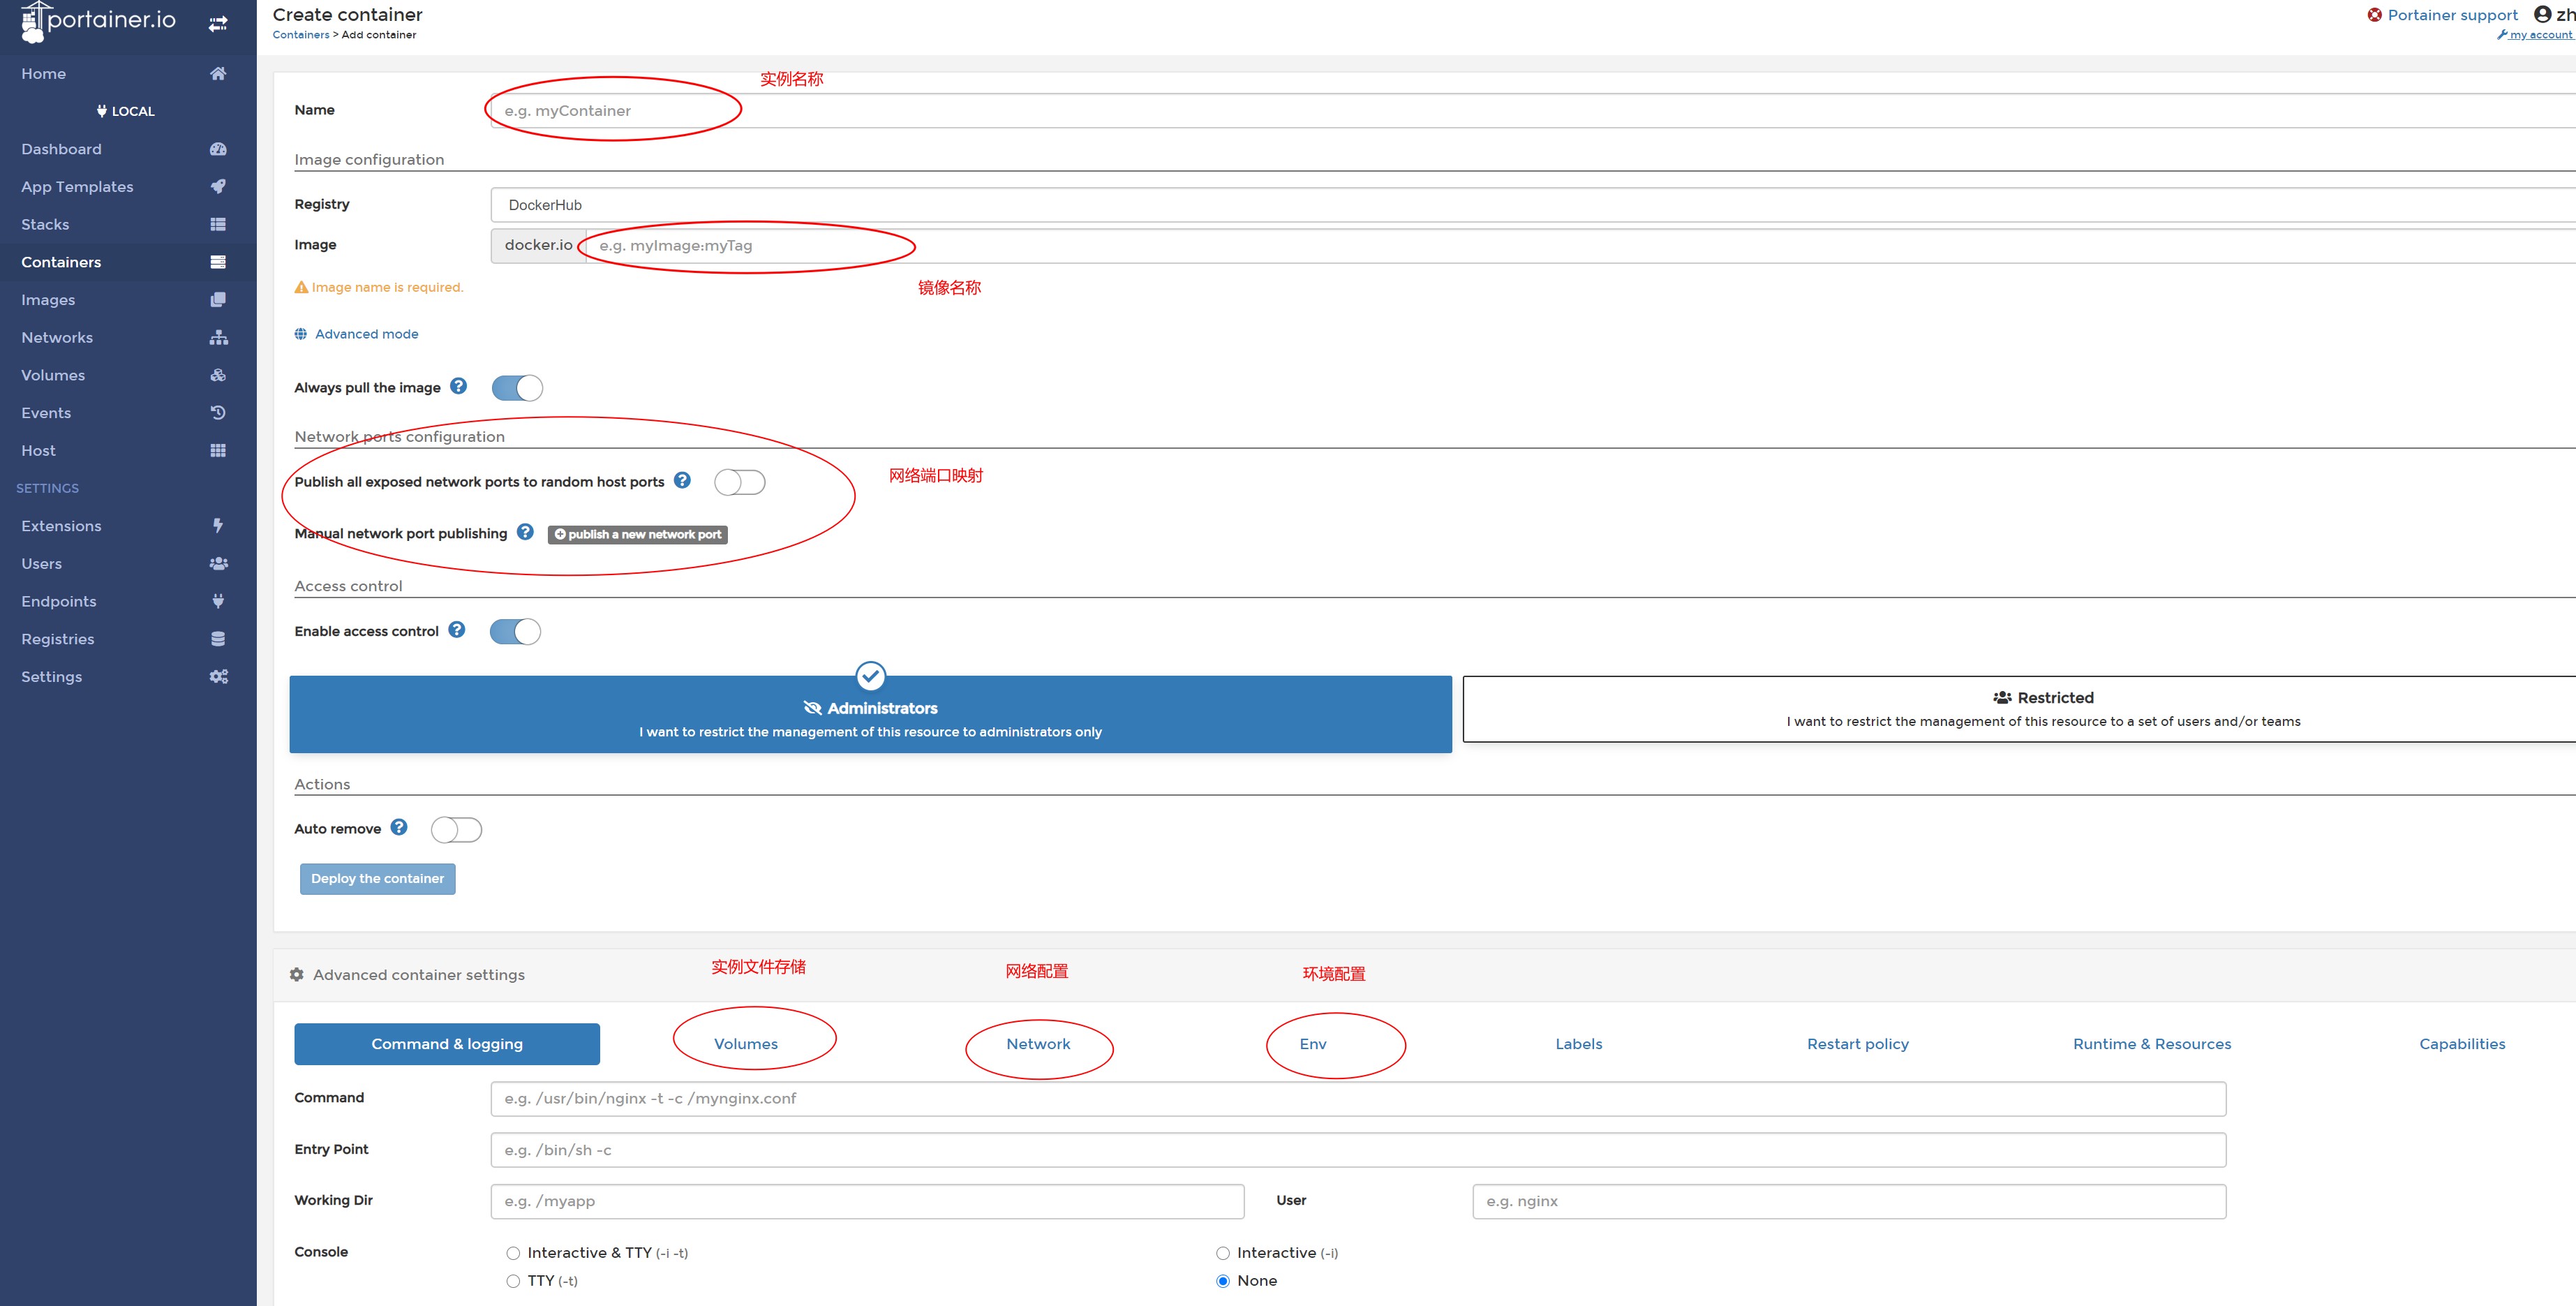
可以在Web界面直接配置docker名称,拉取的镜像名称,端口映射,容器文件目录,网络配置,环境配置等。另外注意,container使用host网络时必须关闭Photon OS防火墙。

 浙公网安备 33010602011771号