Dify-配置https域名
Dify-配置https域名
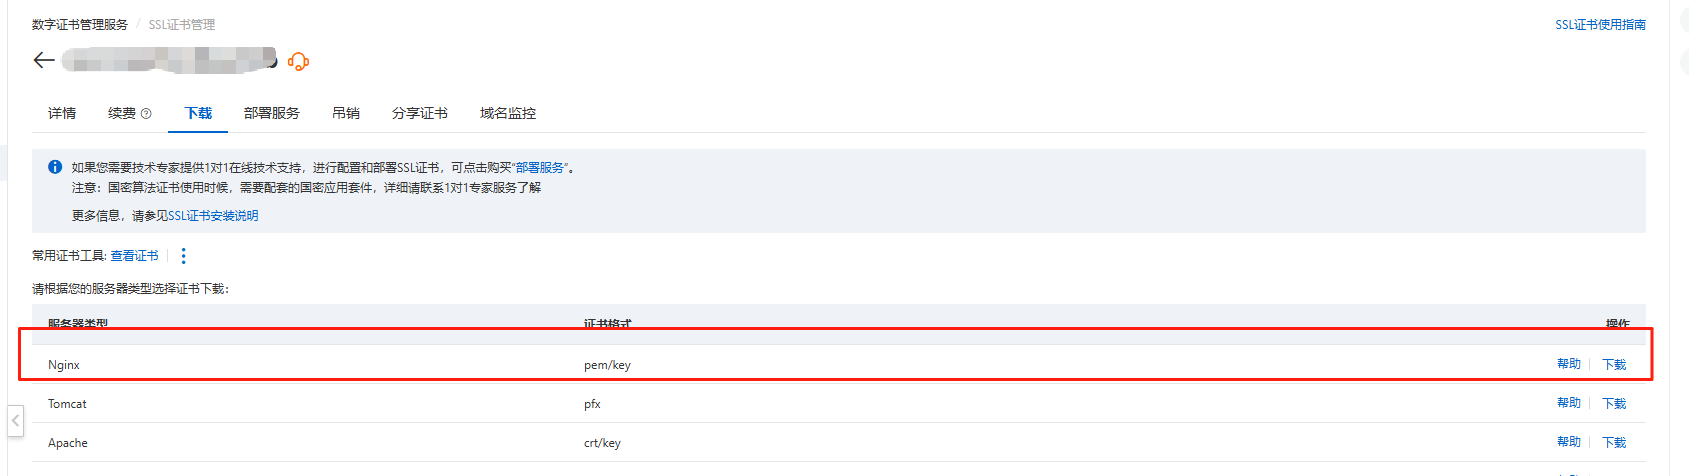
一、下载SSL证书
下载nginx格式
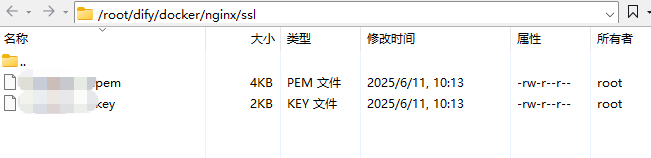
将证书上传至dify/docker/nginx/ssl 目录下
二、修改 dify/docker 下面的.env文件
------------------------------
Environment Variables for Nginx reverse proxy
------------------------------
NGINX_SERVER_NAME=XXX # 这里填写自己的域名
NGINX_HTTPS_ENABLED=true # 改成true
# HTTP port
NGINX_PORT=80
# SSL settings are only applied when HTTPS_ENABLED is true
NGINX_SSL_PORT=443
# if HTTPS_ENABLED is true, you're required to add your own SSL certificates/keys to the ./nginx/ssl directory
# and modify the env vars below accordingly.
NGINX_SSL_CERT_FILENAME=XXX.pem # 这里是下载的证书文件
NGINX_SSL_CERT_KEY_FILENAME=XXX.key # 这里是下载的证书文件
NGINX_SSL_PROTOCOLS=TLSv1.1 TLSv1.2 TLSv1.3
Nginx performance tuning
NGINX_WORKER_PROCESSES=auto
NGINX_CLIENT_MAX_BODY_SIZE=15M
NGINX_KEEPALIVE_TIMEOUT=65
Proxy settings
NGINX_PROXY_READ_TIMEOUT=3600s
NGINX_PROXY_SEND_TIMEOUT=3600s
Set true to accept requests for /.well-known/acme-challenge/
NGINX_ENABLE_CERTBOT_CHALLENGE=false
三、重启Dify服务
进入到dify docker目录下
cd dify/docker
docker-compose down && docker-compose up -d
四、配置成功

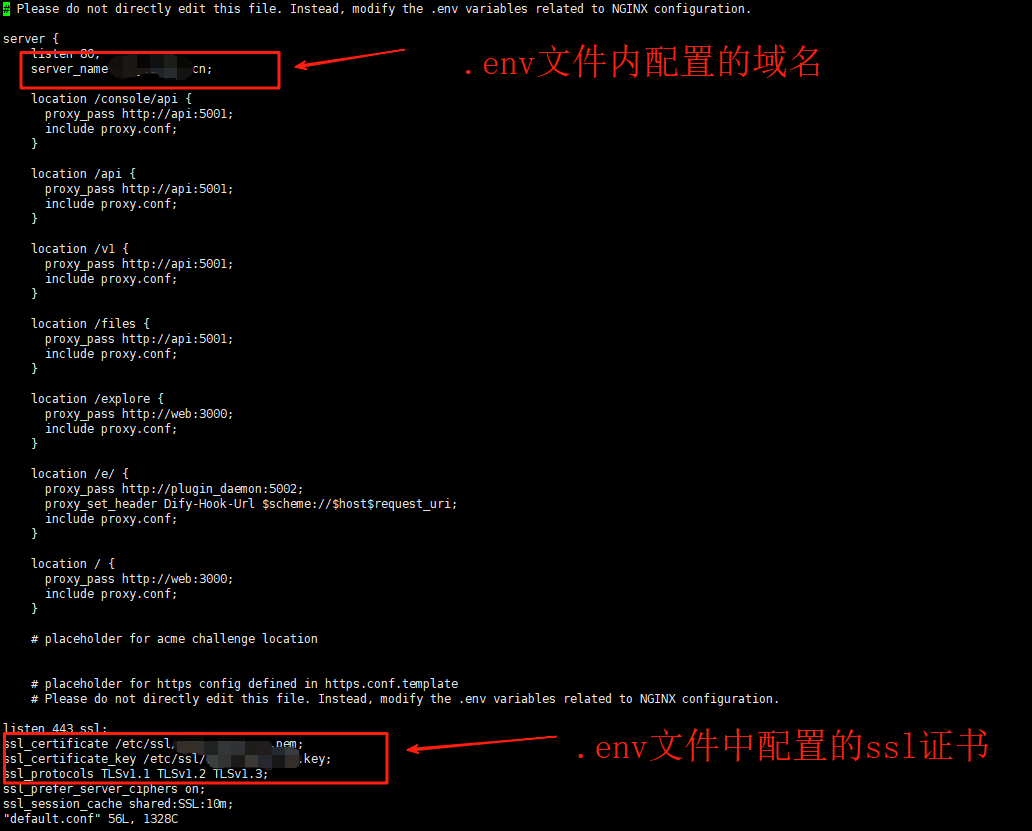
五、此时查看 dcker/nginx/conf.d/default.conf文件,可以看到根据.env文件内容自动加载发生改变
本文来自博客园,作者:skystrivegao,转载请注明原文链接:https://www.cnblogs.com/skystrive/p/18923394
整理不易,如果对您有所帮助 请点赞收藏,谢谢~
 浙公网安备 33010602011771号