Sonarqube配置
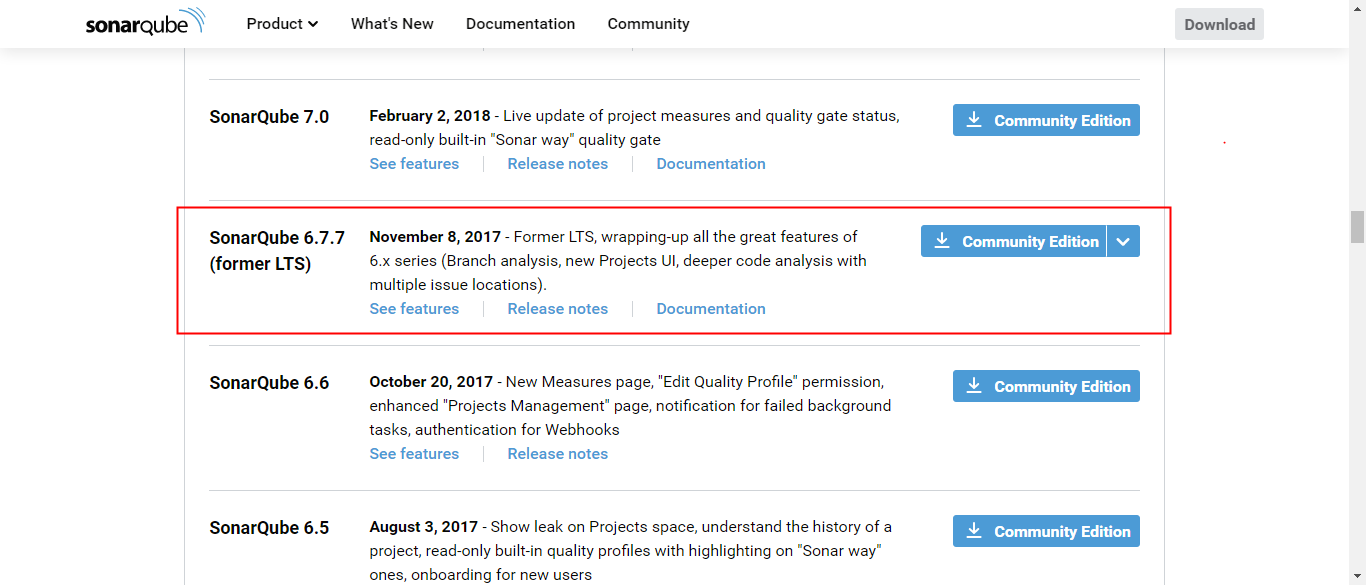
1、下载sonarqube
https://www.sonarqube.org/downloads/
选择SonarQube 6.7.7版本
2、解压文件,配置数据库连接
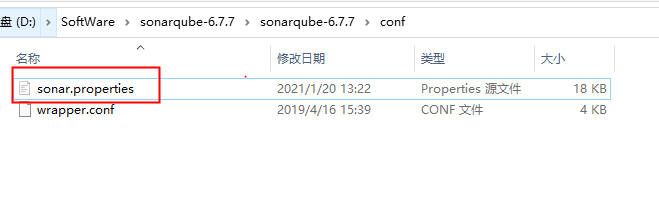
#----- MySQL 5.6 or greater
# Only InnoDB storage engine is supported (not myISAM).
# Only the bundled driver is supported. It can not be changed.
#sonar.jdbc.url=jdbc:mysql://localhost:3306/sonar?useUnicode=true&characterEncoding=utf8&rewriteBatchedStatements=true&useConfigs=maxPerformance&useSSL=false
sonar.jdbc.url=jdbc:mysql://10.20.31.74:33061/sonartest?useUnicode=true&characterEncoding=utf8&rewriteBatchedStatements=true&useConfigs=maxPerformance&useSSL=false
sonar.jdbc.username=root
sonar.jdbc.password=hundsun
sonar.sorceEncoding=UTF-8
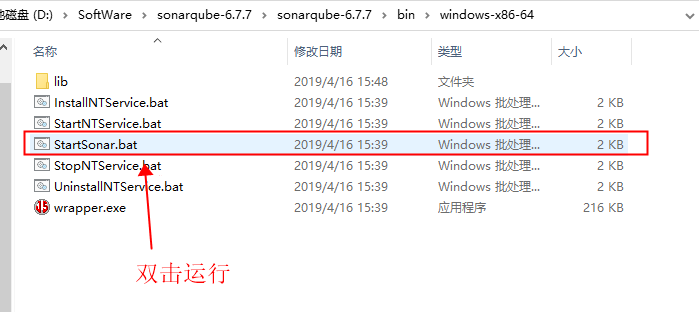
3、启动sonarqube
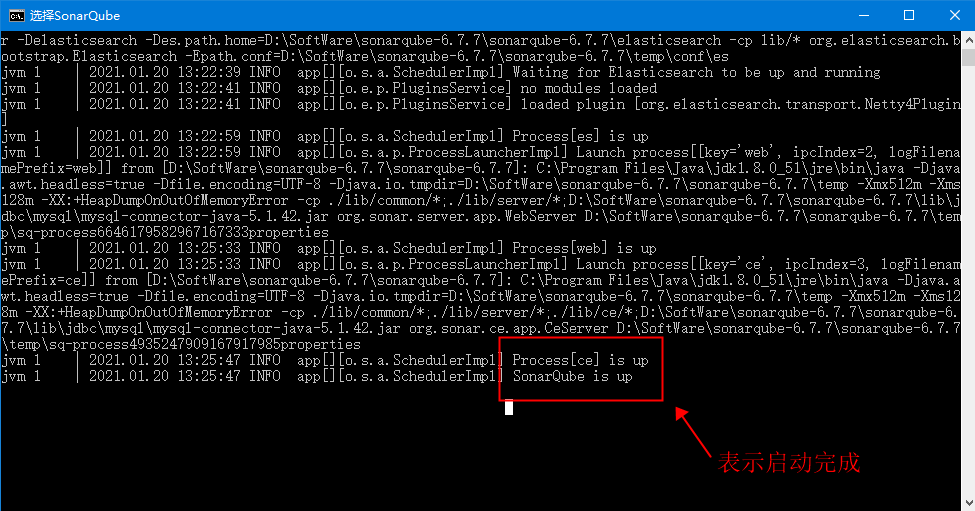
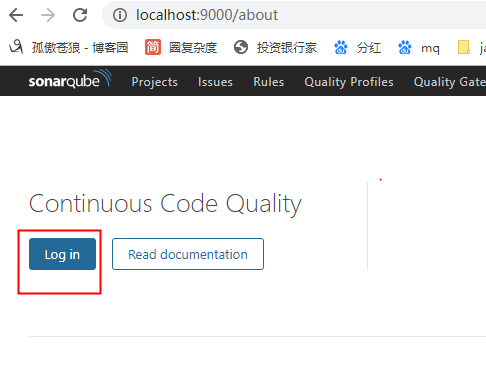
4、浏览器打开sonarqube界面
localhost:9000
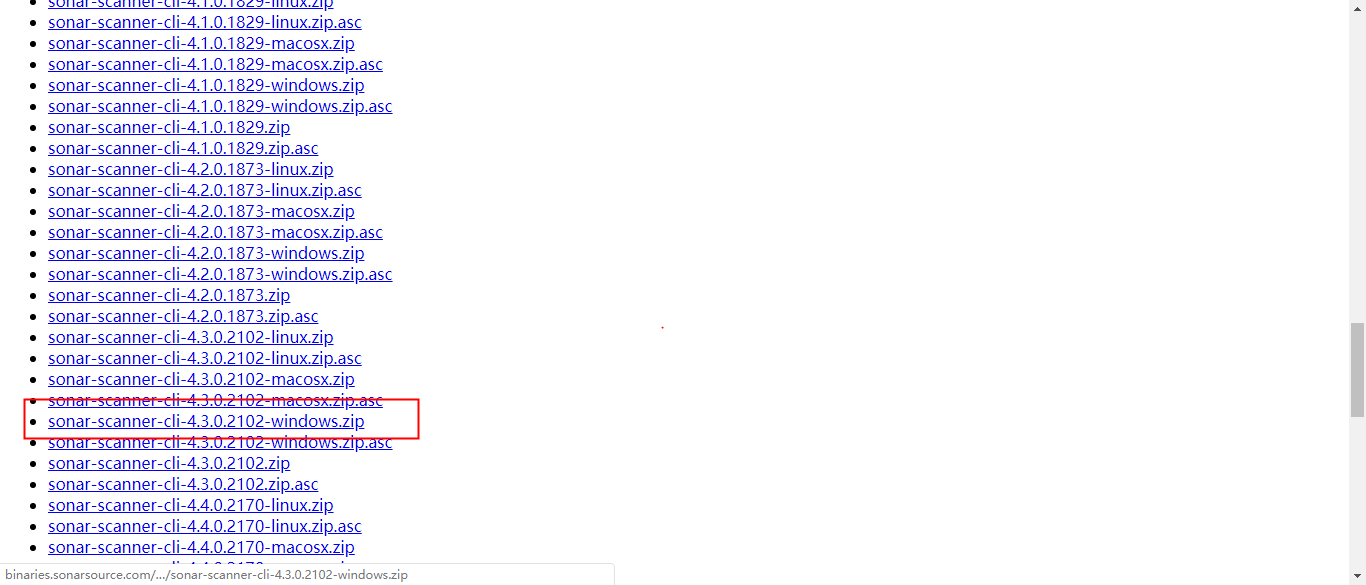
5、sonar-scanner下载
https://binaries.sonarsource.com/Distribution/sonar-scanner-cli/
6、sonar-scanner配置
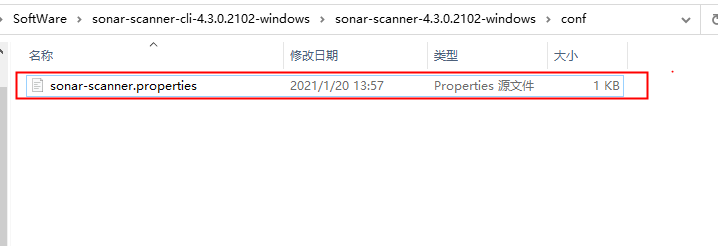
#----- Default SonarQube server
#sonar.host.url=http://localhost:9000
sonar.host.url=http://localhost:9000

#----- Default source code encoding
#sonar.sourceEncoding=UTF-8
sonar.jdbc.url=jdbc:mysql://10.20.31.74:33061/sonartest?useUnicode=true&characterEncoding=utf8&rewriteBatchedStatements=true&useConfigs=maxPerformance&useSSL=false
sonar.jdbc.username=root
sonar.jdbc.password=hundsun
sonar.sorceEncoding=UTF-8
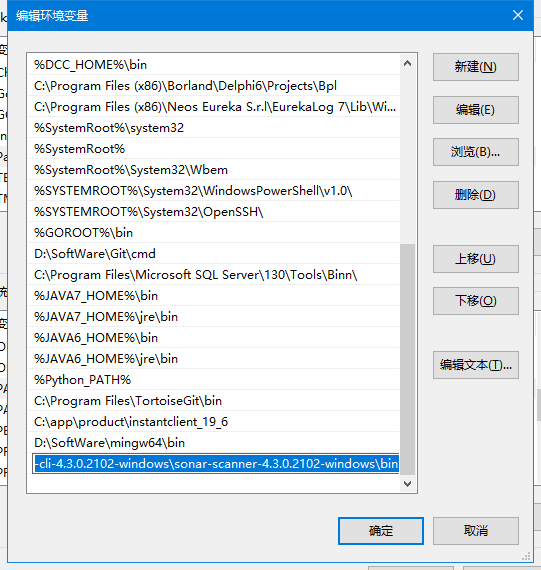
7、配置sonar-scanner环境变量
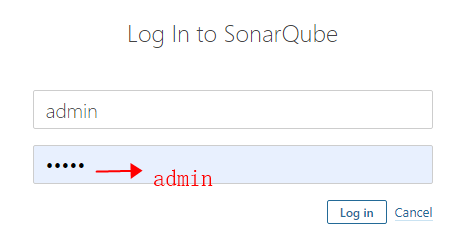
8、登录sonarqube
9、maven的settings.xml配置文件中增加:
<profile>
  <id>sonar</id>
  <activation>
    <activeByDefault>true</activeByDefault>
  </activation>
  <properties>
    <!-- Optional URL to server. Default value is http://localhost:9000 -->
    <sonar.host.url>http://192.168.118.30:9000</sonar.host.url>
  </properties>
</profile>
 浙公网安备 33010602011771号