

实验6:开源控制器实践——RYU
实验6:开源控制器实践——RYU
一、实验目的
能够独立部署RYU控制器;
能够理解RYU控制器实现软件定义的集线器原理;
能够理解RYU控制器实现软件定义的交换机原理。
二、实验环境
(一)基本要求
下载虚拟机软件Oracle VisualBox或VMware;
在虚拟机中安装Ubuntu 20.04 Desktop amd64,并完整安装Mininet;
(二)、实验要求
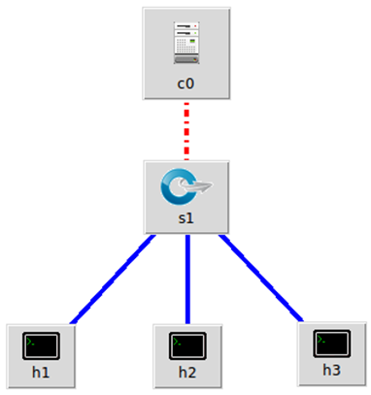
1.搭建下图所示SDN拓扑,协议使用Open Flow 1.0,并连接Ryu控制器
- 在对应文件夹下执行
ryu-manager gui_topology.py --observe-links
启动控制器
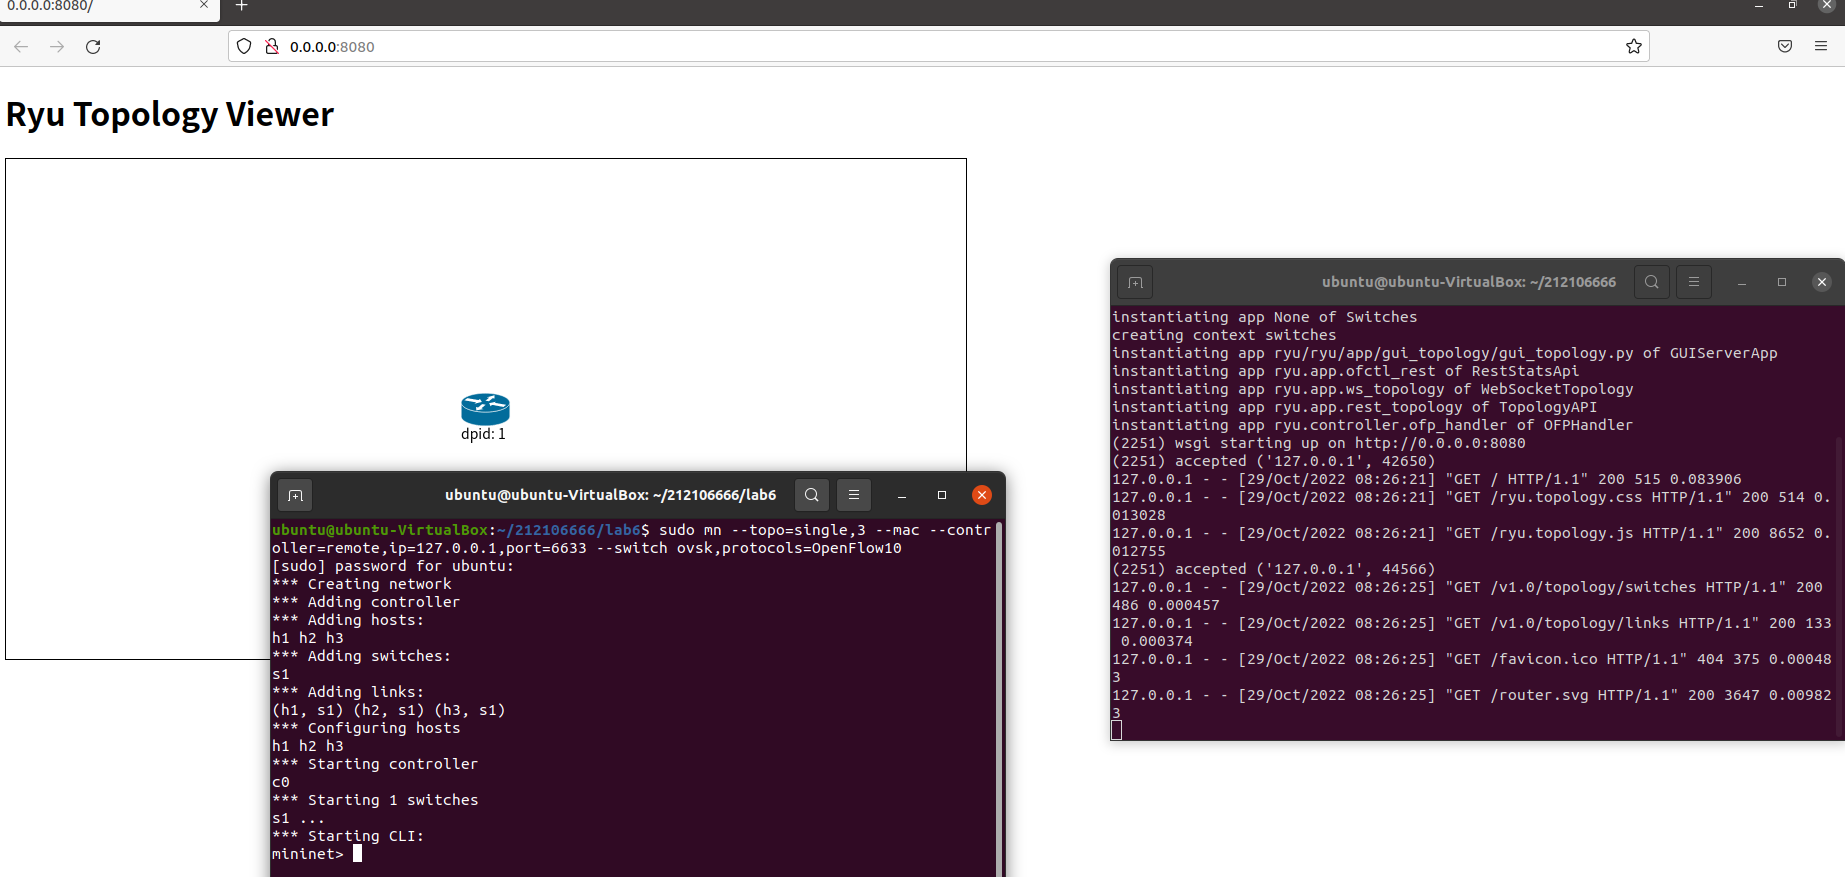
使用以下命令搭建拓扑
sudo mn --topo=single,3 --mac --controller=remote,ip=127.0.0.1,port=6633 --switch ovsk,protocols=OpenFlow10
2.阅读Ryu文档的The First Application一节,运行并使用 tcpdump 验证L2Switch,分析和POX的Hub模块有何不同
- 创建L2Switch.py文件,并保存在目录/home/用户名/学号/lab6/中
from ryu.base import app_manager
from ryu.controller import ofp_event
from ryu.controller.handler import MAIN_DISPATCHER
from ryu.controller.handler import set_ev_cls
from ryu.ofproto import ofproto_v1_0

class L2Switch(app_manager.RyuApp):
    OFP_VERSIONS = [ofproto_v1_0.OFP_VERSION]
def __init__(<span class="hljs-title">self, *<span class="hljs-title">args, **<span class="hljs-title">kwargs):
    super(<span class="hljs-type">L2Switch, <span class="hljs-title">self).__init__(*<span class="hljs-title">args, **<span class="hljs-title">kwargs)

@set_ev_cls(<span class="hljs-title">ofp_event.<span class="hljs-type">EventOFPPacketIn, <span class="hljs-type">MAIN_DISPATCHER)
def packet_in_handler(<span class="hljs-title">self, <span class="hljs-title">ev):
    msg = ev.msg
    dp = msg.datapath
    ofp = dp.ofproto
    ofp_parser = dp.ofproto_parser

    actions = [ofp_parser.<span class="hljs-type">OFPActionOutput(<span class="hljs-title">ofp.<span class="hljs-type">OFPP_FLOOD)]

    data = <span class="hljs-type">None
    if msg.buffer_id == ofp.<span class="hljs-type">OFP_NO_BUFFER:
         data = msg.data

    out = ofp_parser.<span class="hljs-type">OFPPacketOut(
        <span class="hljs-title">datapath=<span class="hljs-title">dp, <span class="hljs-title">buffer_id=<span class="hljs-title">msg.<span class="hljs-title">buffer_id, <span class="hljs-title">in_port=<span class="hljs-title">msg.<span class="hljs-title">in_port,
        <span class="hljs-title">actions=<span class="hljs-title">actions, <span class="hljs-title">data = <span class="hljs-title">data)
    dp.send_msg(<span class="hljs-title">out)
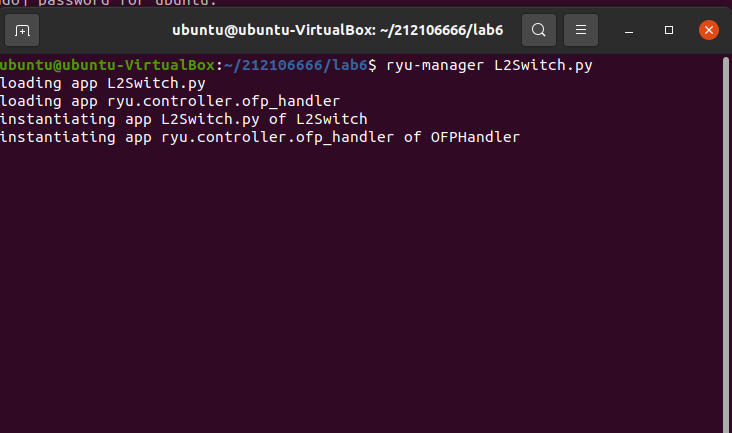
- 执行命令
ryu-manager L2Switch.py
- 重新创建拓扑
sudo mn --topo=single,3 --mac --controller=remote,ip=127.0.0.1,port=6633 --switch ovsk,protocols=OpenFlow10
-
再利用mininet的xterm开启h1,h2,h3的命令行终端,并在h2和h3使用开启抓包(抓取eth0端口)
-
在h2主机终端中输入
tcpdump -nn -i h2-eth0
- 在h3主机终端中输入
tcpdump -nn -i h3-eth0
- h1 ping h2 注: 在h1的窗口输入
ping 10.0.0.2
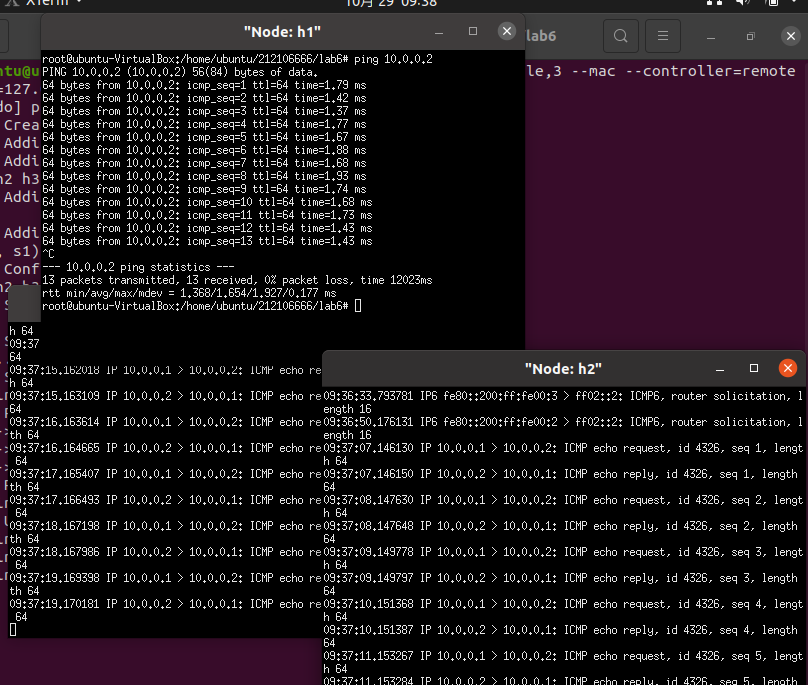
由图可见,h1 ping h2时h3也能收到数据包,h1 ping h3时h2也能收到数据包,说明L2Switch模块的功能同hub模块:为每一个交换机建立通配的洪泛规则,让交换机拥有集线器的功能
-
分析和POX的Hub模块有何不同
1.结合拓扑,分别运行ryu和运行pox(Hub模块)
ryu-manager L2Switch.py
./pox.py log.level --DEBUG forwarding.hub
2.查看拓扑下发流表
dpctl dump-flows
3.无法查看L2Switch下发的流表

4.而hub模块下发的流表可以查看

4.继下面的.py文件一起,先执行.py文件再创拓扑
sudo mn --topo=single,3 --mac --controller=remote,ip=127.0.0.1,port=6633 --switch ovsk,protocols=OpenFlow13
编程修改L2Switch.py,另存为L2xxxxxxxxx.py,使之和POX的Hub模块的变得一致(xxxxxxxxx为学号)
from ryu.base import app_manager
from ryu.ofproto import ofproto_v1_3
from ryu.controller import ofp_event
from ryu.controller.handler import MAIN_DISPATCHER, CONFIG_DISPATCHER
from ryu.controller.handler import set_ev_cls
class hub(app_manager.RyuApp):

OFP_VERSIONS = [ofproto_v1_3.OFP_VERSION]
<span class="hljs-keyword">def <span class="hljs-title function_">__init__(<span class="hljs-params">self, *args, **kwargs):
    <span class="hljs-built_in">super(hub, self).__init__(*args, **kwargs)

    @set_ev_cls(ofp_event.EventOFPSwitchFeatures, CONFIG_DISPATCHER)

def switch_feathers_handler(self, ev):

datapath = ev.msg.datapath

ofproto = datapath.ofproto

ofp_parser = datapath.ofproto_parser
    <span class="hljs-comment"># install flow table-miss flow entry
    match = ofp_parser.OFPMatch()
    actions = [ofp_parser.OFPActionOutput(ofproto.OFPP_CONTROLLER, ofproto.OFPCML_NO_BUFFER)]
    <span class="hljs-comment"># 1\OUTPUT PORT, 2\BUFF IN SWITCH?
    self.add_flow(datapath, <span class="hljs-number">0, match, actions)

<span class="hljs-keyword">def <span class="hljs-title function_">add_flow(<span class="hljs-params">self, datapath, priority, match, actions):
    <span class="hljs-comment"># 1\ datapath for the switch, 2\priority for flow entry, 3\match field, 4\action for packet
    ofproto = datapath.ofproto
    ofp_parser = datapath.ofproto_parser
    <span class="hljs-comment"># install flow
    inst = [ofp_parser.OFPInstructionActions(ofproto.OFPIT_APPLY_ACTIONS, actions)]
    mod = ofp_parser.OFPFlowMod(datapath=datapath, priority=priority, match=match, instructions=inst)
    datapath.send_msg(mod)

    @set_ev_cls(ofp_event.EventOFPPacketIn, MAIN_DISPATCHER)

def packet_in_handler(self, ev):

msg = ev.msg

datapath = msg.datapath

ofproto = datapath.ofproto

ofp_parser = datapath.ofproto_parser

in_port = msg.match['in_port']  # get in port of the packet
    <span class="hljs-comment"># add a flow entry for the packet
    match = ofp_parser.OFPMatch()
    actions = [ofp_parser.OFPActionOutput(ofproto.OFPP_FLOOD)]
    self.add_flow(datapath, <span class="hljs-number">1, match, actions)

    <span class="hljs-comment"># to output the current packet. for install rules only output later packets
    out = ofp_parser.OFPPacketOut(datapath=datapath, buffer_id=msg.buffer_id, in_port=in_port, actions=actions)
    <span class="hljs-comment"># buffer id: locate the buffered packet
    datapath.send_msg(out)


 浙公网安备 33010602011771号