

混合编程[python+cpp+cuda]
很多时候,我们是基于python进行模型的设计和运行,可是基于python本身的速度问题,使得原生态python代码无法满足生产需求,不过我们可以借助其他编程语言来缓解python开发的性能瓶颈。这里简单介绍个例子,以此完成如何先基于cuda编写瓶颈函数,然后在将接口通过cpp进行封装,最后以库的形式被python调用。
1 cpp+python
首先,介绍下如何python调用cpp的代码。这里极力推荐pybind11。因为pybind11是一个轻量级,只包含头文件的库,他可以在C++中调用python,或者python中调用C++代码。其语法类似Boost.Python。可是不同的是Boost是一个重量级的库,因为为了兼容几乎所有的C++编译器,所以需要支持哪些最老的,bug最多的编译器。该作者考虑到现在c11都很普及了,所以丢弃那些之前的东西,从而打造这么一个轻量级的库。我们通过代码统计:

首先是对pybind11的安装:
git clone https://github.com/pybind/pybind11.git
cd pybind11
mkdir build && cd build
cmake ../
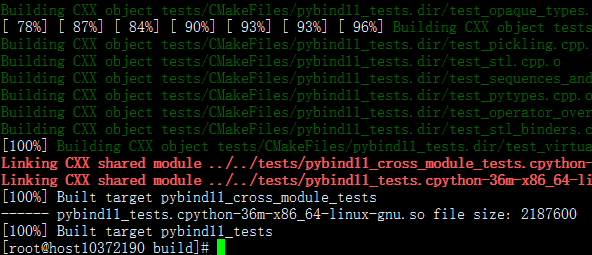
make -j32
上述cmake需要3.2及以上版本。最后输出结果如下图所示:
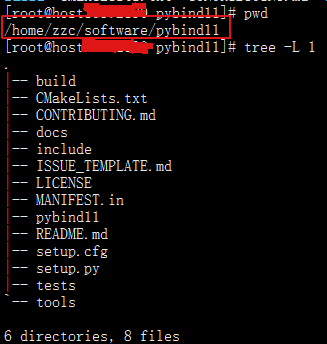
这里简单呈现下一级目录:
为了实现python调用cpp,我们先建立个文件名叫test.cpp
#include<pybind11/pybind11.h>

namespace py = pybind11;

int
add(int i, int j){
  return i+j;
}

// 该宏会在python的import语句触发
PYBIND11_MODULE(example, m){
  m.doc() = "pybind11 example plugin";
  m.def("add", &add, "a function which adds two numbers",
        py::arg("i"), py::arg("j"));
}
然后执行:
g++  -Wall -shared -std=c++11 -fPIC \
         -I/home/zzc/software/pybind11/include \
        `cd /home/zzc/software/pybind11 && python3 -m pybind11 --includes`  \
        test.cpp \
       -o example`python3-config --extension-suffix`
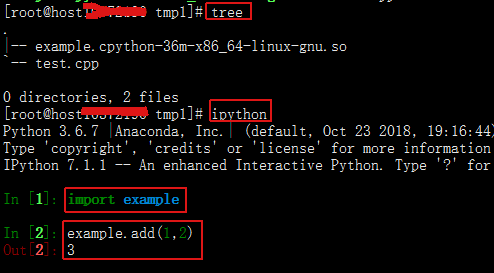
结果如下图
接下来,我们将其改成参数支持numpy,可参考官网文档;pybind11—python numpy与C++数据传递:
#include<pybind11/pybind11.h>
#include<pybind11/numpy.h>

namespace py = pybind11;

int
add(py::array_t<float> &array, int col){

  py::buffer_info buf1 = array.request();
  float *p = (float *)buf1.ptr;
  for (int i=0; i<col; i++){
    printf("cur value %lf\n", *p++);
  }
  return 0;
}


PYBIND11_MODULE(example, m){
  m.doc() = "pybind11 example plugin";
  m.def("add", &add, "a function which adds two numbers");
}
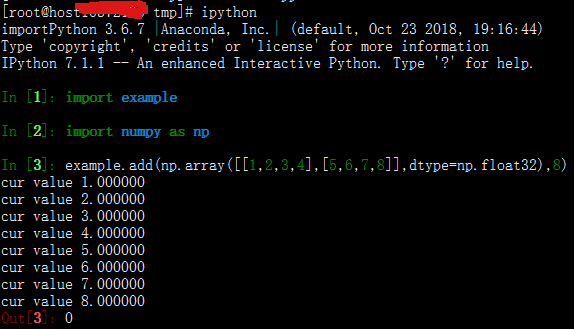
然后依然用上述命令编译成so,调用结果如下图:
更详细的pybind11使用方法,可阅读官方文档
2 cuda+cpp+python
这里只介绍如何编写cuda的代码,然后提供python接口。通过调查pybind11的issues:alias template error with Intel 2016.0.3 compilers,如果直接编写cu代码,然后一步到位,会触发很多问题。而如这里最后所述,较好的方式就是分开:
- 编写cuda代码,并生成动态链接库;
- 编写cpp代码,通过函数引用方式用pybind11进行接口封装;
- python导入对应模块即可使用。
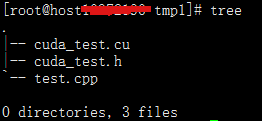
如上图所示,首先,编写cuda代码,这里为了简洁,我们只写一个printf
// cuda_test.cu
#include<cuda_runtime.h>
#include<stdio.h>

__global__ void
kernel(){
    printf("inside in kernel\n");
}

int
cuda(int a, int b){

   kernel<<<1,10>>>();
   cudaDeviceSynchronize();

   return 0;
}
对应头文件:
//cuda_test.h
int cuda(int, int);
然后我们将其用nvcc编译成动态链接库
nvcc --shared -Xcompiler -fPIC cuda_test.cu -o libcutest.so

结果如上图
接着,我们借助pybind11,此时增加了几行
#include<pybind11/pybind11.h>
#include"cuda_test.h" //新增的

namespace py = pybind11;

int
add(int i, int j){
  return i+j;
}

PYBIND11_MODULE(example, m){
  m.doc() = "pybind11 example plugin";
  m.def("add", &add, "a function which adds two numbers",
        py::arg("i"), py::arg("j"));
  m.def("cuda", &cuda,"testing",
        py::arg("a"), py::arg("b")); //新增的
}
然后输入如下编译方式:
g++  -Wall -shared -std=c++11 -fPIC \
        -L.  -lcutest \
        -I/home/zzc/software/pybind11/include \
       `cd /home/zzc/software/pybind11 && python3 -mpybind11 --includes`  \
       test.cpp \
       -o  example`python3-config --extension-suffix`
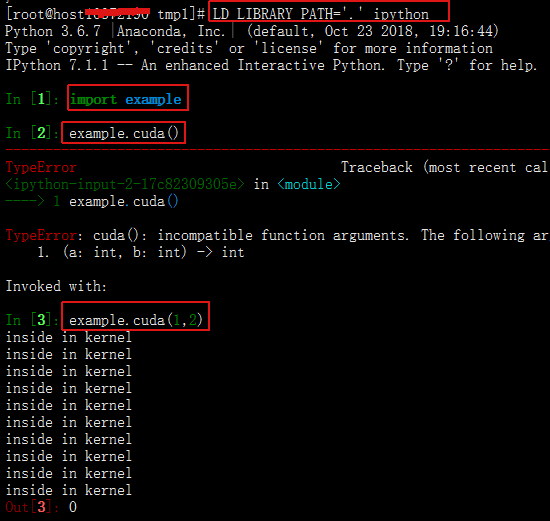
此时生成结果

然后使用

 浙公网安备 33010602011771号