
20232416 2025-2026-1 《网络与系统攻防技术》实验八实验报告
1. 实验内容
1.1 实验基本内容概述
(1)编写含有表单的前端代码,启用Apache,可以访问对应网页。
(2)在前端代码中添加javascript代码,进行验证和登录回显的操作,并对其进行注入攻击。
(3)启动MySQL,并对其进行基础操作。
(4)修改前端代码,编写PHP代码,使网页可以通过请求PHP文件,连接数据库,进行用户认证。
(5)对编写的网页进行SQL注入、XSS攻击。
(6)安装WebGoat平台,完成SQL注入、XSS、CSRF攻击。
1.2 学习内容概述
(1)学习网页编写的相关内容,包括html、Javascript、php。
(2)熟悉前后端项目设计的软件,包括Apache、MySQL。
(3)学会进行HTML注入、JavaScript注入、SQL注入、XSS攻击。
(4)利用平台进一步学习SQL注入、XSS、CSRF攻击。
2. 实验内容
2.1 Web前端HTML
HTML:超文本标记语言,用于创建和设计网页及其内容的标准标记语言。
表单:HTML中的一种元素,用于收集用户输入的数据,如文本、密码、选项等。
GET方法:一种HTTP请求方法,用于请求从服务器获取数据,并将参数附加在URL中。
POST方法:一种HTTP请求方法,用于向服务器提交数据,数据通常包含在请求体中,适合提交敏感或大量数据。
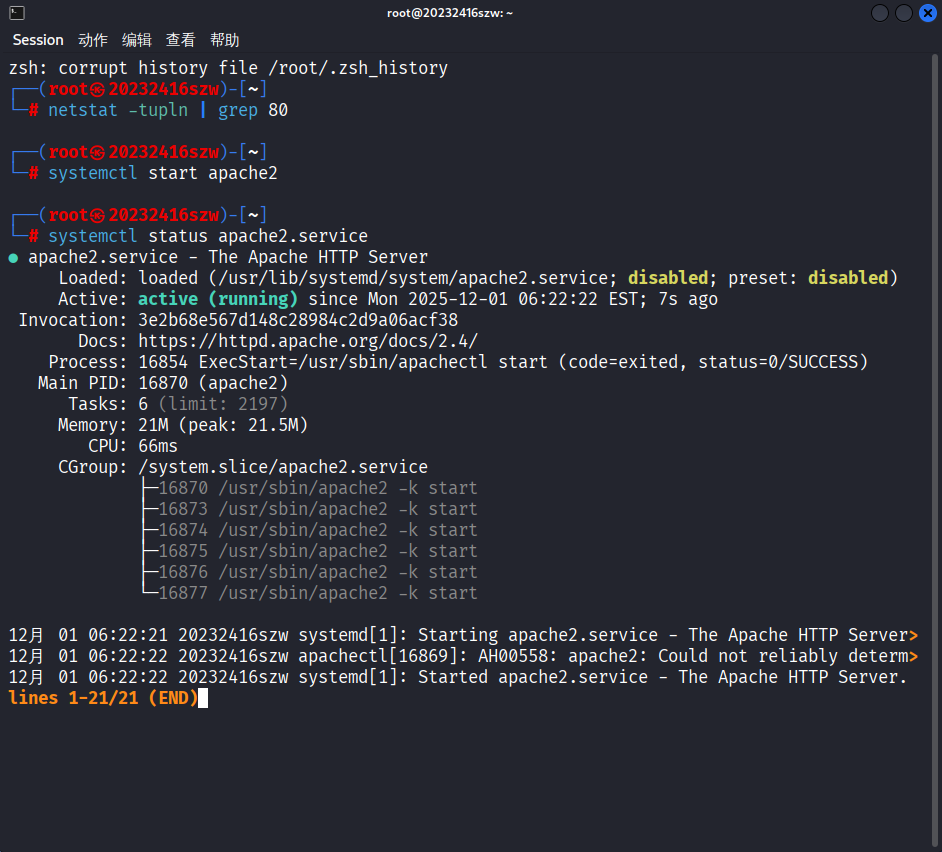
在kali虚拟机上已安装了Apache服务,我们先使用命令netstat -tupln | grep 80检查端口是否被占用,再用systemctl start apache2开启Apache,用systemctl status apache2.service确认服务状态,用systemctl stop apache2关闭Apache,从结果中可以看出Apache正常启动
确定Apache正常启动后,我们进入kali虚拟机的/var/www/html目录下,用vi 20232416szw.html命令创建html文件,并输入以下内容:
<!DOCTYPE html>
<html lang="zh-CN">
<head>
    <meta charset="UTF-8">
    <meta name="viewport" content="width=device-width, initial-scale=1.0">
    <title>表单示例</title>
    <style>
        body {
            font-family: Arial, sans-serif;
            background-color: #f0f0f5;
            display: flex;
            justify-content: center;
            align-items: center;
            height: 100vh;
            margin: 0;
        }
        .container {
            background-color: #fff;
            padding: 30px;
            border-radius: 10px;
            box-shadow: 0 4px 8px rgba(0, 0, 0, 0.1);
            width: 400px;
            text-align: center;
        }
        .container img {
            border-radius: 50%;
            width: 100px;
            height: 100px;
            margin-bottom: 20px;
        }
        .container h2 {
            margin-bottom: 20px;
        }
        .form-group {
            margin-bottom: 15px;
        }
        .form-group label {
            display: block;
            margin-bottom: 5px;
        }
        .form-group input[type="text"],
        .form-group input[type="password"],
        .form-group input[type="email"],
        .form-group button[type="submit"] {
            width: 100%;
            padding-top: 10px;
            padding-bottom:10px;
            border: 1px solid #ccc;
            border-radius: 5px;
        }
        .form-group button[type="submit"] {
            margin-top:5px;
            background-color: #007BFF;
            color: #fff;
            border: none;
            cursor: pointer;
        }
        .form-group button[type="submit"]:hover {
            background-color: #0056b3;
        }
    </style>
</head>
<body>
    <div class="container">
        <img src="1.jpg" alt="Profile Picture">
        <h2>注册表单</h2>
        <form action="/submit-form" method="post">
            <div class="form-group">
                <label for="username">用户名</label>
                <input type="text" id="username" name="username" required>
            </div>
            <div class="form-group">
                <label for="email">邮箱</label>
                <input type="email" id="email" name="email" required>
            </div>
            <div class="form-group">
                <label for="password">密码</label>
                <input type="password" id="password" name="password" required>
            </div>
            <div class="form-group">
                <button type="submit">注册</button>
            </div>
        </form>
        <p>或者通过GET方法获取数据:</p>
        <form action="/get-data" method="get">
            <div class="form-group">
                <label for="search">搜索</label>
                <input type="text" id="search" name="search" required>
                <button type="submit">搜索</button>
            </div>
        </form>
    </div>
</body>
</html>
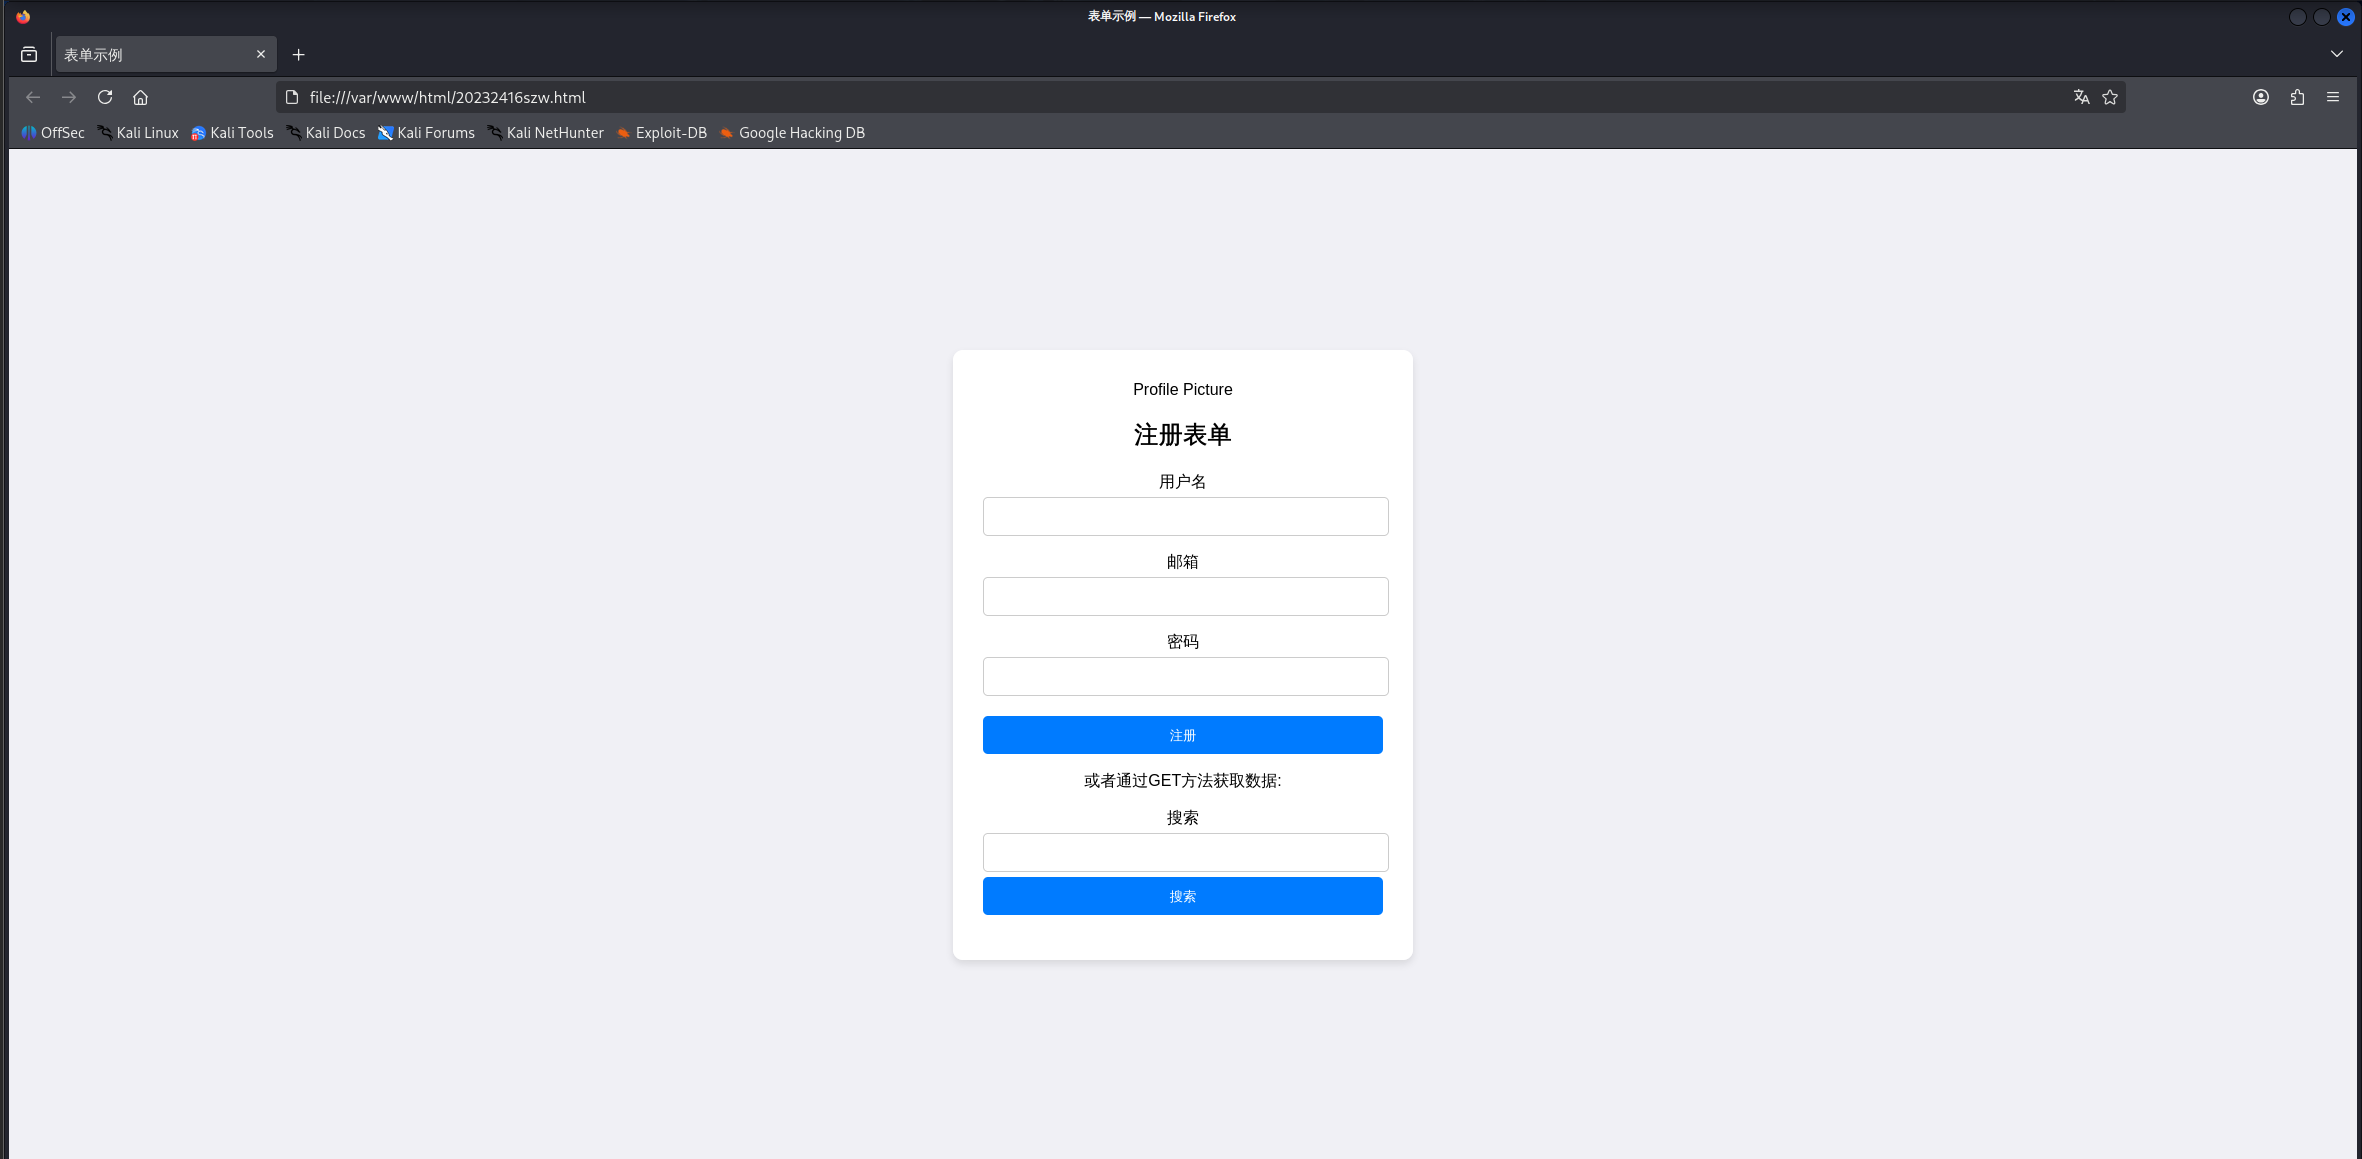
接下来我们在对应文件夹中找到.html文件并打开,我们可以看到效果如下:
2.2 Web前端javascript
JavaScript:Web的编程语言,主要用于嵌入动态文本于HTML页面、响应浏览器事件、读写HTML元素、验证数据等。
DOM:文档对象模型,是浏览器用来解析HTML和XML文档的编程接口,将文档描绘成一个层次化的节点树,允许开发人员动态地访问和操作文档的内容和结构。
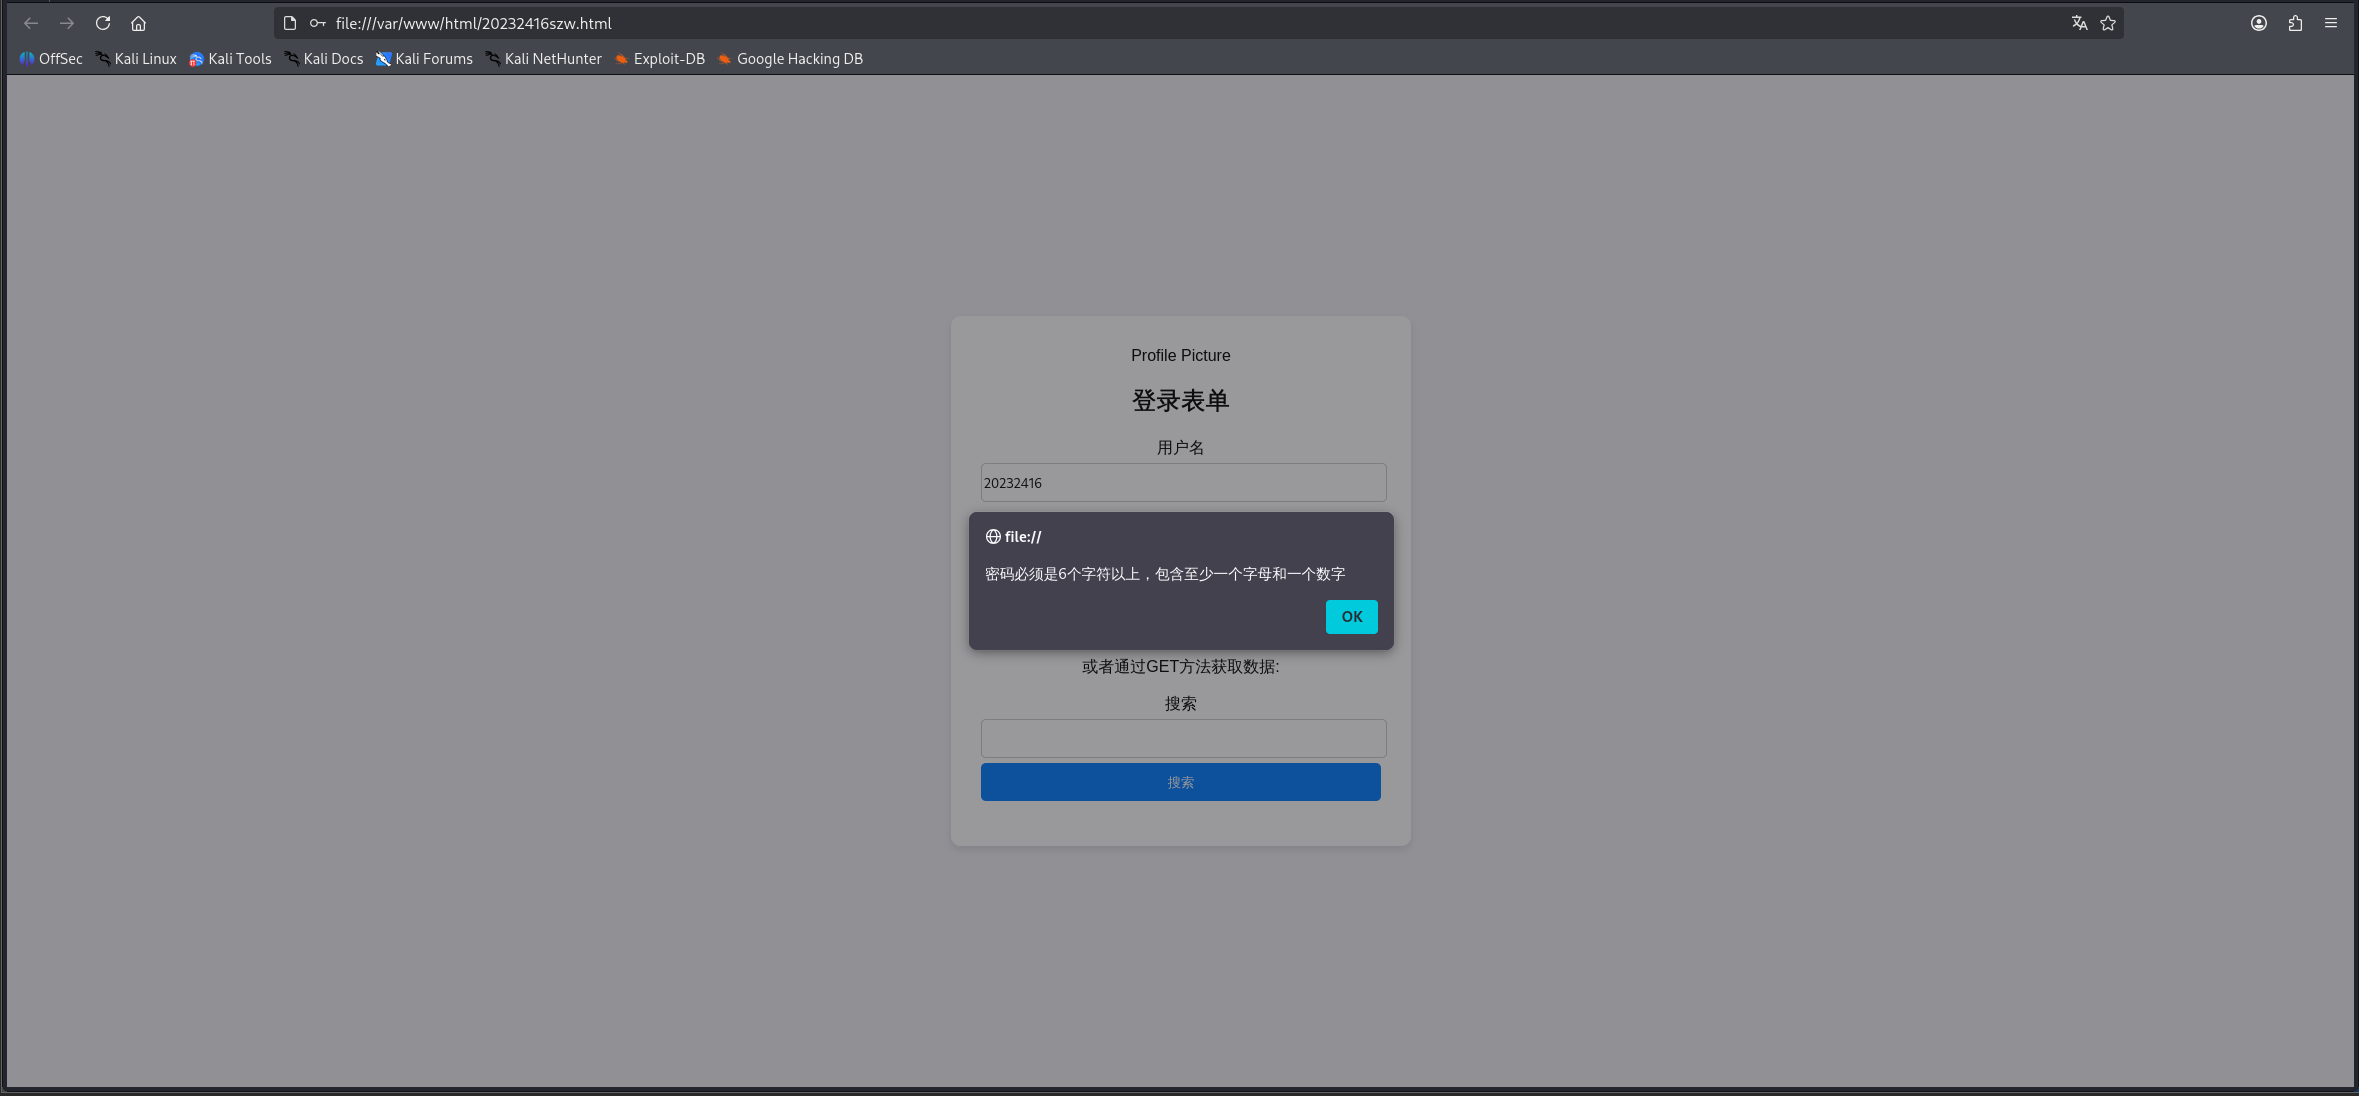
在此前基础上移除了action和method属性,注册按钮改为“登录”,并添加了onclick="submit_login()",添加验证脚本,证用户名、密码的规则,并在用户成功登录后回显"欢迎+输入的用户名",具体代码如下:
<!DOCTYPE html>
<html lang="zh-CN">
<head>
    <meta charset="UTF-8">
    <meta name="viewport" content="width=device-width, initial-scale=1.0">
    <title>登录表单</title>
    <style>
        body {
            font-family: Arial, sans-serif;
            background-color: #f0f0f5;
            display: flex;
            justify-content: center;
            align-items: center;
            height: 100vh;
            margin: 0;
        }
        .container {
            background-color: #fff;
            padding: 30px;
            border-radius: 10px;
            box-shadow: 0 4px 8px rgba(0, 0, 0, 0.1);
            width: 400px;
            text-align: center;
        }
        .container img {
            border-radius: 50%;
            width: 100px;
            height: 100px;
            margin-bottom: 20px;
        }
        .container h2 {
            margin-bottom: 20px;
        }
        .form-group {
            margin-bottom: 15px;
        }
        .form-group label {
            display: block;
            margin-bottom: 5px;
        }
        .form-group input[type="text"],
        .form-group input[type="password"],
        .form-group button {
            width: 100%;
            padding-top: 10px;
            padding-bottom:10px;
            border: 1px solid #ccc;
            border-radius: 5px;
        }
        .form-group button {
            margin-top:5px;
            background-color: #007BFF;
            color: #fff;
            border: none;
            cursor: pointer;
        }
        .form-group button:hover {
            background-color: #0056b3;
        }
    </style>
    <script>
        function submit_login() {
            var username = document.getElementById('username').value;
            var password = document.getElementById('password').value;
            var usernameRegex = /^.{4,}$/;
            var passwordRegex = /^(?=.*[A-Za-z])(?=.*\d)[A-Za-z\d]{6,}$/;
            if (!usernameRegex.test(username)) {
                alert('用户名必须在4个字符以上');
                return;
            }
            if (!passwordRegex.test(password)) {
                alert('密码必须是6个字符以上,包含至少一个字母和一个数字');
                return;
            }
            document.write('欢迎 ' + username);
        };
    </script>
</head>
<body>
    <div class="container">
        <img src="1.jpg" alt="Profile Picture">
        <h2>登录表单</h2>
        <!-- 移除了action和method属性,改为登录表单 -->
        <form>
            <div class="form-group">
                <label for="username">用户名</label>
                <input type="text" id="username" name="username" required>
            </div>
            <!-- 移除了邮箱输入框(登录表单通常不需要) -->
            <div class="form-group">
                <label for="password">密码</label>
                <input type="password" id="password" name="password" required>
            </div>
            <div class="form-group">
                <!-- 登录按钮添加了onclick事件 -->
                <button type="button" onclick="submit_login()">登录</button>
            </div>
        </form>
        <p>或者通过GET方法获取数据:</p>
        <form action="/get-data" method="get">
            <div class="form-group">
                <label for="search">搜索</label>
                <input type="text" id="search" name="search" required>
                <button type="submit">搜索</button>
            </div>
        </form>
    </div>
</body>
</html>
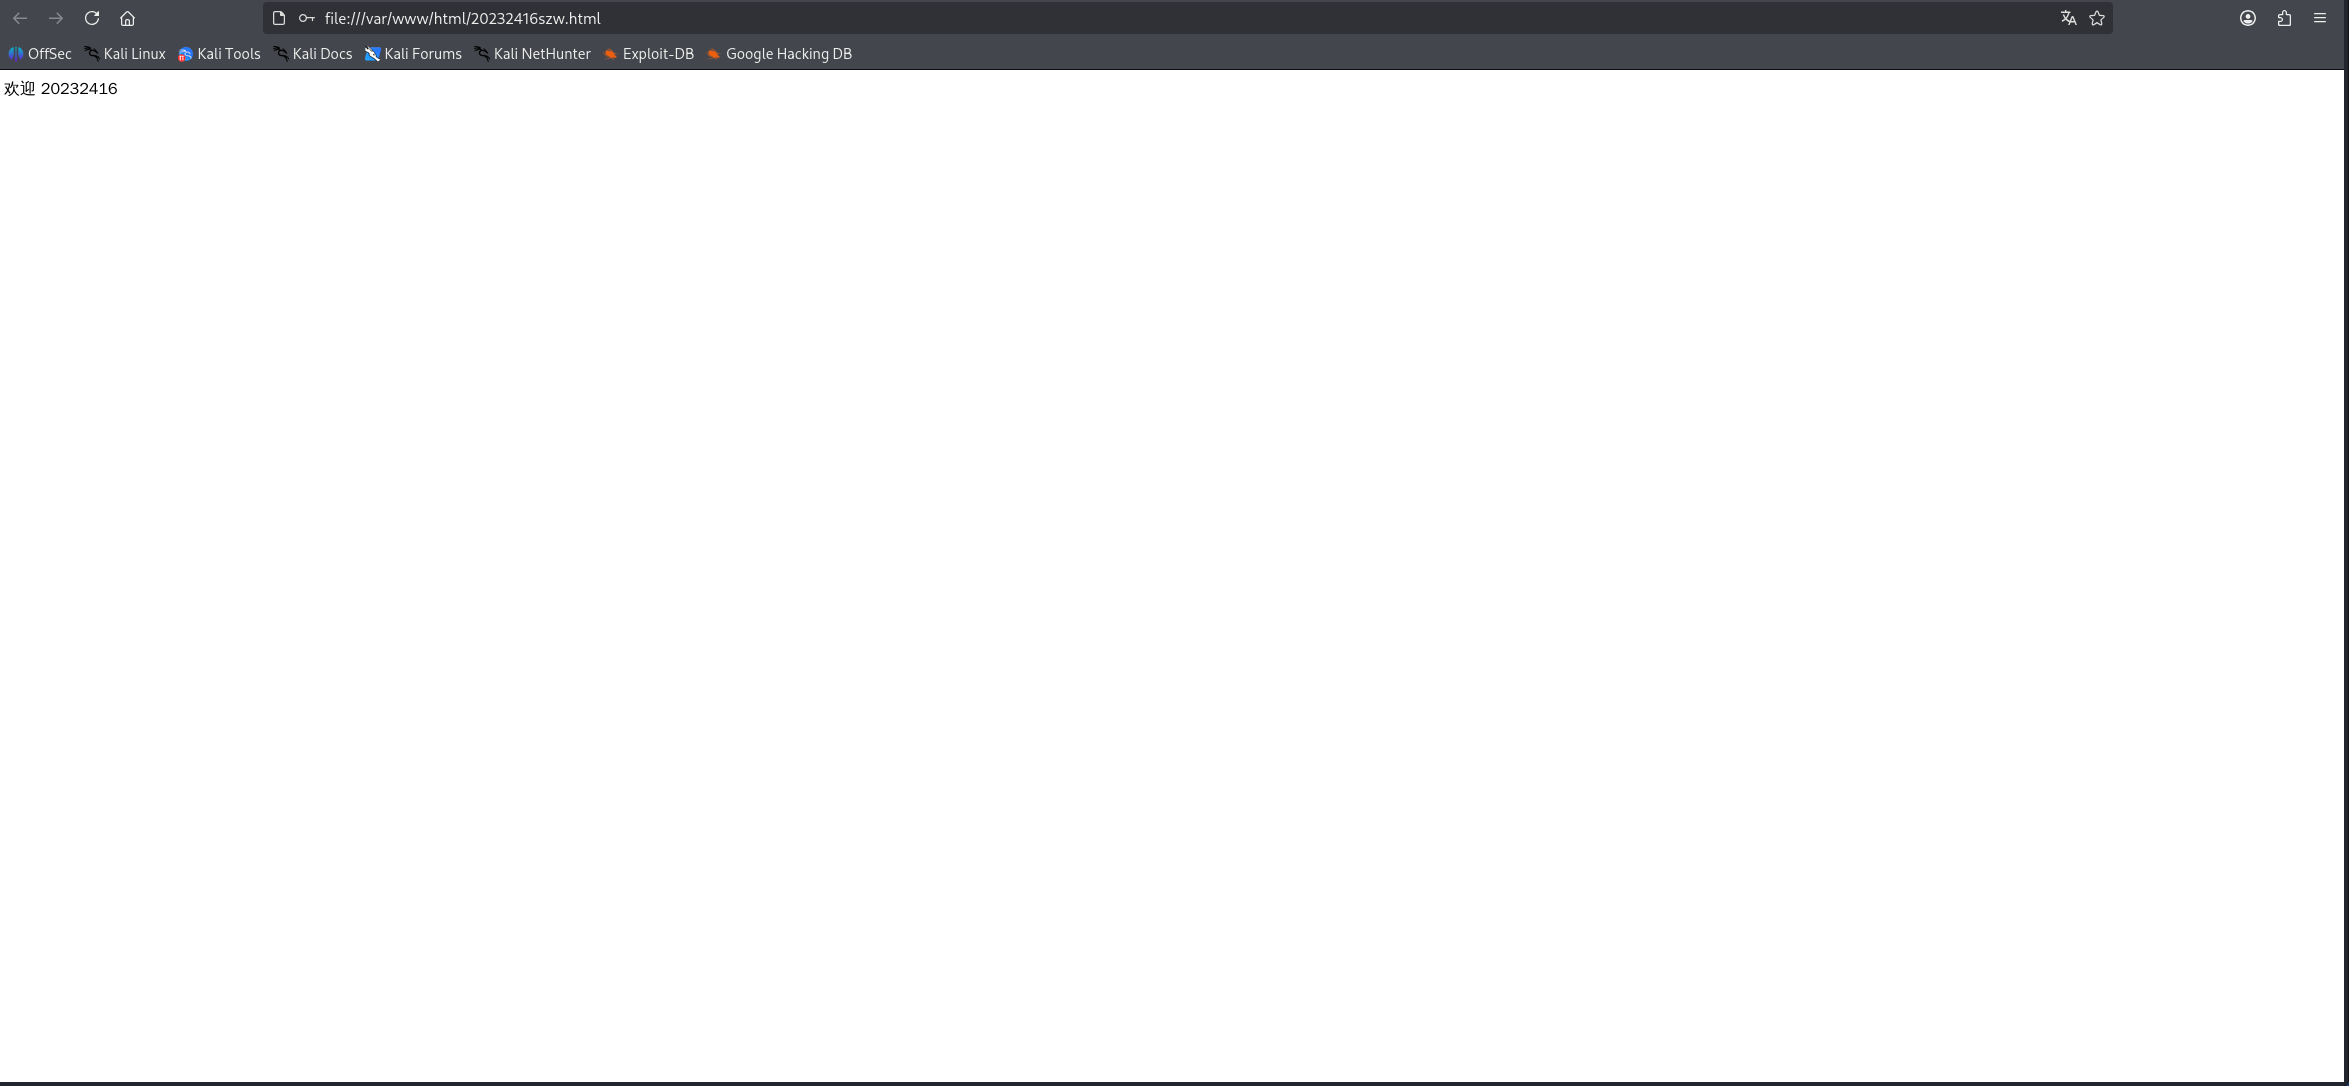
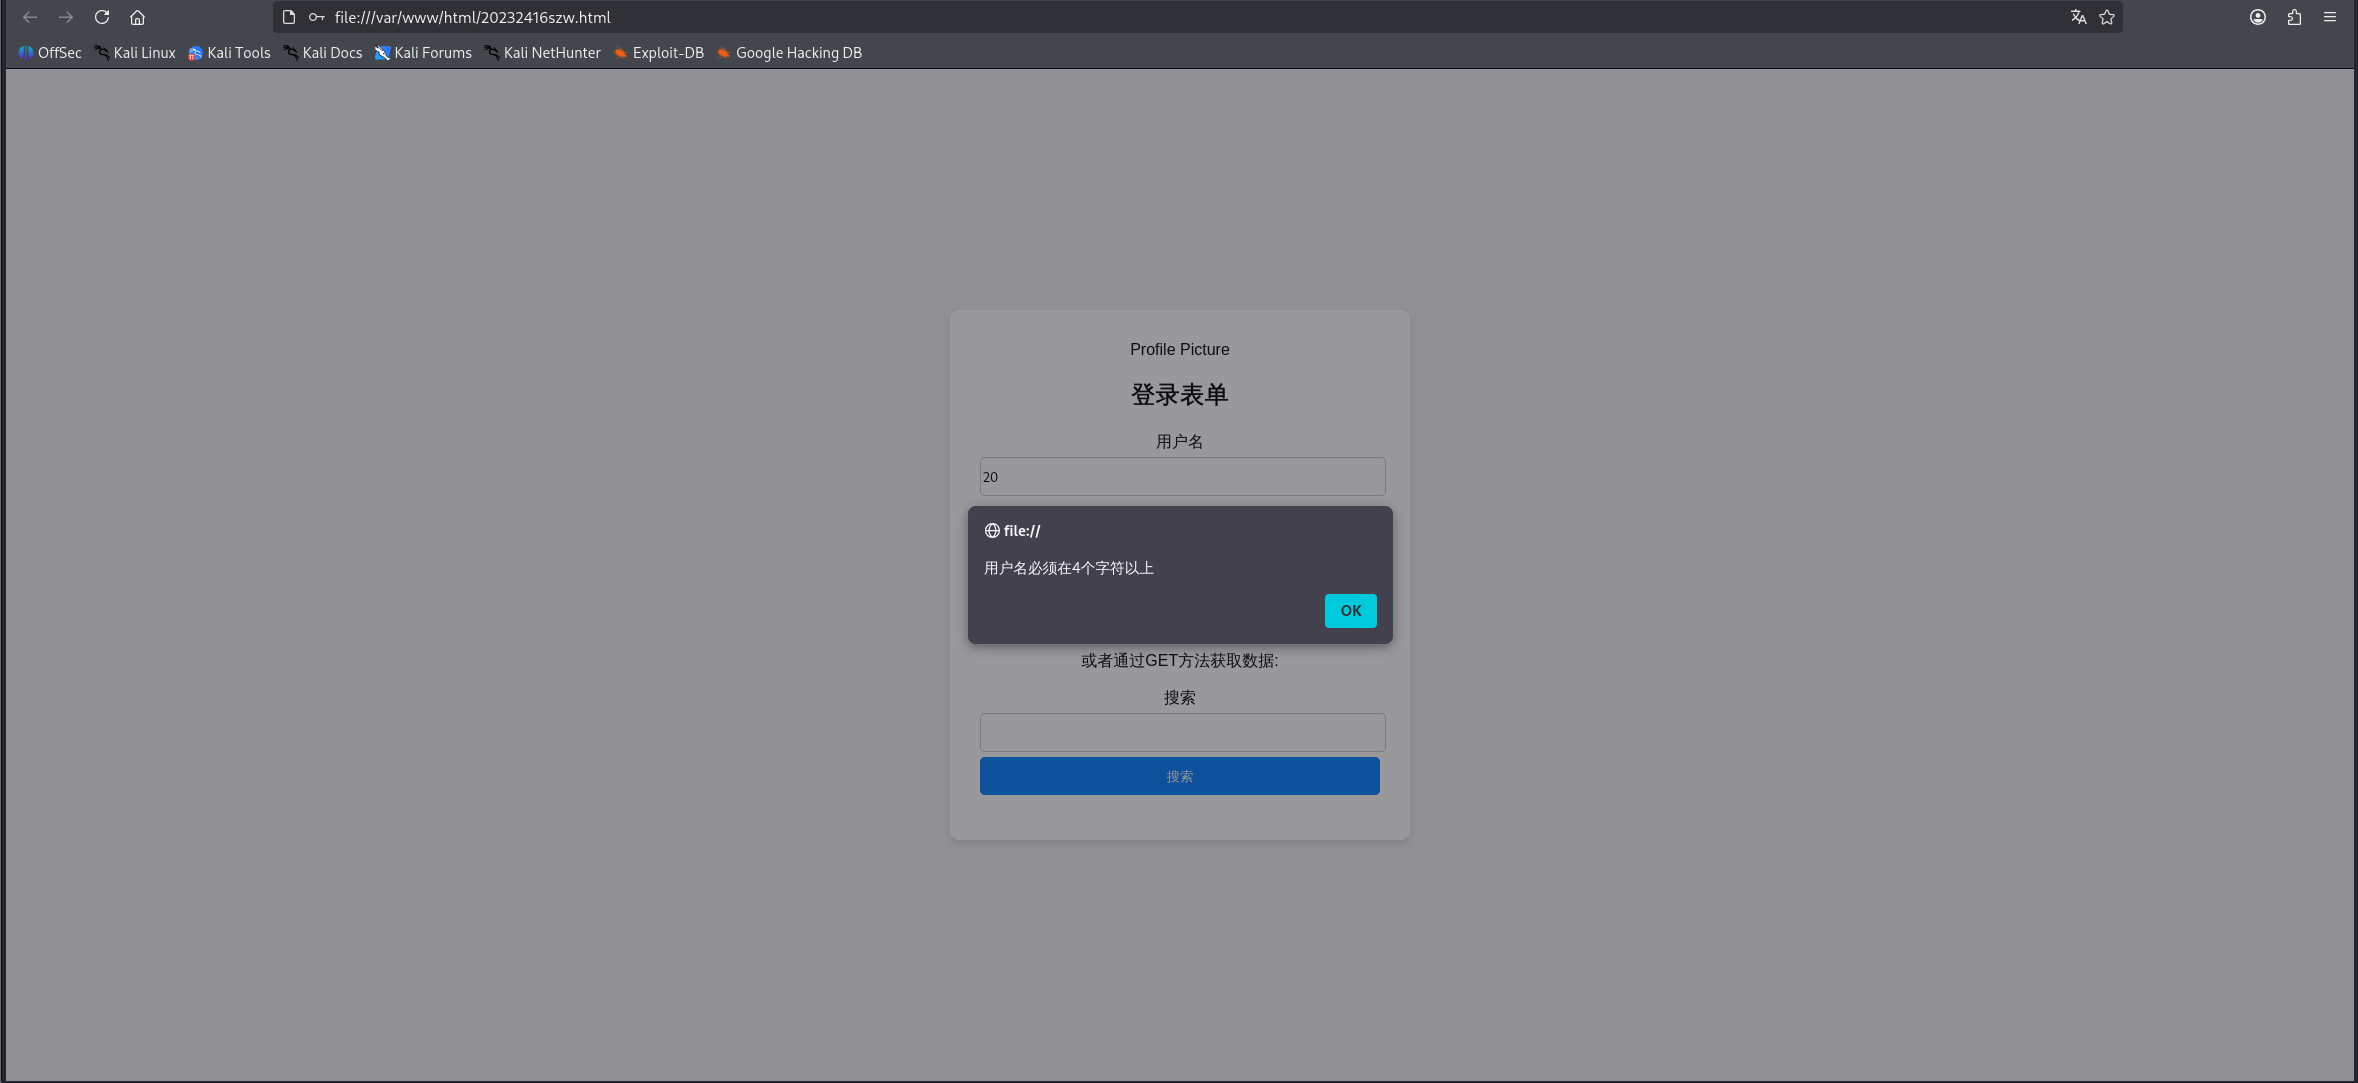
以下分别是登录成功和登录失败的截图:
接下来我们进行注入攻击
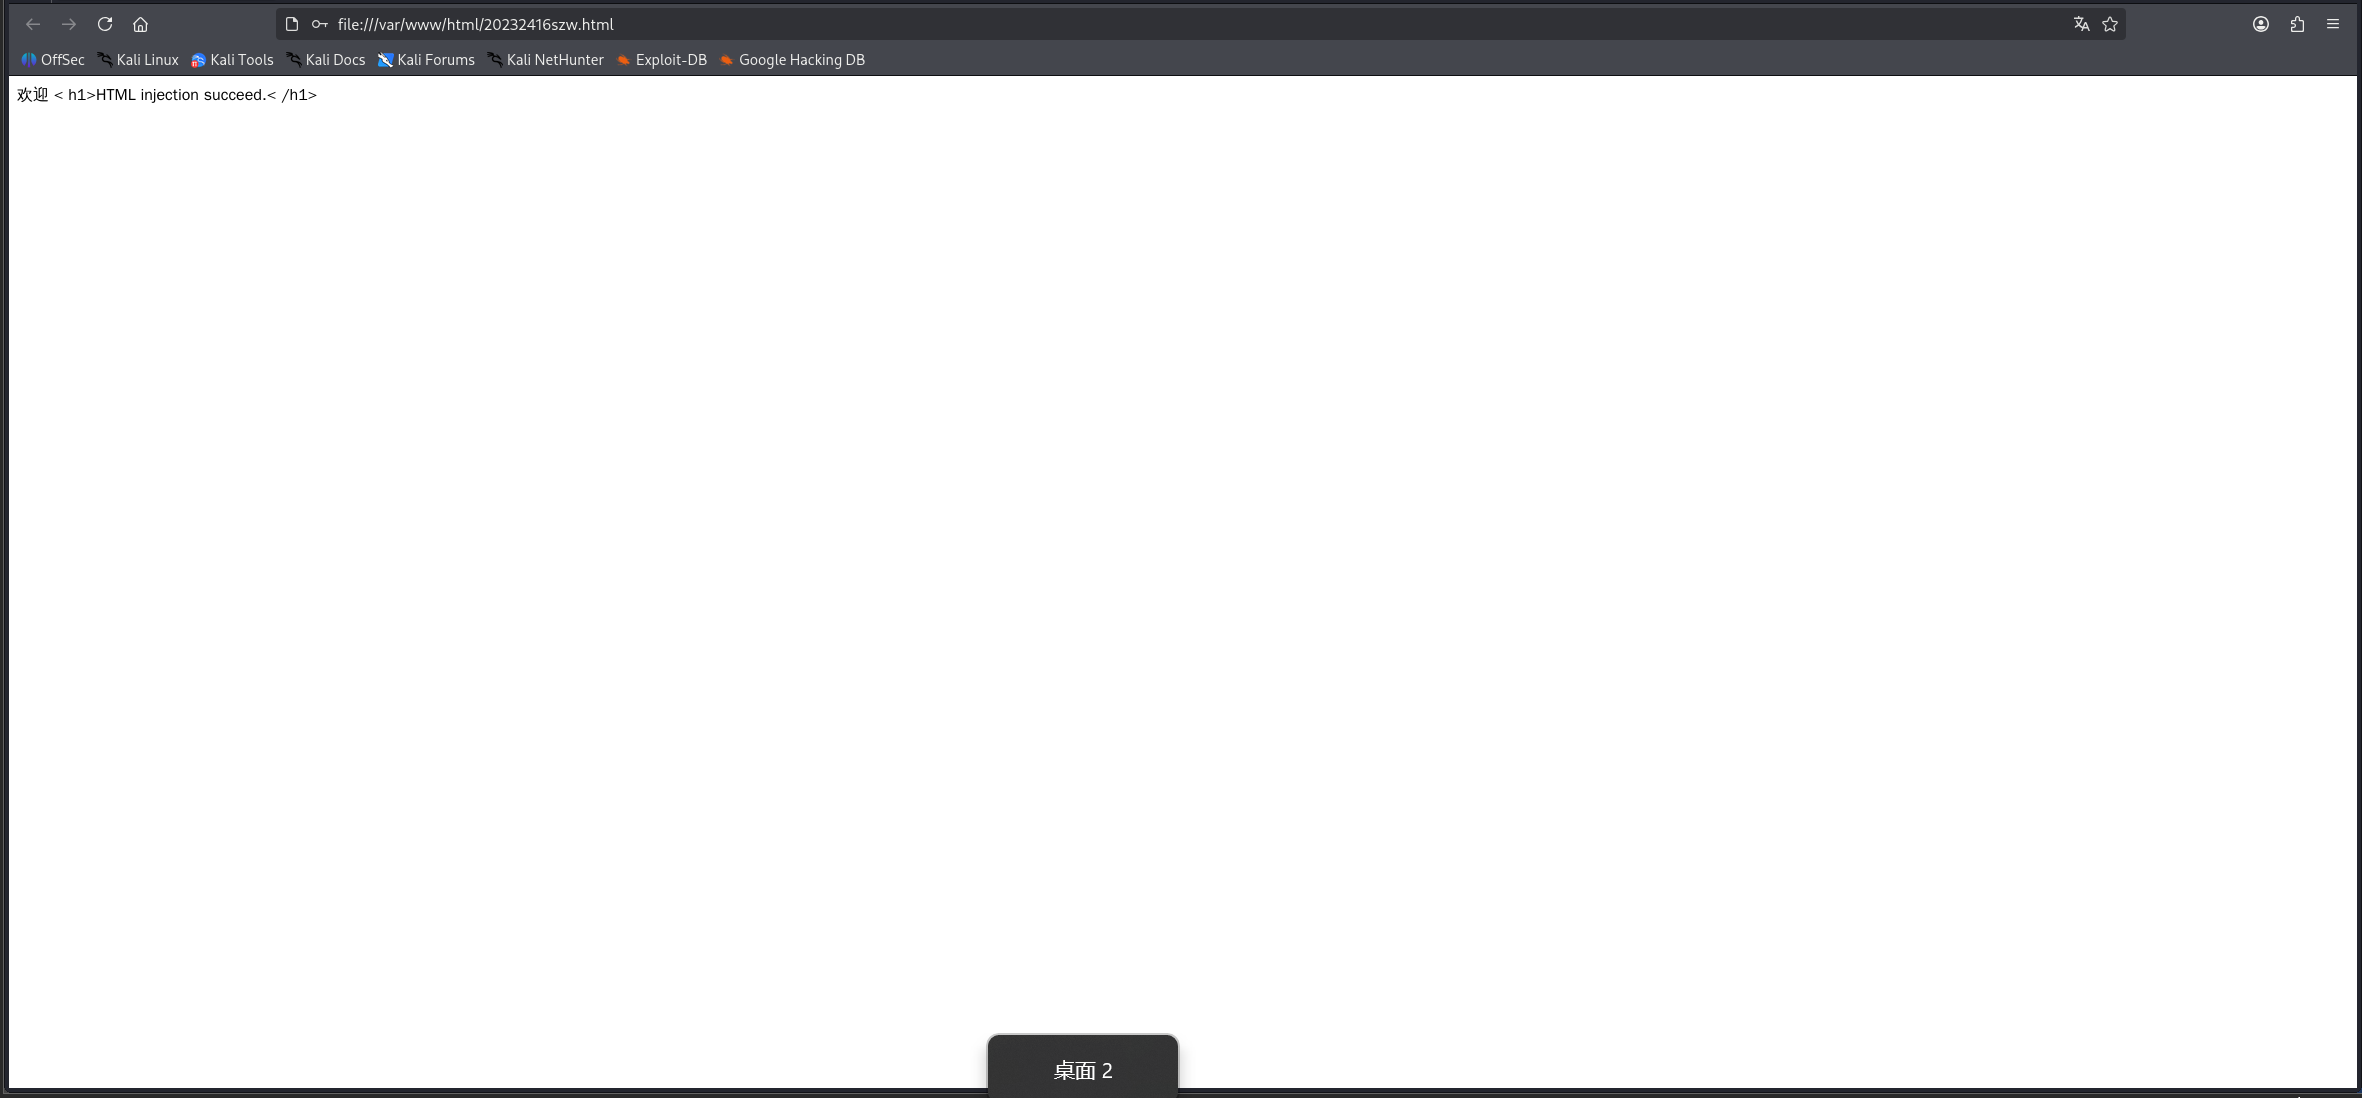
①HTML注入,在用户名一栏填入< h1>HTML injection succeed.< /h1>,成功实现HTML注入
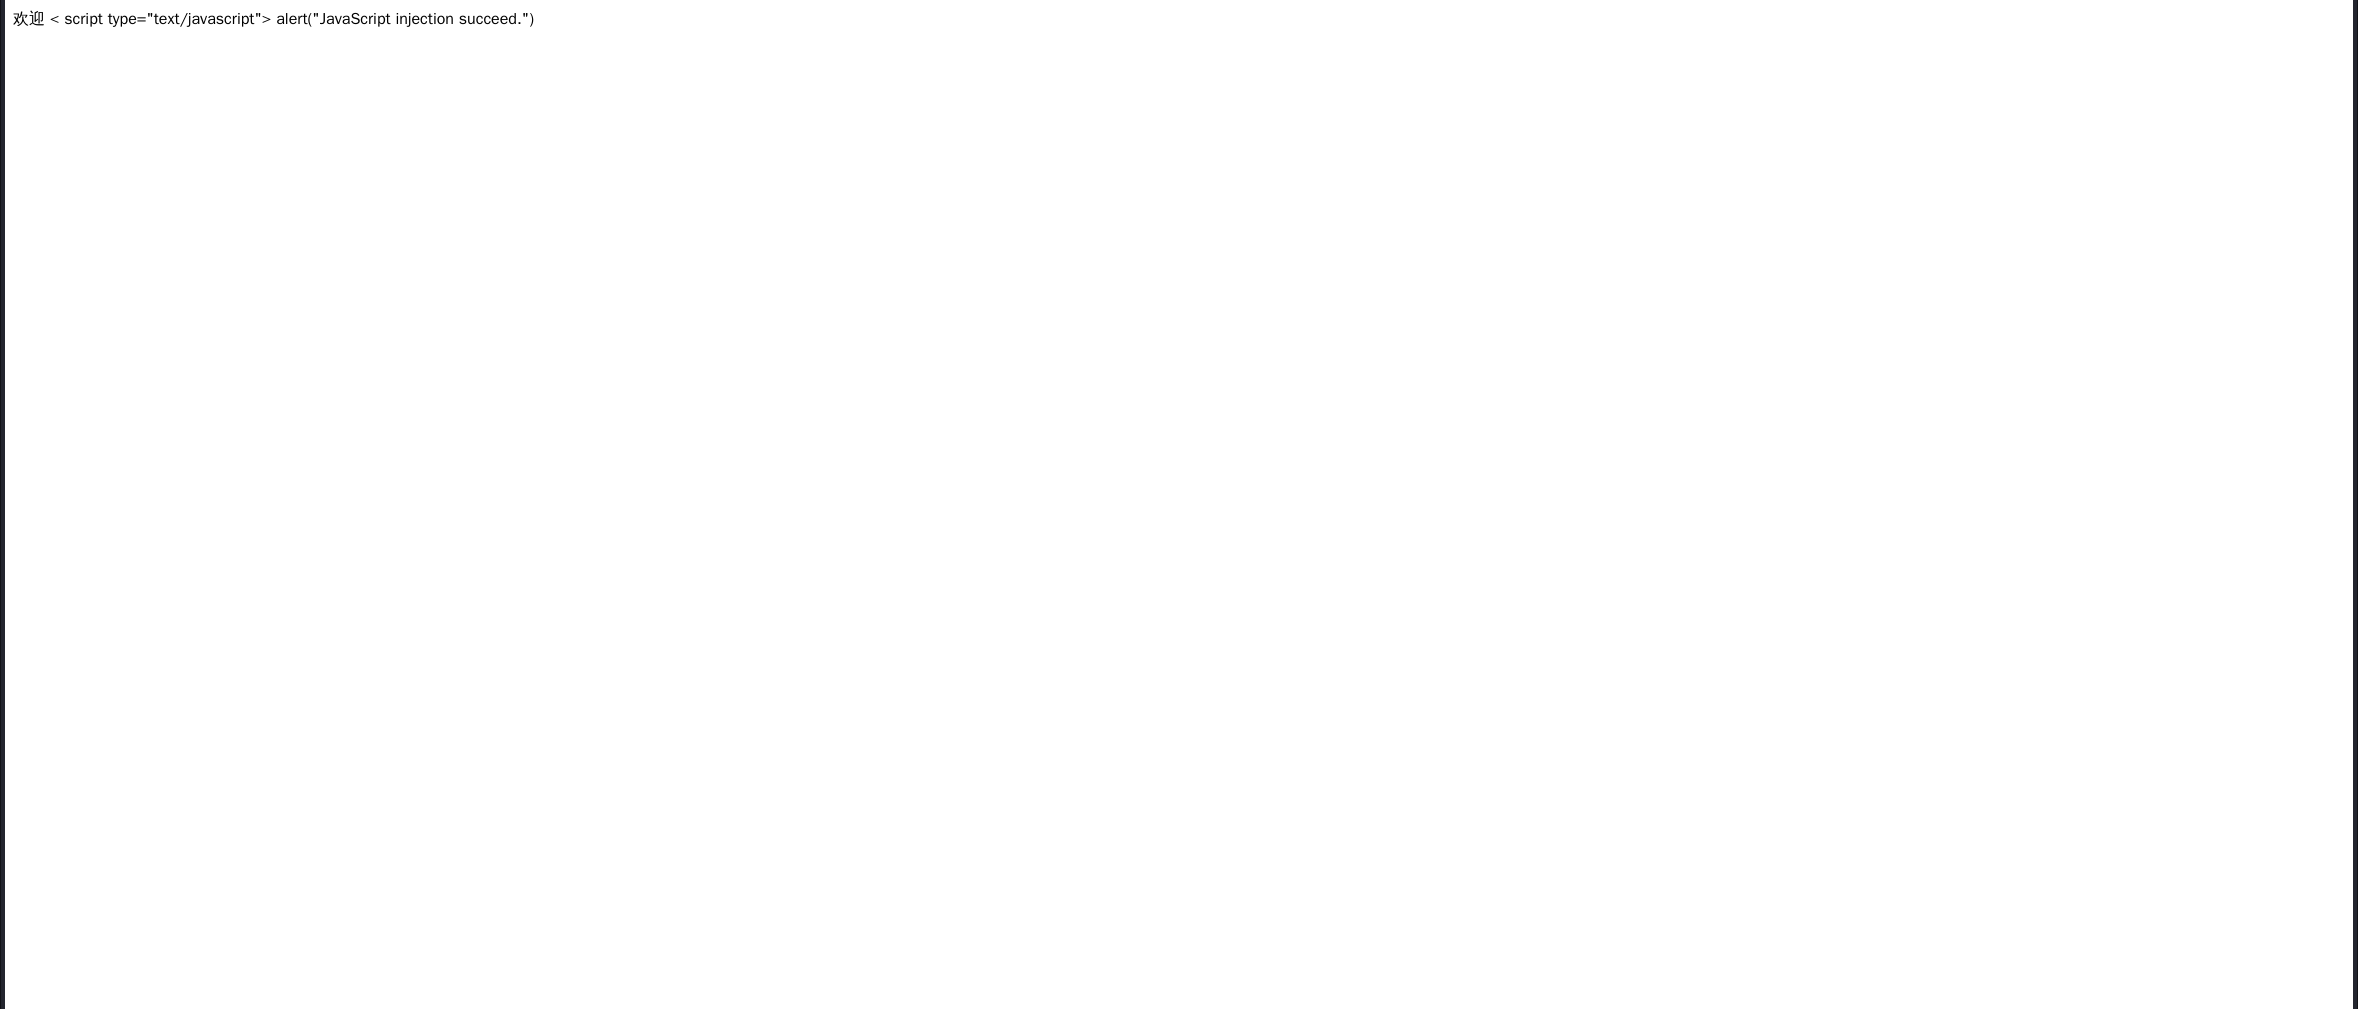
②JavaScript注入,在用户名一栏填入< script type="text/javascript"> alert("JavaScript injection succeed.") </ script>,成功实现JavaScript注入
2.3 Web后端MySQL基础
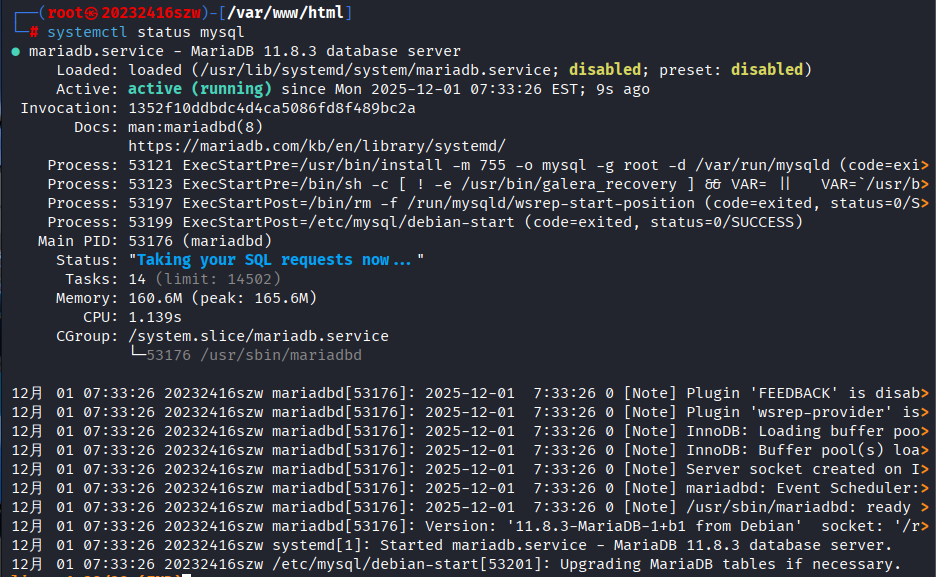
kali虚拟机自带MySQL,输入命令systemctl start mysql打开服务,输入命令systemctl status mysql确认服务已开启,从结果中可以看出MySQL正常启动。
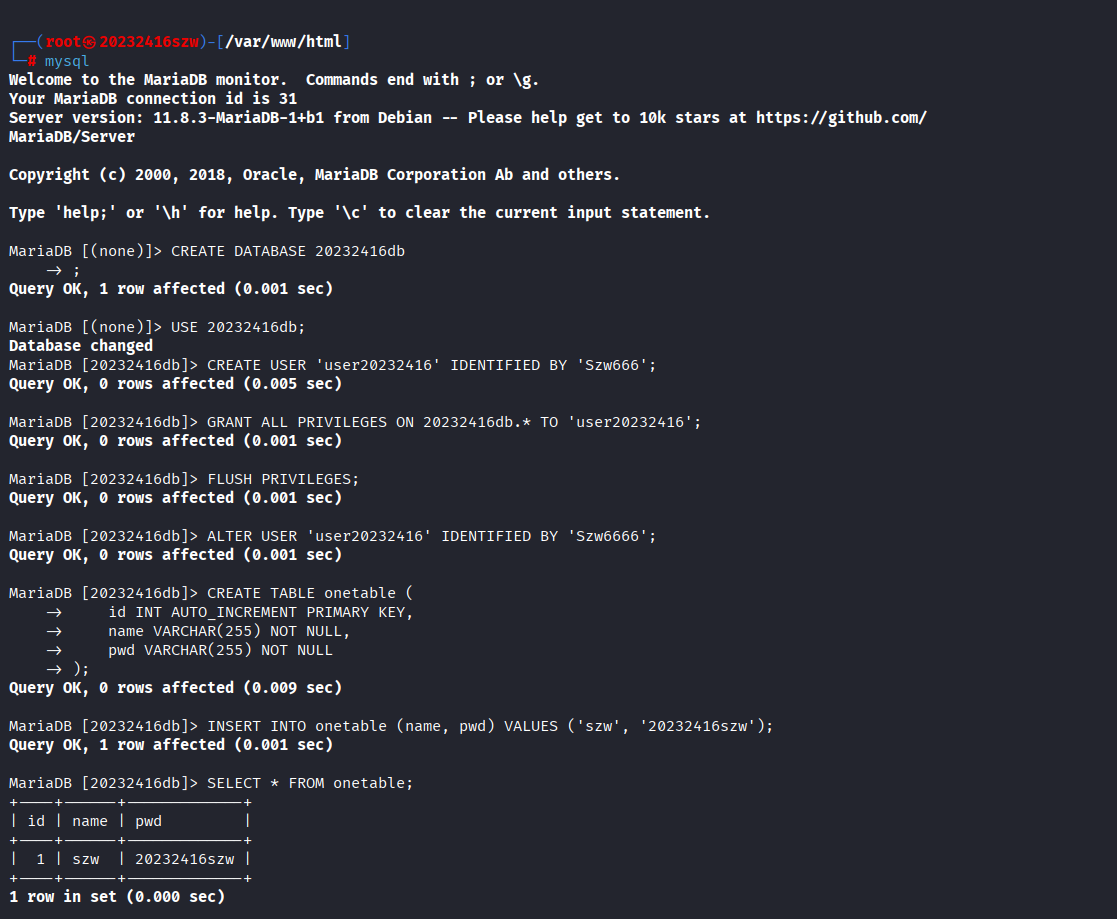
接下来我们输入以下命令,完成建库、创建用户、修改密码、建表等操作
mysql
-- 创建数据库
CREATE DATABASE 20232416db;
-- 使用数据库
USE 20232416db;
-- 创建用户
CREATE USER 'user20232416' IDENTIFIED BY 'Szw666';
-- 授予用户权限
GRANT ALL PRIVILEGES ON 20232416db.* TO 'user20232416';
FLUSH PRIVILEGES;
-- 修改用户密码
ALTER USER 'user20232416' IDENTIFIED BY 'Szw6666';
-- 创建表
CREATE TABLE onetable (
    id INT AUTO_INCREMENT PRIMARY KEY,
    name VARCHAR(255) NOT NULL,
    pwd VARCHAR(255) NOT NULL
);
-- 插入数据
INSERT INTO onetable (name, pwd) VALUES ('szw', '20232416szw');
-- 查看表中所有内容
SELECT * FROM onetable;
2.4 Web后端编写PHP网页
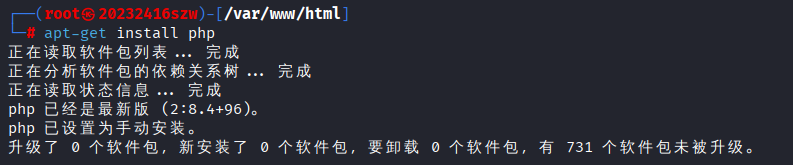
我们输入命令apt-get install php下载php,可以发现kali虚拟机已经安装过php
此处我们编写php代码,建立与MySQL数据库的连接,并执行用户认证。
<?php
$host = 'localhost';
$dbname = '20232416db';
$user = 'user20232416';
$password = 'Szw6666';
//创建数据库连接
$conn = new mysqli($host, $user, $password, $dbname);
//检查连接是否成功
if ($conn->connect_error) {
die("数据库连接失败: " . $conn->connect_error);
}
//获取POST数据
$username = $_POST['username'];
$password = $_POST['password'];
//使用查询语句进行查询
$sql = "SELECT * FROM onetable WHERE name='$username' AND pwd='$password'";
$result = $conn->query($sql);
//检查是否有匹配的记录
if ($result->num_rows > 0) {
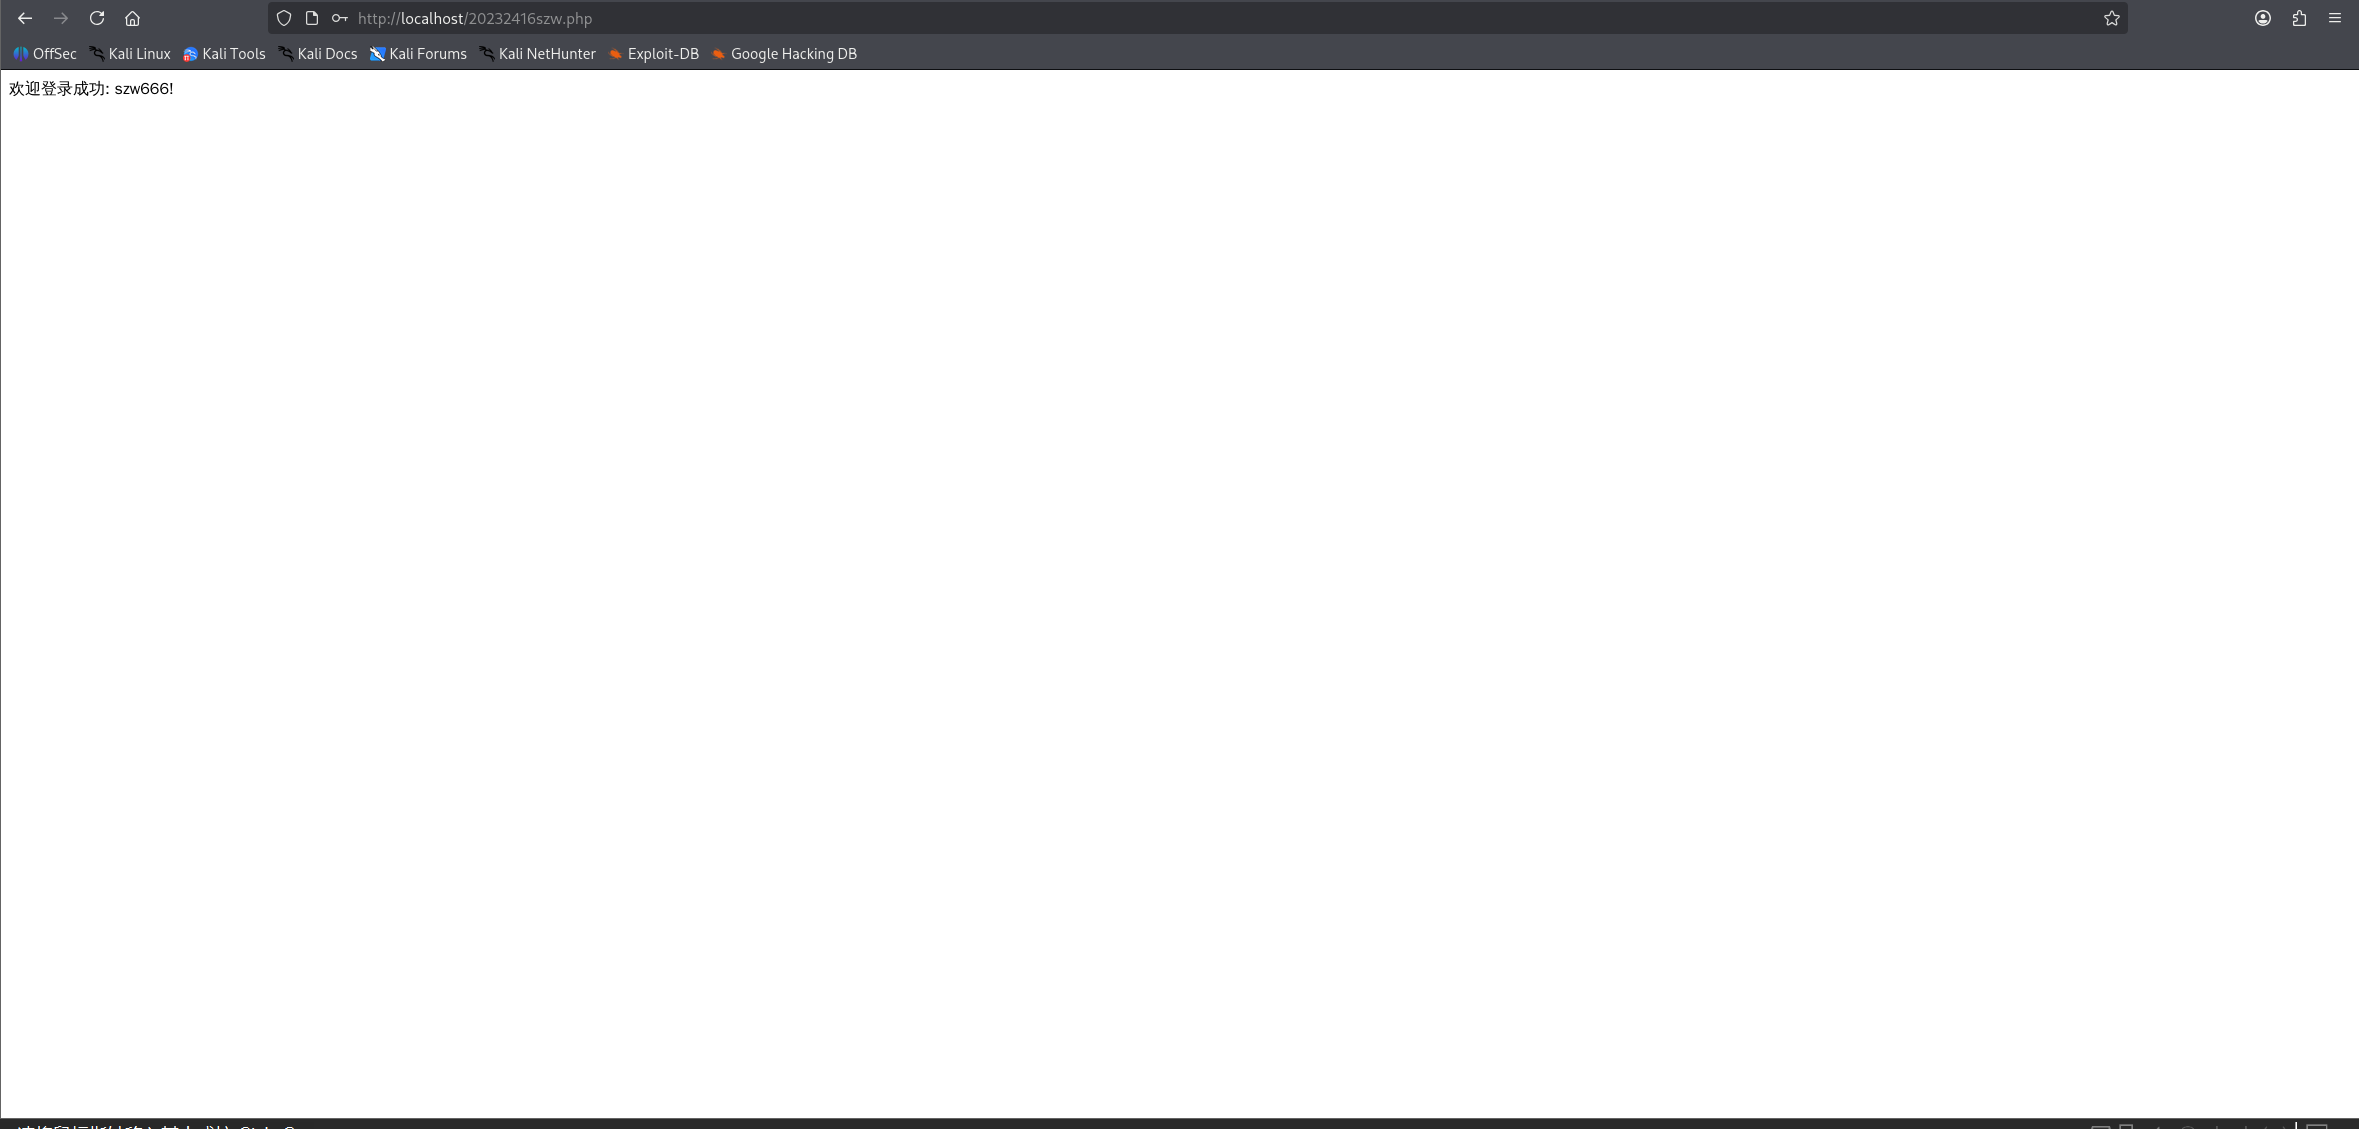
echo "欢迎登录成功: " . $username . "!";
} else {
echo "用户名或密码错误";
}
//关闭结果集和预处理语句
$result->close();
$stmt->close();
//关闭数据库连接
$conn->close();
?>
接下来,我们修改前端代码,主要是修改登录表单的属性如下,删除按钮的onclick属性,具体代码如下:
<!DOCTYPE html>
<html lang="zh-CN">
<head>
    <meta charset="UTF-8">
    <meta name="viewport" content="width=device-width, initial-scale=1.0">
    <title>登录表单</title>
    <style>
        body {
            font-family: Arial, sans-serif;
            background-color: #f0f0f5;
            display: flex;
            justify-content: center;
            align-items: center;
            height: 100vh;
            margin: 0;
        }
        .container {
            background-color: #fff;
            padding: 30px;
            border-radius: 10px;
            box-shadow: 0 4px 8px rgba(0, 0, 0, 0.1);
            width: 400px;
            text-align: center;
        }
        .container img {
            border-radius: 50%;
            width: 100px;
            height: 100px;
            margin-bottom: 20px;
        }
        .container h2 {
            margin-bottom: 20px;
        }
        .form-group {
            margin-bottom: 15px;
        }
        .form-group label {
            display: block;
            margin-bottom: 5px;
        }
        .form-group input[type="text"],
        .form-group input[type="password"],
        .form-group button {
            width: 100%;
            padding-top: 10px;
            padding-bottom:10px;
            border: 1px solid #ccc;
            border-radius: 5px;
        }
        .form-group button {
            margin-top:5px;
            background-color: #007BFF;
            color: #fff;
            border: none;
            cursor: pointer;
        }
        .form-group button:hover {
            background-color: #0056b3;
        }
    </style>
    <script>
        function submit_login() {
            var username = document.getElementById('username').value;
            var password = document.getElementById('password').value;
            var usernameRegex = /^.{4,}$/;
            var passwordRegex = /^(?=.*[A-Za-z])(?=.*\d)[A-Za-z\d]{6,}$/;
            if (!usernameRegex.test(username)) {
                alert('用户名必须在4个字符以上');
                return;
            }
            if (!passwordRegex.test(password)) {
                alert('密码必须是6个字符以上,包含至少一个字母和一个数字');
                return;
            }
            document.write('欢迎 ' + username);
        };
    </script>
</head>
<body>
    <div class="container">
        <img src="1.jpg" alt="Profile Picture">
        <h2>登录表单</h2>
        <!-- 修改1:添加了action和method属性 -->
        <form id="loginForm" action="http://localhost/20232416szw.php" method="post">
            <div class="form-group">
                <label for="username">用户名</label>
                <input type="text" id="username" name="username" required>
            </div>
            <div class="form-group">
                <label for="password">密码</label>
                <input type="password" id="password" name="password" required>
            </div>
            <div class="form-group">
                <!-- 修改2:删除了onclick属性 -->
                <button type="submit">登录</button>
            </div>
        </form>
        <p>或者通过GET方法获取数据:</p>
        <form action="/get-data" method="get">
            <div class="form-group">
                <label for="search">搜索</label>
                <input type="text" id="search" name="search" required>
                <button type="submit">搜索</button>
            </div>
        </form>
    </div>
</body>
</html>
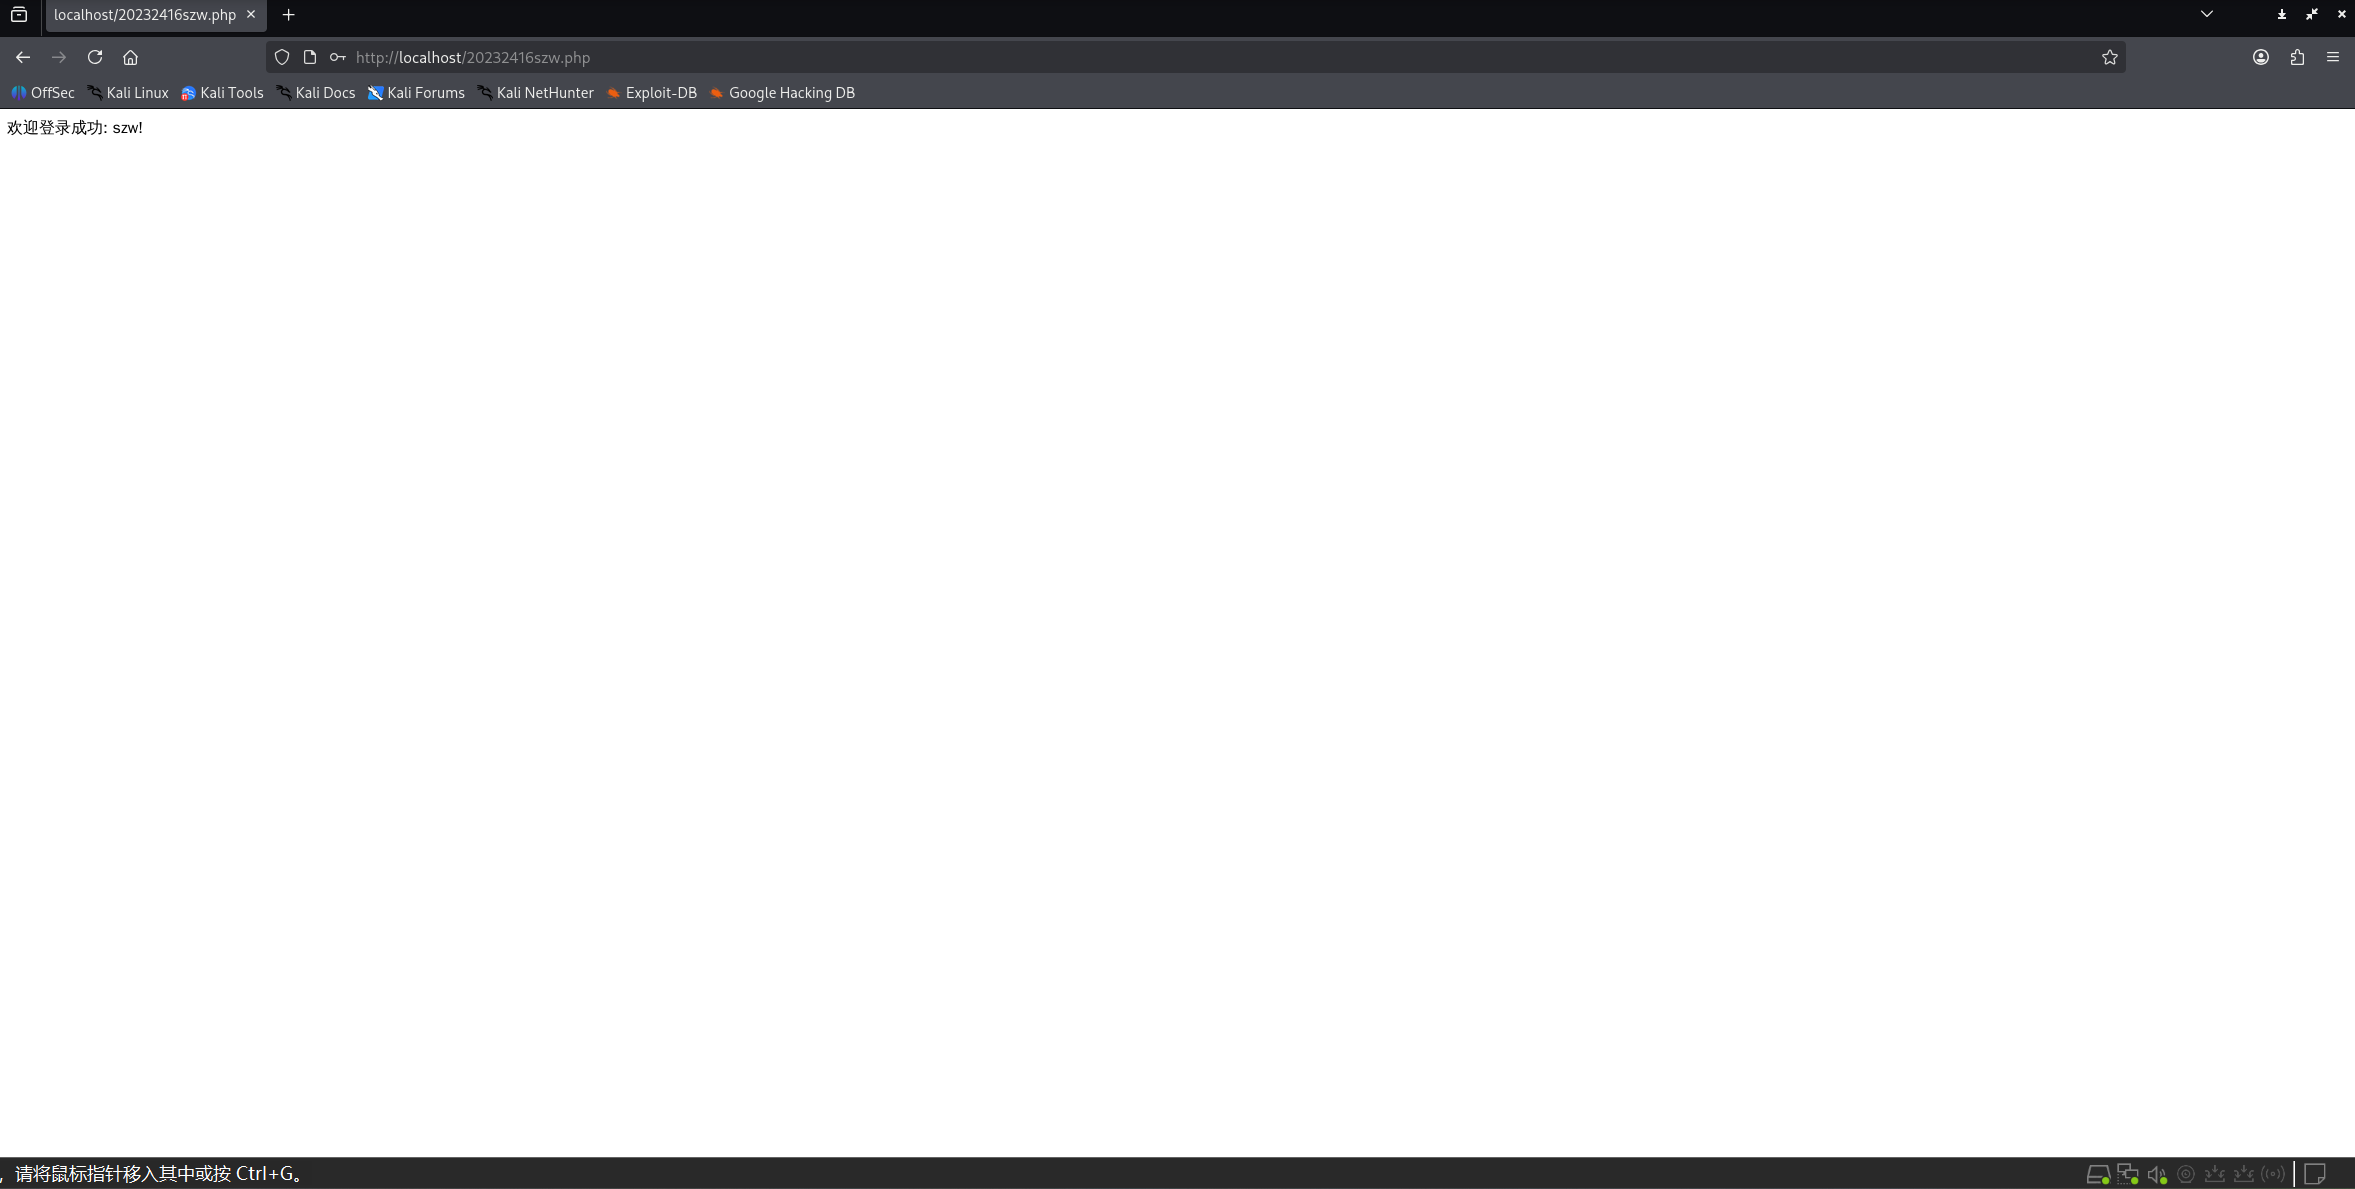
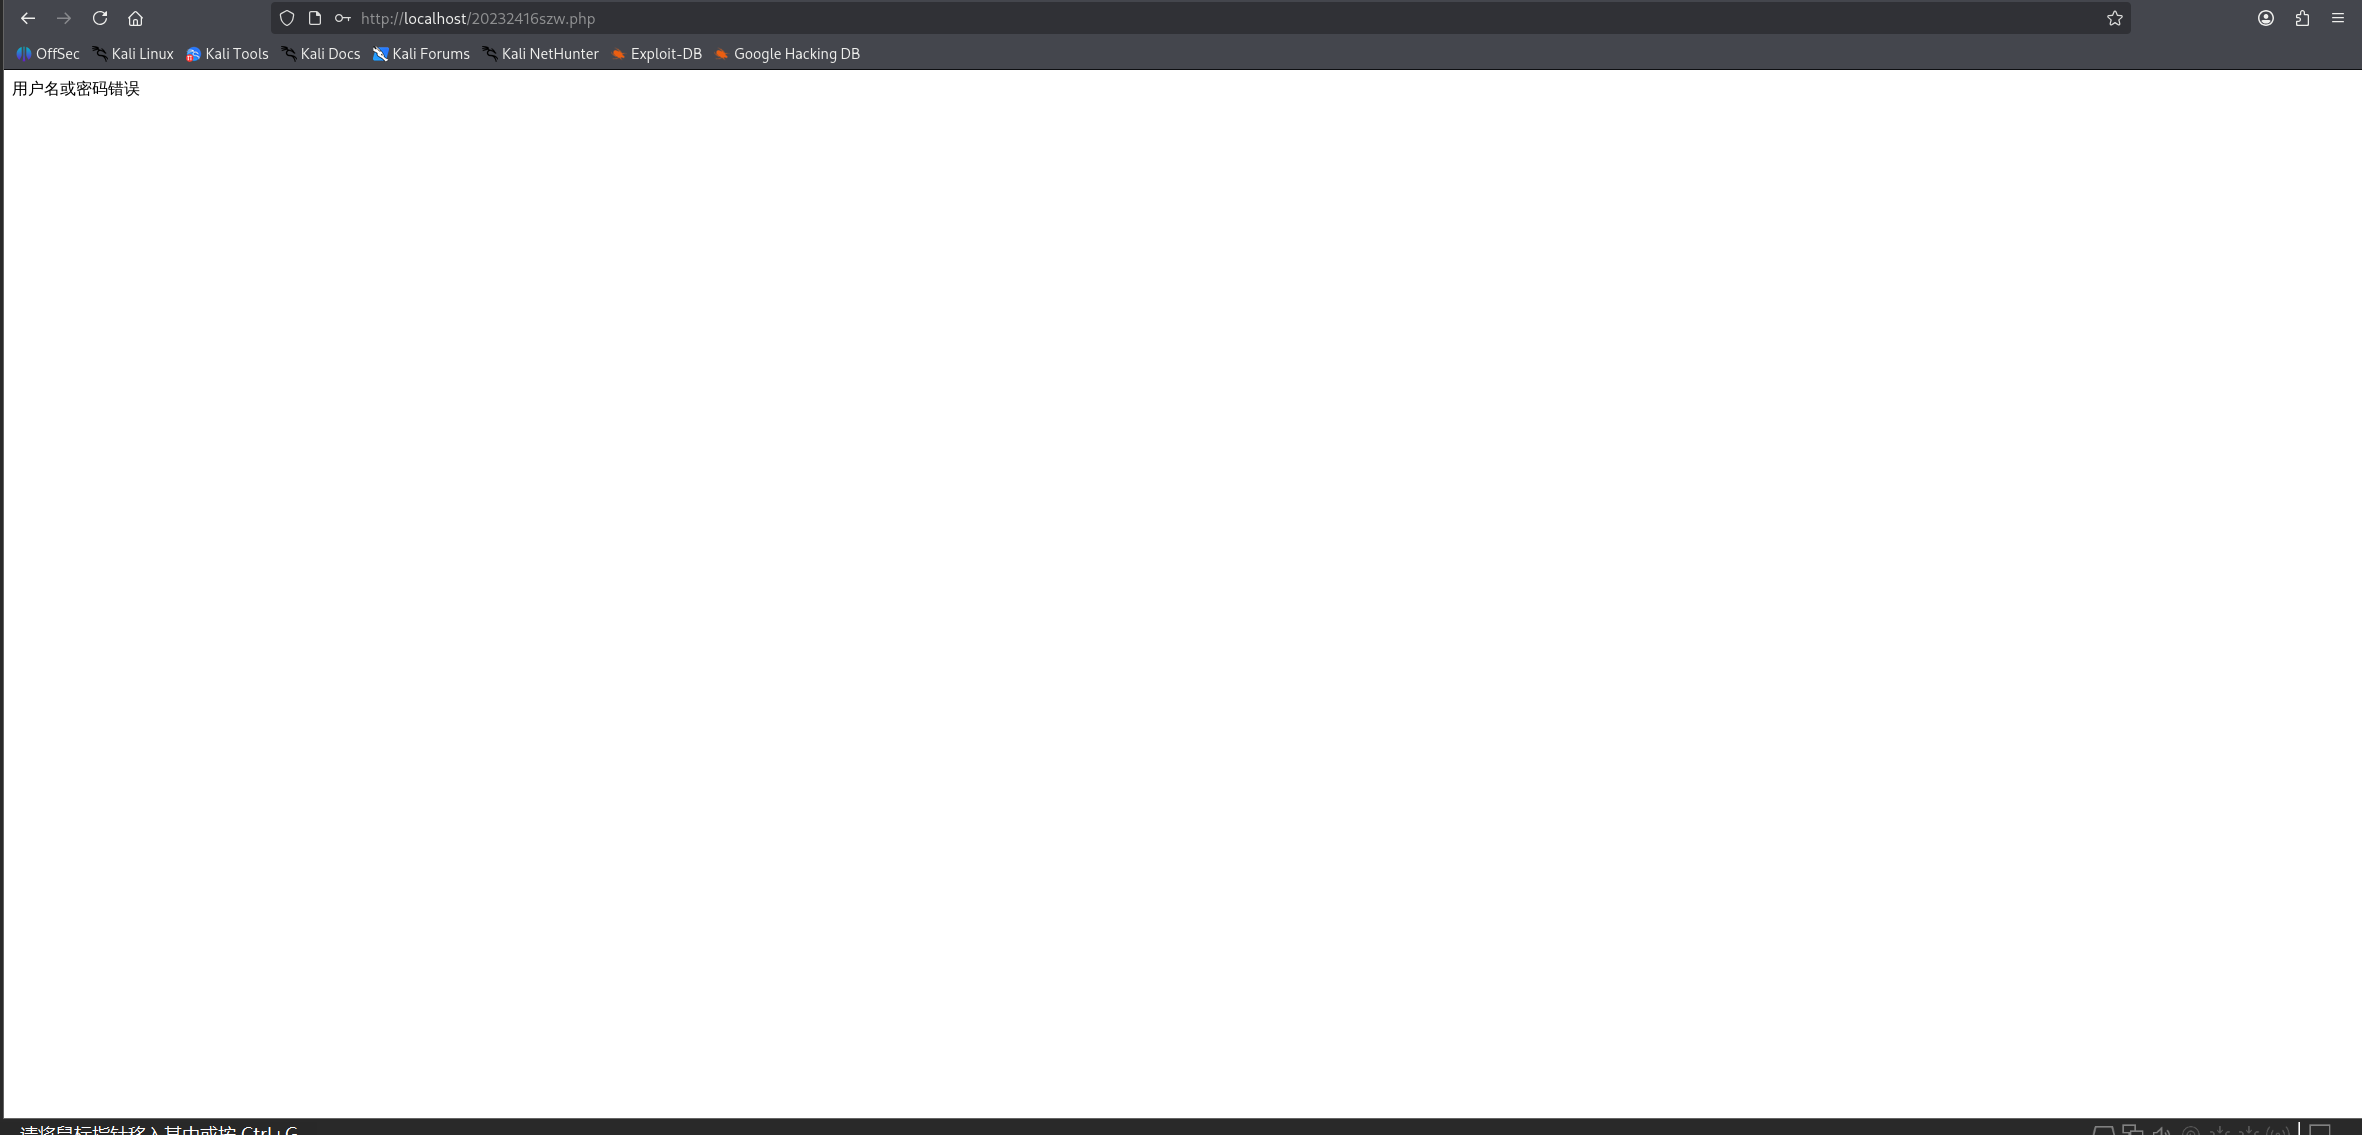
连接成功和失败会有提示,如图
2.5 实现基础攻击测试
2.5.1 SQL注入
在用户名中随机输入,密码中输入' OR '1'='1,即可成功登录,实现了SQL注入。
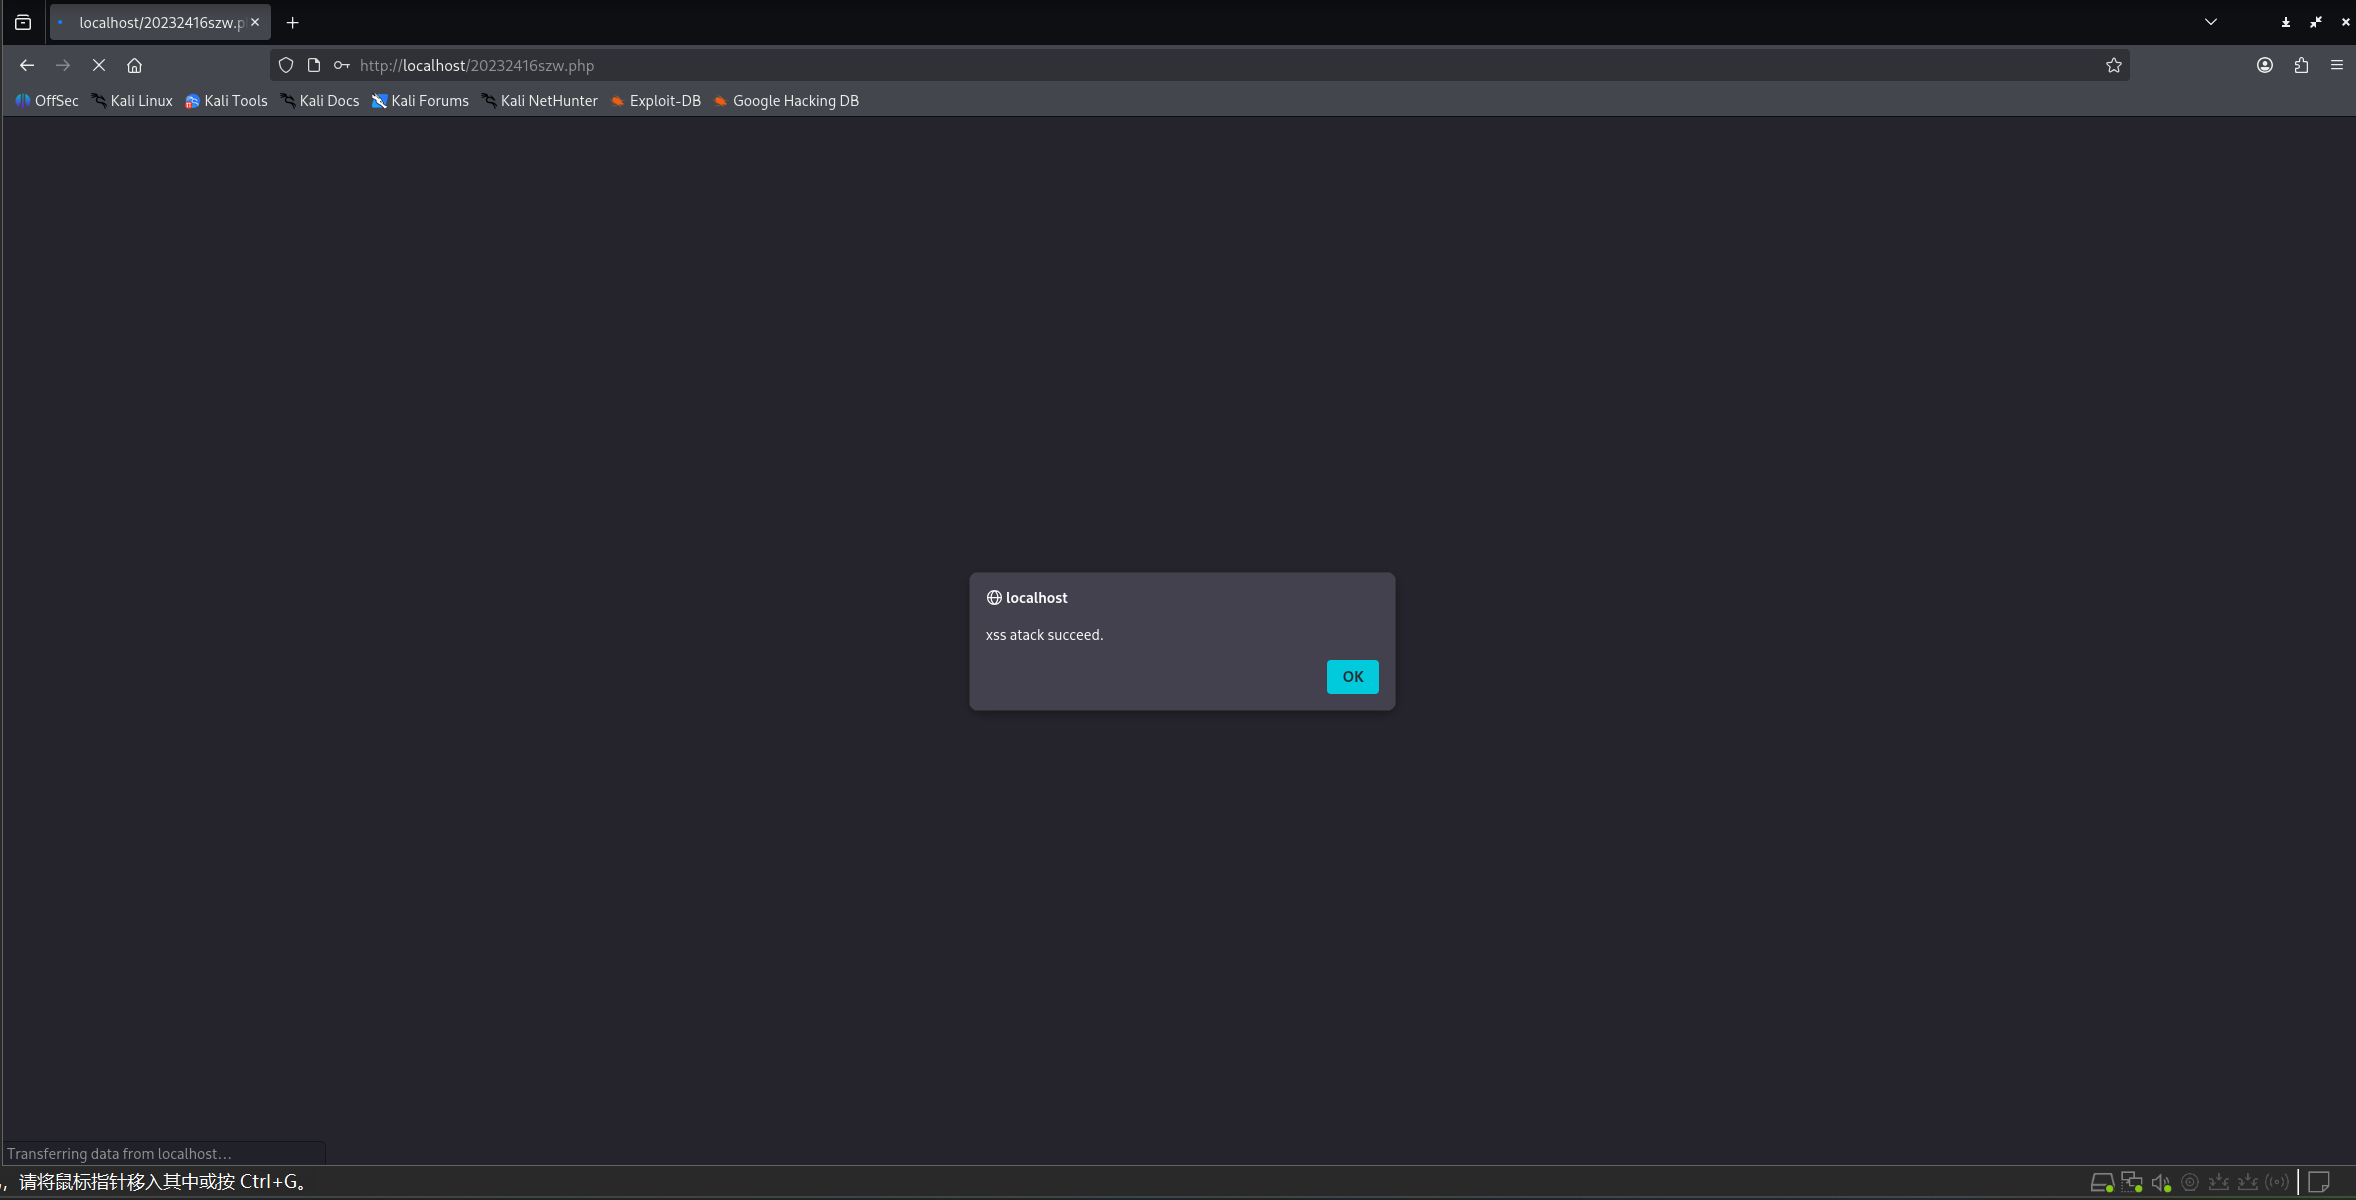
2.5.2 XSS攻击
在用户名中输入<script>alert("xss atack succeed.");</script>,密码中输入' OR '1'='1,网页弹出窗口,实现了XSS攻击。
2.6 安装DVWA或WebGoat平台,并完成SQL注入、XSS、CSRF攻击
2.6.1 完成SQL注入
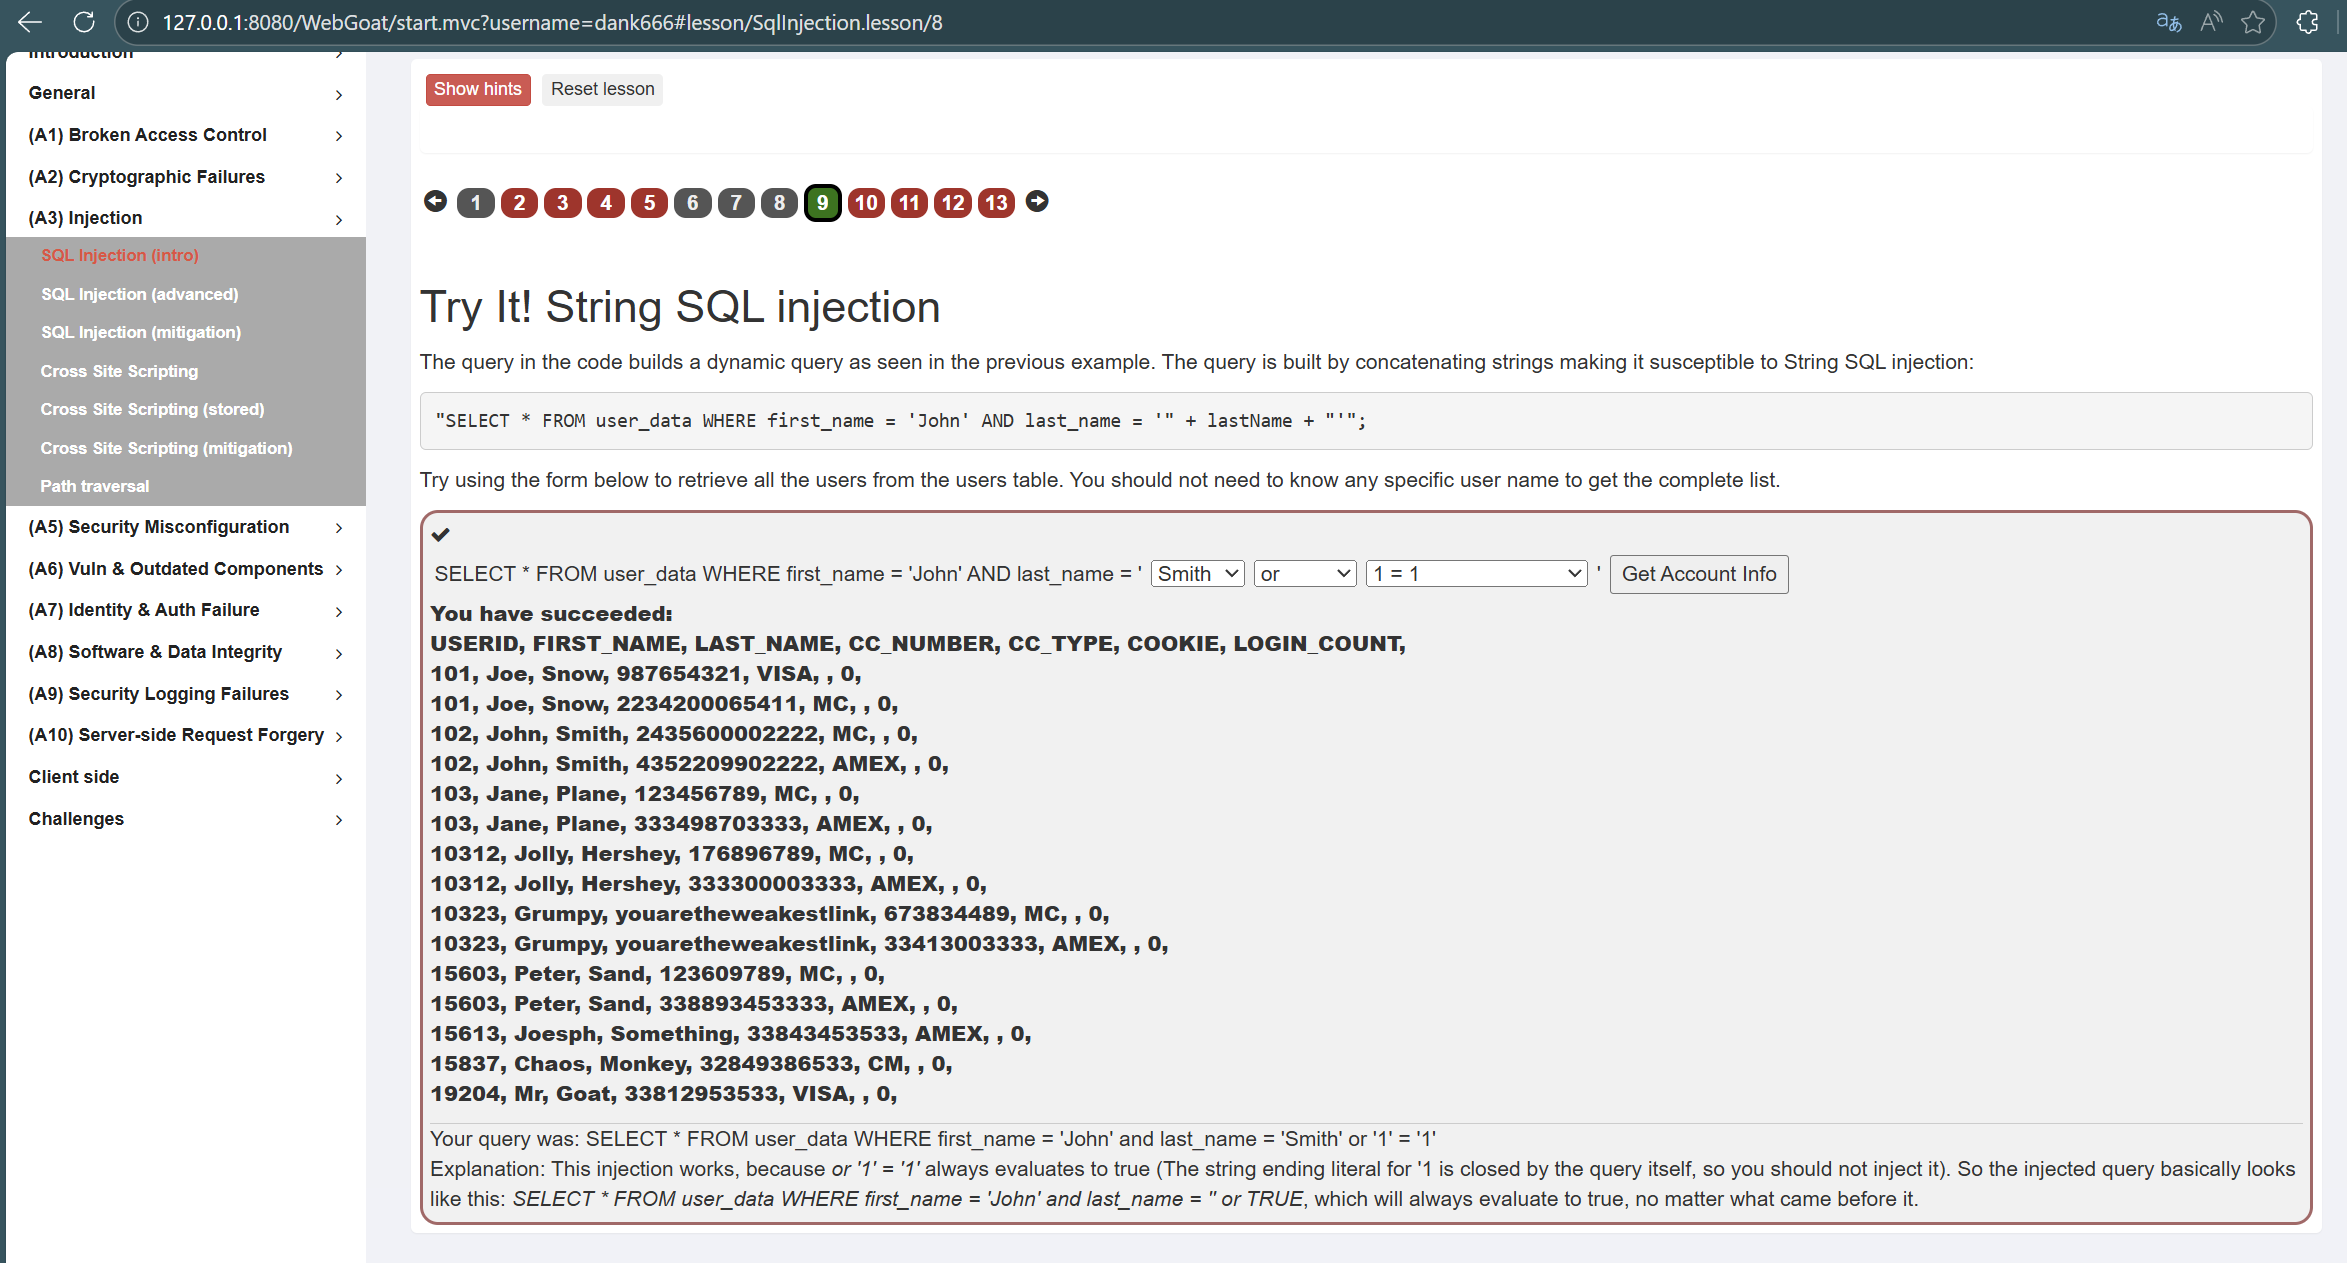
我们先看第九个,第九个是通过注入看到表中所有用户的数据
构建查询语句的代码应如此"SELECT * FROM user_data WHERE first_name = 'John' AND last_name = '" + lastName + "'";
执行语句是SELECT * FROM user_data WHERE first_name = 'John' and last_name 'Smith' or '1' = '1';
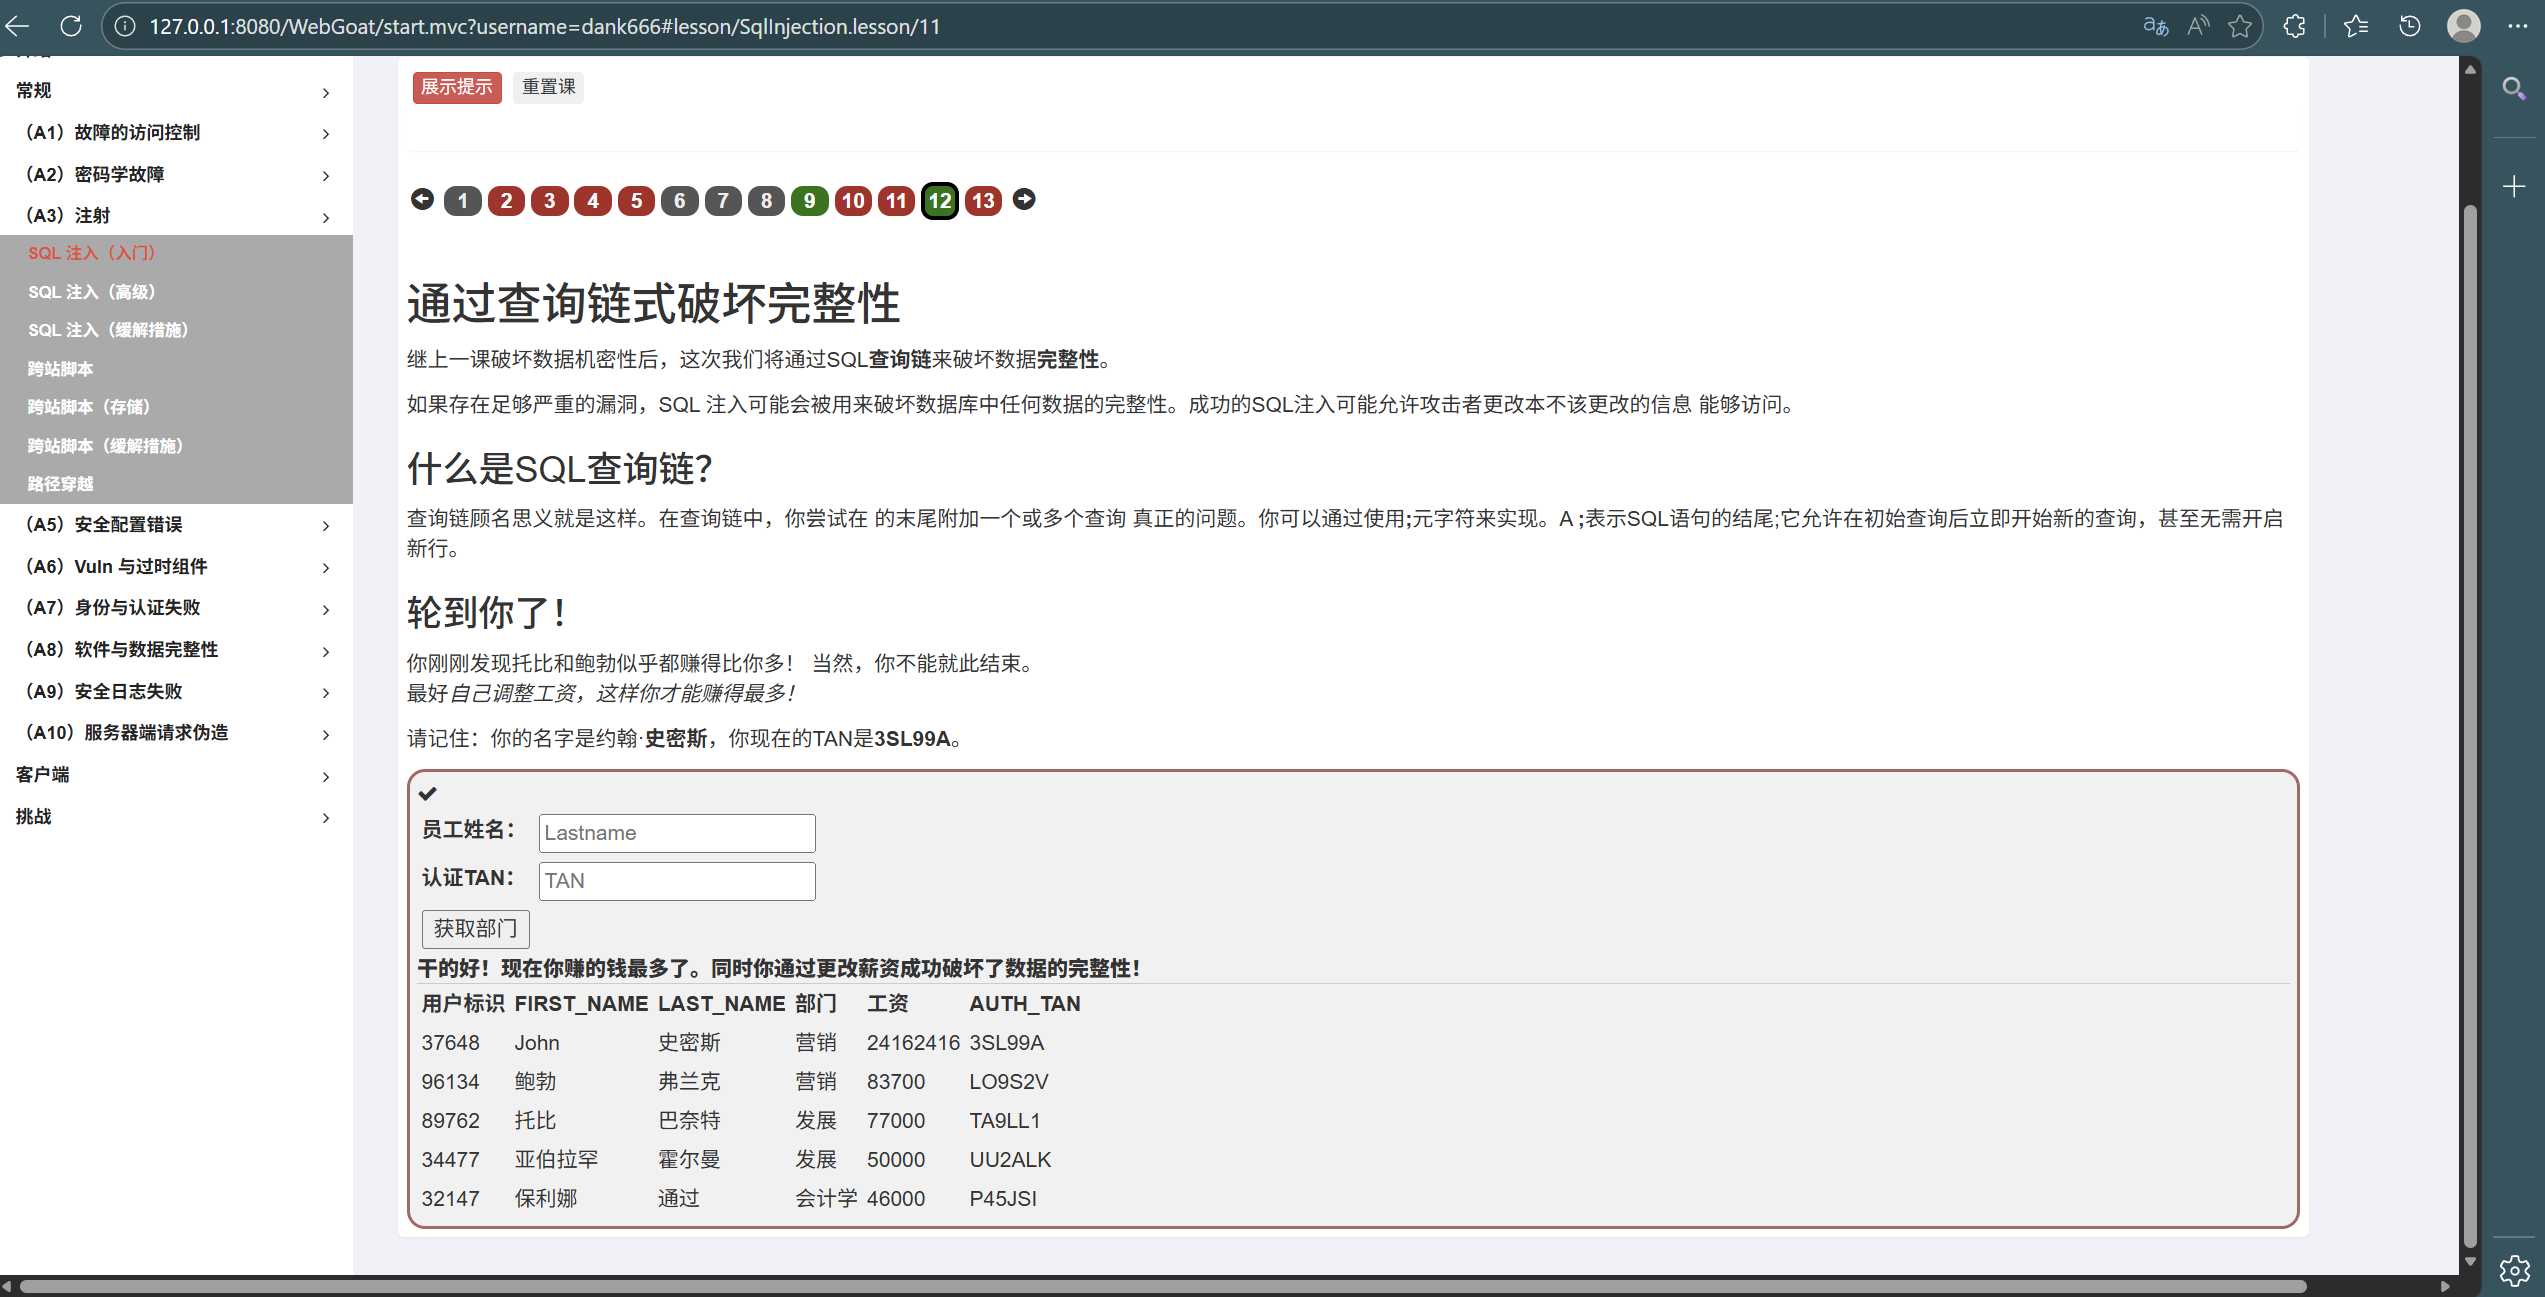
接下来我们看第十二道题,第十二个是通过注入改变工资数量
我们最终的输入内容分别是Employee Name:Smith,Authentication TAN:1'; UPDATE employees SET SALARY = 999999 WHERE LAST_NAME = 'Smith'; --
2.6.2 完成XSS攻击
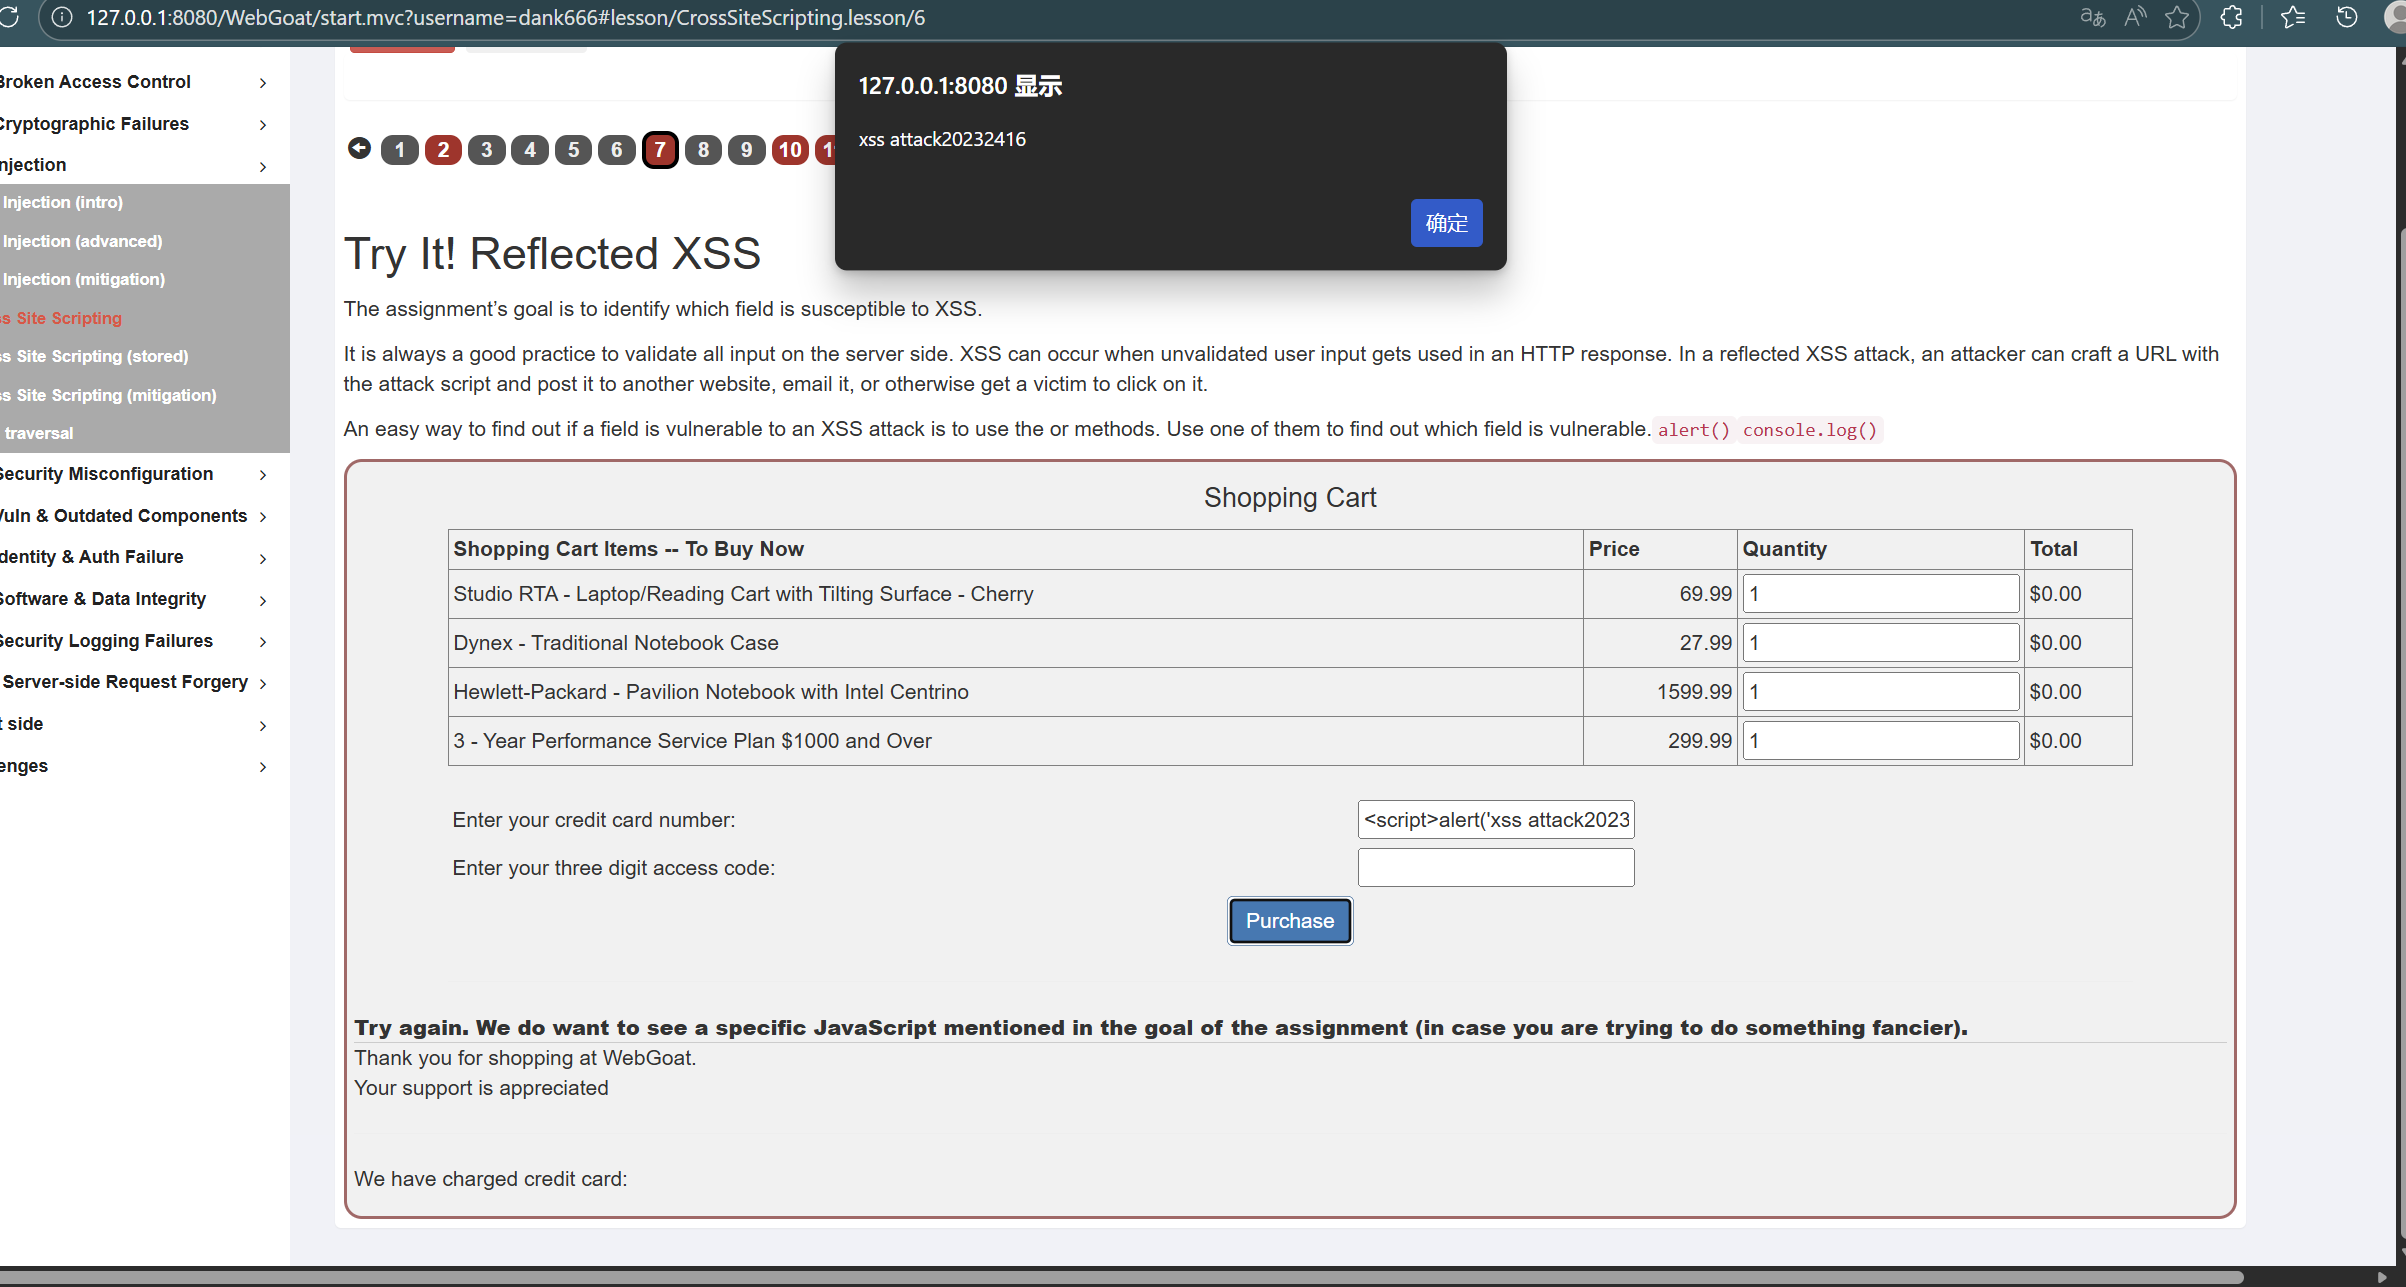
我们来看第七题,这题是反射型XSS攻击,页面显示一共有两个提交框,所以需要测试哪个提交框可以完成攻击。
我们呢分别尝试在两个框中输入<script>alert('xss attack20232416')</script>,发现在第一个框中输入时会弹框,说明XSS攻击成功。
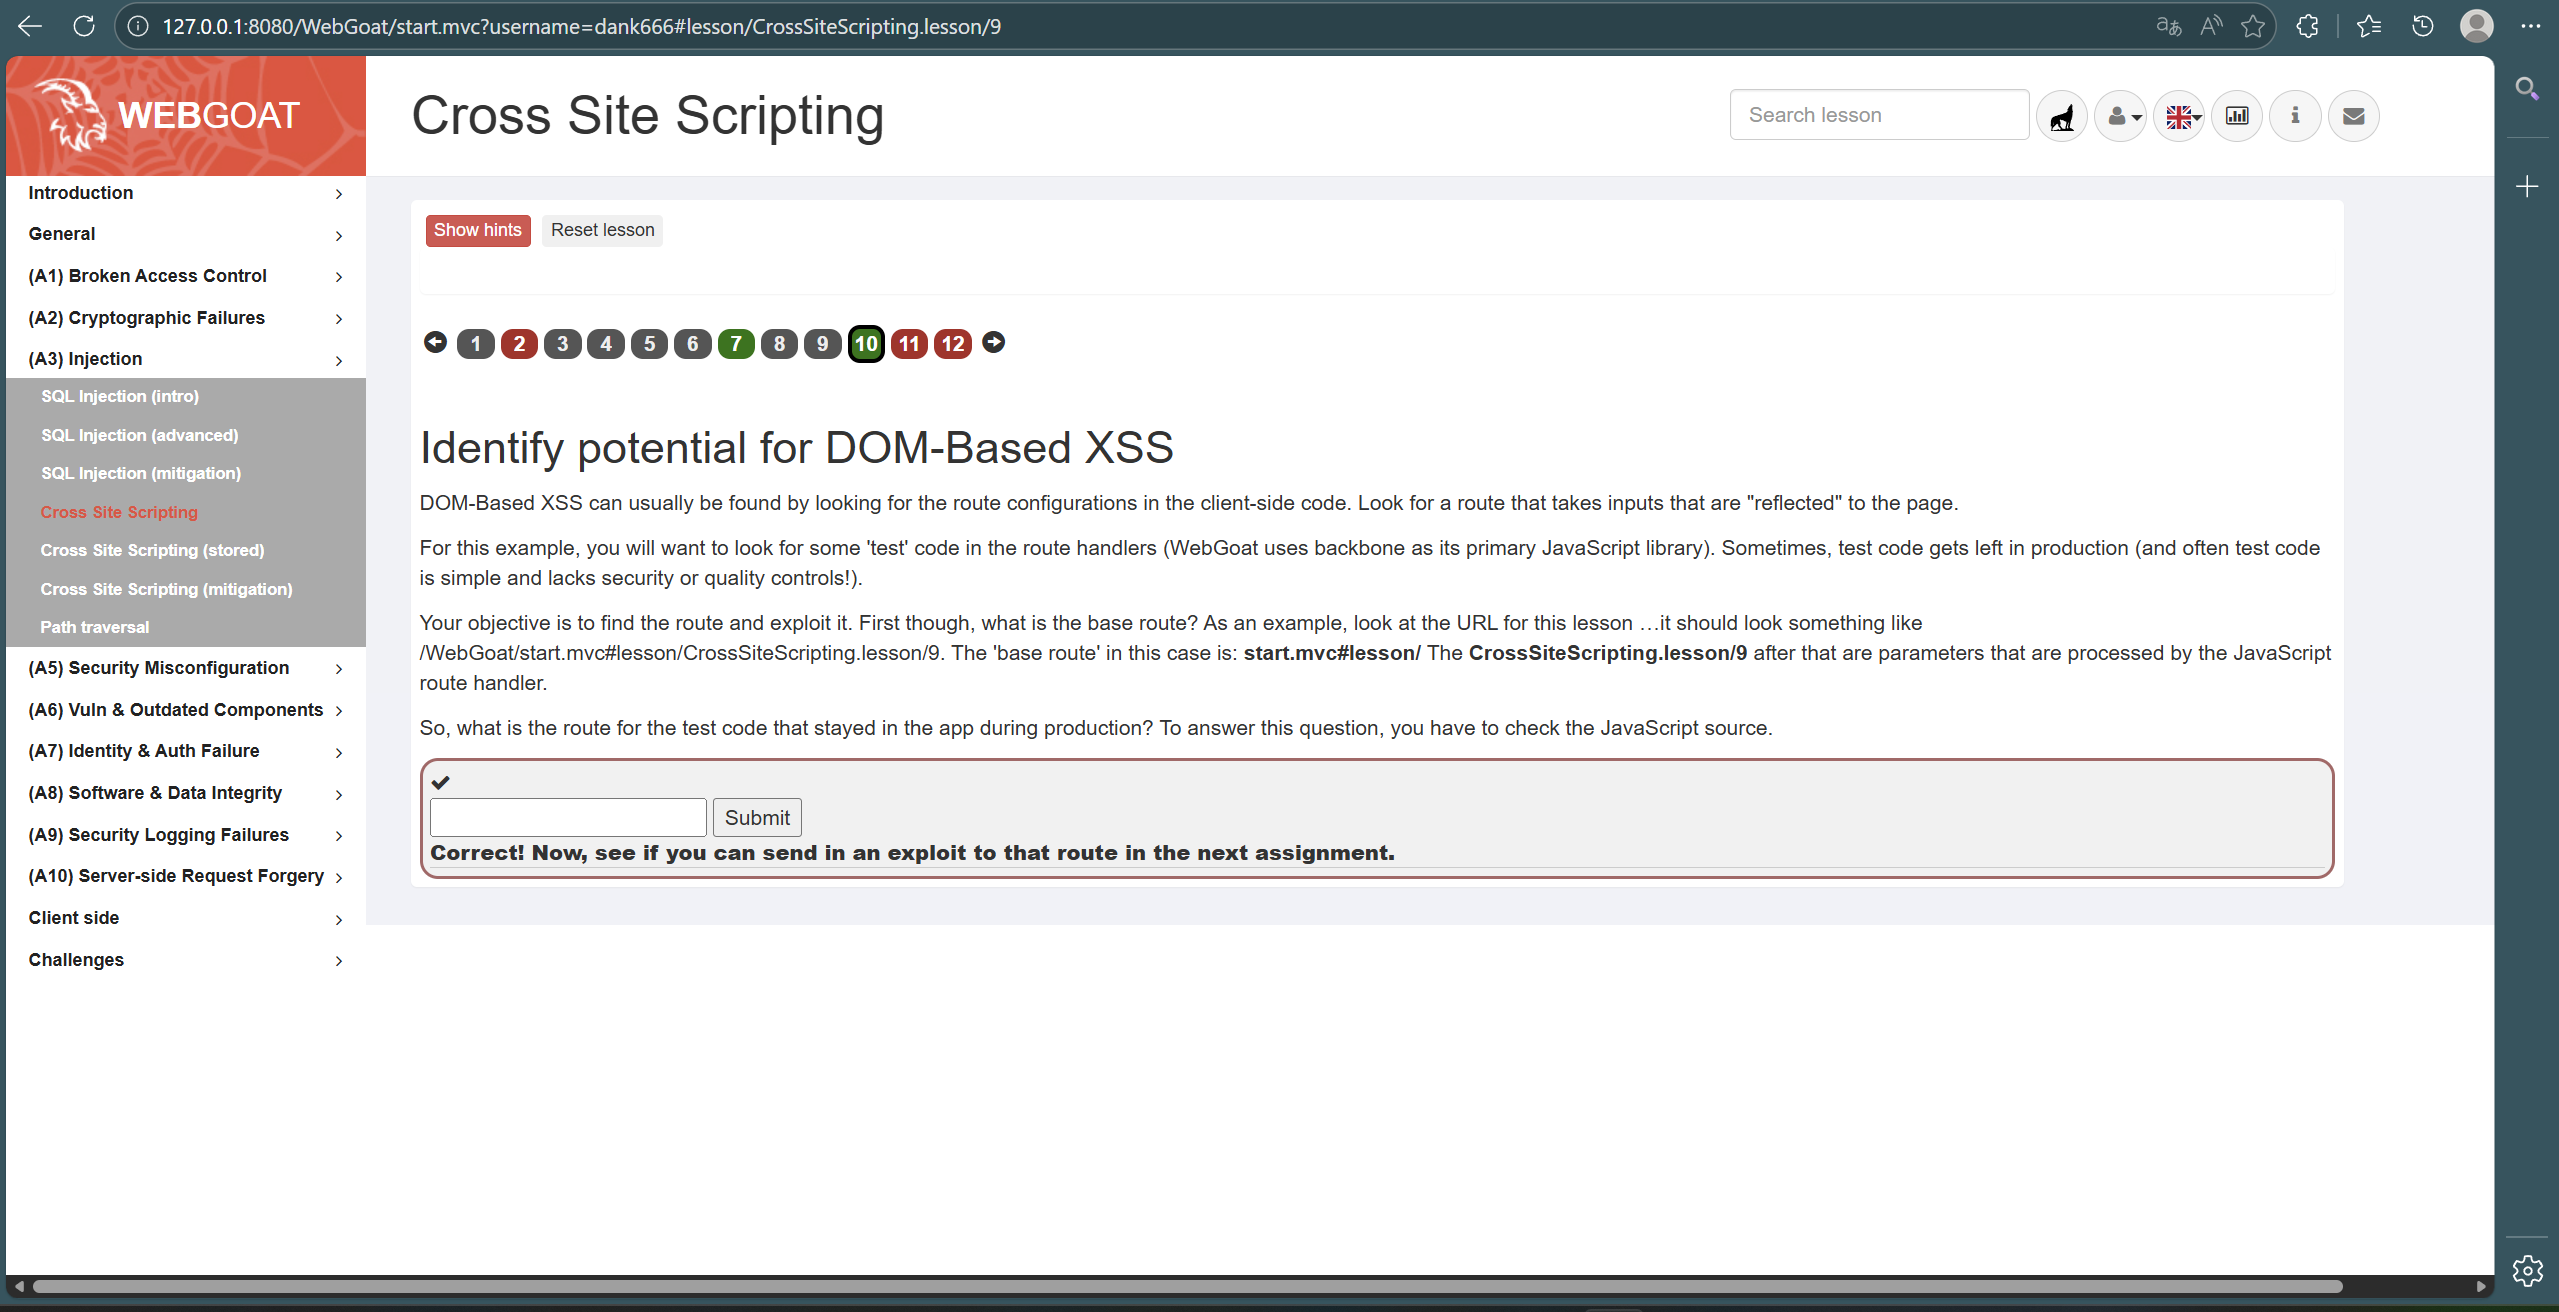
第十个是基于DOM的XSS攻击,需要先找到在生产过程中留在应用程序中的测试代码的路径。我们可以看到题目当中告诉了我们"The ‘base route’ in this case is: start.mvc#lesson",而js文件中写道“‘test/:param’: ‘testRoute’”,因此答案就是start.mvc#test/
2.6.2 完成CSRF攻击
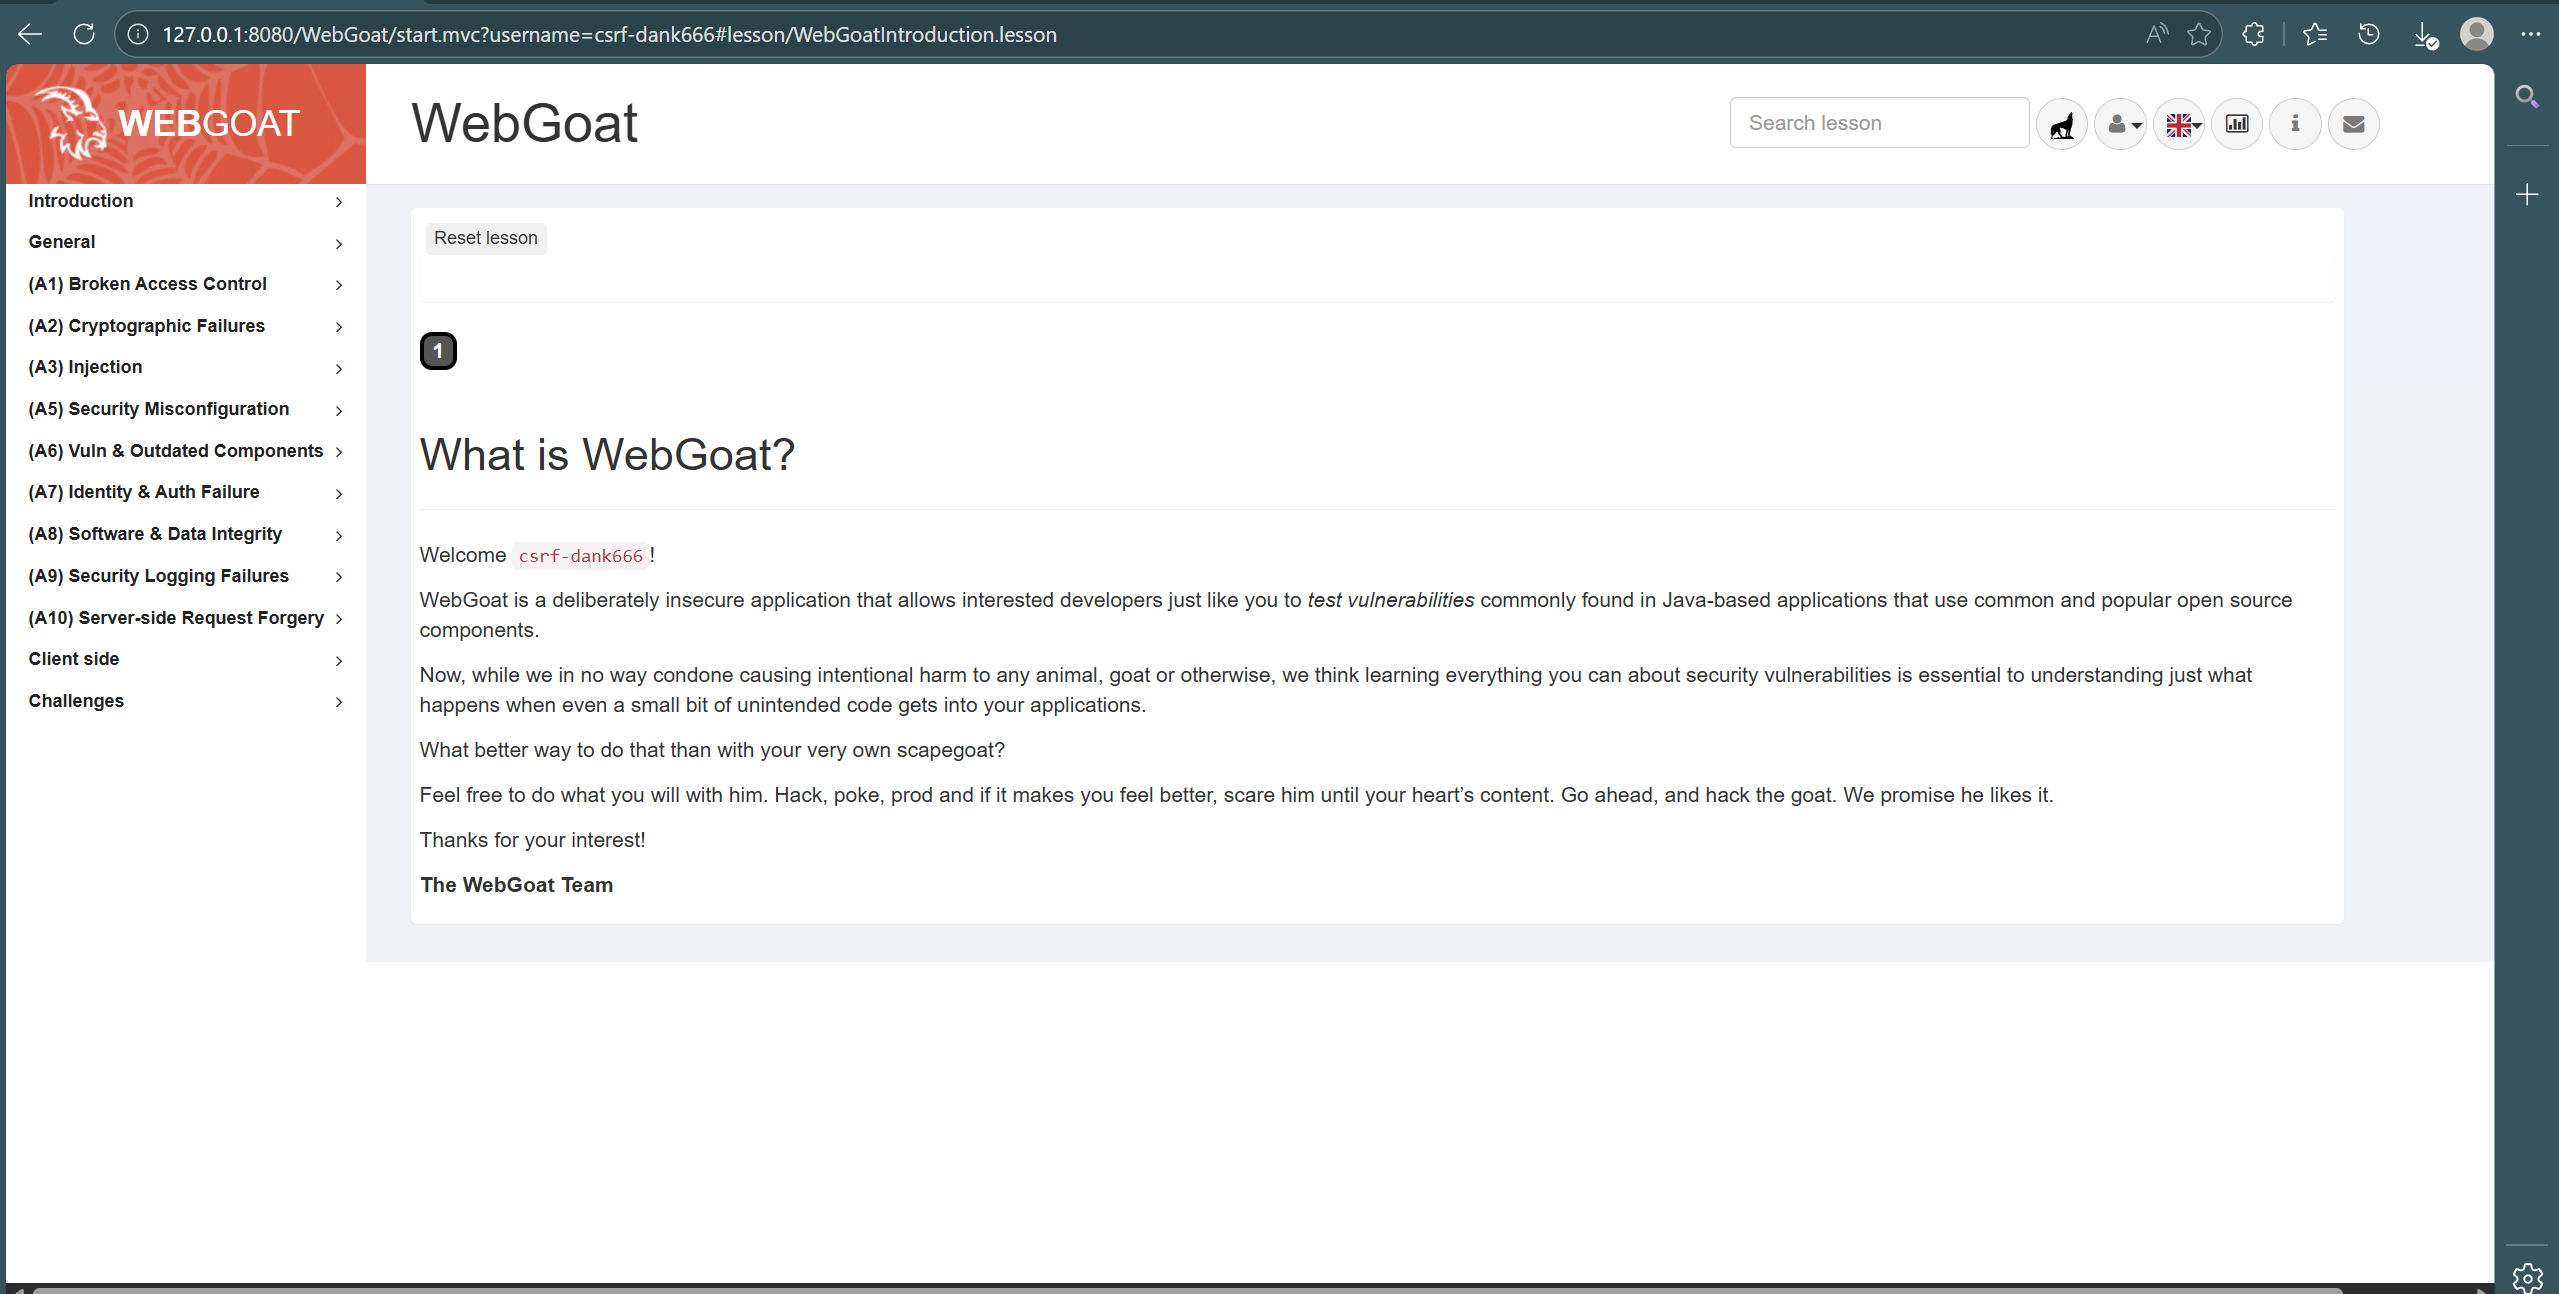
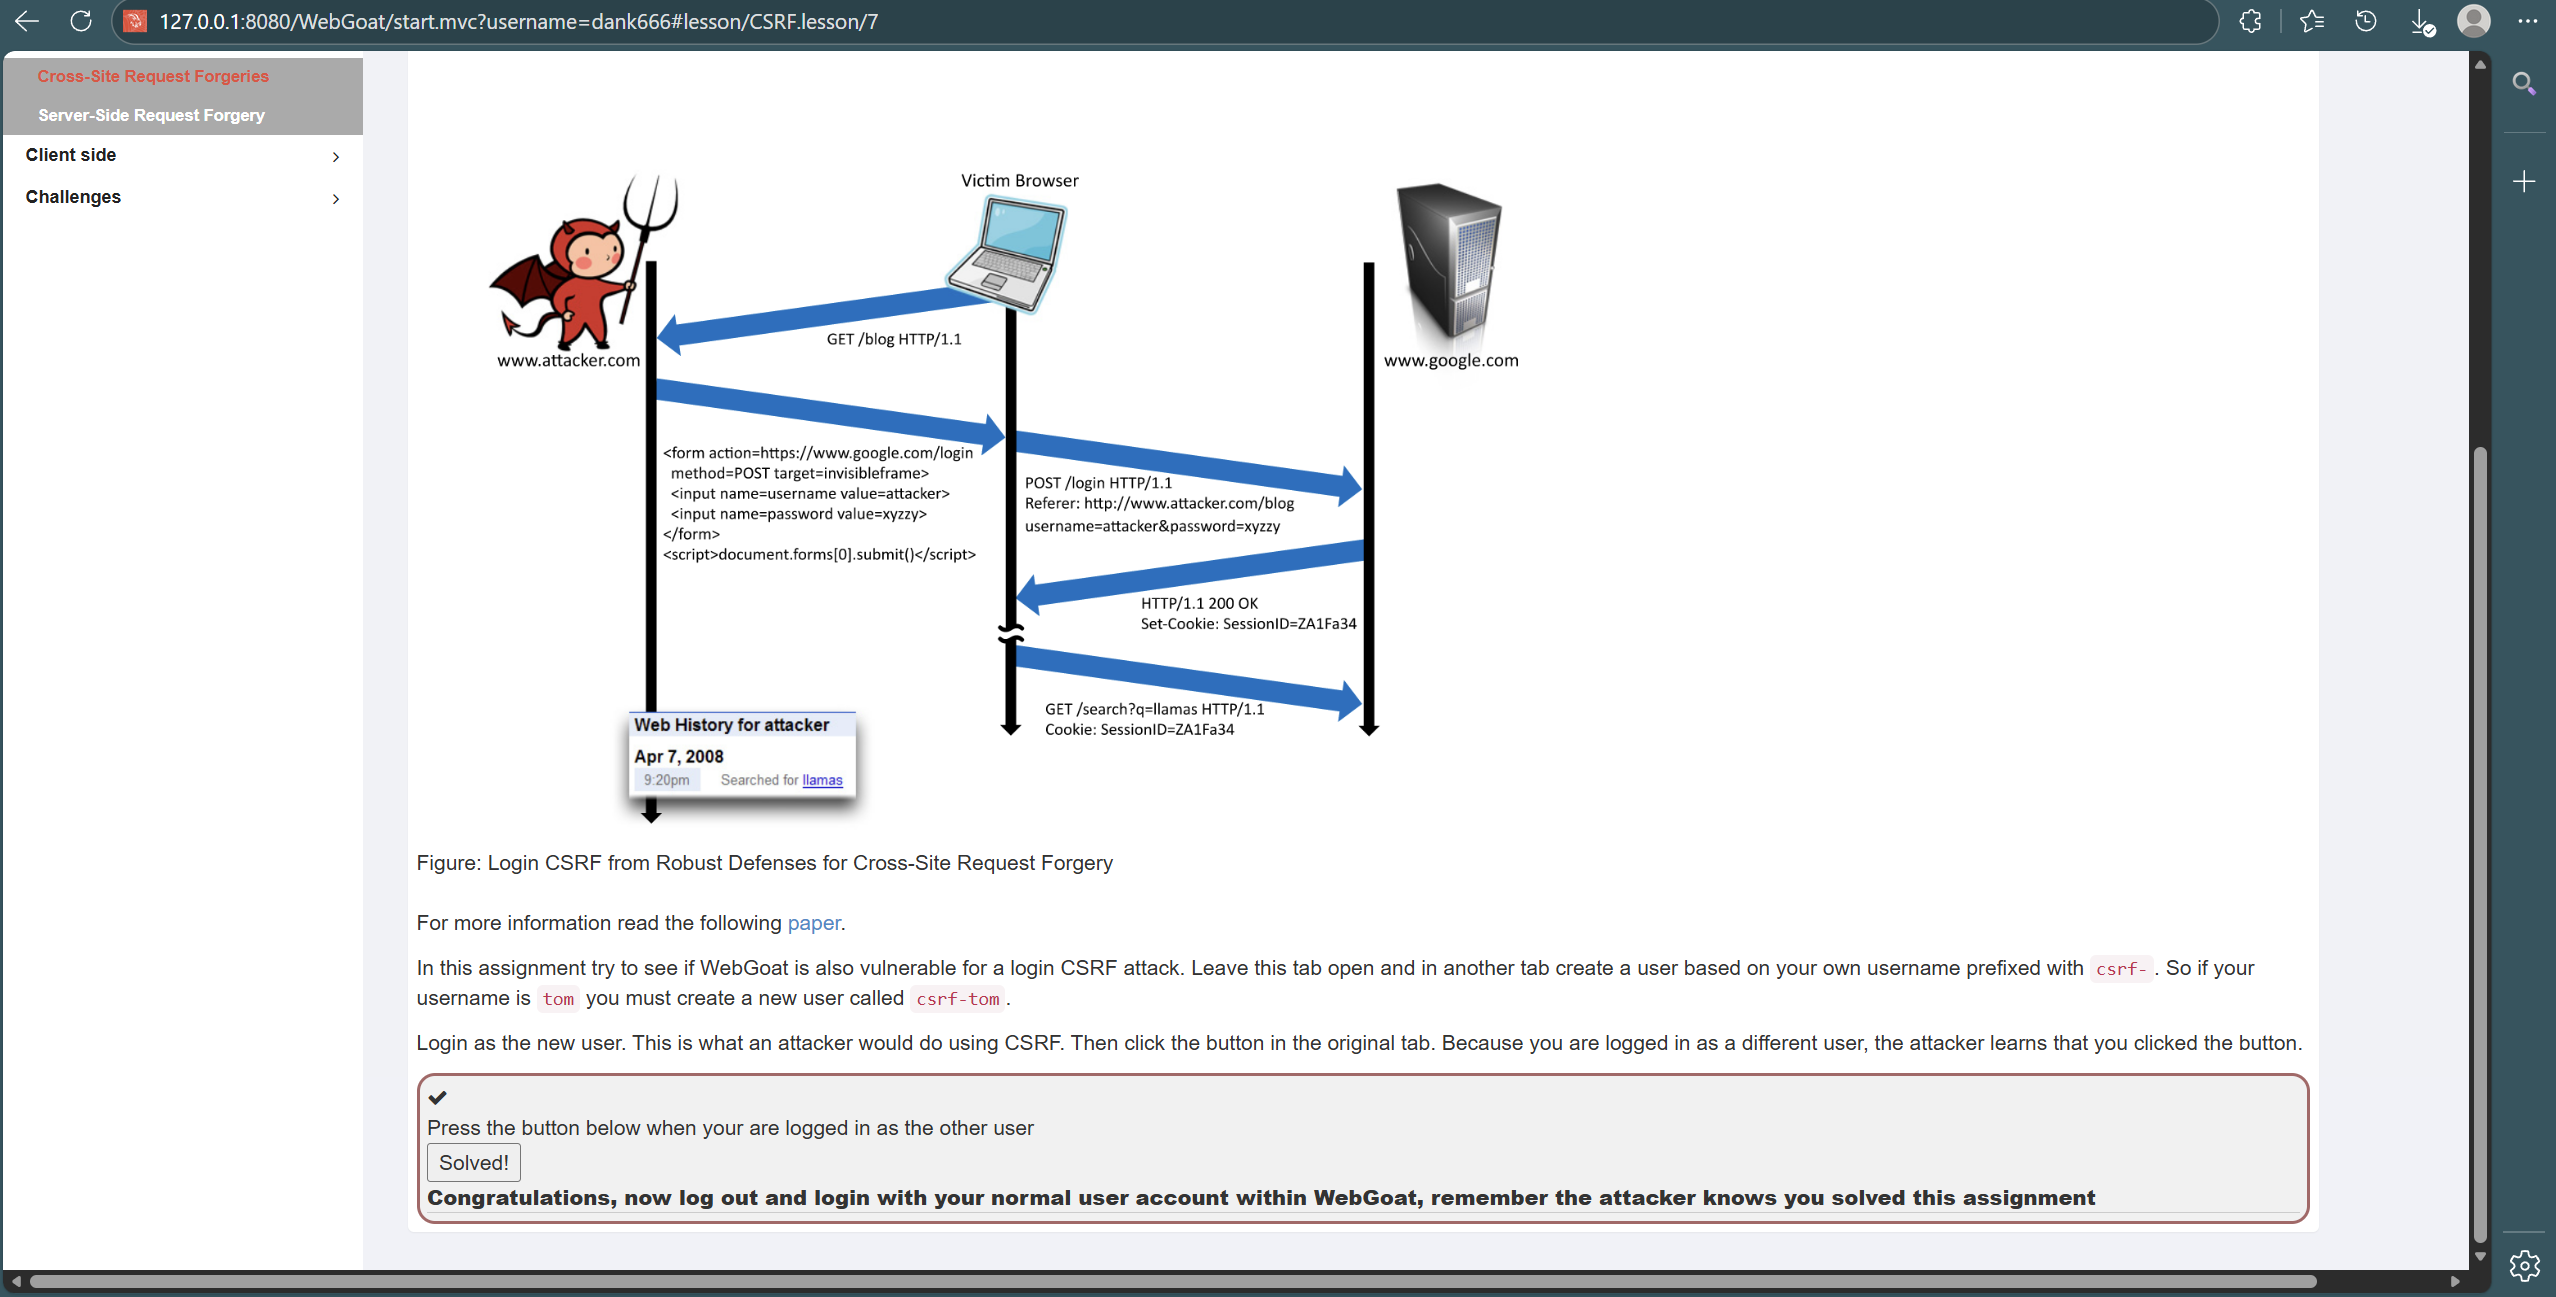
我们查看第八题,该题是登录CSRF攻击,即使用其他用户登录
在保持原界面不变的基础上,我们注册并登陆一个csrf-dank666的账、用户,并且在原用户dank666上进行攻击,显示攻击成功
3. 问题及解决方案
问题1:在Web后端编写PHP网页后,运行始终无法进入我数据库中注册的用户
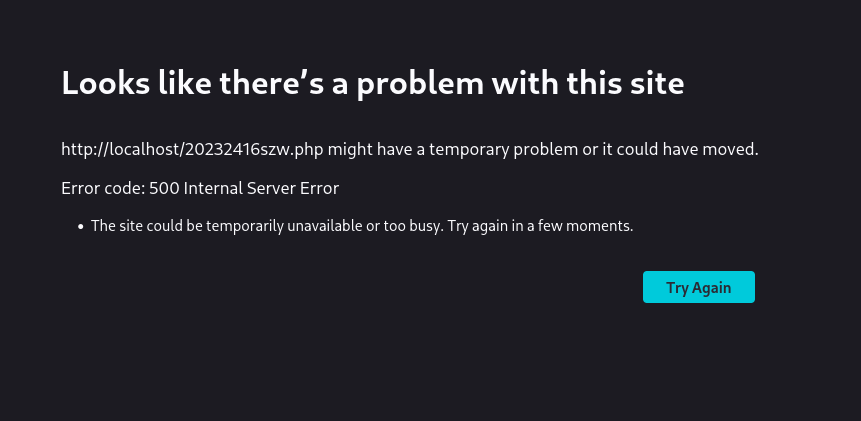
解决方案1:查询AI后显示我的网站服务器端出现故障,具体可能包括服务器程序(比如 PHP 代码)出错、配置错误;服务器资源不足(过载、内存不够);相关服务(如 Apache、MySQL)未正常运行。于是根据这些反馈我重启了Apache和重新编辑了一个新的MySQL数据库,依旧显示这样的问题,我重新检查了PHP文件,发现是我的密码的第一位没有大写导致和数据库中密码不一致产生这样的问题。
4. 学习感悟及思考
本次Web开发与网络安全实验,让我在亲手搭建前后端项目、完成数据库交互的过程中,夯实了HTML、JavaScript、PHP的实操能力,也熟悉了Apache和MySQL的基础运维。从成功实现HTML、JavaScript注入,到用' OR '1'='1完成SQL注入登录,再到在WebGoat平台开展XSS、CSRF攻击测试,我直观感受到了代码漏洞带来的巨大安全风险,深刻意识到安全防护绝非空谈。实验中因密码大小写不一致导致数据库认证失败的排查经历,也让我明白严谨的重要性。

 浙公网安备 33010602011771号