【记录】Python3|Selenium4 极速上手入门(Windows)
环境:Windows
版本:python3,selenium 4.11.2
写这个是方便自己重装电脑时重新装 Selenium,懒得每次都重新找链接。
文章目录
1 装
Chrome 和 Edge 或其他浏览器任选其一。
Chrome
首先,终端运行:
pip3 install selenium==4.11.2
官网下载Chrome:https://www.google.cn/intl/zh-CN/chrome/
安装好Chrome之后查看Chrome版本:chrome://settings/help
如果Chrome版本大于114,官网下载与Chrome版本对于的ChromeDriver:https://googlechromelabs.github.io/chrome-for-testing/,往下翻翻就能看到下载链接;
如果Chrome版本小于等于114,官网下载ChromeDriver链接:https://chromedriver.chromium.org/downloads。
解压下好的ChromeDriver.zip,把里面的exe拖出来,并记住放到了哪个路径。
写代码引入driver:
from selenium import webdriver
from selenium.webdriver.chrome.service import Service

s = Service("D:/software/chromedriver.exe")
driver = webdriver.Chrome(service=s)
结合Options使用的方式:
from selenium import webdriver
from selenium.webdriver.chrome.service import Service
from selenium.webdriver.chrome.options import Options

options = Options()
options.add_argument(
    "user-agent='Mozilla/5.0 (Windows NT 10.0; Win64; x64) AppleWebKit/537.36 (KHTML, like Gecko) Chrome/91.0.4472.124 Safari/537.36'")  # UA
s = Service("D:/software/chromedriver.exe")
driver = webdriver.Chrome(service=s, options=options)
Edge
首先,终端运行:
pip3 install selenium==4.11.2
官网下载Edge:https://www.microsoft.com/en-us/edge/download
安装好Edge之后查看Chrome版本:edge://settings/help
官网下载与Edge版本对于的webDriver:https://developer.microsoft.com/en-us/microsoft-edge/tools/webdriver/
解压下好的edgeDriver.zip,把里面的exe拖出来,并记住放到了哪个路径。
from selenium import webdriver
from selenium.webdriver.edge.service import Service

s = Service('D:/software/msedgedriver.exe')
edge = webdriver.Edge(service=s)
结合Options使用的方式:
from selenium import webdriver
from selenium.webdriver.edge.service import Service
from selenium.webdriver.edge.options import Options

options = Options()
options.add_argument(
    "user-agent='Mozilla/5.0 (Windows NT 10.0; Win64; x64) AppleWebKit/537.36 (KHTML, like Gecko) Chrome/91.0.4472.124 Safari/537.36'")  # UA
s = Service('D:/software/msedgedriver.exe')
edge = webdriver.Edge(service=s, options=options)
其他浏览器
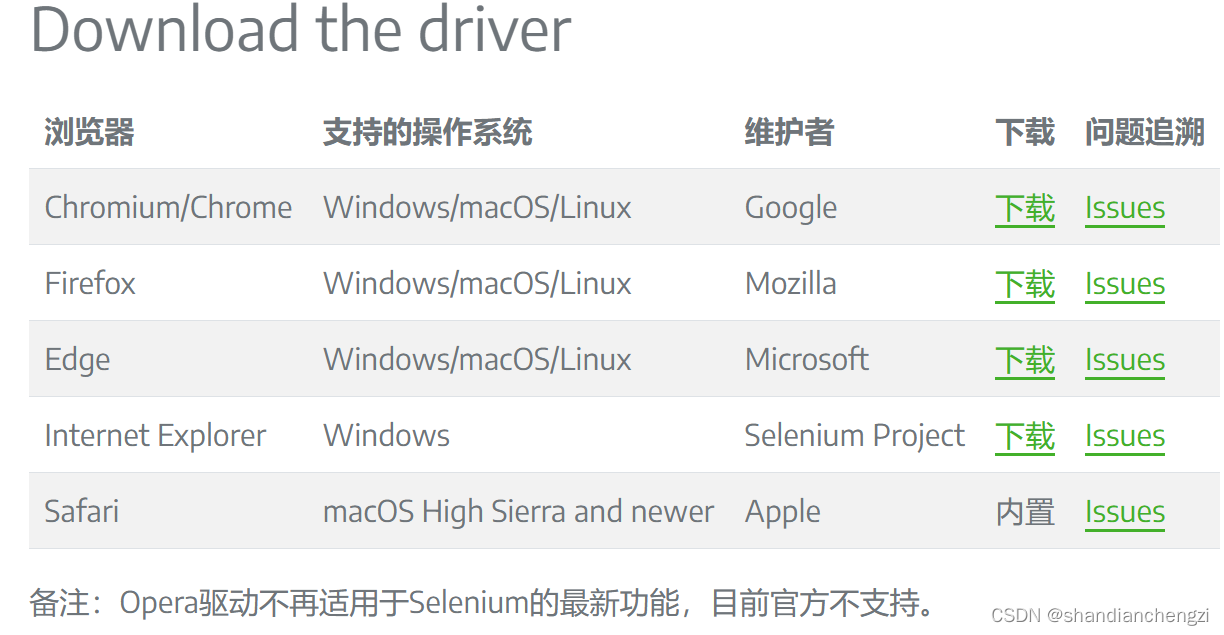
浏览器本身直接搜索下载,驱动driver可参考selenium官网的驱动下载列表:
https://www.selenium.dev/zh-cn/documentation/webdriver/troubleshooting/errors/driver_location/#download-the-driver。
2 运行报错
以下是运行Selenium可能遇到的问题:
RequestsDependencyWarning: urllib3 (1.26.9) or chardet (3.0.4) doesn‘t match a supported version
解决:更新requests:pip3 install --upgrade requests
打开了浏览器,但是没有显示网页 / Service连接失败
原因:浏览器驱动版本下载错误。
解决:请自行确定浏览器版本并重新下载驱动driver。
invalid argument: invalid locator (Session info: MicrosoftEdge=102.0.1245.44)
两种原因:
① 浏览器版本和驱动版本不一致(请自行确定浏览器版本并重新下载驱动driver);
② 代码打错了。比如edge.find_elements(by="//div"),正确的是edge.find_elements(by='xpath',value="//div")。
3 老代码报错
Selenium 4重构过,API 发生了一些变化。以下是常见报错:
DeprecationWarning: executable_path has been deprecated, please pass in a Service object
原因:查询当前版本重构后的函数,是之前的 executable_path 被重构到了 Service 函数里。所以,新版的selenium不能继续用executable_path,而是应该写成Service。
DeprecationWarning 警告的类型错误的意思都是,该类型的警告大多属于版本已经更新,所使用的方法过时。
解决:webdriver.Edge(executable_path='/pathto/webdriver.exe', options=options) 改成 webdriver.Edge(service=Service('/pathto/webdriver.exe'), options=options),意思是去掉代码中的executable_path,用Service,如本文的第一节装里提供的示例代码那样写。
参考:selenium 报错 DeprecationWarning: executable_path has been deprecated, please pass in a Service object
AttributeError: ‘WebDriver’ object has no attribute ‘find_elements_by_xpath’
原因:新的driver类没有find_elements_by_xpath方法了:

解决:改成find_elements(by='xpath', value='查找路径')。
快速替换:find_elements_by_xpath( → find_elements(by='xpath',value=。
4 经典代码片段分享
from selenium import webdriver
from selenium.webdriver.edge.service import Service
from selenium.webdriver.edge.options import Options

def connectchrome():
    """
    连接chrome浏览器,实现无痕浏览
    """
    # driver_path = os.getcwd()+ "/chromedriver.exe"
    # s = Service(driver_path)
    s = Service("D:/software/chromedriver.exe") # 注意改成自己的driver路径

    options = Options()
    options.add_argument('log-level=3')
    options.add_argument("--incognito")
    options.add_argument("--no-sandbox")
    options.add_argument("--disable-dev-shm-usage")
    options.add_experimental_option('useAutomationExtension', False)
    options.add_experimental_option('excludeSwitches', ['enable-automation'])
    prefs = {
        'profile.default_content_setting_values': {
            'images': 2,
        }
    }
    options.add_experimental_option('prefs', prefs)
    options.add_argument("--disable-blink-features=AutomationControlled")
    options.add_argument(
        "user-agent='Mozilla/5.0 (Windows NT 10.0; Win64; x64) AppleWebKit/537.36 (KHTML, like Gecko) Chrome/91.0.4472.124 Safari/537.36'")
    driver = webdriver.Chrome(service=s, options=options)
    driver.execute_cdp_cmd("Page.addScriptToEvaluateOnNewDocument", {
        "source": """
        Object.defineProperty(navigator, 'webdriver', {
          get: () => undefined
        })
      """
    })
    driver.set_window_size(1280, 800)
    driver.set_window_position(100, 100)
    time.sleep(2)
    return driver
本账号所有文章均为原创,欢迎转载,请注明文章出处:https://blog.csdn.net/qq_46106285/article/details/132405149。百度和各类采集站皆不可信,搜索请谨慎鉴别。技术类文章一般都有时效性,本人习惯不定期对自己的博文进行修正和更新,因此请访问出处以查看本文的最新版本。

 浙公网安备 33010602011771号