
nginx 的安装与基本命令使用 -02
一、安装nginx
1.1 先下载安装包 nginx-1.16.1.tar.gz
官网:http://nginx.org/
下载:http://nginx.org/en/download.html
1.2 上传安装包服务器,解压
tar -zxvf nginx-1.16.1.tar.gz
1.3 安装步骤
第一步:创建用户
[root@demo nginx-1.16.1]# useradd nginx


第二步:验证用户是否存在
[root@demo nginx-1.16.1]# id nginx
uid=1000(nginx) gid=1000(nginx) groups=1000(nginx)
You have new mail in /var/spool/mail/root
[root@demo nginx-1.16.1]# cat /etc/passwd |grep nginx
nginx:x:1000:1000::/home/nginx:/bin/bash
[root@demo nginx-1.16.1]# cat /etc/group |grep nginx
nginx:x:1000:


第三步:配置编译选项
[root@demo nginx-1.16.1]# ./configure --prefix=/usr/local/nginx --user=nginx --group=nginx
checking for OS
+ Linux 4.19.12-1.el7.elrepo.x86_64 x86_64

...

creating objs/Makefile

Configuration summary
+ using system PCRE library
+ OpenSSL library is not used
+ using system zlib library

nginx path prefix: "/usr/local/nginx"
nginx binary file: "/usr/local/nginx/sbin/nginx"
nginx modules path: "/usr/local/nginx/modules"
nginx configuration prefix: "/usr/local/nginx/conf"
nginx configuration file: "/usr/local/nginx/conf/nginx.conf"
nginx pid file: "/usr/local/nginx/logs/nginx.pid"
nginx error log file: "/usr/local/nginx/logs/error.log"
nginx http access log file: "/usr/local/nginx/logs/access.log"
nginx http client request body temporary files: "client_body_temp"
nginx http proxy temporary files: "proxy_temp"
nginx http fastcgi temporary files: "fastcgi_temp"
nginx http uwsgi temporary files: "uwsgi_temp"
nginx http scgi temporary files: "scgi_temp"

You have new mail in /var/spool/mail/root

第四步:配置ssl模块
[root@demo nginx-1.16.1]# ./configure --prefix=/usr/local/nginx --user=nginx --group=nginx --with-http_stub_status_module --with-http_ssl_module
checking for OS
+ Linux 4.19.12-1.el7.elrepo.x86_64 x86_64
checking for C compiler ... found
+ using GNU C compiler
+ gcc version: 4.8.5 20150623 (Red Hat 4.8.5-44) (GCC)
checking for gcc -pipe switch ... found
checking for -Wl,-E switch ... found
.....
checking for zlib library ... found
creating objs/Makefile

Configuration summary
+ using system PCRE library
+ using system OpenSSL library
+ using system zlib library
nginx path prefix: "/usr/local/nginx"
nginx binary file: "/usr/local/nginx/sbin/nginx"
nginx modules path: "/usr/local/nginx/modules"
nginx configuration prefix: "/usr/local/nginx/conf"
nginx configuration file: "/usr/local/nginx/conf/nginx.conf"
nginx pid file: "/usr/local/nginx/logs/nginx.pid"
nginx error log file: "/usr/local/nginx/logs/error.log"
nginx http access log file: "/usr/local/nginx/logs/access.log"
nginx http client request body temporary files: "client_body_temp"
nginx http proxy temporary files: "proxy_temp"
nginx http fastcgi temporary files: "fastcgi_temp"
nginx http uwsgi temporary files: "uwsgi_temp"
nginx http scgi temporary files: "scgi_temp"

[root@demo nginx-1.16.1]#

---以上步骤完成后,此是/usr/local 下还没有nginx--------
 查看上面安装后,nginx包 目录结构 ,对比安装前的目标,可以看到新增了 Makefile 等
[root@demo nginx-1.16.1]# ls
auto CHANGES.ru configure html Makefile objs src
CHANGES conf contrib LICENSE man README

、、、

安装前的目录

[root@demo nginx-1.16.1]# ls
auto CHANGES CHANGES.ru conf configure contrib html LICEN

、、、


第五步:make 继续编译,
[root@demo nginx-1.16.1]# make

.....

objs/src/http/modules/ngx_http_stub_status_module.o \
objs/ngx_modules.o \
-ldl -lpthread -lcrypt -lpcre -lssl -lcrypto -ldl -lpthread -lz \
-Wl,-E
sed -e "s|%%PREFIX%%|/usr/local/nginx|" \
-e "s|%%PID_PATH%%|/usr/local/nginx/logs/nginx.pid|" \
-e "s|%%CONF_PATH%%|/usr/local/nginx/conf/nginx.conf|" \
-e "s|%%ERROR_LOG_PATH%%|/usr/local/nginx/logs/error.log|" \
< man/nginx.8 > objs/nginx.8
make[1]: Leaving directory `/usr/local/nginx-1.16.1'
You have new mail in /var/spool/mail/root

-------上面可以看到成功了,此时/usr/local/下还没有nginx------------

第六步: 进行make 安装,其实是创建目录、复制文件

[root@demo nginx-1.16.1]# make install

cp conf/nginx.conf '/usr/local/nginx/conf/nginx.conf.default'
test -d '/usr/local/nginx/logs' \
|| mkdir -p '/usr/local/nginx/logs'
test -d '/usr/local/nginx/logs' \
|| mkdir -p '/usr/local/nginx/logs'
test -d '/usr/local/nginx/html' \
|| cp -R html '/usr/local/nginx'
test -d '/usr/local/nginx/logs' \
|| mkdir -p '/usr/local/nginx/logs'
make[1]: Leaving directory `/usr/local/nginx-1.16.1'
[root@demo nginx-1.16.1]#

-----上面可以看到成功了,此时/usr/local 下有nginx了------

第七步: 进行添加软连接
[root@demo nginx-1.16.1]# ln -s /usr/local/nginx/sbin/nginx /usr/sbin/

查看添加是否成功
[root@demo nginx-1.16.1]# ll /usr/sbin/ |grep nginx
lrwxrwxrwx 1 root root 27 Jun 7 14:19 nginx -> /usr/local/nginx/sbin/nginx

查看nginx版本
[root@demo nginx-1.16.1]# nginx -v
nginx version: nginx/1.16.1

查看nginx版本和编译参数
[root@demo nginx-1.16.1]# nginx -V
nginx version: nginx/1.16.1
built by gcc 4.8.5 20150623 (Red Hat 4.8.5-44) (GCC)
built with OpenSSL 1.0.2k-fips 26 Jan 2017
TLS SNI support enabled
configure arguments: --prefix=/usr/local/nginx --user=nginx --group=nginx --with-http_stub_status_module --with-http_ssl_module
You have new mail in /var/spool/mail/root
[root@demo nginx-1.16.1]#

----在任意目录下 都可启动nginx------
启动nginx
[root@demo demo]# nginx

查看是否启动成功
[root@demo demo]# ps -ef |grep -v grep | grep nginx
root 8525 1 0 14:28 ? 00:00:00 nginx: master process nginx
nginx 8526 8525 0 14:28 ? 00:00:00 nginx: worker process
[root@demo demo]#
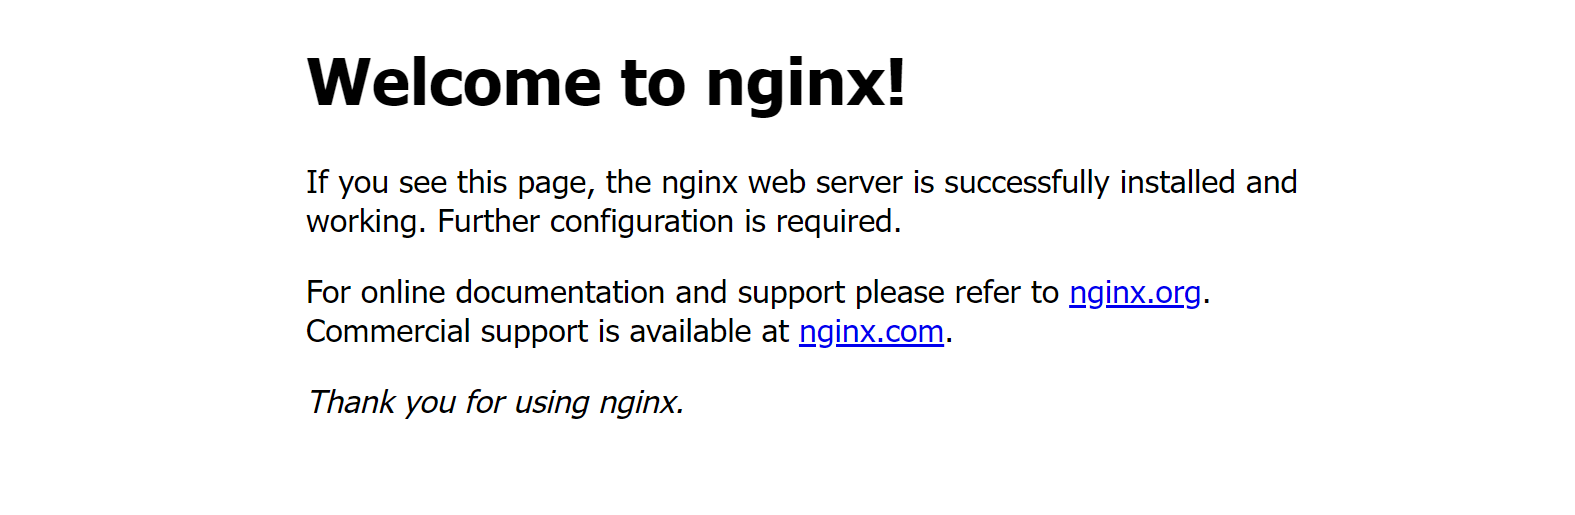
浏览器输入http://ip/ 访问,看到如下就成功了
二、nginx 的基本命令 使用
进入nginx 目录
[root@demo ~]# cd /usr/local/

查看目录下 是不是存在 nginx
[root@demo  local]# ls
apache-jmeter-5.1.1 jdk1.8.0_211 nginx-1.16.1.tar.gz
apache-tomcat-9.0.19 lib nginx-vts-exporter-0.9.1.linux-amd64.tar.gz
apache-tomcat-9.0.19.tar.gz lib64 redis
bin libexec sbin
etc mysql share
games nginx src
include nginx-1.16.1
[root@demo local]#

进入nginx目录
[root@demo local]# cd nginx
[root@demo nginx]# ls
client_body_temp  conf  fastcgi_temp  html  logs  proxy_temp  sbin  scgi_temp  uwsgi_temp
[root@demo nginx]# pwd
/usr/local/nginx

查看 logs
[root@demo nginx]# cd logs/
[root@demo logs]# ls
access.log  error.log  nginx.pid
[root@demo logs]# cd conf
-bash: cd: conf: No such file or directory
[root@demo logs]# cd ..

查看conf
[root@demo nginx]# cd conf/
[root@demo conf]# ls
fastcgi.conf            koi-utf             nginx.conf           uwsgi_params
fastcgi.conf.default    koi-win             nginx.conf.default   uwsgi_params.default
fastcgi_params          mime.types          scgi_params          win-utf
fastcgi_params.default  mime.types.default  scgi_params.default

查看nginx.conf 配置,核心配置就是这个
[root@demo conf]# vim nginx.conf
You have new mail in /var/spool/mail/root

查看 进程,nginx 默认是 80端口
[root@demo conf]# netstat -lnpt |grep 80
tcp        0      0 0.0.0.0:80              0.0.0.0:*               LISTEN      8525/nginx: master
tcp6       0      0 :::8080                 :::*                    LISTEN      2613/java
tcp6       0      0 127.0.0.1:8005          :::*                    LISTEN      2613/java
tcp6       0      0 :::8009                 :::*                    LISTEN      2613/java

停止nginx
[root@demo conf]#  nginx -s stop
查看帮助
[root@demo conf]#  nginx -l
重启,必须是启动的状态下执行
[root@demo conf]# nginx -s reload

测试配置文件
[root@conf]# nginx -t
nginx: the configuration file /usr/local/nginx/conf/nginx.conf syntax is ok
nginx: configuration file /usr/local/nginx/conf/nginx.conf test is successful
You have new mail in /var/spool/mail/root

 浙公网安备 33010602011771号