如何用Spring Boot 写出helloworld
Spring Boot Controller
如何用Spring Boot 写出helloworld
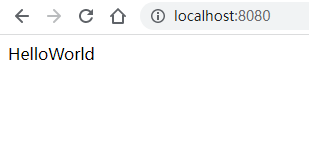
效果如下
准备条件: idea2020.0.4 和 jdk8u安装完毕
安装完后打开idea
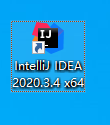
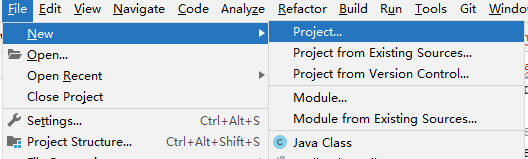
我的勇士,看到桌面的图标的了吗,双击打开它,
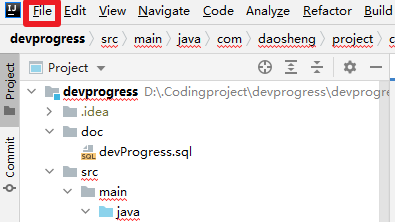
打开之后,也许会出现已经打开的项目,我的勇士,单机File ,新建它,
看到New 点击New

看到New Project,点击 New Project
点击 New Project 后会弹出,新建项目面板 ,让我们选择 我们的英雄(项目)
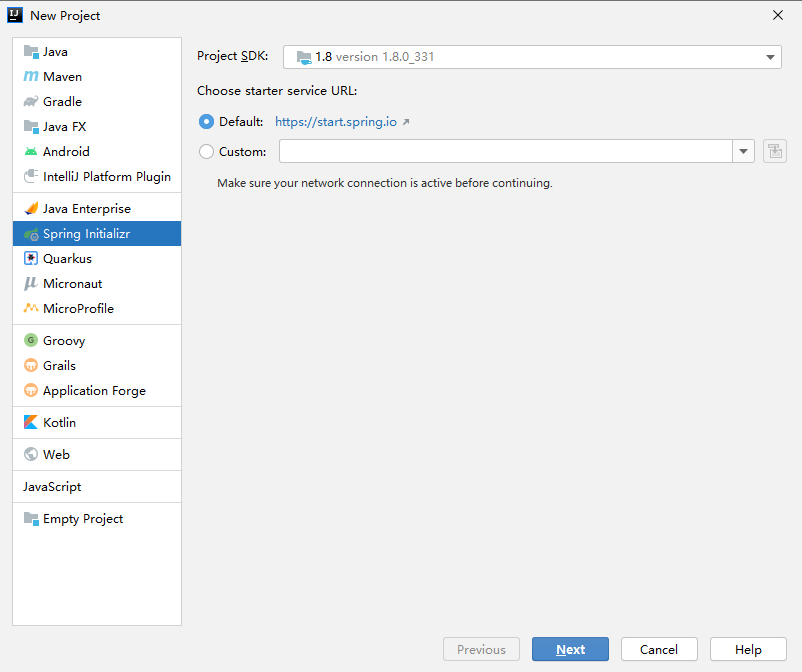
选择 Spring Initializr
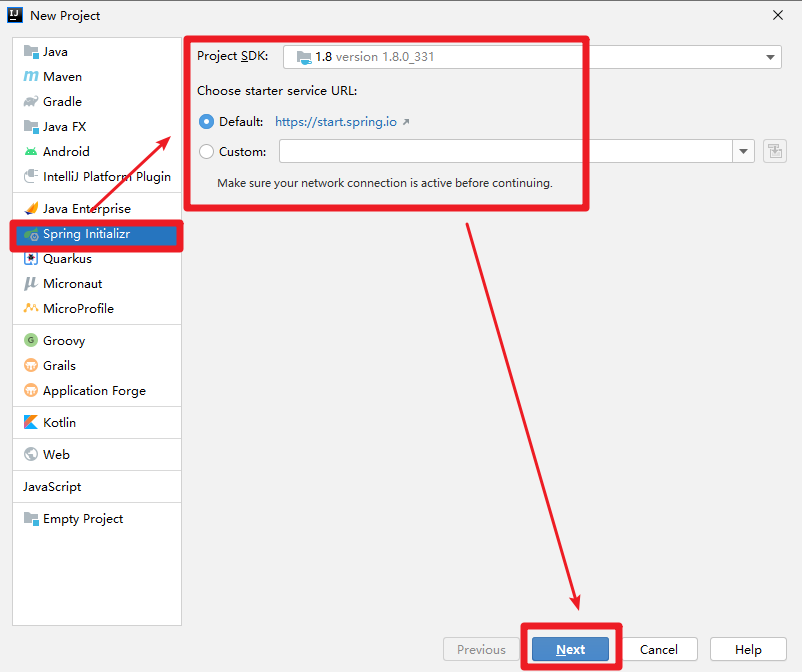
点击 Next 后,选择 Java Version (Java 版本)为 8
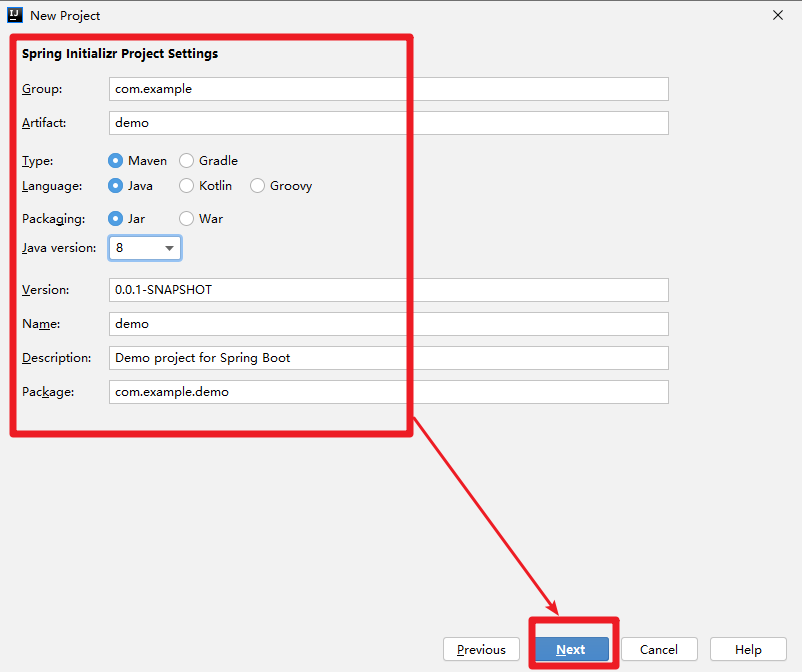
选择 我们需要的插件 ,
Developer Tools 里面的Lombok ,
Web 里面的 Spring Web ,
SQL 里面的 MyBatis Framework 和 Mysql Driver
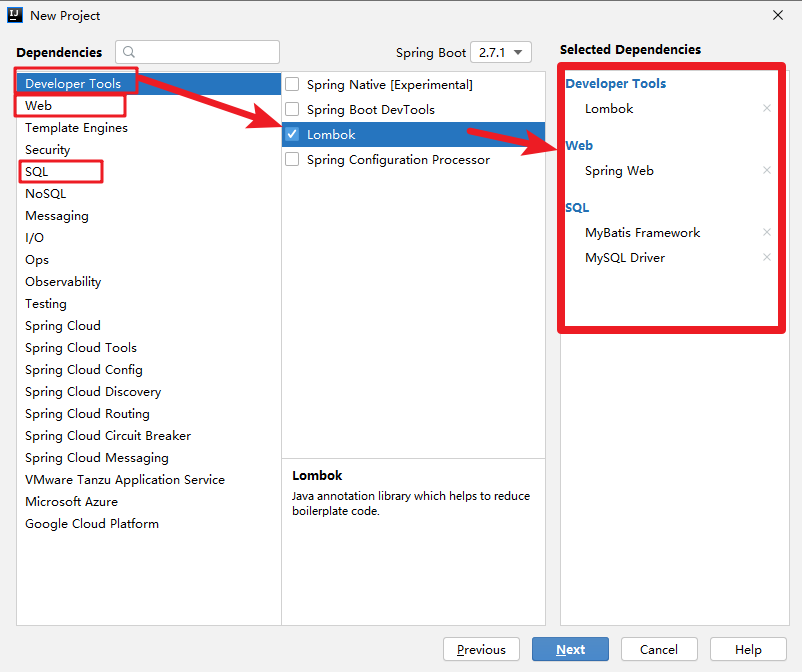
选择完成后 点击 Next
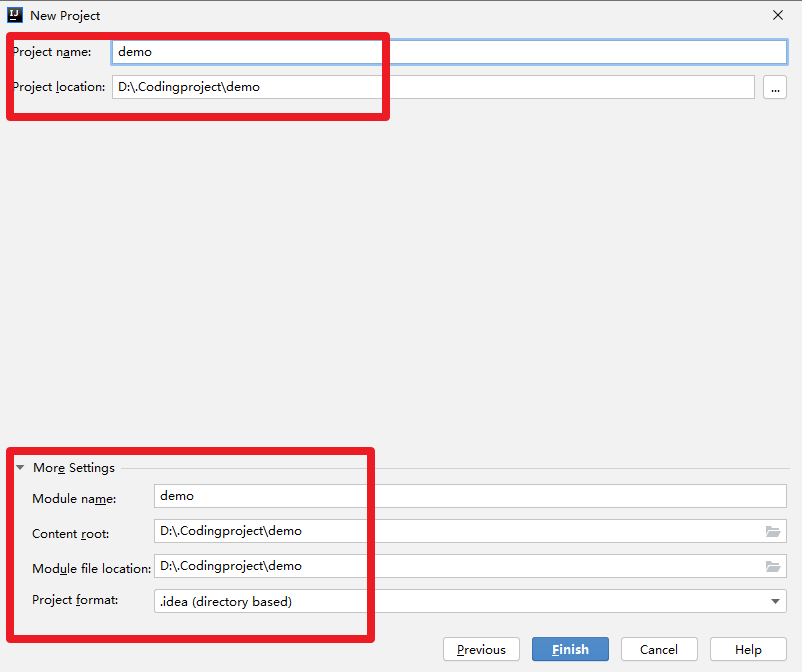
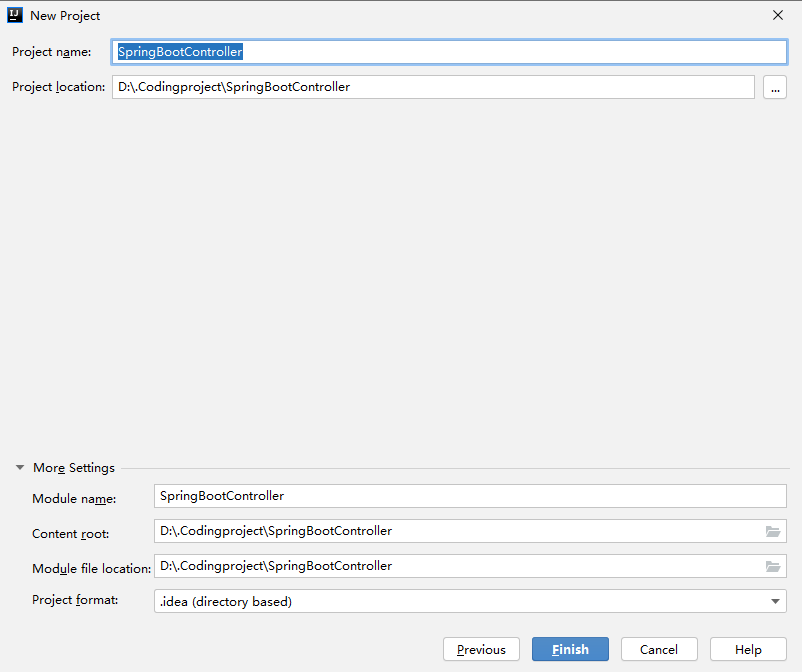
自动帮你的project Name (项目名称改为 demo),我们可以更改为我们自己的项目名称为SpringBootController,完成后,点击 Next
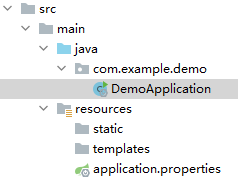
开始了自动化创建,创建完成后,应该是这个样子的

ok,这个样子之后,我们点击三角形启动项目,会发现报错,原因是没有链接数据库

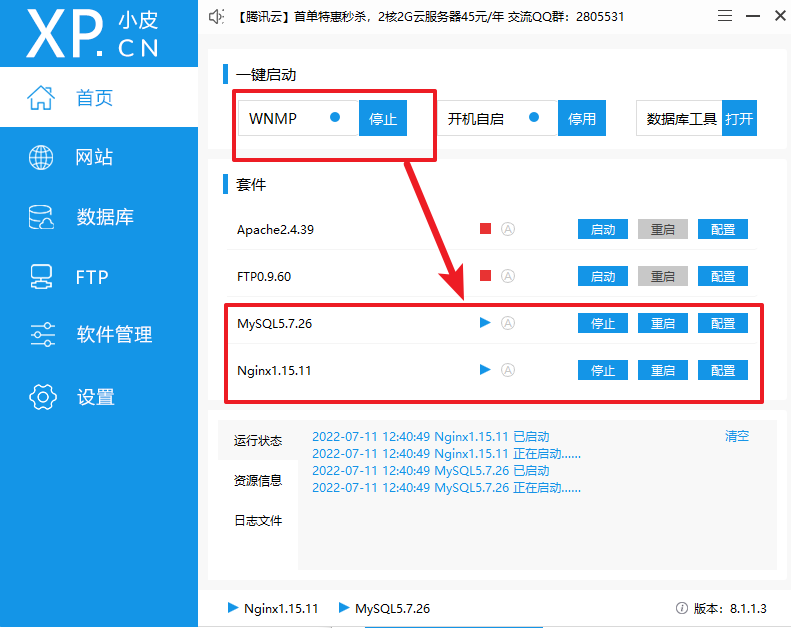
这里为了方便,我们直接下载集成数据库,PHPStudy 来快速链接
这是 PHPstudy安装后打开的样子
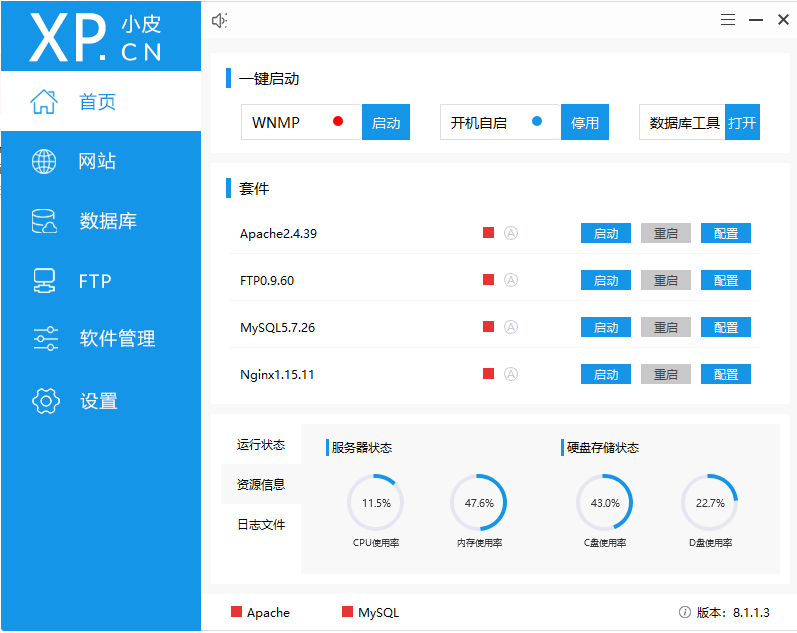
我们直接点击WNMP 就能启动,
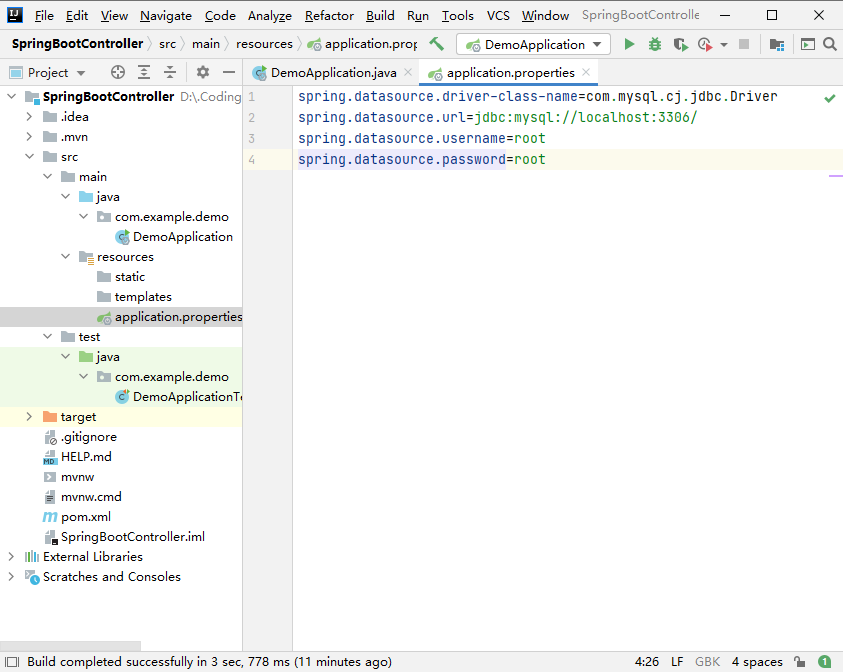
启动完毕,我们回到我们的idea2020.3.4,在application.properties中添加数据库信息。
spring.datasource.url=jdbc:mysql://localhost:3306/
spring.datasource.username=root
spring.datasource.password=TS1374206028
spring.datasource.driver-class-name=com.mysql.jdbc.Driver
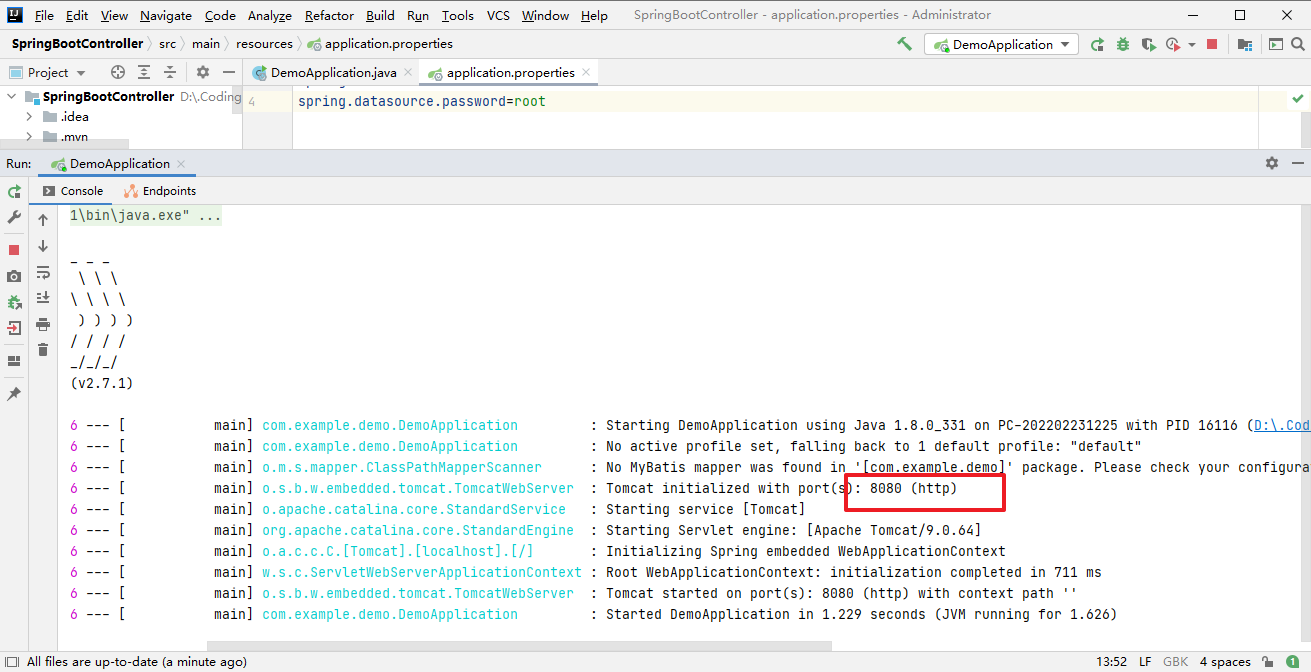
添加完成后,再次点击三角形启动
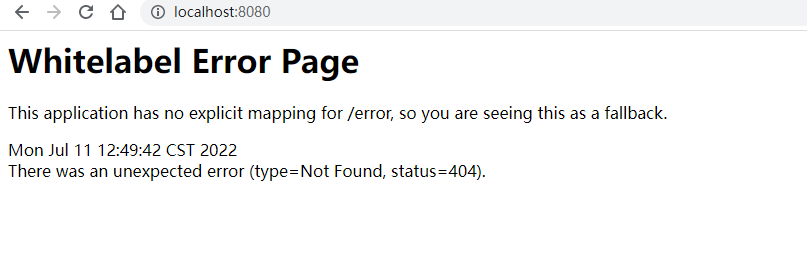
这是启动成功的界面,端口号是8080,我们访问
访问后就会发现,有页面
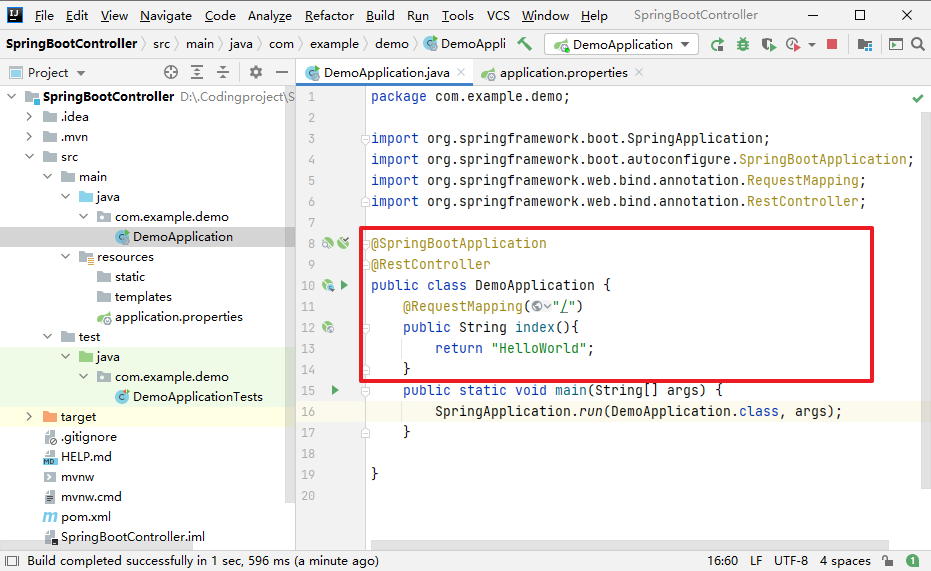
最后 ,我们给它写上controller控制器。打开DemoApplication.java添加两个注解
在类DemoApplication上面添加 @RestController 注解
在main()方法是上面添加index()方法,index()方法上面添加@RequestMapping("/")注解
加了两个注解和一个index()方法后应该是这样的
最后,启动项目,访问8080端口
这是最后效果


 浙公网安备 33010602011771号