01 Nginx安装
# 官网:https://nginx.org/en/
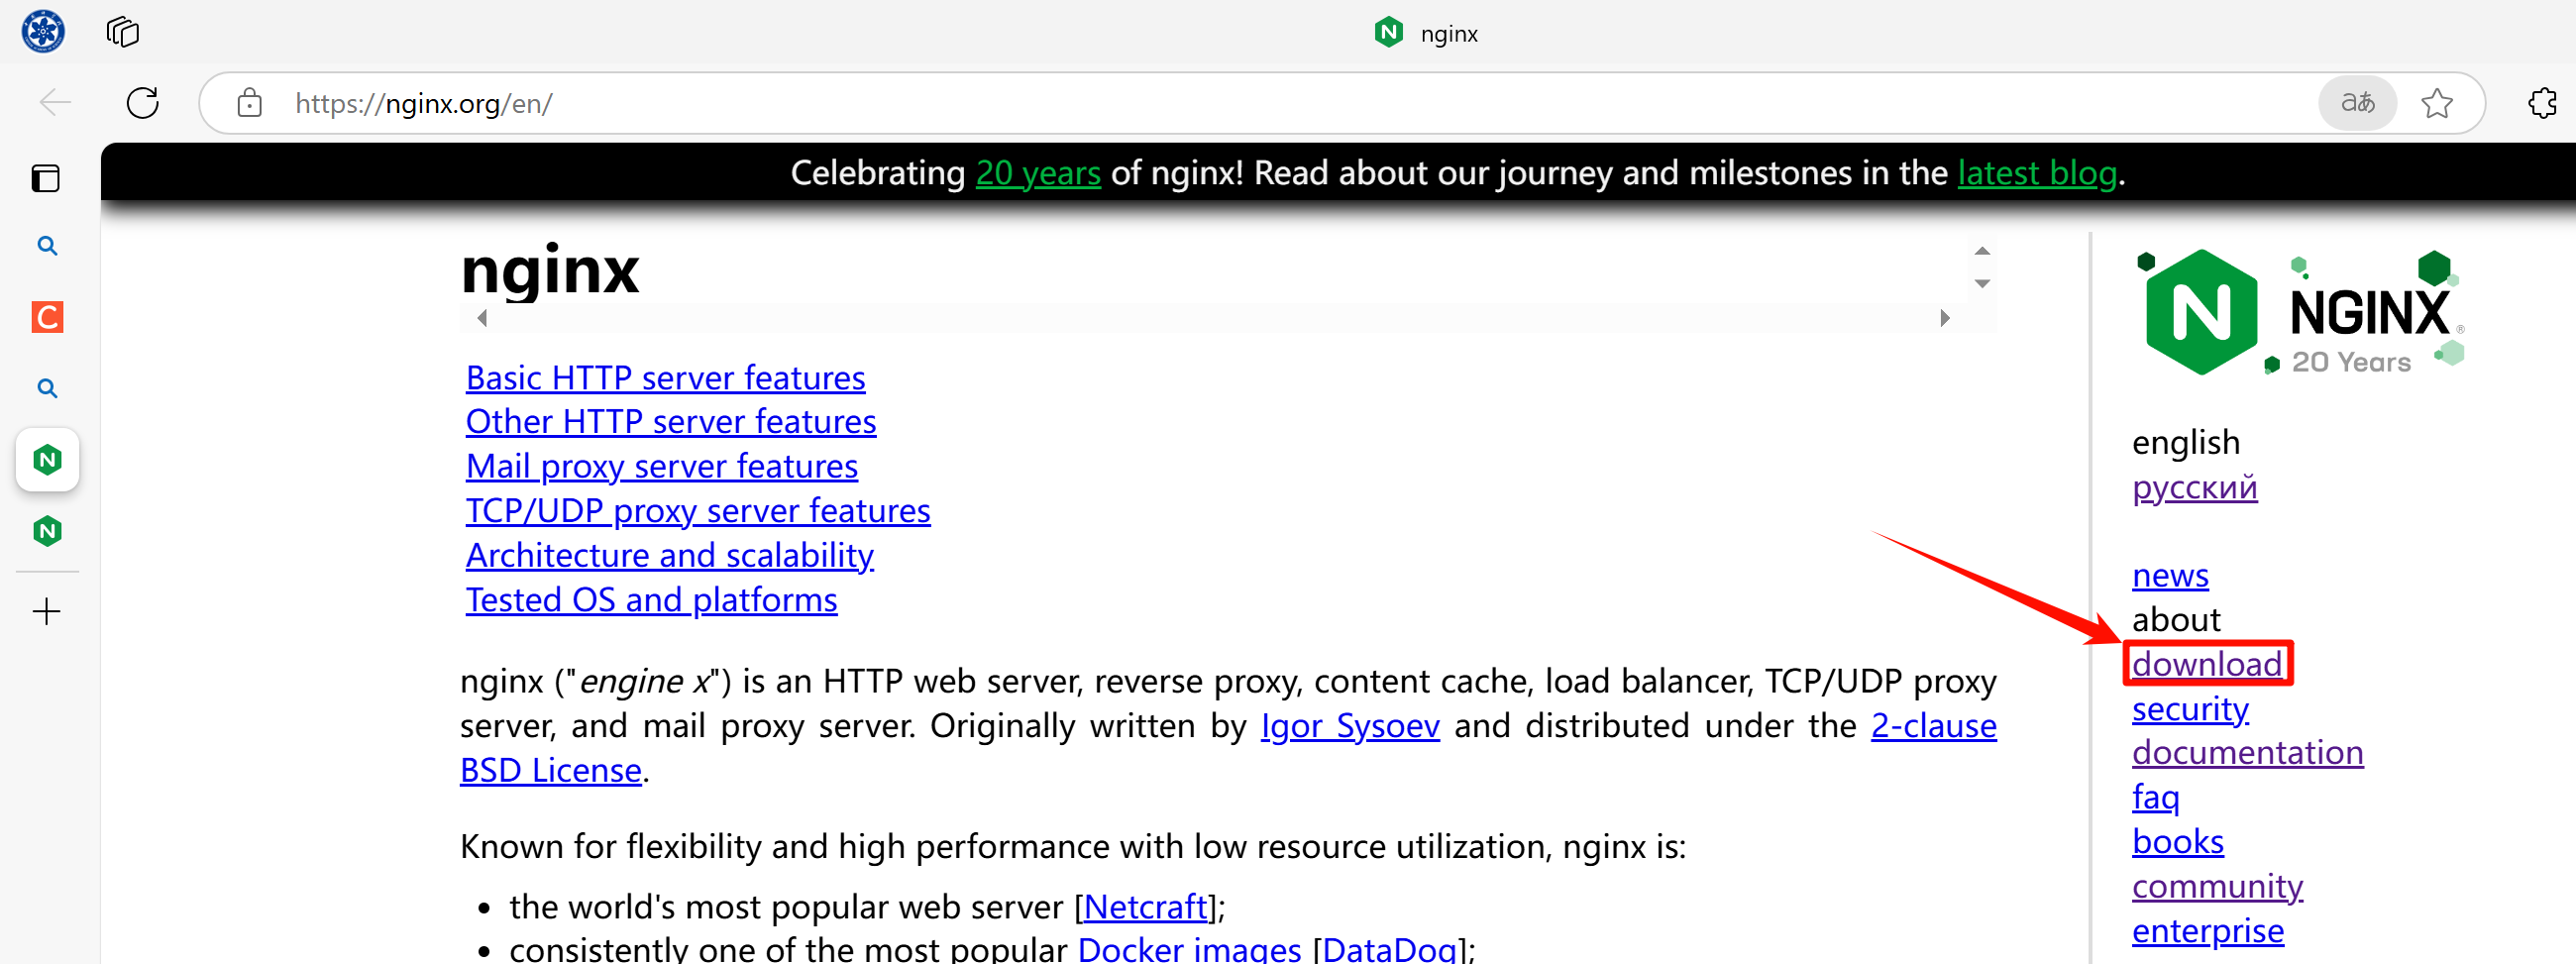
# 点击下载
![image-20241118191514870]()
图1 Nginx下载官网
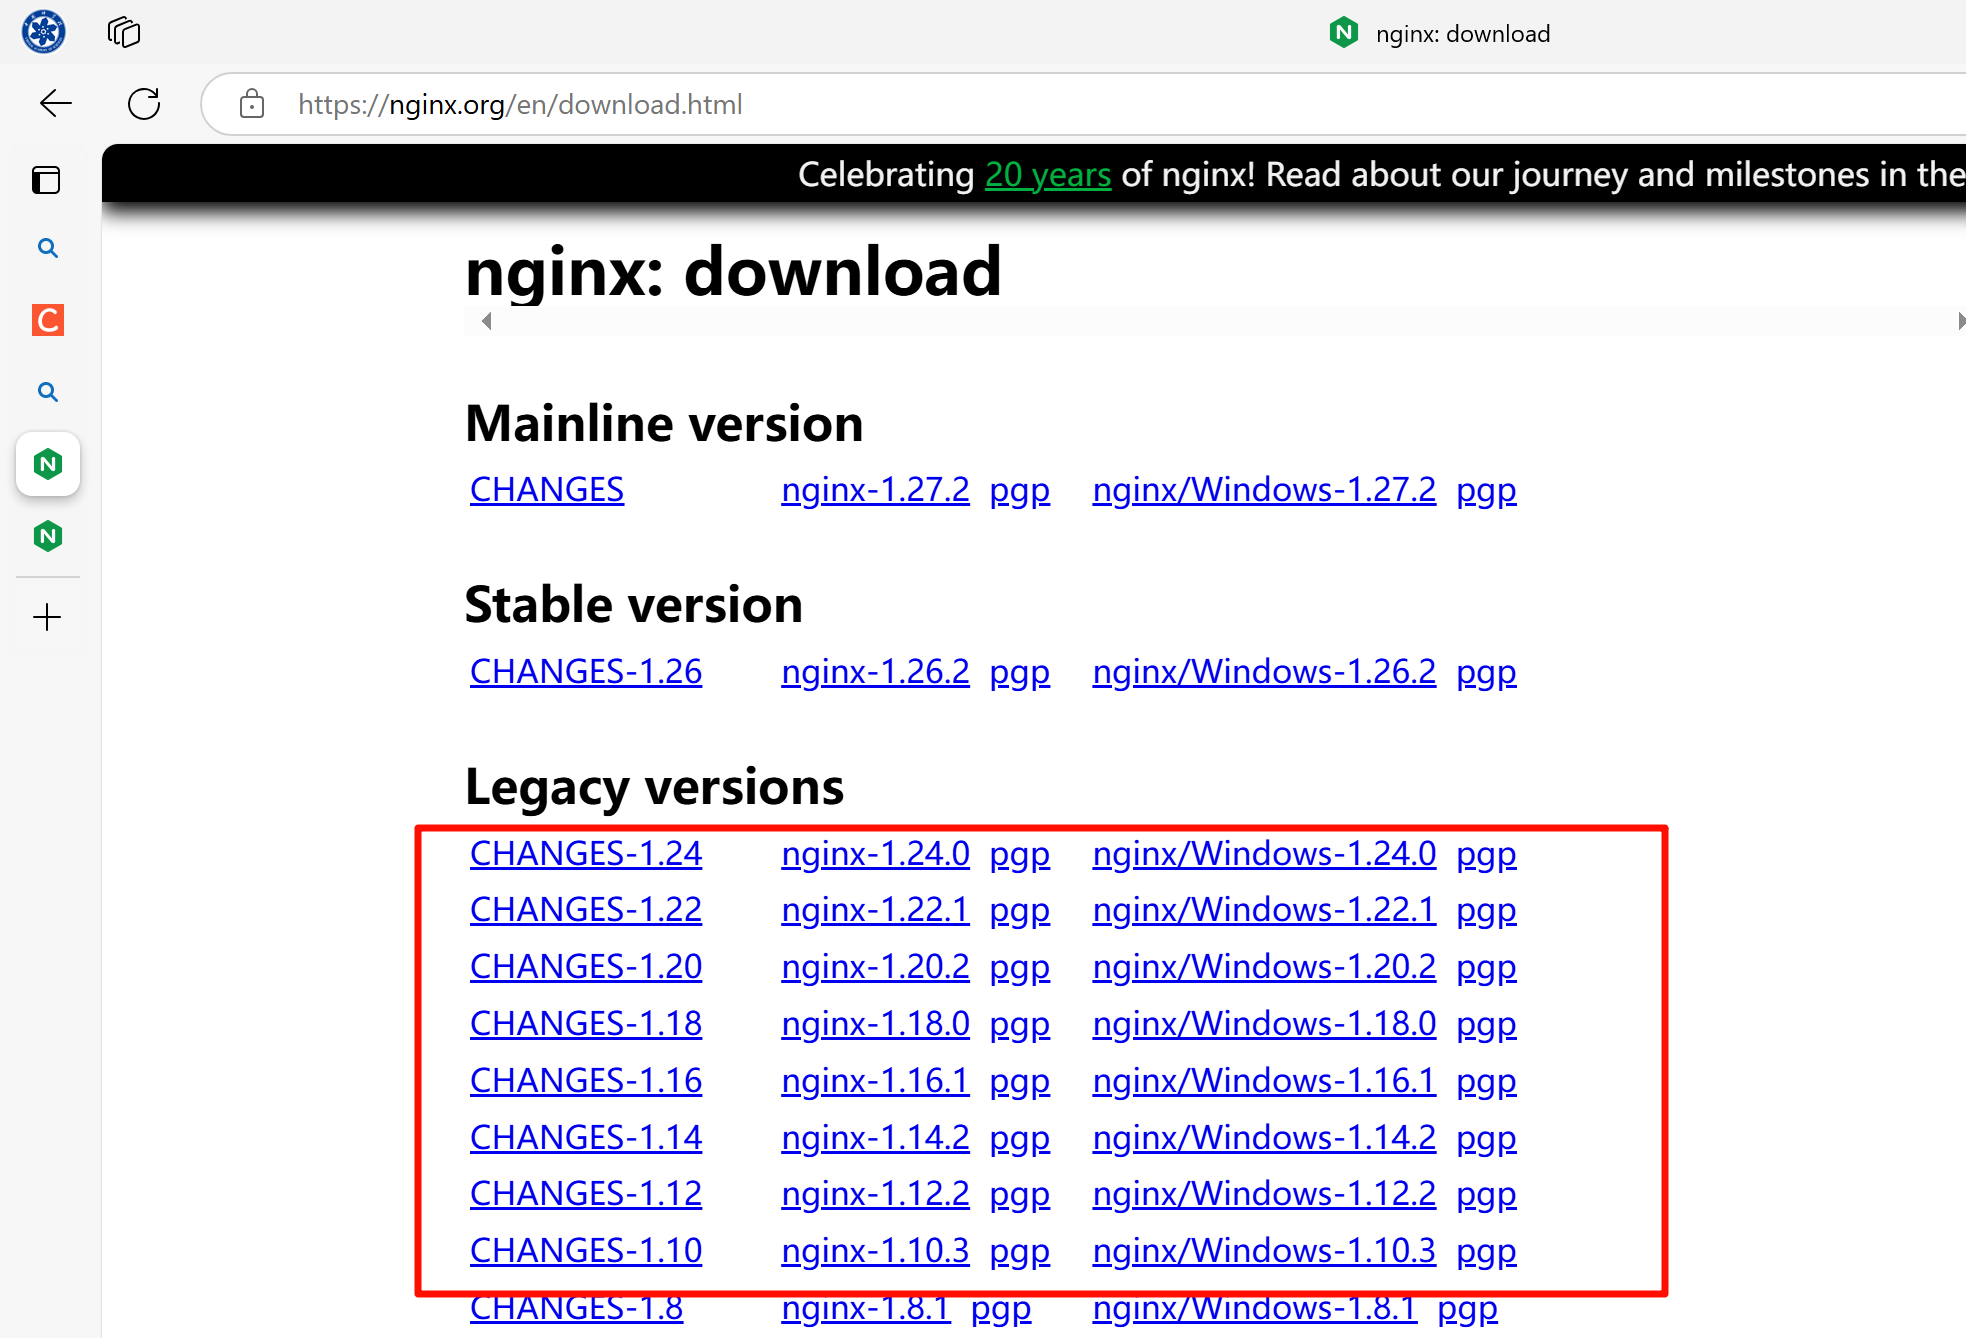
# https://nginx.org/en/download.html
# 全是各个平台的源码包
![image-20241118191544244]()
图2 Nginx下载版本
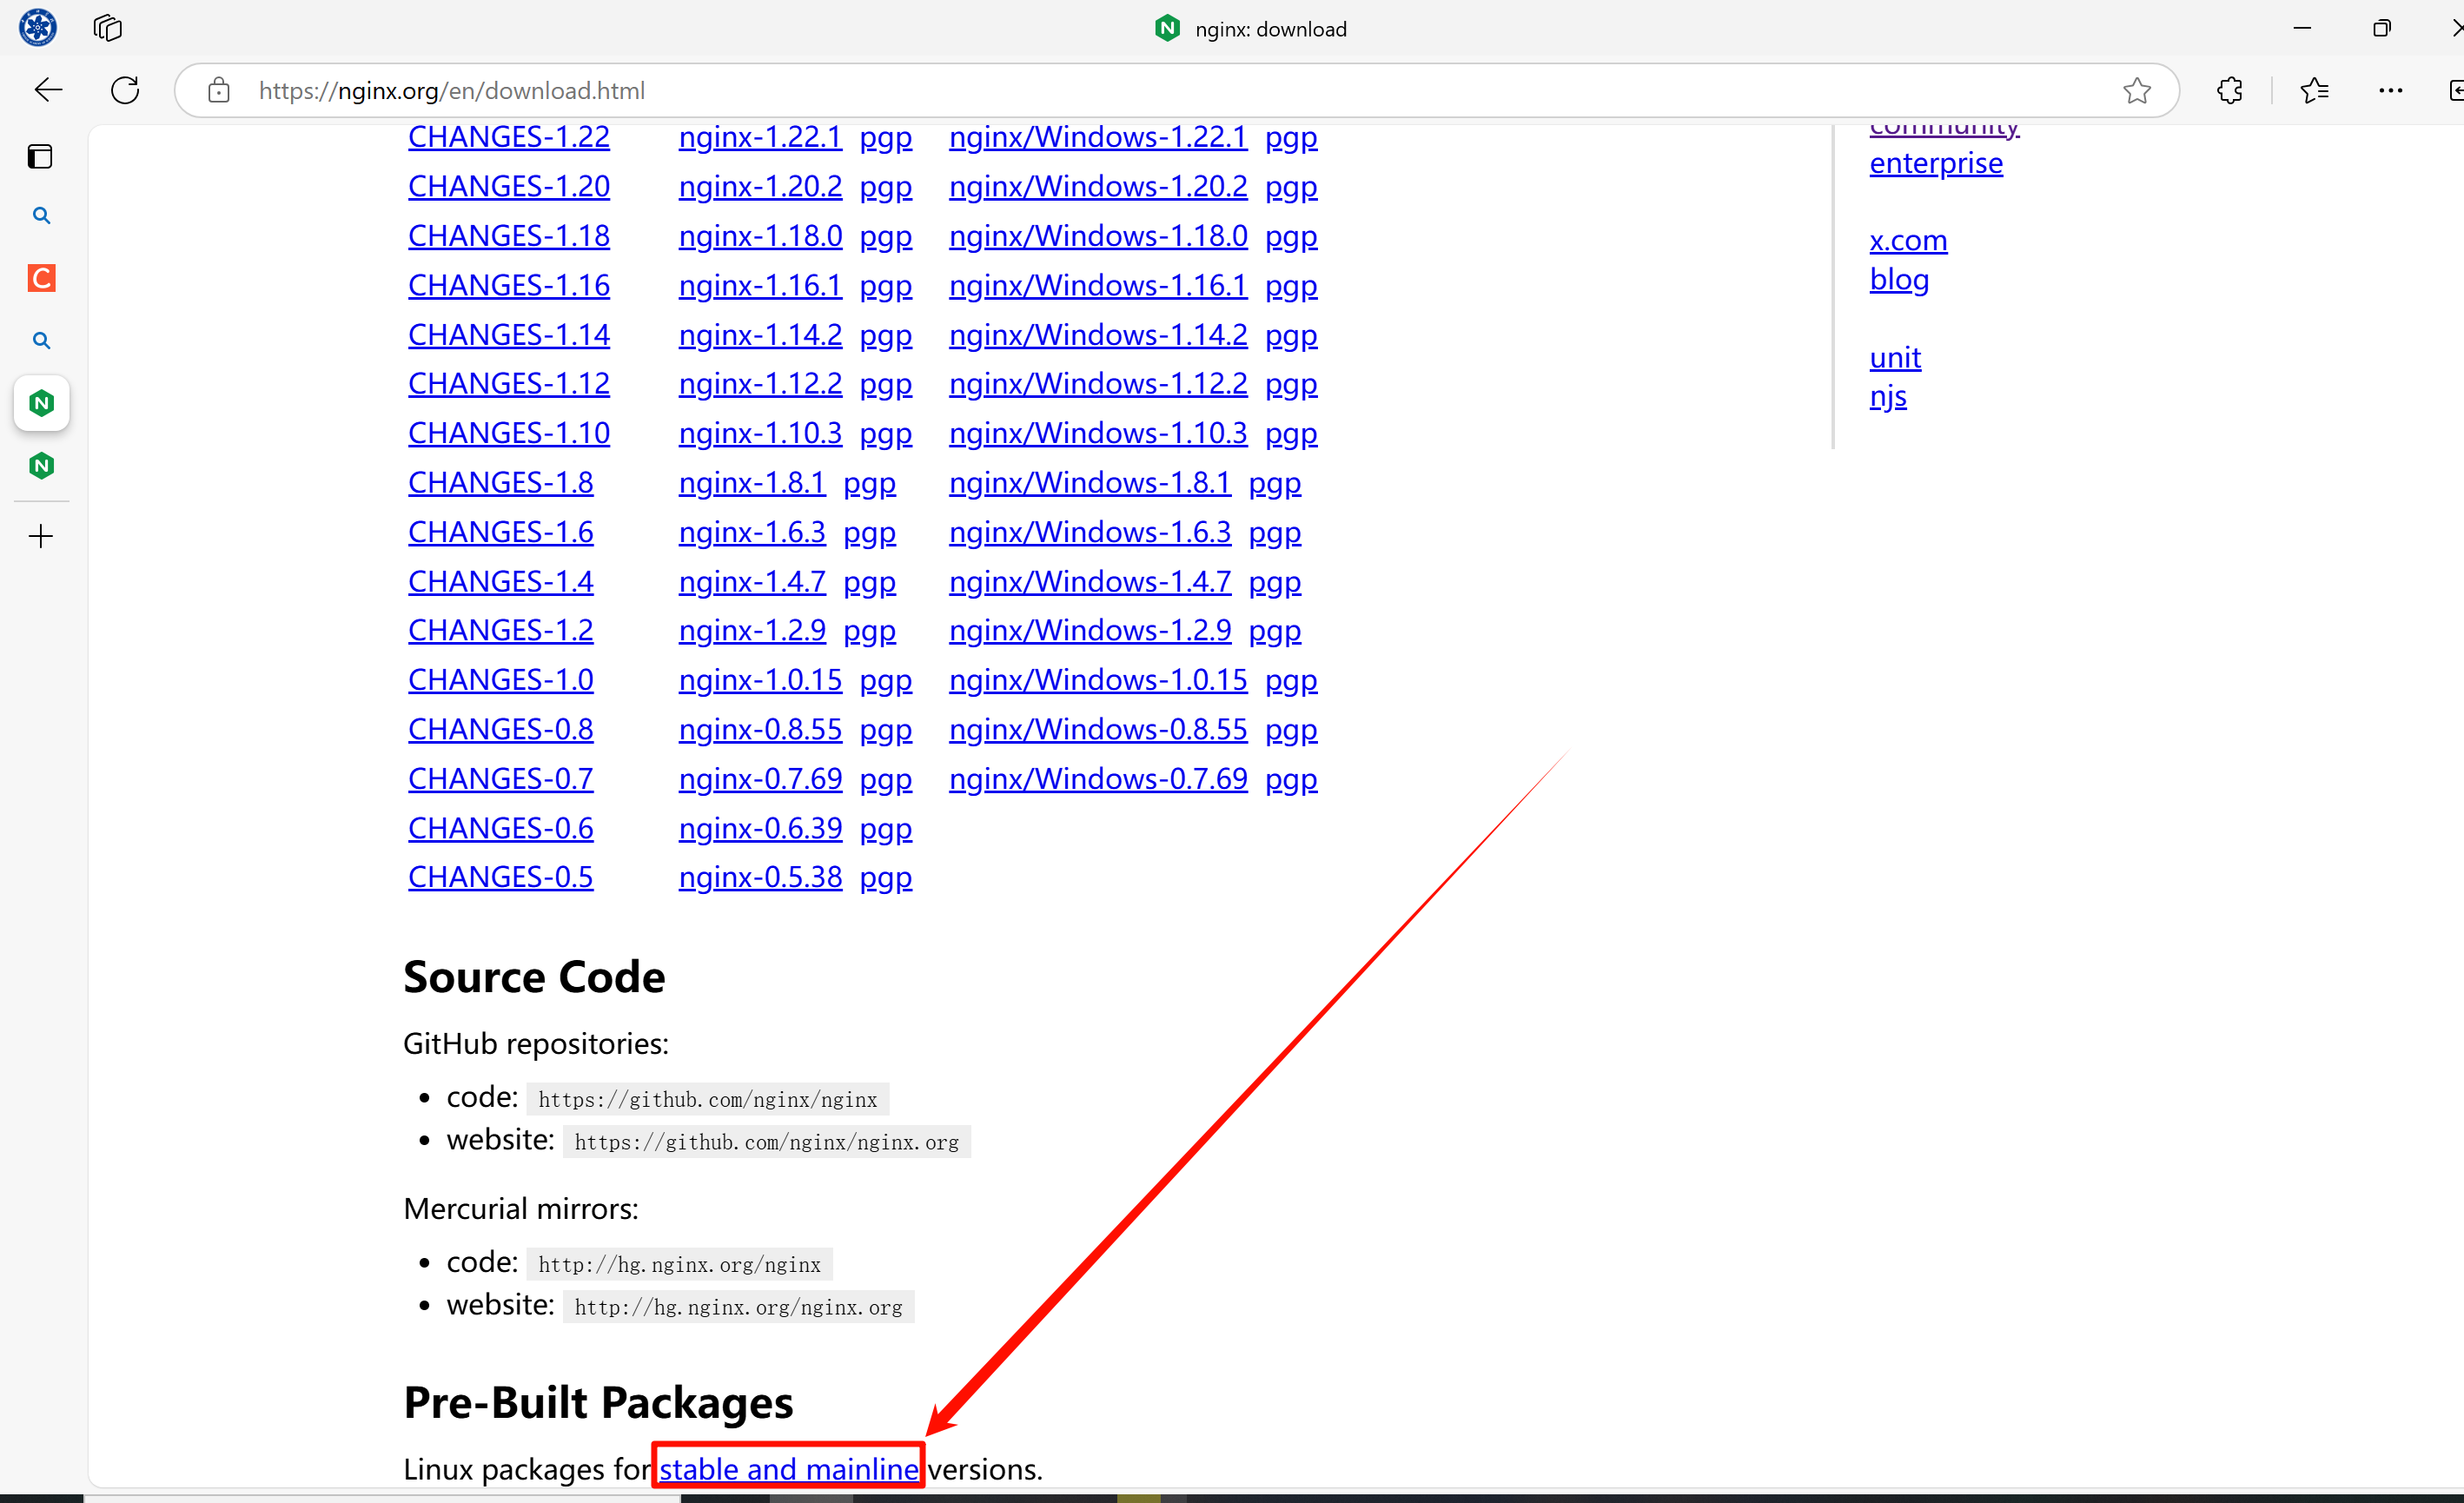
# 找到最下面的stable and mainline(稳定版和主线版)
![image-20241118191648794]()
图3 找到最下面的稳定版
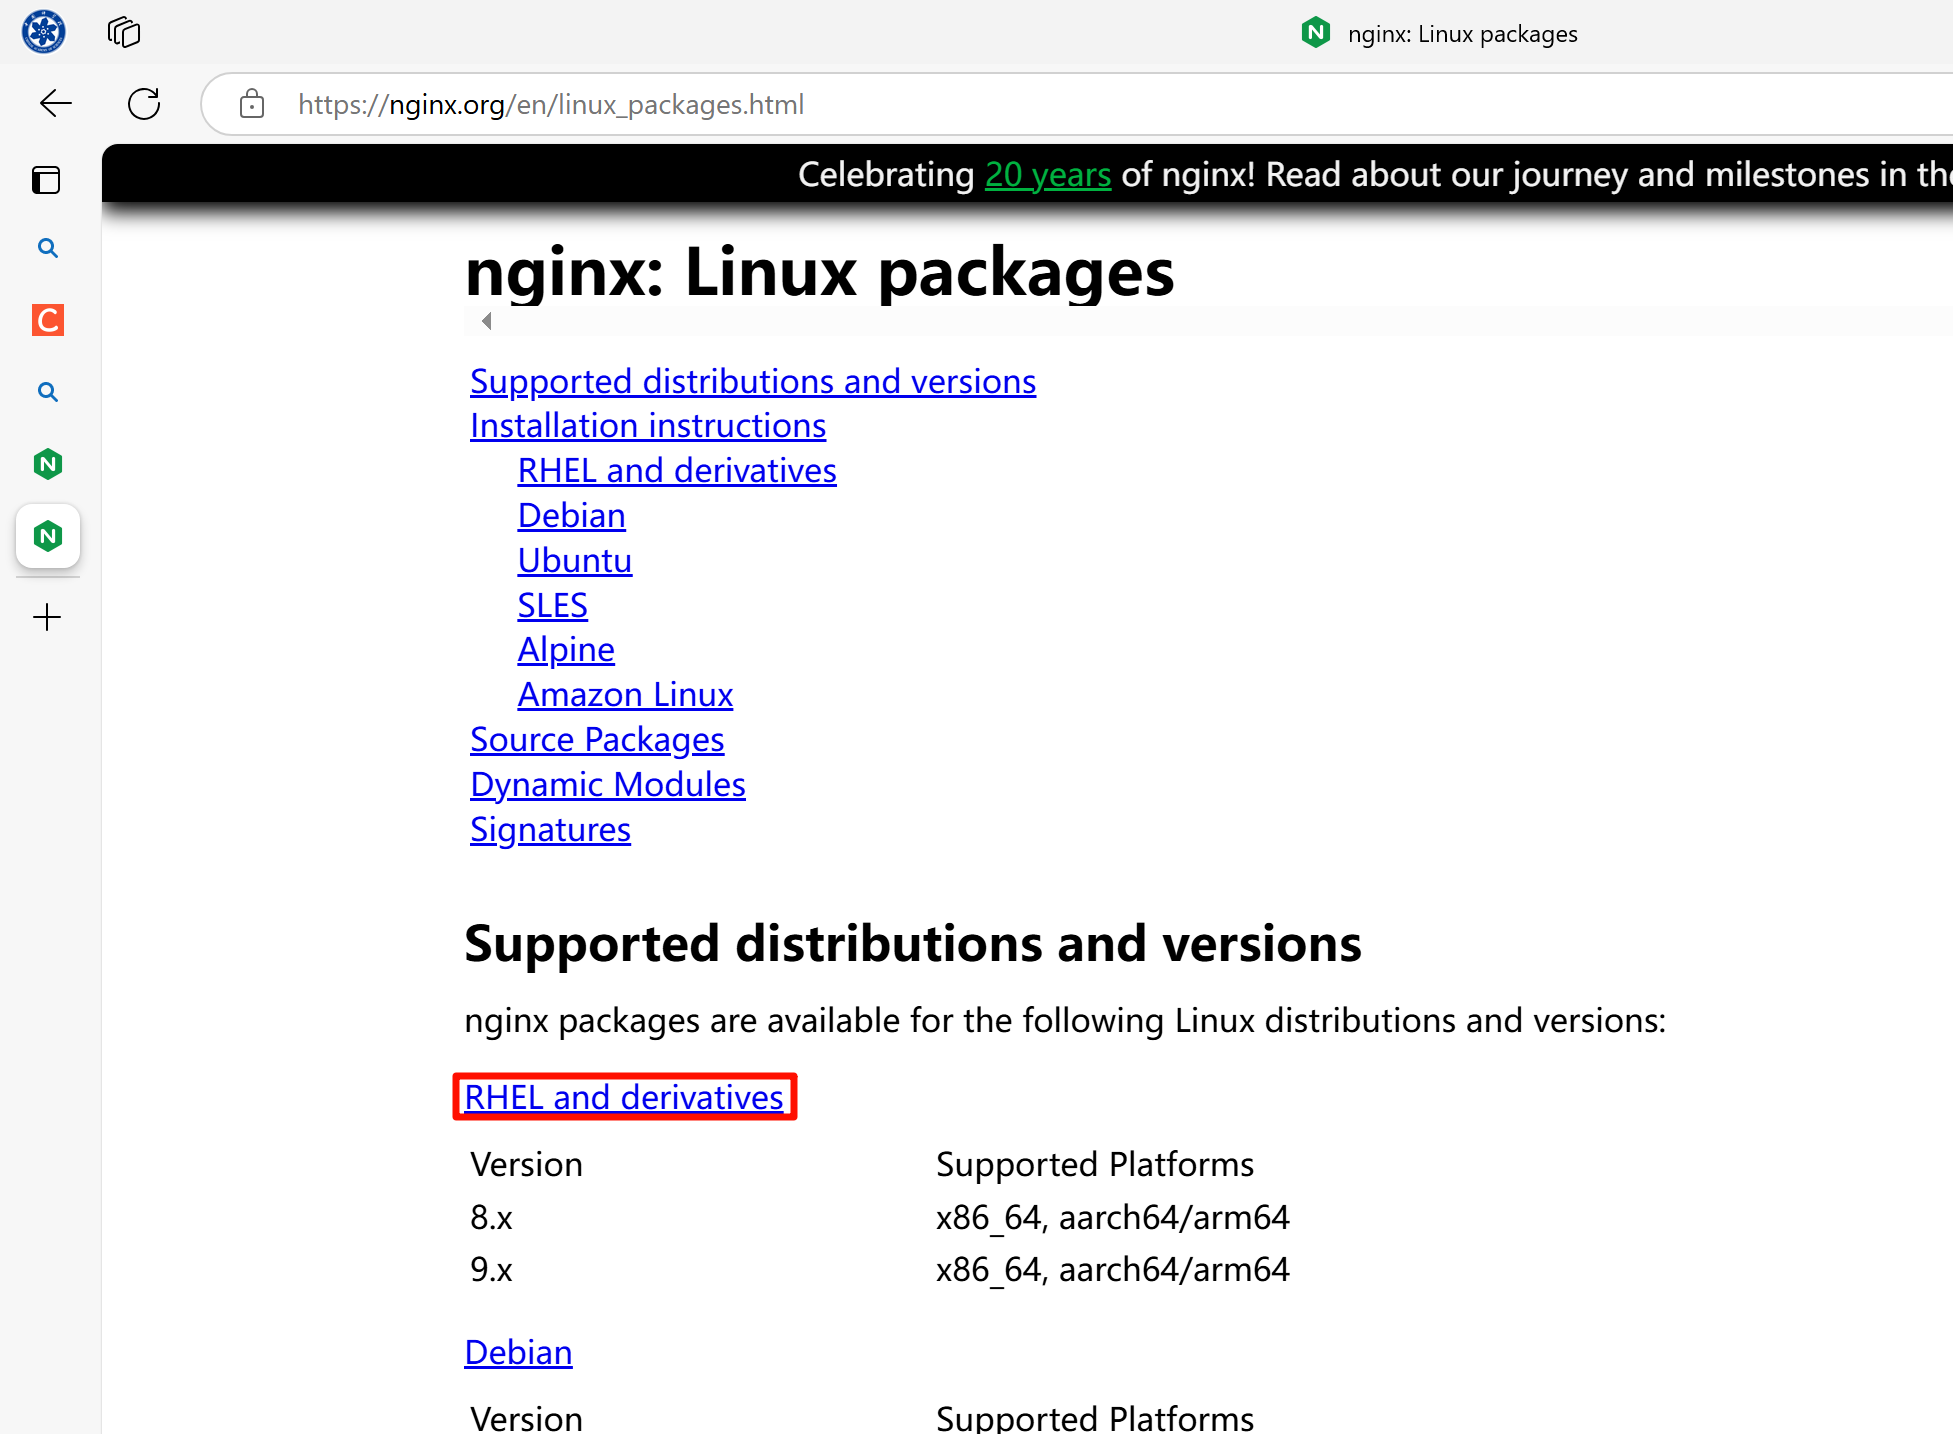
# https://nginx.org/en/linux_packages.html
# 选择RHEL and derivatives(红帽及其衍生品)
![image-20241118191857193]()
图4 选择红帽及衍生产品
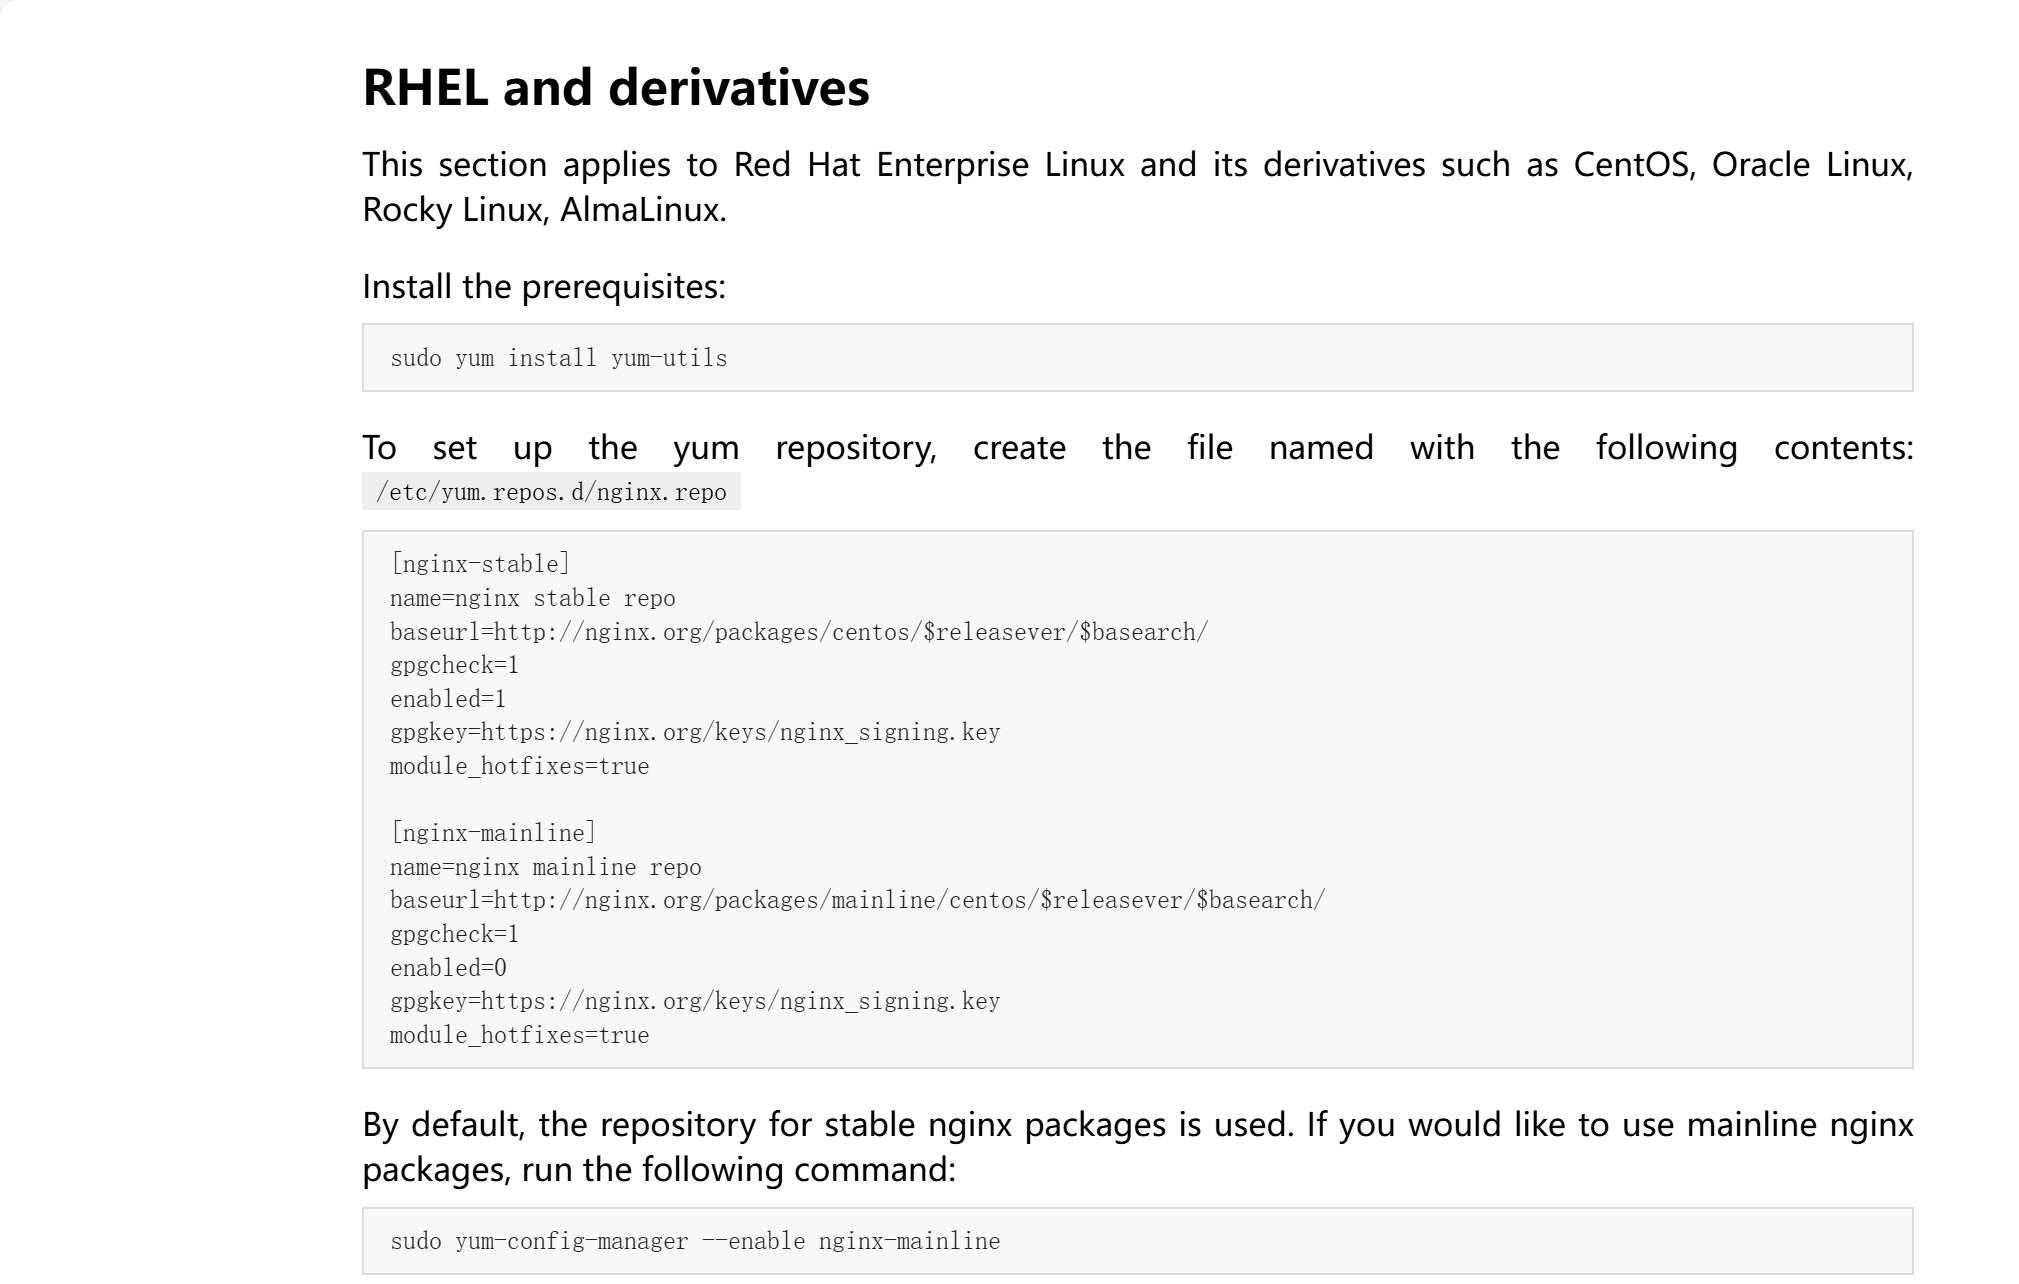
# https://nginx.org/en/linux_packages.html#RHEL
![image-20241118192205285]()
图5 复制Yum的repo源
# 版本分为主线版和最新版,这里我选择稳定版
![image-20241118192246355]()
图6 使用稳定版的Yum源
[root@likexy-nginx ~]# cat /etc/yum.repos.d/nginx.repo
[nginx-stable]
name=nginx stable repo
baseurl=http://nginx.org/packages/centos/7/$basearch/
gpgcheck=0
enabled=1
gpgkey=https://nginx.org/keys/nginx_signing.key
module_hotfixes=true
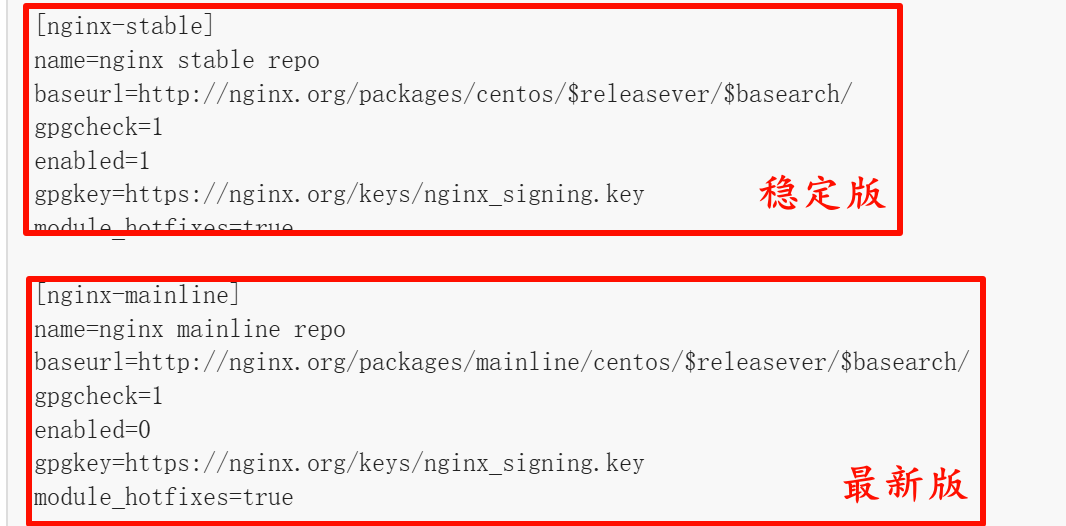
![image-20241118192729563]()
图7 因为我用的是Kylin,所以手动改版本,CentOS系统不用改
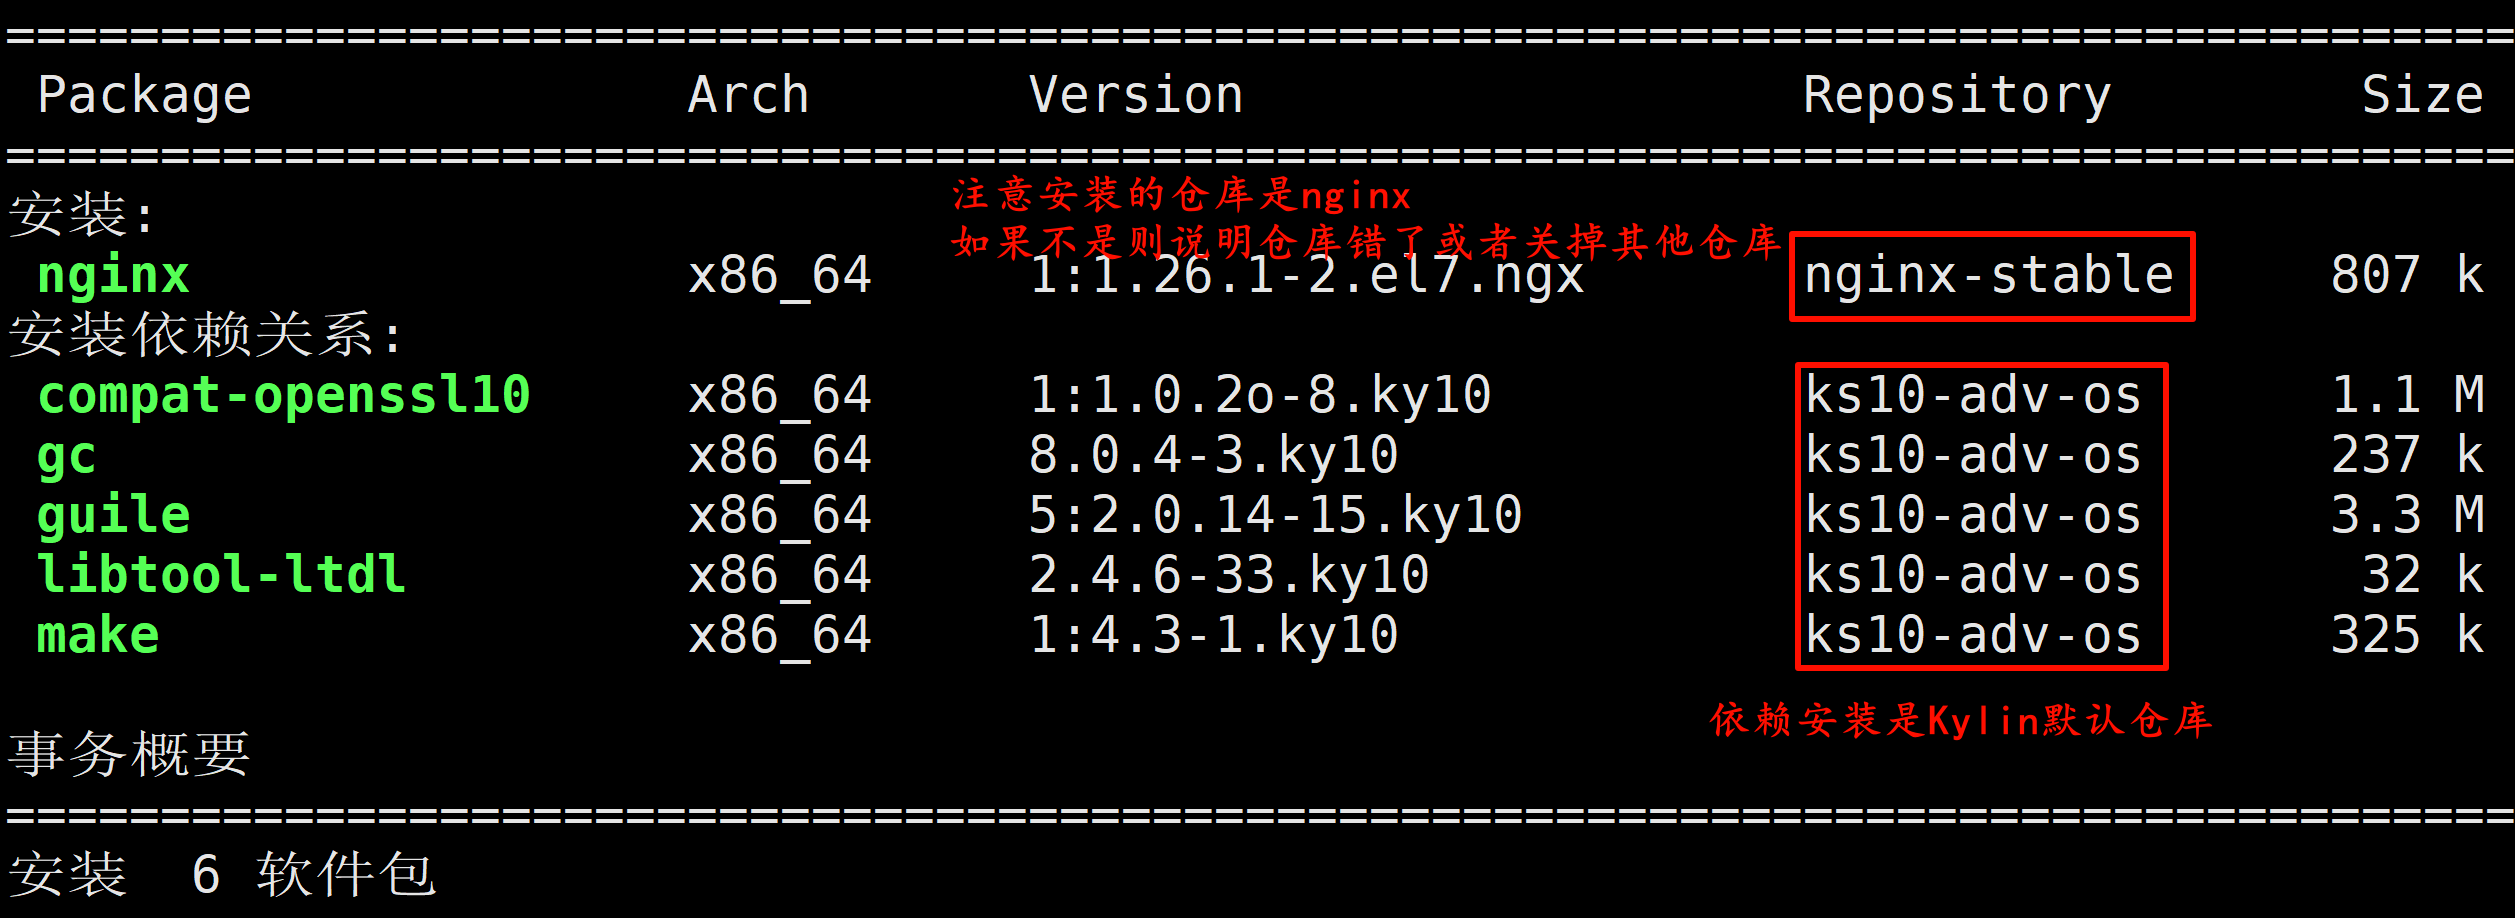
[root@likexy-nginx ~]# yum install -y nginx
# 注意仓库是否正确
![image-20241118193216970]()
图8 使用Yum安装的时候注意安装库
02 Nginx配置文件
[root@likexy-nginx ~]# cat /etc/nginx/nginx.conf
# 核心区块
user  nginx;					# 启动进程使用Nginx用户
worker_processes  auto;			# Nginx进程打开数,auto(自动),以CPU核心数相同
error_log  /var/log/nginx/error.log notice;		# 错误日志位置和级别
pid        /var/run/nginx.pid;					# 运行的PID会存储到这个文件中(启动Nginx时,如果文件有内容会提示已经启动Nginx,没有则启动Nginx)
# 事件区块
events {
    worker_connections  1024;	# 每个子进程最大连接数,一个访问不一定只是一个连接
}
# http区块 响应浏览器请求的区块
http {
    include       /etc/nginx/mime.types;		# 网站支持的资源类型
    default_type  application/octet-stream;		# 网站支持的资源类型访问网站支持的资源类型之外的资源,默认下载

    log_format  main  '$remote_addr - $remote_user [$time_local] "$request" '
                      '$status $body_bytes_sent "$http_referer" '
                      '"$http_user_agent" "$http_x_forwarded_for"';		# Nginx日志格式(变量方式)

    access_log  /var/log/nginx/access.log  main;	# 日志存放发的位置

    sendfile        on;			# 文件高效传输
    #tcp_nopush     on;
    keepalive_timeout  65;		# 长连接 如果客户端65秒没操作,则断开连接

    #gzip  on;

    include /etc/nginx/conf.d/*.conf;	# 包含 /etc/nginx/conf.d 下的所有文件,到当前的位置
}
# 纯享版配置文件,和上面的是一样的,就是没有注释
[root@likexy-nginx ~]# cat /etc/nginx/nginx.conf
user  nginx;
worker_processes  auto;
error_log  /var/log/nginx/error.log notice;
pid        /var/run/nginx.pid;
events {
    worker_connections  1024;
}
http {
    include       /etc/nginx/mime.types;
    default_type  application/octet-stream;
    log_format  main  '$remote_addr - $remote_user [$time_local] "$request" '
                      '$status $body_bytes_sent "$http_referer" '
                      '"$http_user_agent" "$http_x_forwarded_for"';
    access_log  /var/log/nginx/access.log  main;
    sendfile        on;
    #tcp_nopush     on;
    keepalive_timeout  65;
    #gzip  on;
    include /etc/nginx/conf.d/*.conf;
}
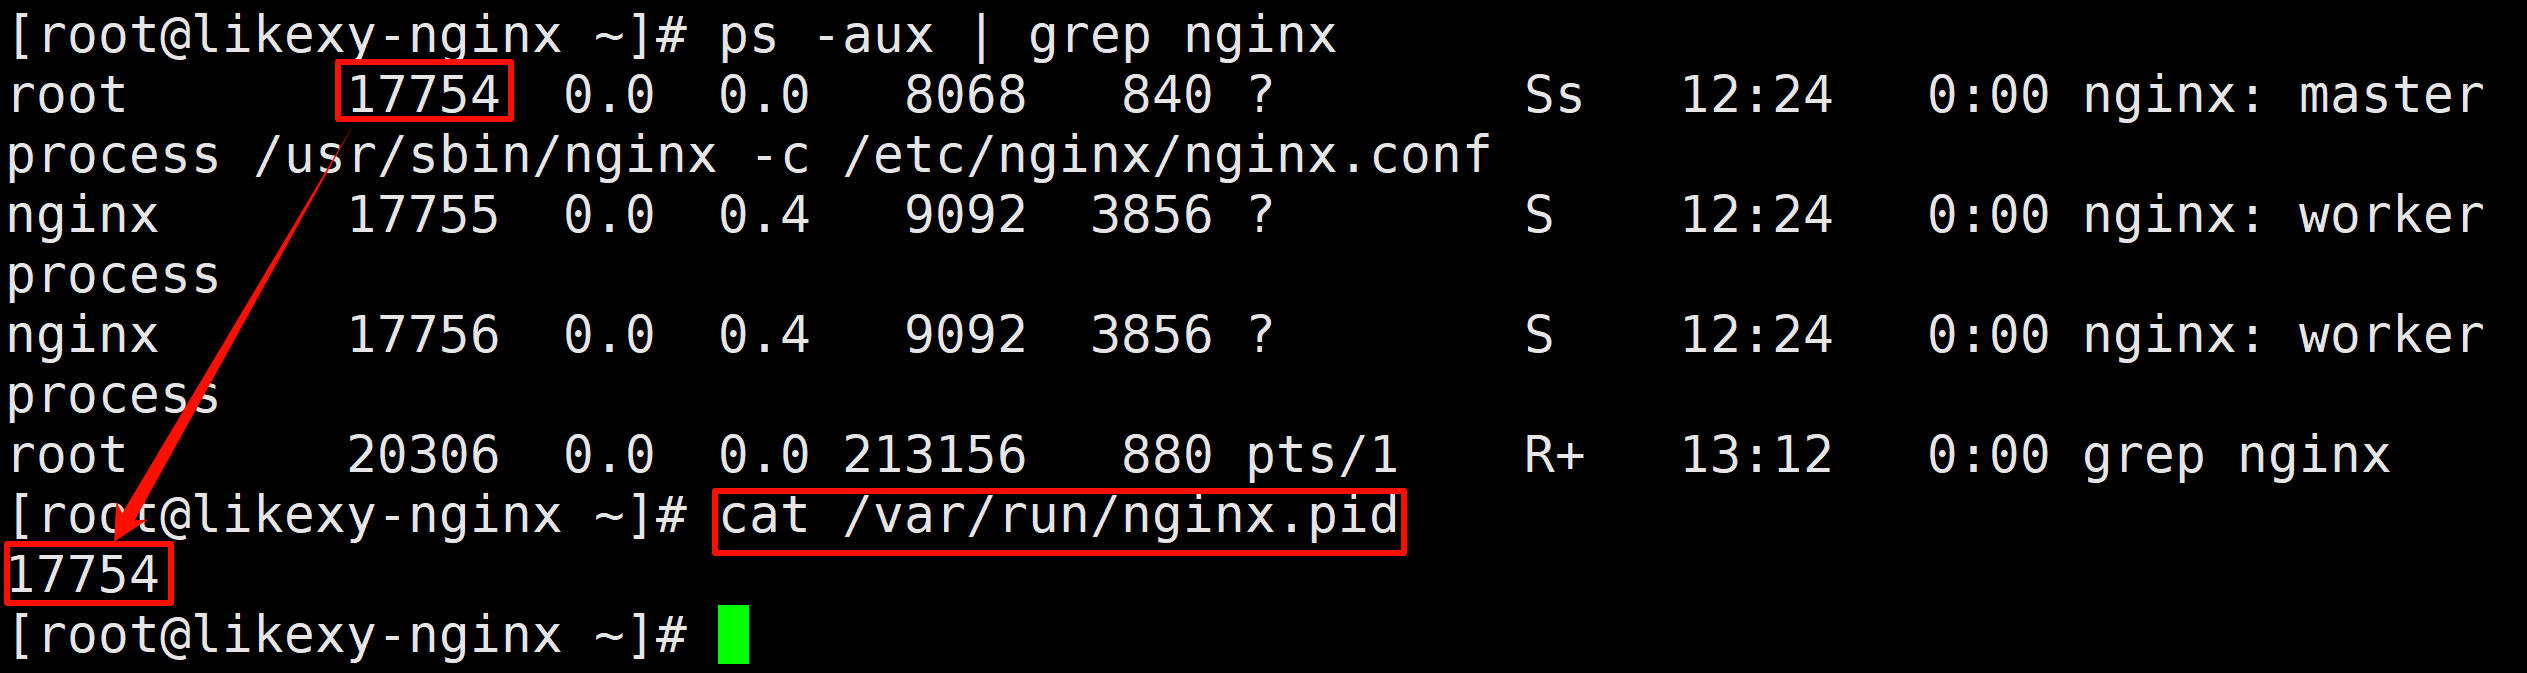
# Nginx的PID号
![image-20241124131235292]()
图9 查看Nginx的PID号
# 和80端口建立的连接
![image-20241124131639171]()
图10 这个是和80端口创建的连接的主机
# 创建一个在默认资源类型有的文件
![image-20241124132256993]()
图11 创建一个在默认资源文件类型的文件
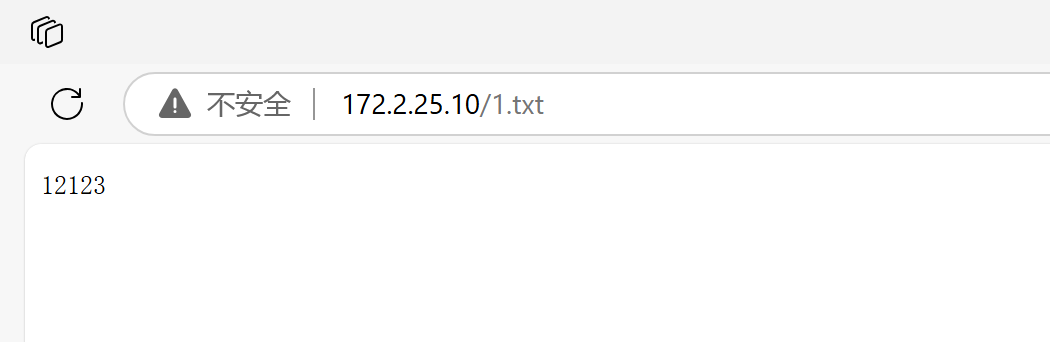
# 成功访问
![image-20241124132424793]()
图12 成功访问内容
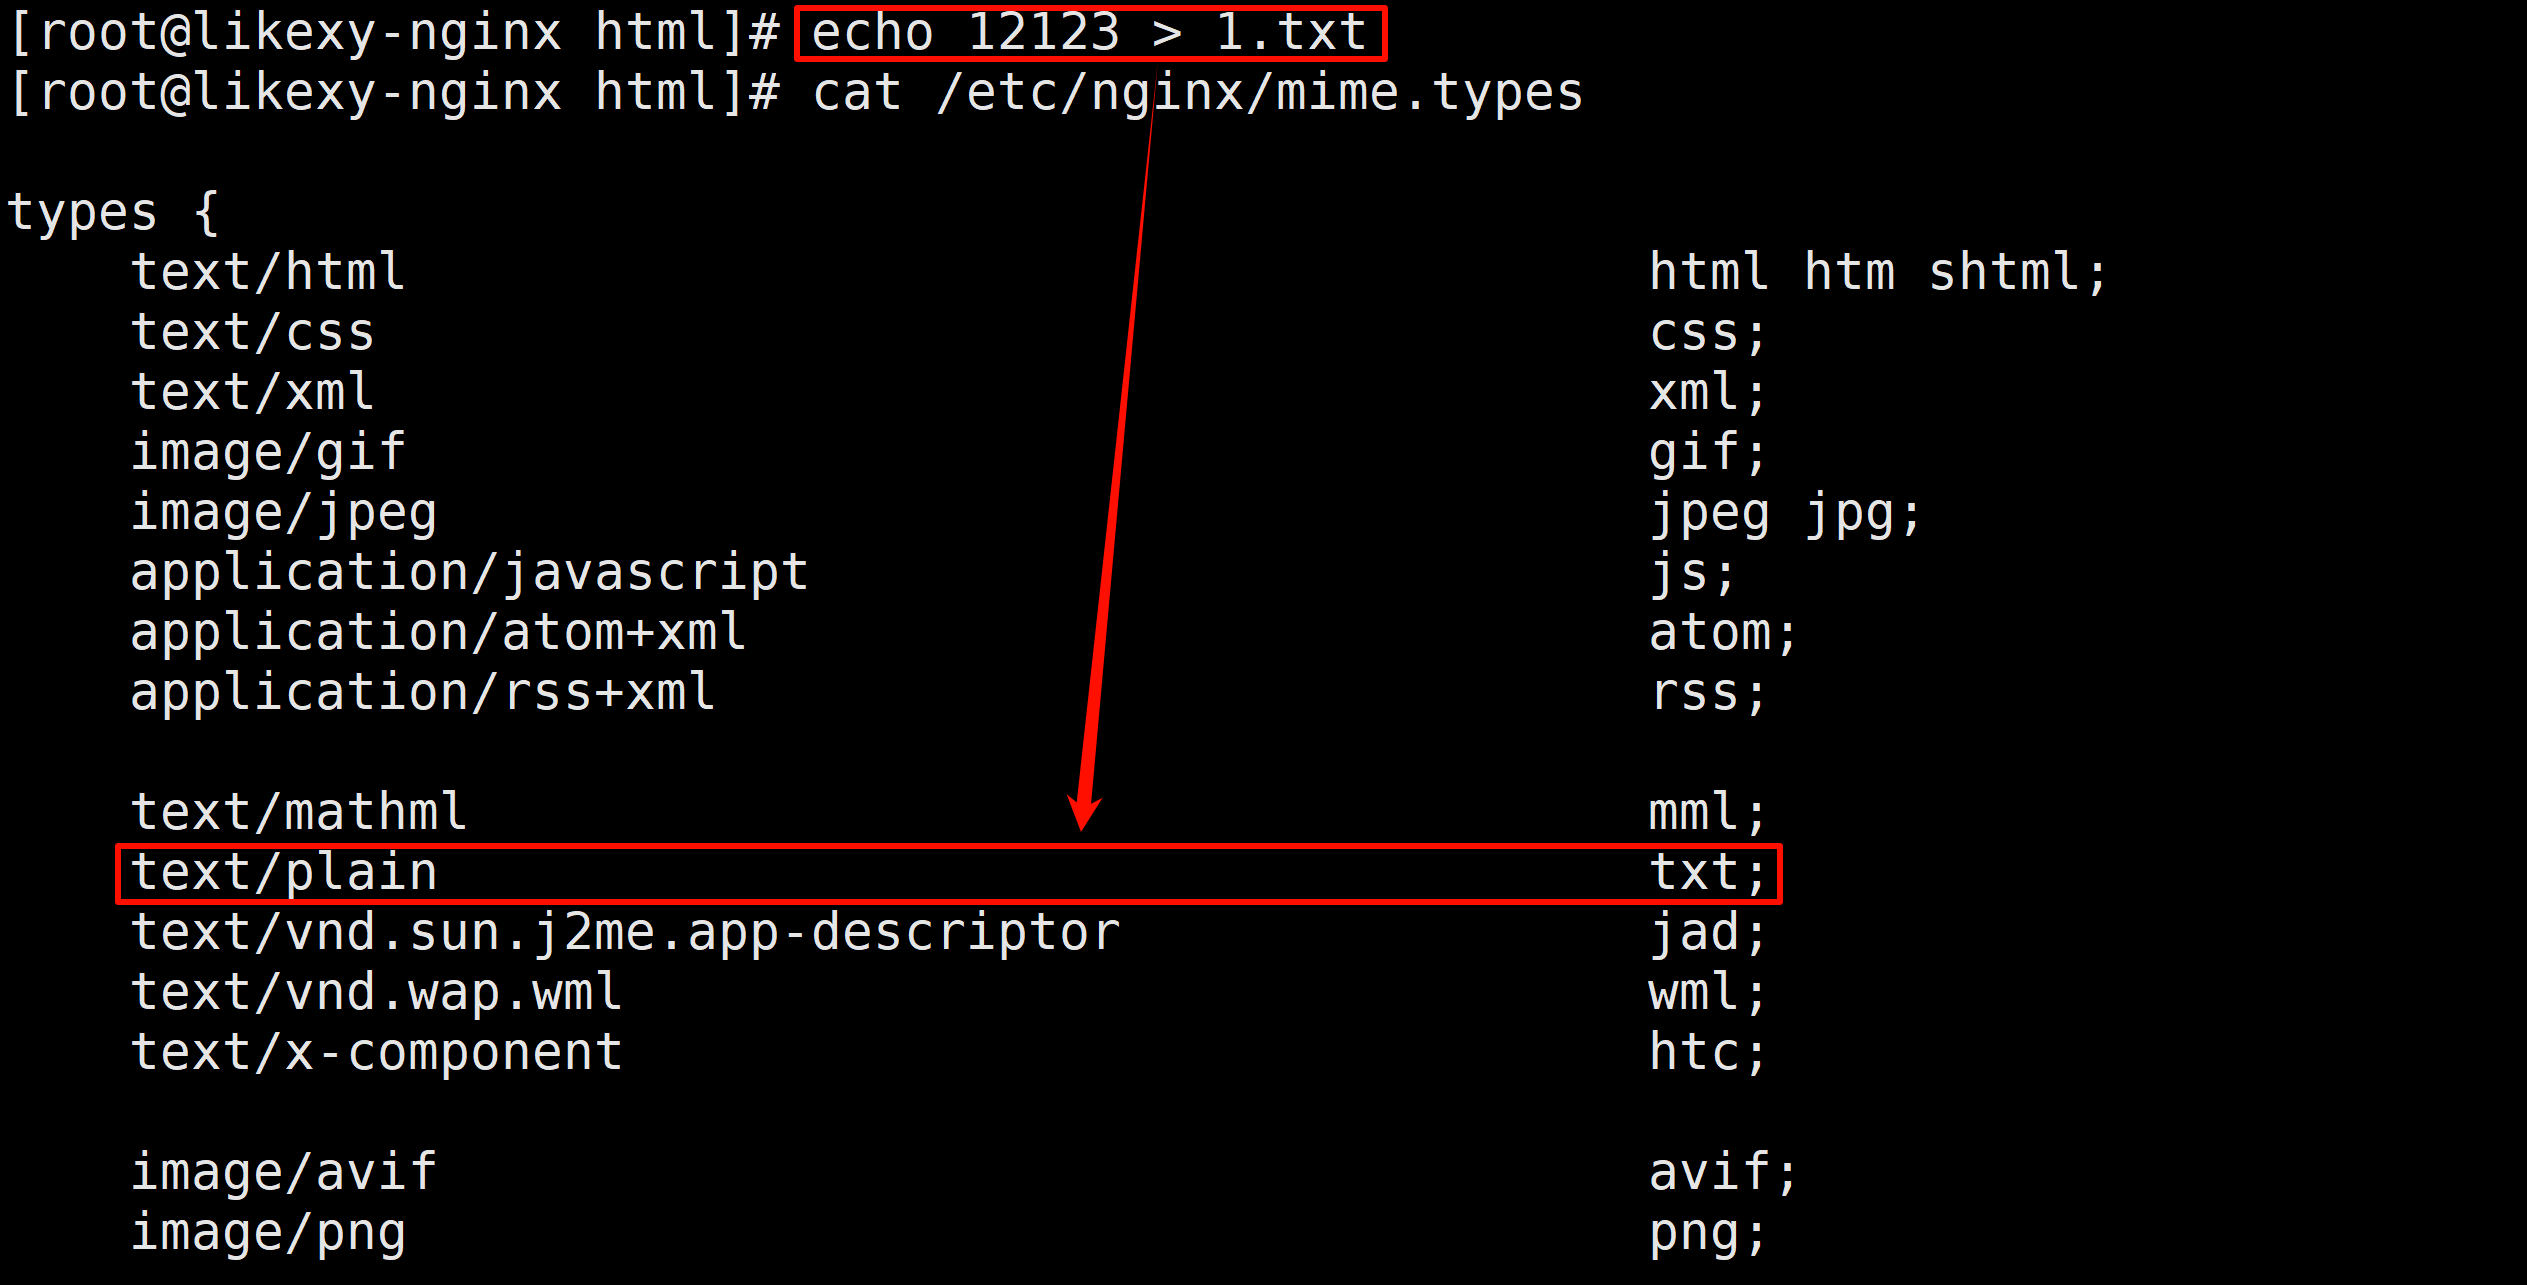
[root@likexy-nginx html]# echo 12123 > 1.tx		# 创建一个没有的
# 则会下载这个资源
![image-20241124132529027]() 图13 没在默认资源文件类型里的资源,可以看到是下载文件
图13 没在默认资源文件类型里的资源,可以看到是下载文件
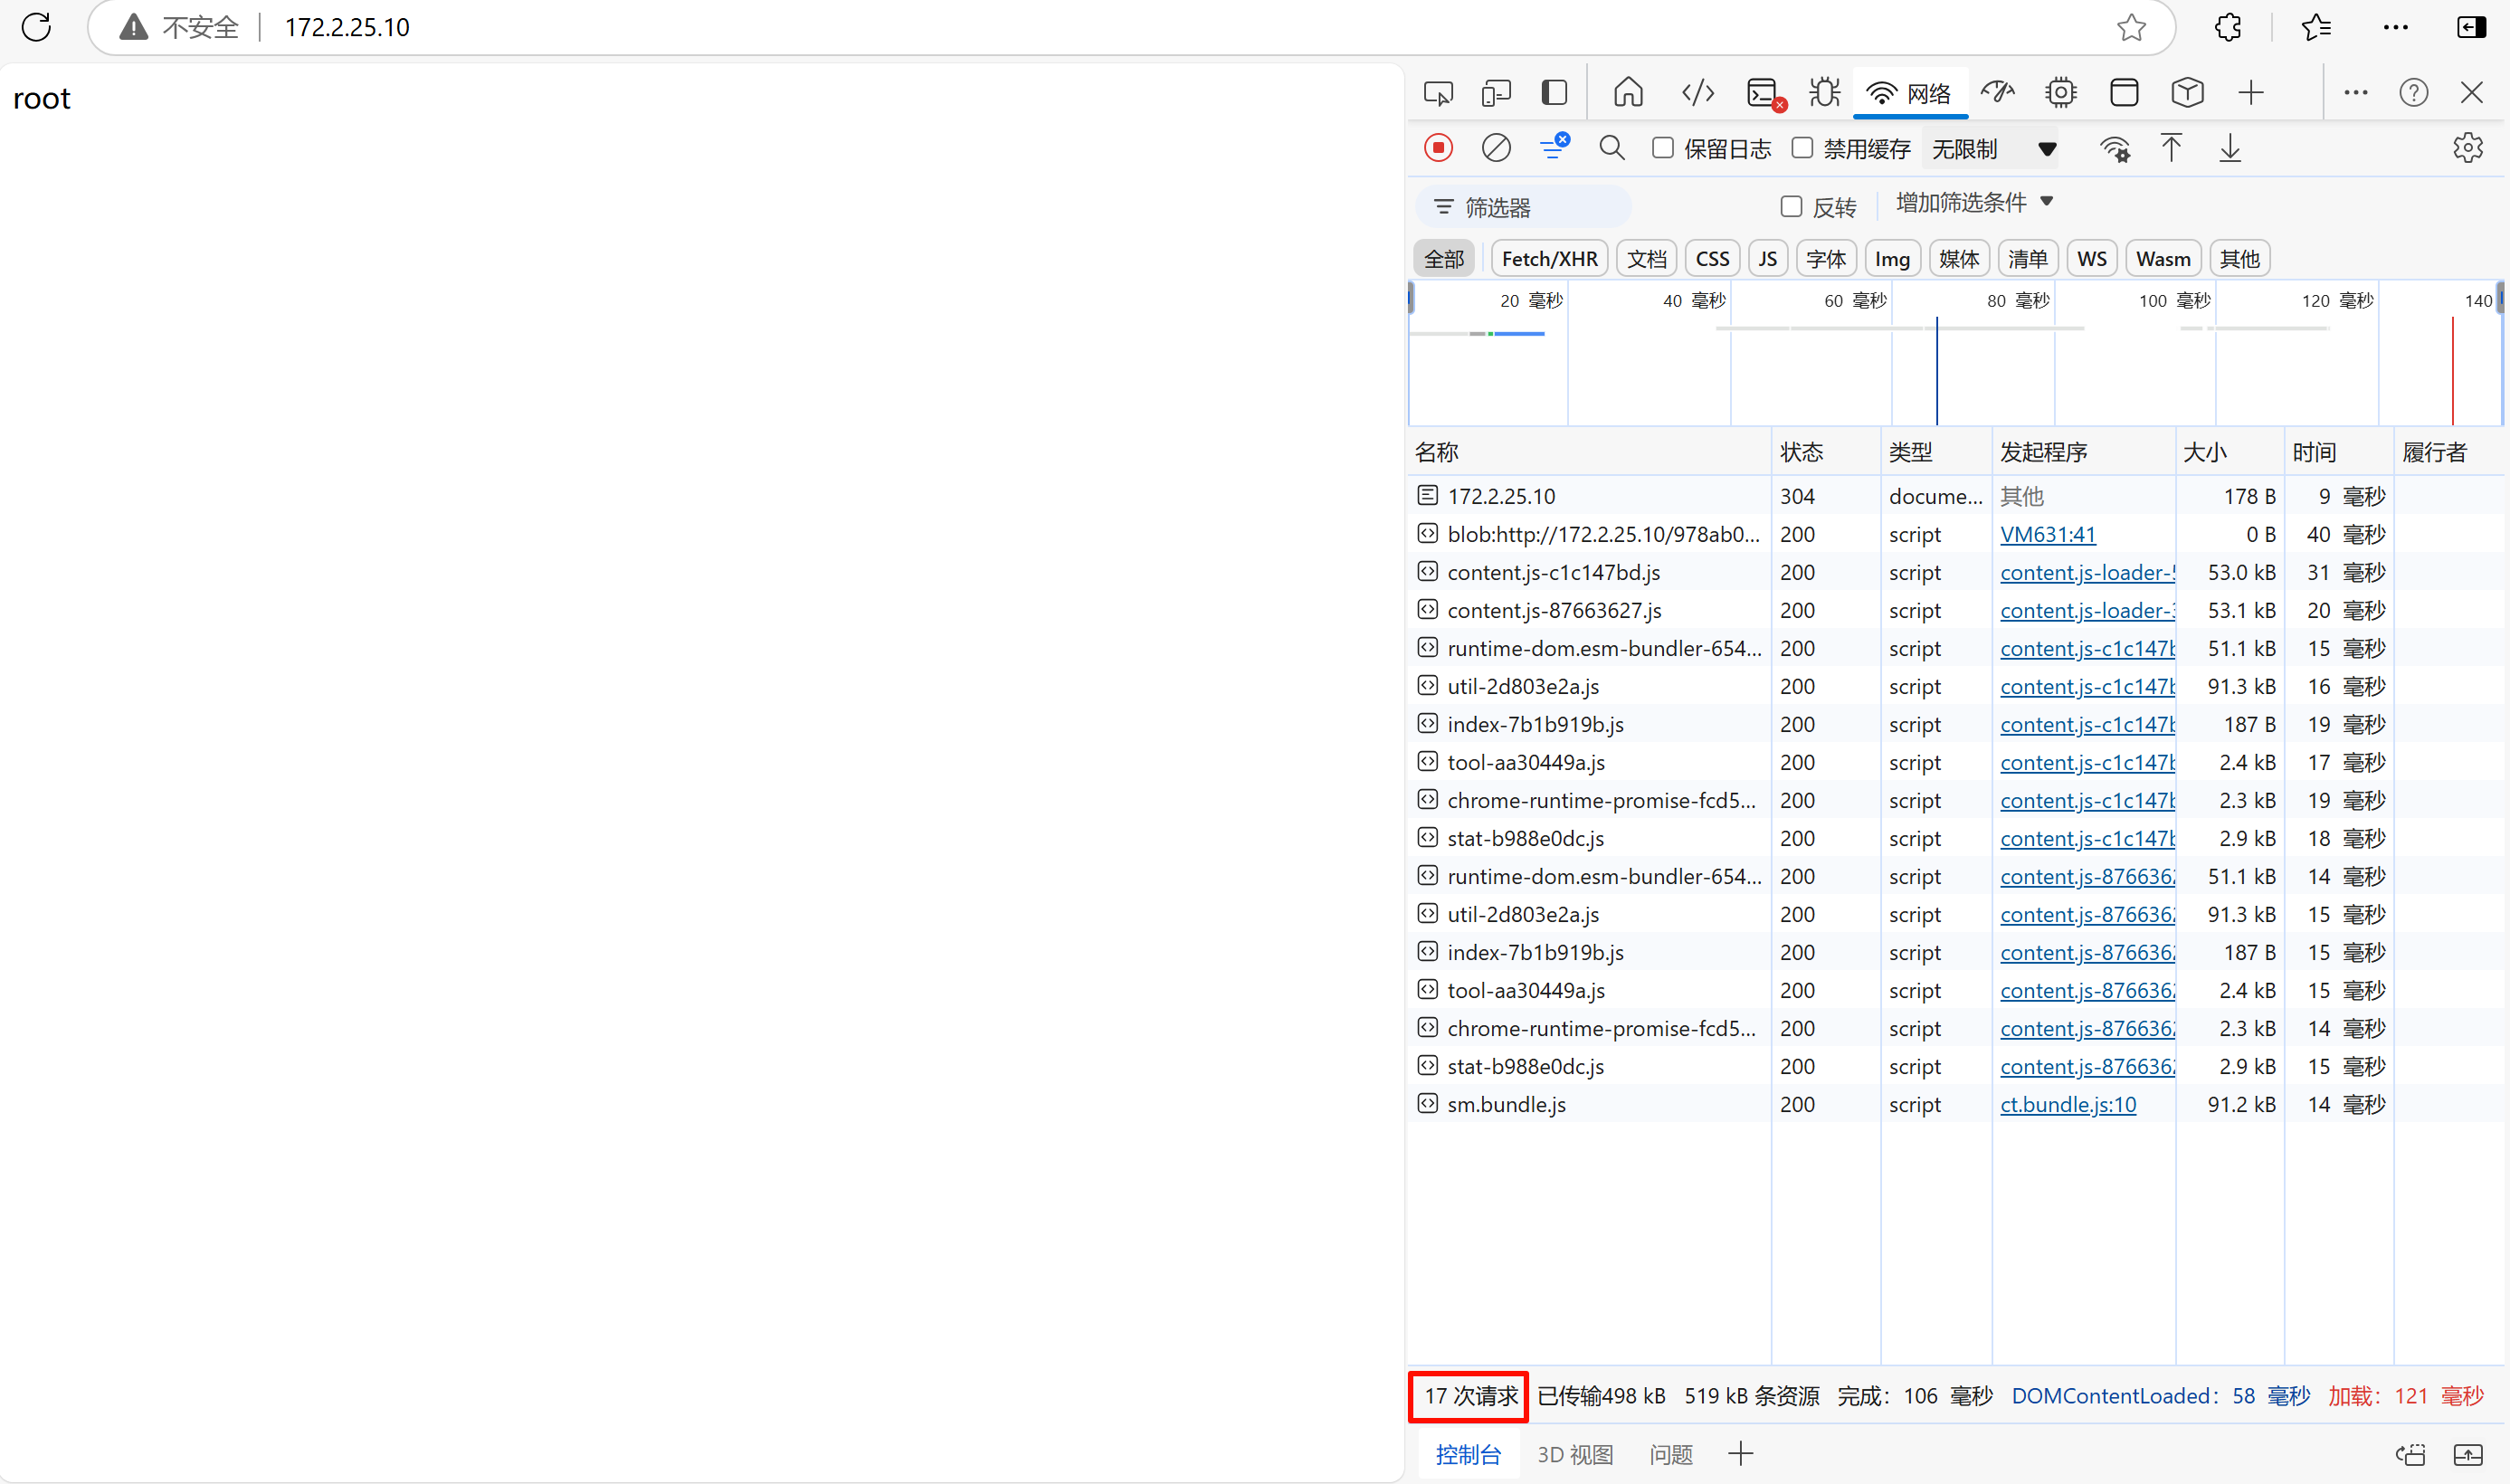
# 查看请求数量
![image-20241124164827935]()
图14 使用F12可以看到请求量
03 Nginx配置文件配置
# 默认访问的是/code/index.html文件
[root@likexy-nginx conf.d]# pwd
/etc/nginx/conf.d
[root@likexy-nginx conf.d]# cat game.conf
server {
	listen 80;		# 监听端口号,默认以80端口监听
	server_name www.test.com;	# 自己注册的域名,没注册要写入hosts

	location / {	# 访问域名默认后面有  / 例如:www.baidu.com/	历经匹配
		root /code/;# 如果访问的是www.test.com,则去/code目录下访问
		index index.html; # 默认访问页面内容
	}
}
# 纯享版
[root@likexy-nginx conf.d]# pwd
/etc/nginx/conf.d
[root@likexy-nginx conf.d]# cat game.conf
server {
	listen 80;
	server_name www.test.com;
	location / {
		root /code/;
		index index.html;
	}
}
# 语法检查
[root@likexy-nginx conf.d]# nginx -t
nginx: the configuration file /etc/nginx/nginx.conf syntax is ok
nginx: configuration file /etc/nginx/nginx.conf test is successful
# 代码目录位置,是在根目录下面
[root@likexy-nginx conf.d]# cat /code/index.html
root
![image-20250518132054339]()
图15 在浏览器可以访问到index.html


 浙公网安备 33010602011771号